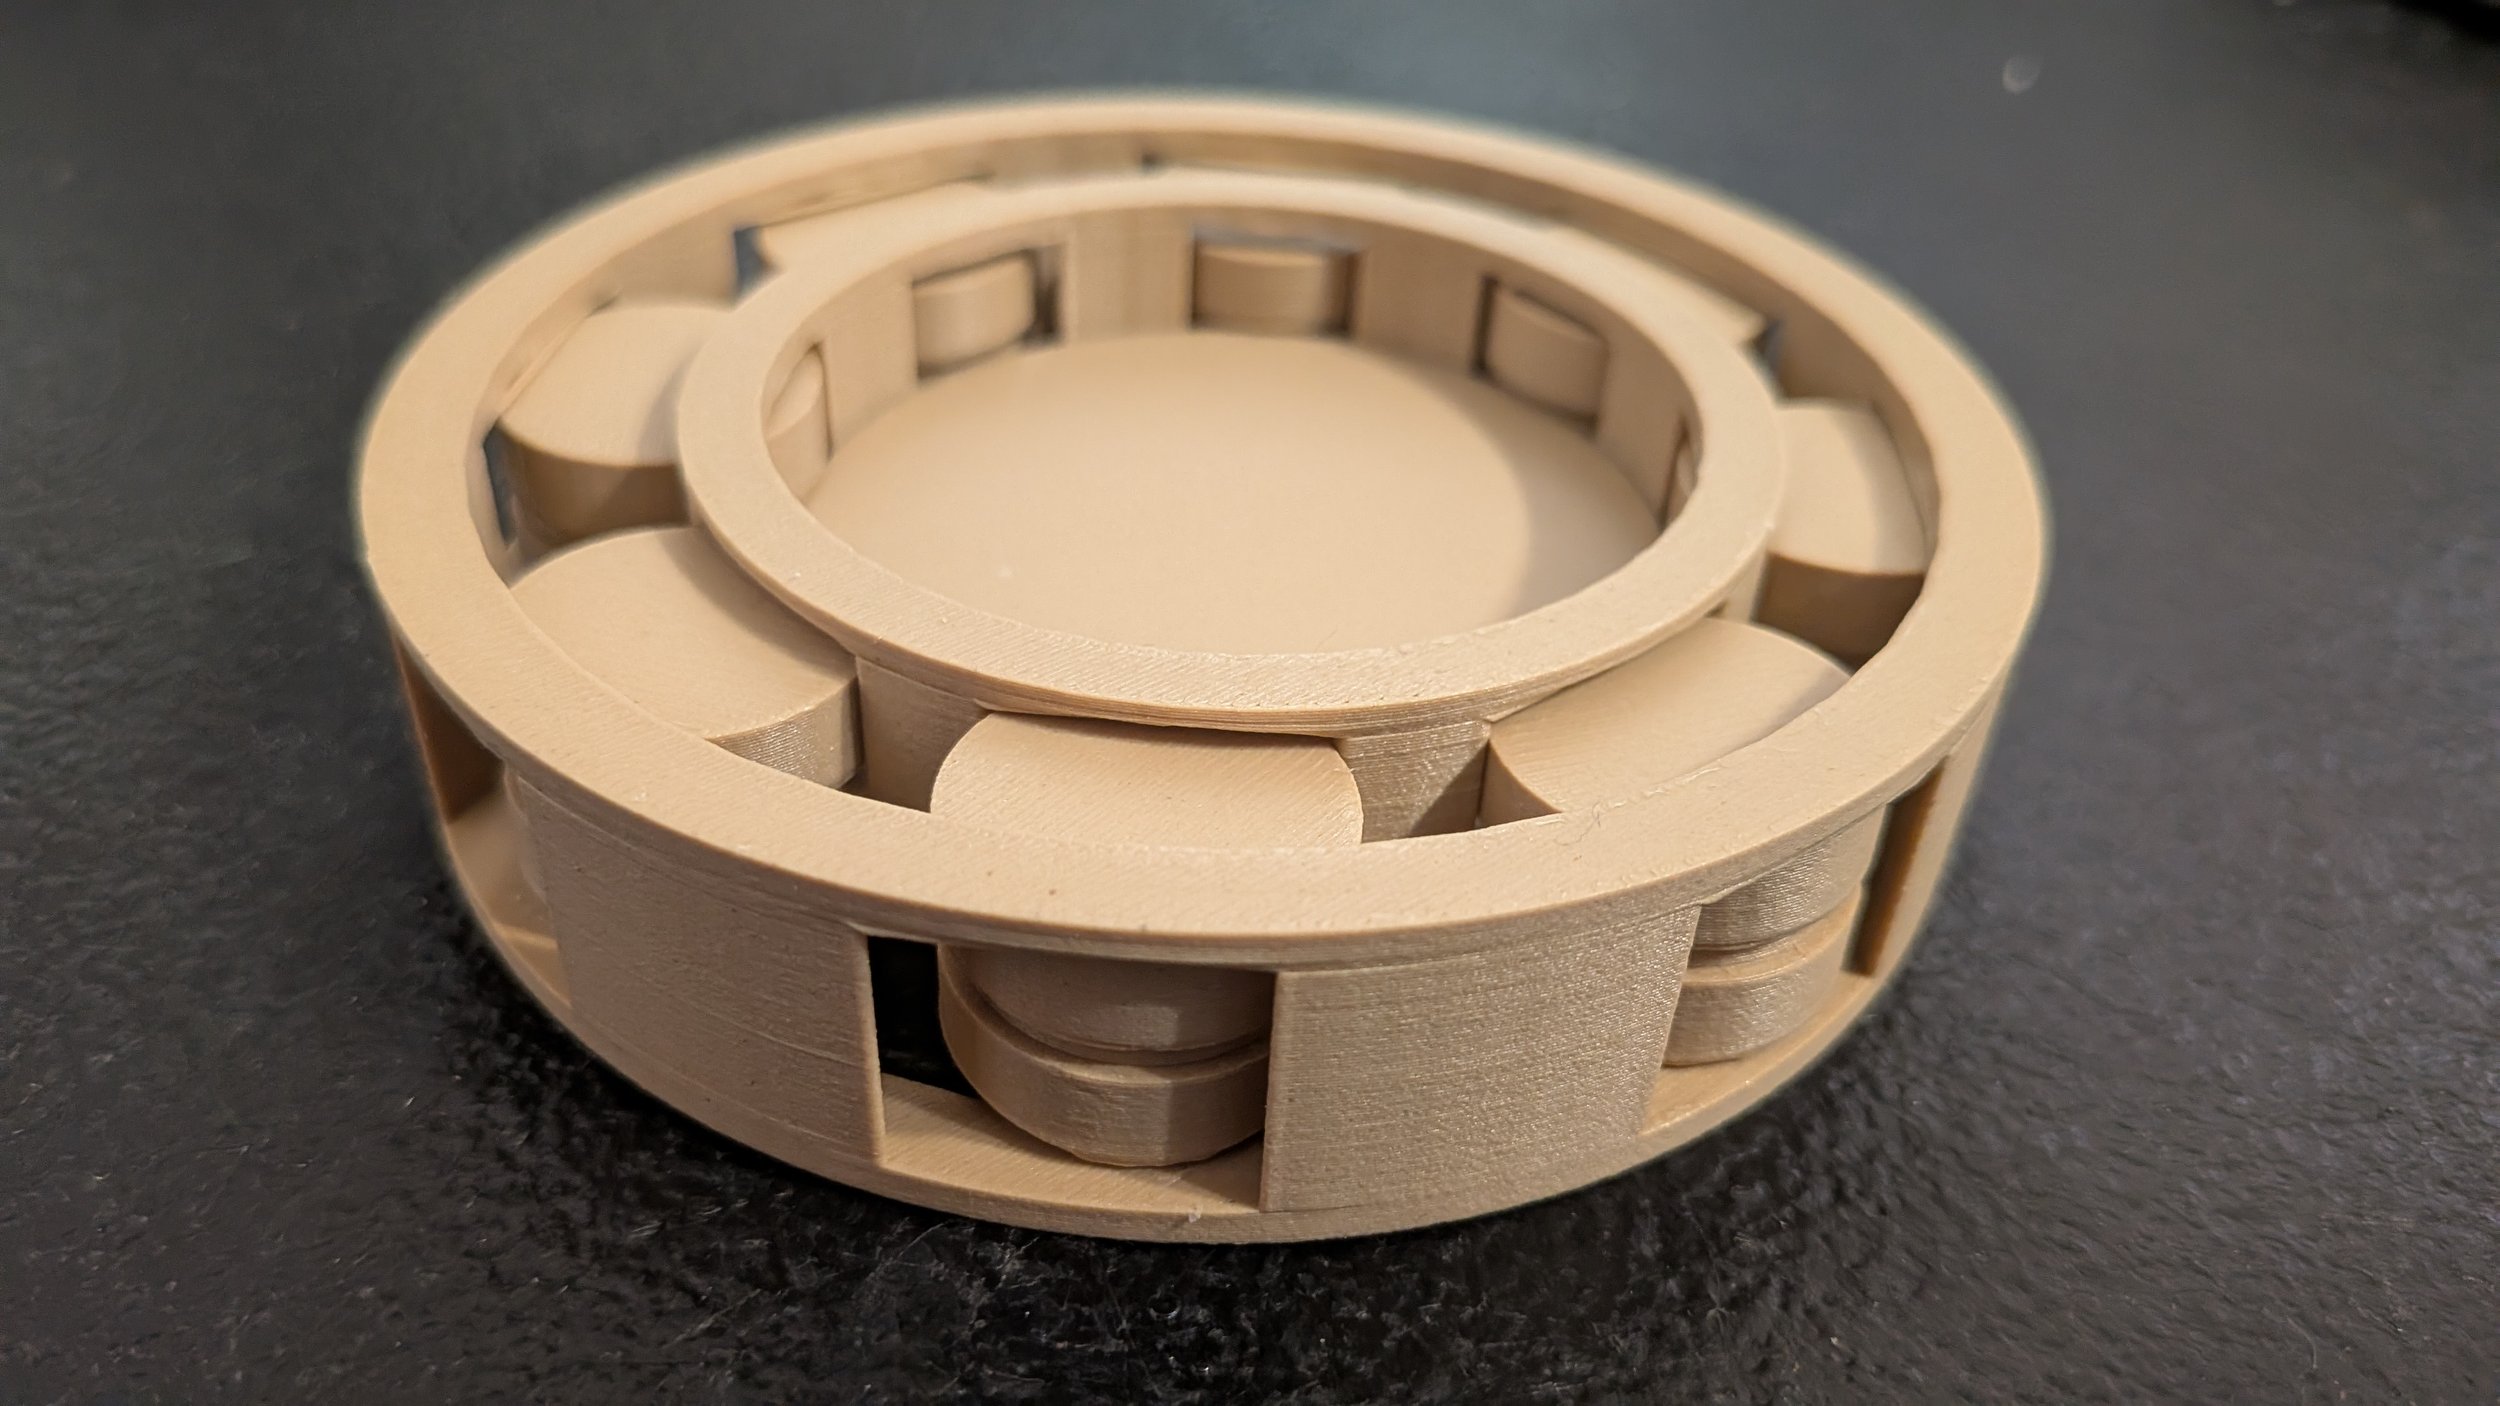
Print-In-Place (Part 4): Lazy Susan with Cylinder Bearings
“Pressing the balls firmly towards the center with my fingers made the ensemble tight enough that I could test ability of the plate to spin, and it seemed to work rather well.”
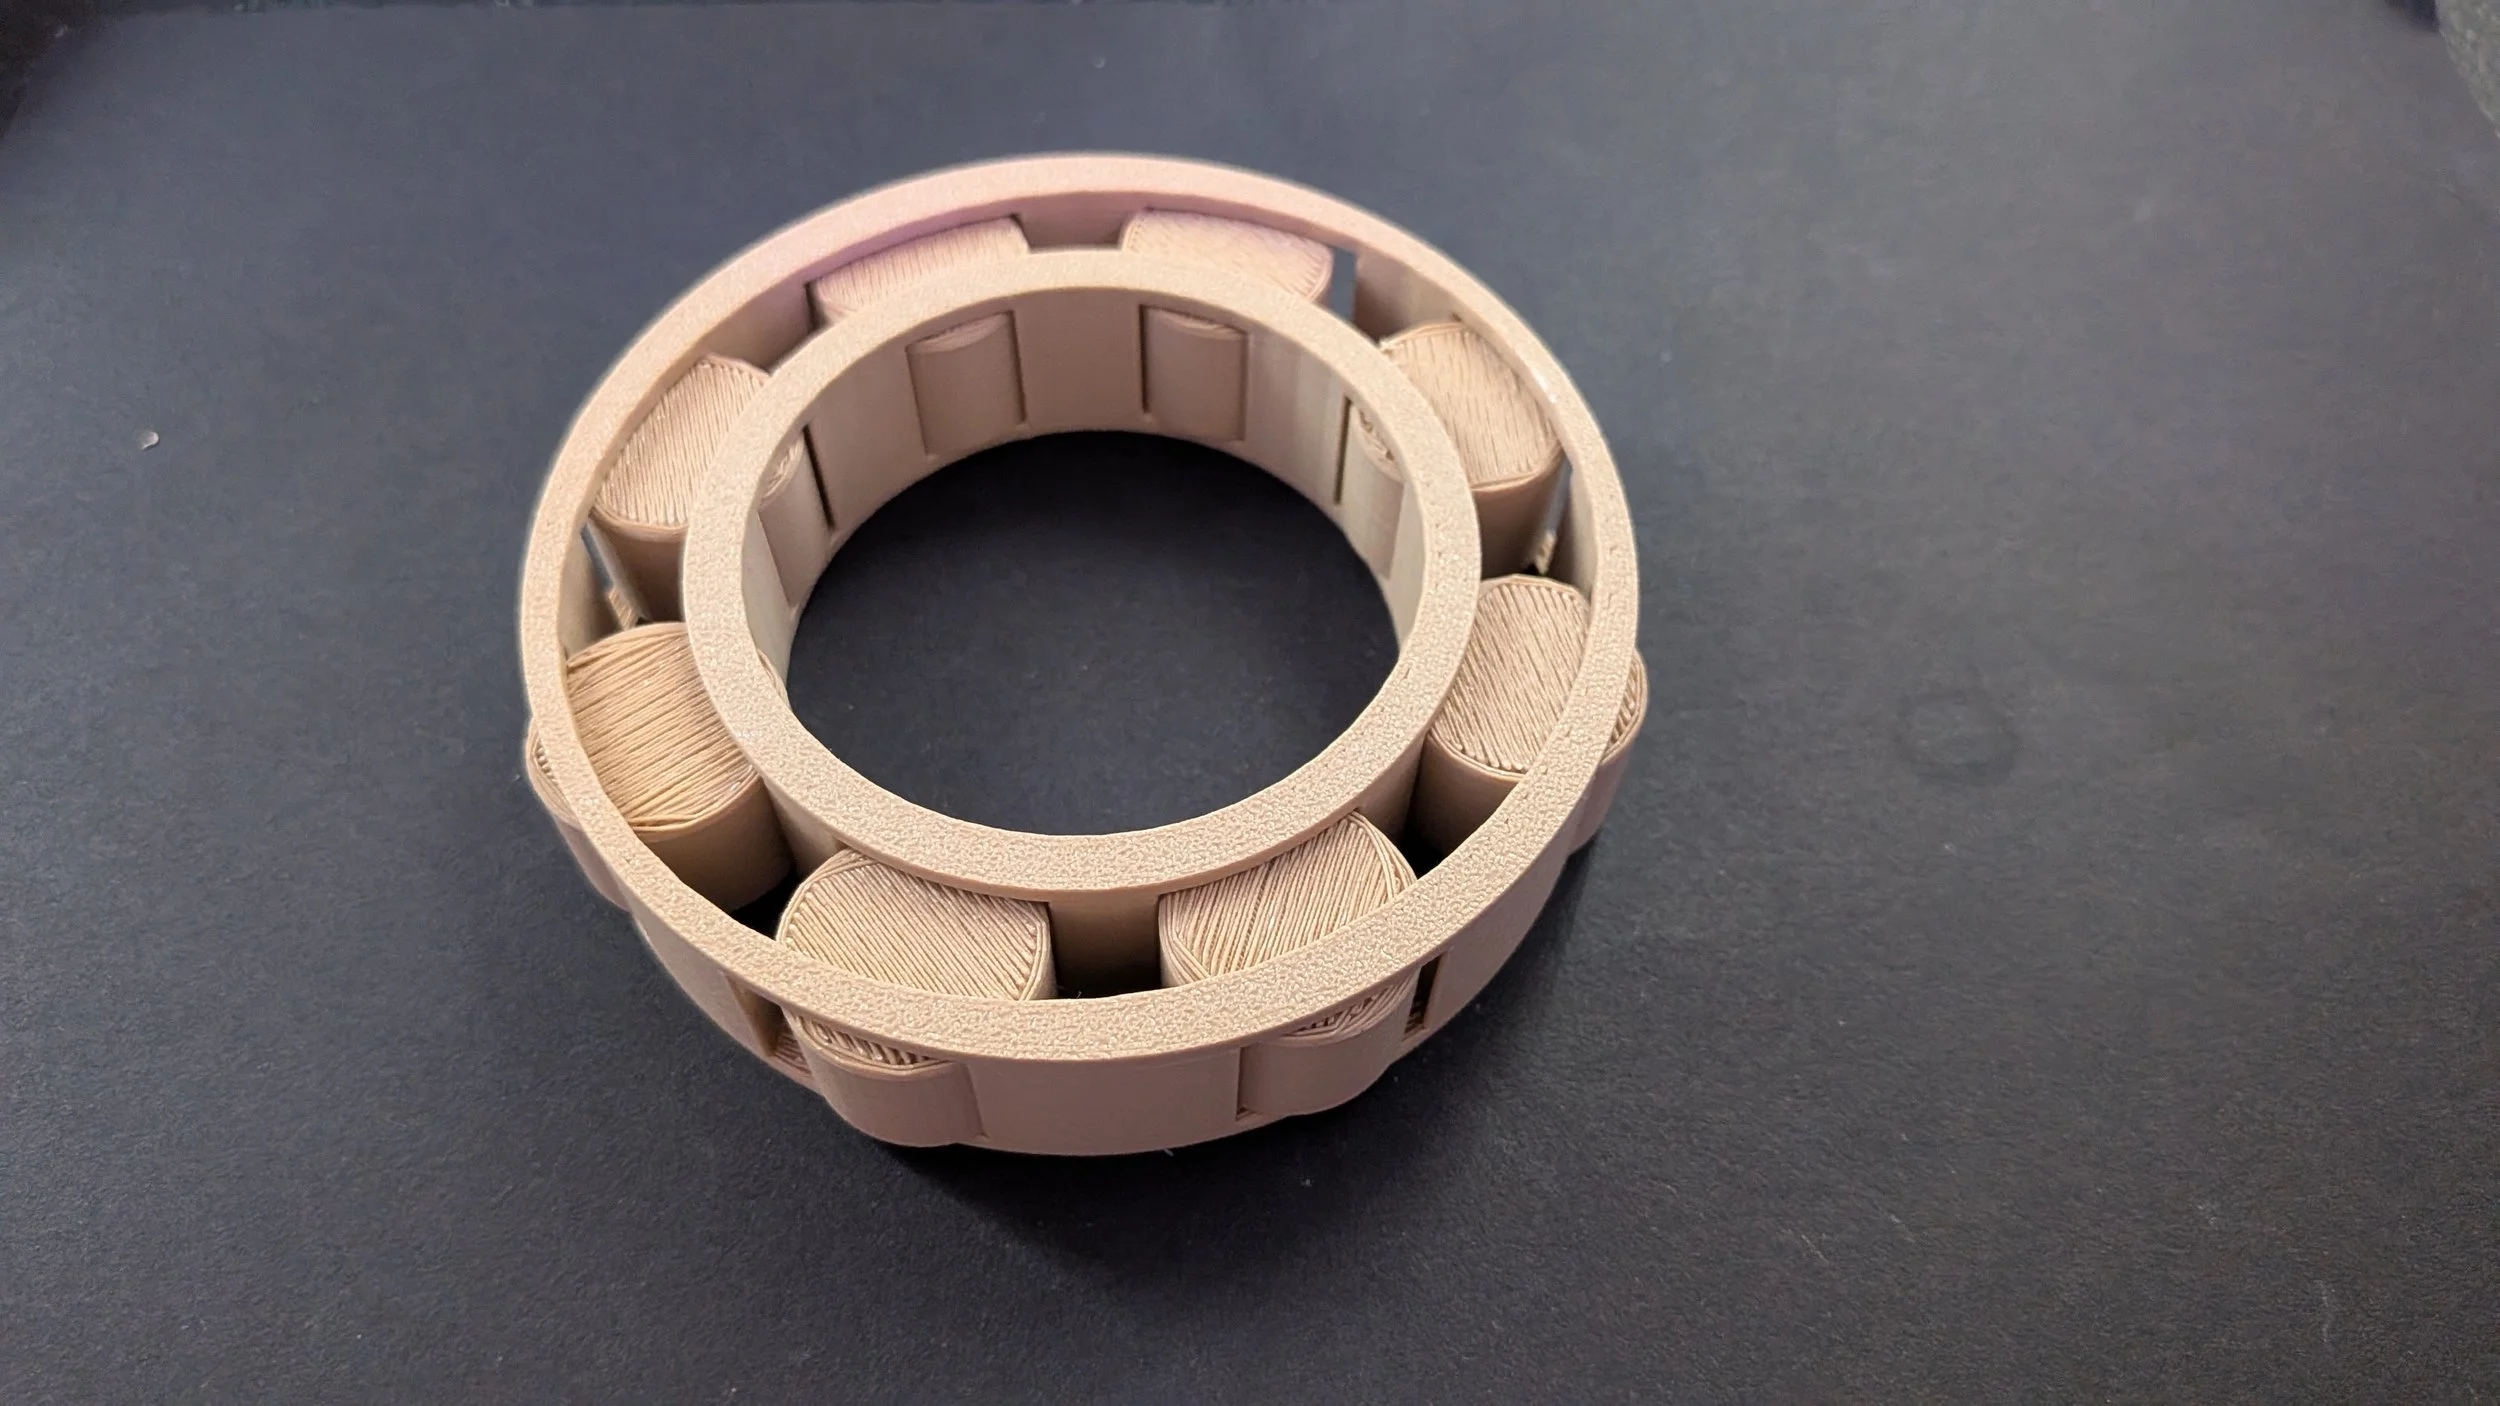
Print-In-Place (Part 3): Cylinder Bearings Design and Testing
“The cage works exactly the way I thought it would, and there is a little bit of springiness in the cylinders thanks to the tolerance. If I put a round thing of the right size in the center, it can spin. Likewise, if I surround this piece snugly with a cylinder, the outer cylinder will be able to spin around it. Not perfect, but functional. I’ll take it!”
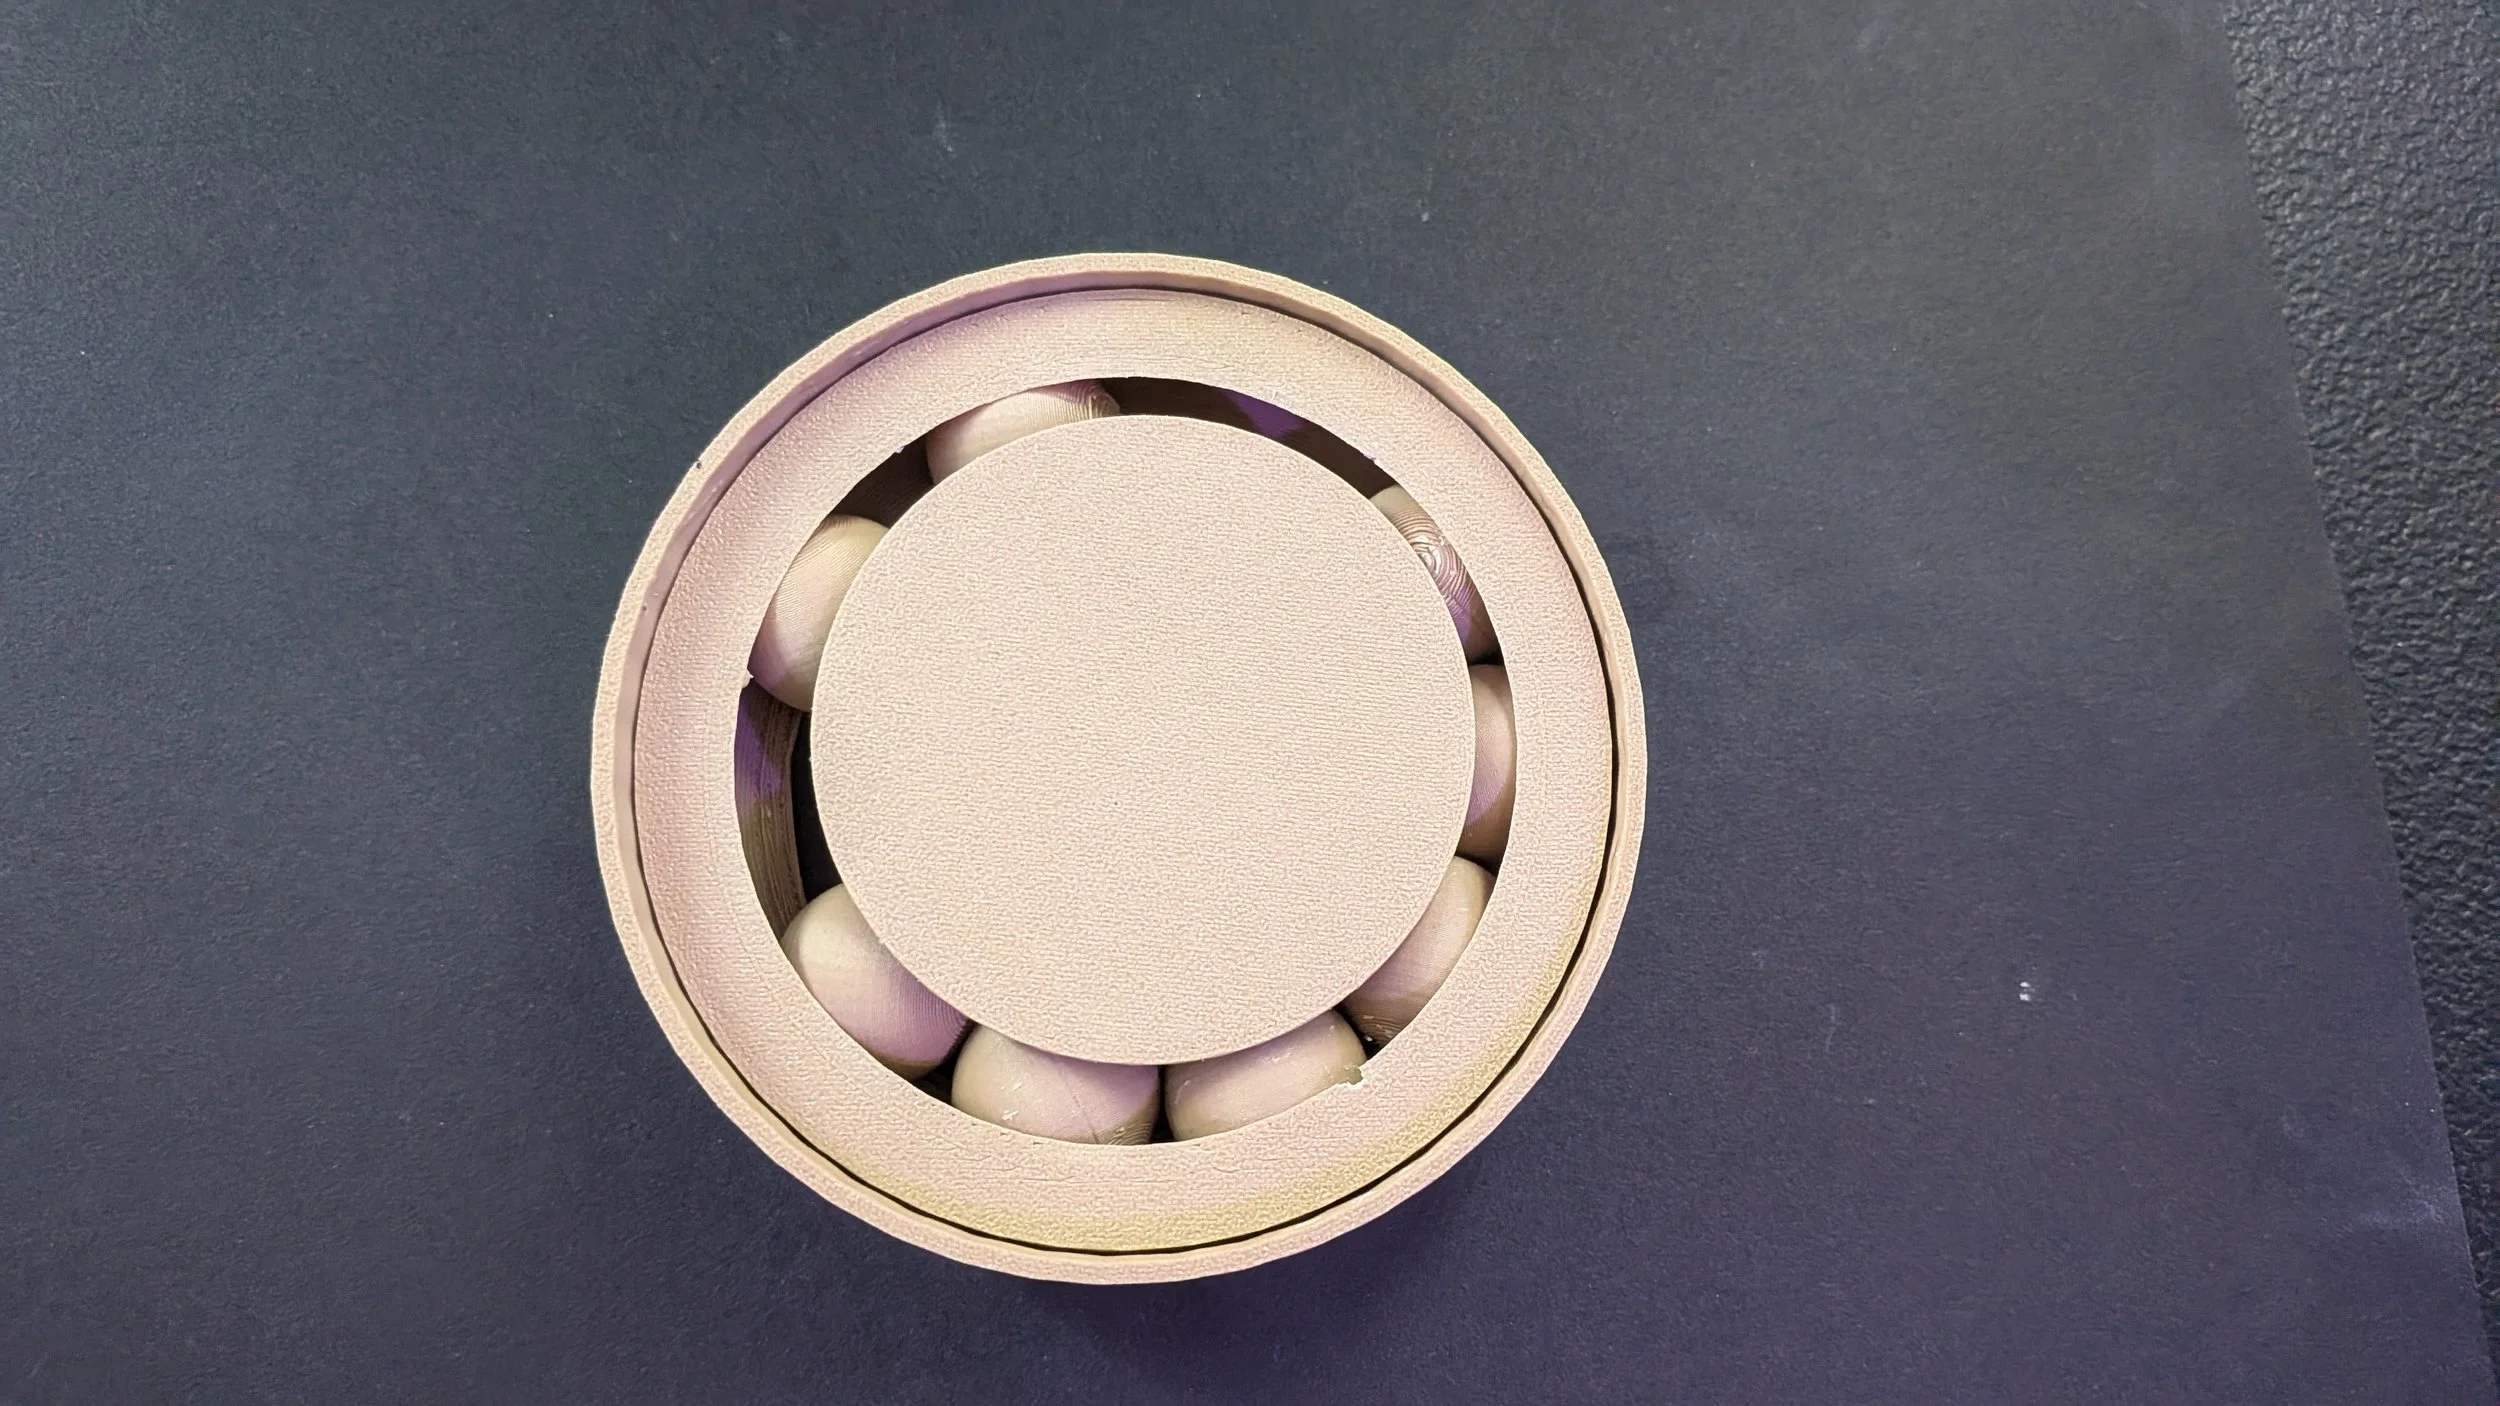
Print-In-Place Ball Bearings (Part 2): Following an Instructables Tutorial
I know that I could make a better design though. What if I could make the spheres inside the plates? They wouldn’t fall out if the piece got knocked over. They would probably be more smooth, not being printed on a flat mat. And most importantly, they would be invisible. The platform would work like magic. I want to know how to do this.
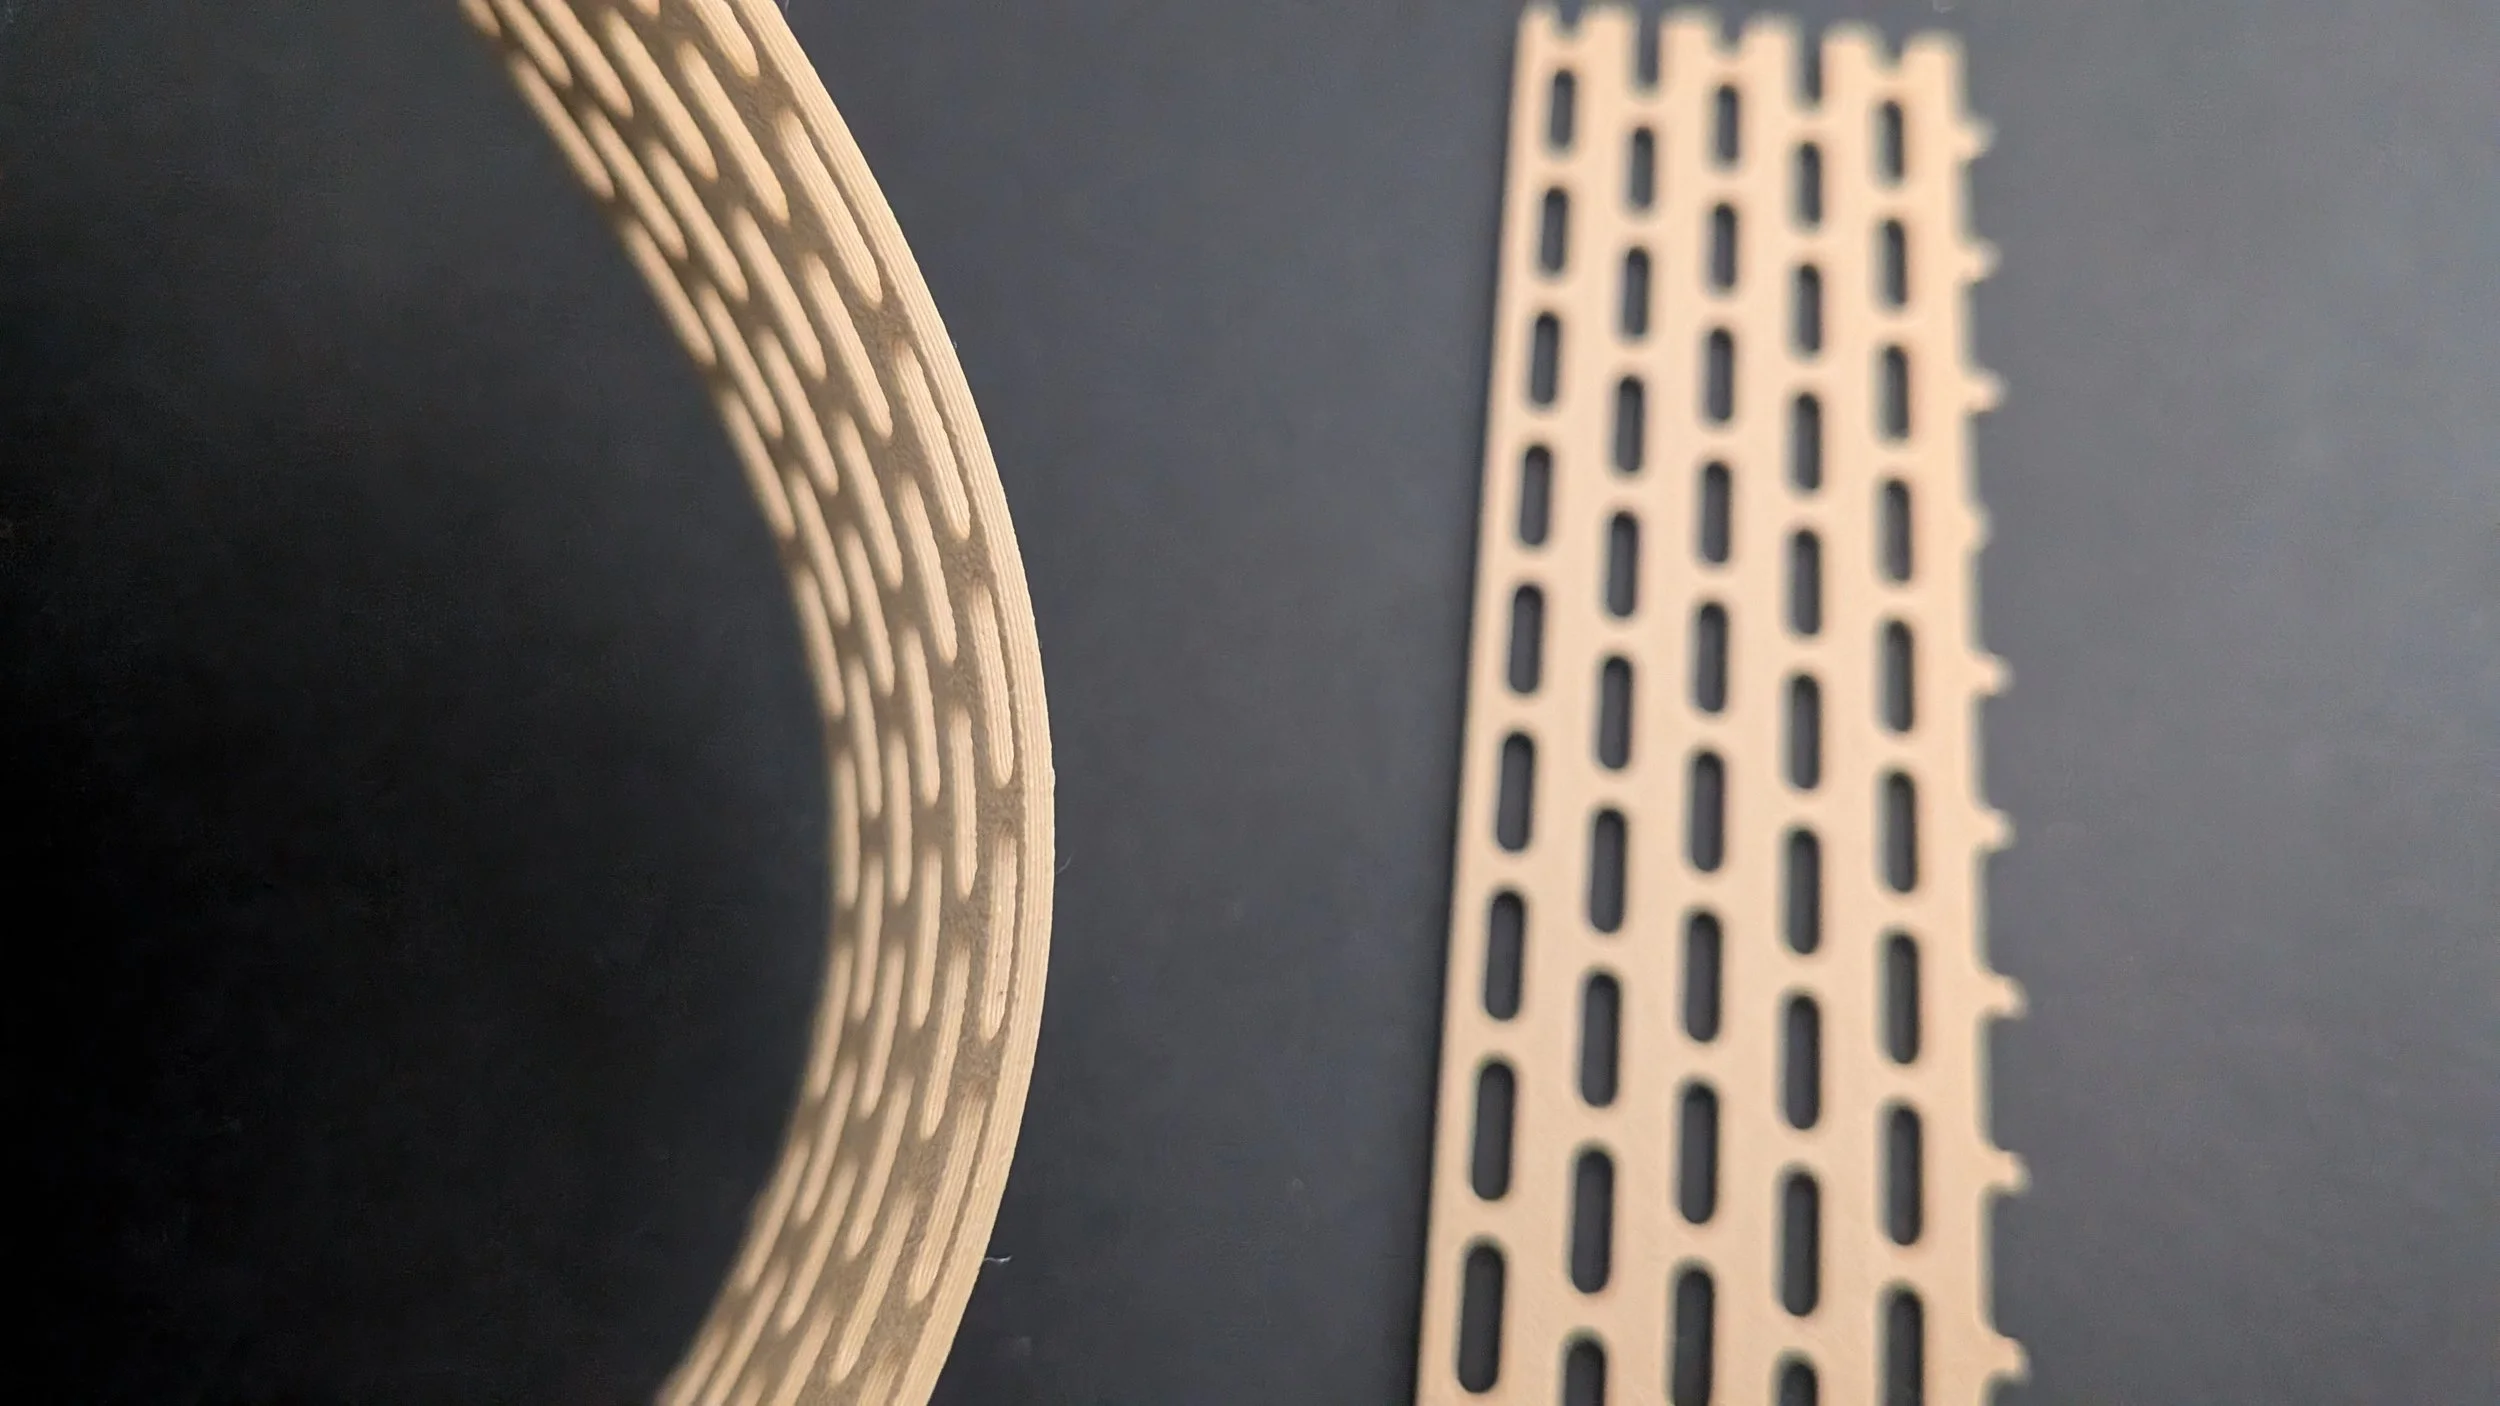
Print-In-Place for Beginners (Part 1): Designing Flexible Strips in Tinkercad
“The flexible strip appears to be made up of lines of oval shapes end to end, with only narrow strips of space between them. Every other line is shifted up a half-oval, so the entire near-flat plane is covered by alternating strips.”
TtRPG Abandoned Riverwheel (Part 3): Creative Destruction of 3D Printed Spoked Wheel, Axle, and Gear
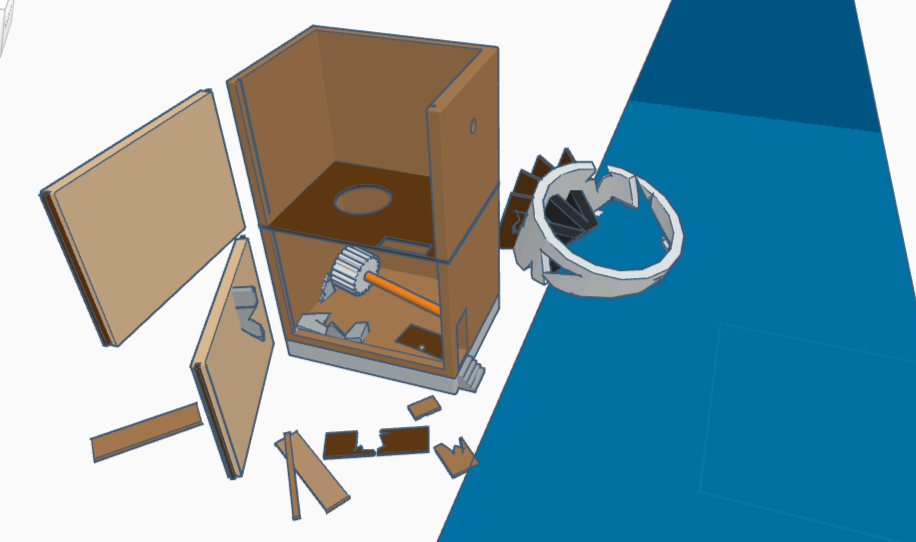
I made several copies of the star-shaped blob, then stretched out each copy until I ended up with several jagged bits of varying size. I strategically placed these on the wheel and board remnants until I had only two boards remaining. One I left alone, the other I split in two lengthwise.
TtRPG Abandoned Riverwheel (Part 2): Stairs, Doors, and Modular Floors
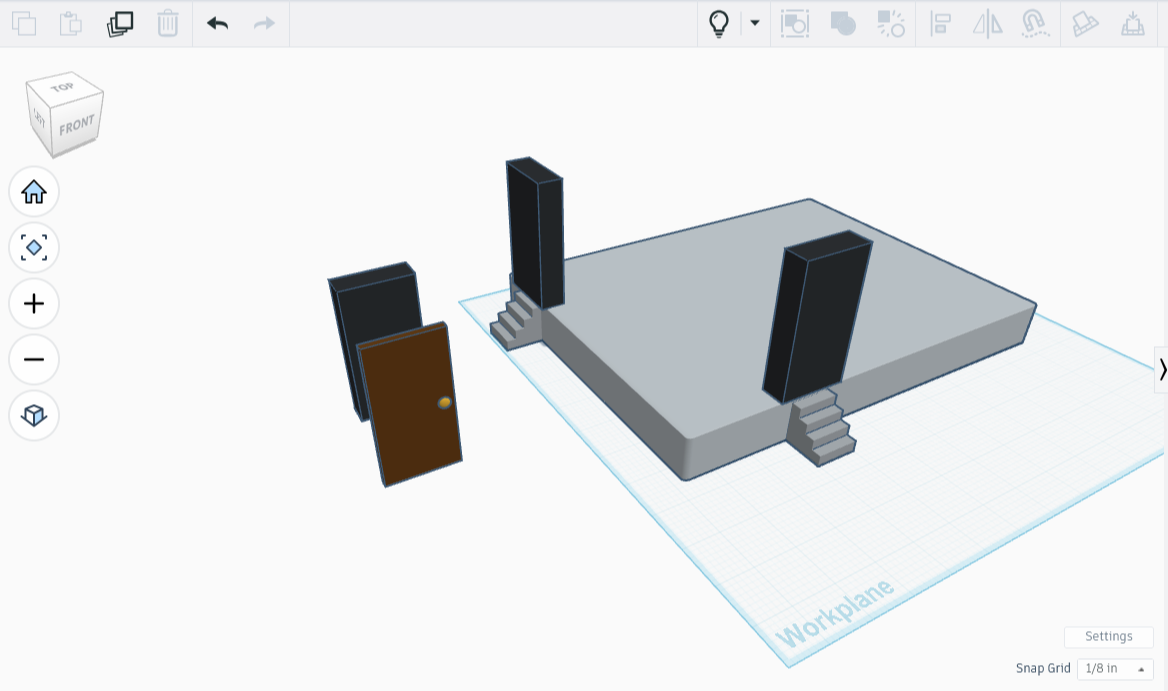
I had made a door during an earlier project, and liked it so much I saved it to my library. I pulled out my original design, still saved under Tinkercad’s ‘Your Creations’ tab, and plopped it on the grid. A quick resize made the doors 3.3” x 1.65”, with .25” thickness.
TtRPG Abandoned Riverwheel (Part 1): Planning and Design
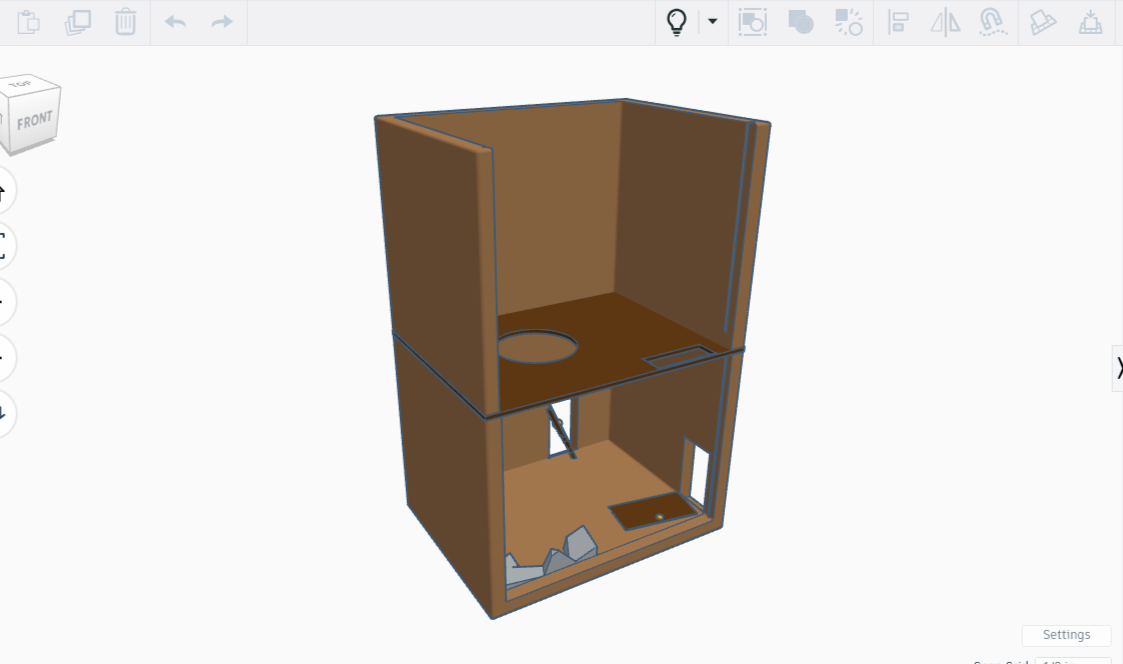
I have wanted to make something with gears and wheels for a WHILE now, and I am SO excited. It doesn’t need to work, in fact pieces of it have likely been carted off over time. It does however need to be believable.
Finishing the Model (Part 2): Pre-processing Methods ie Speed, Layer Height, Ironing
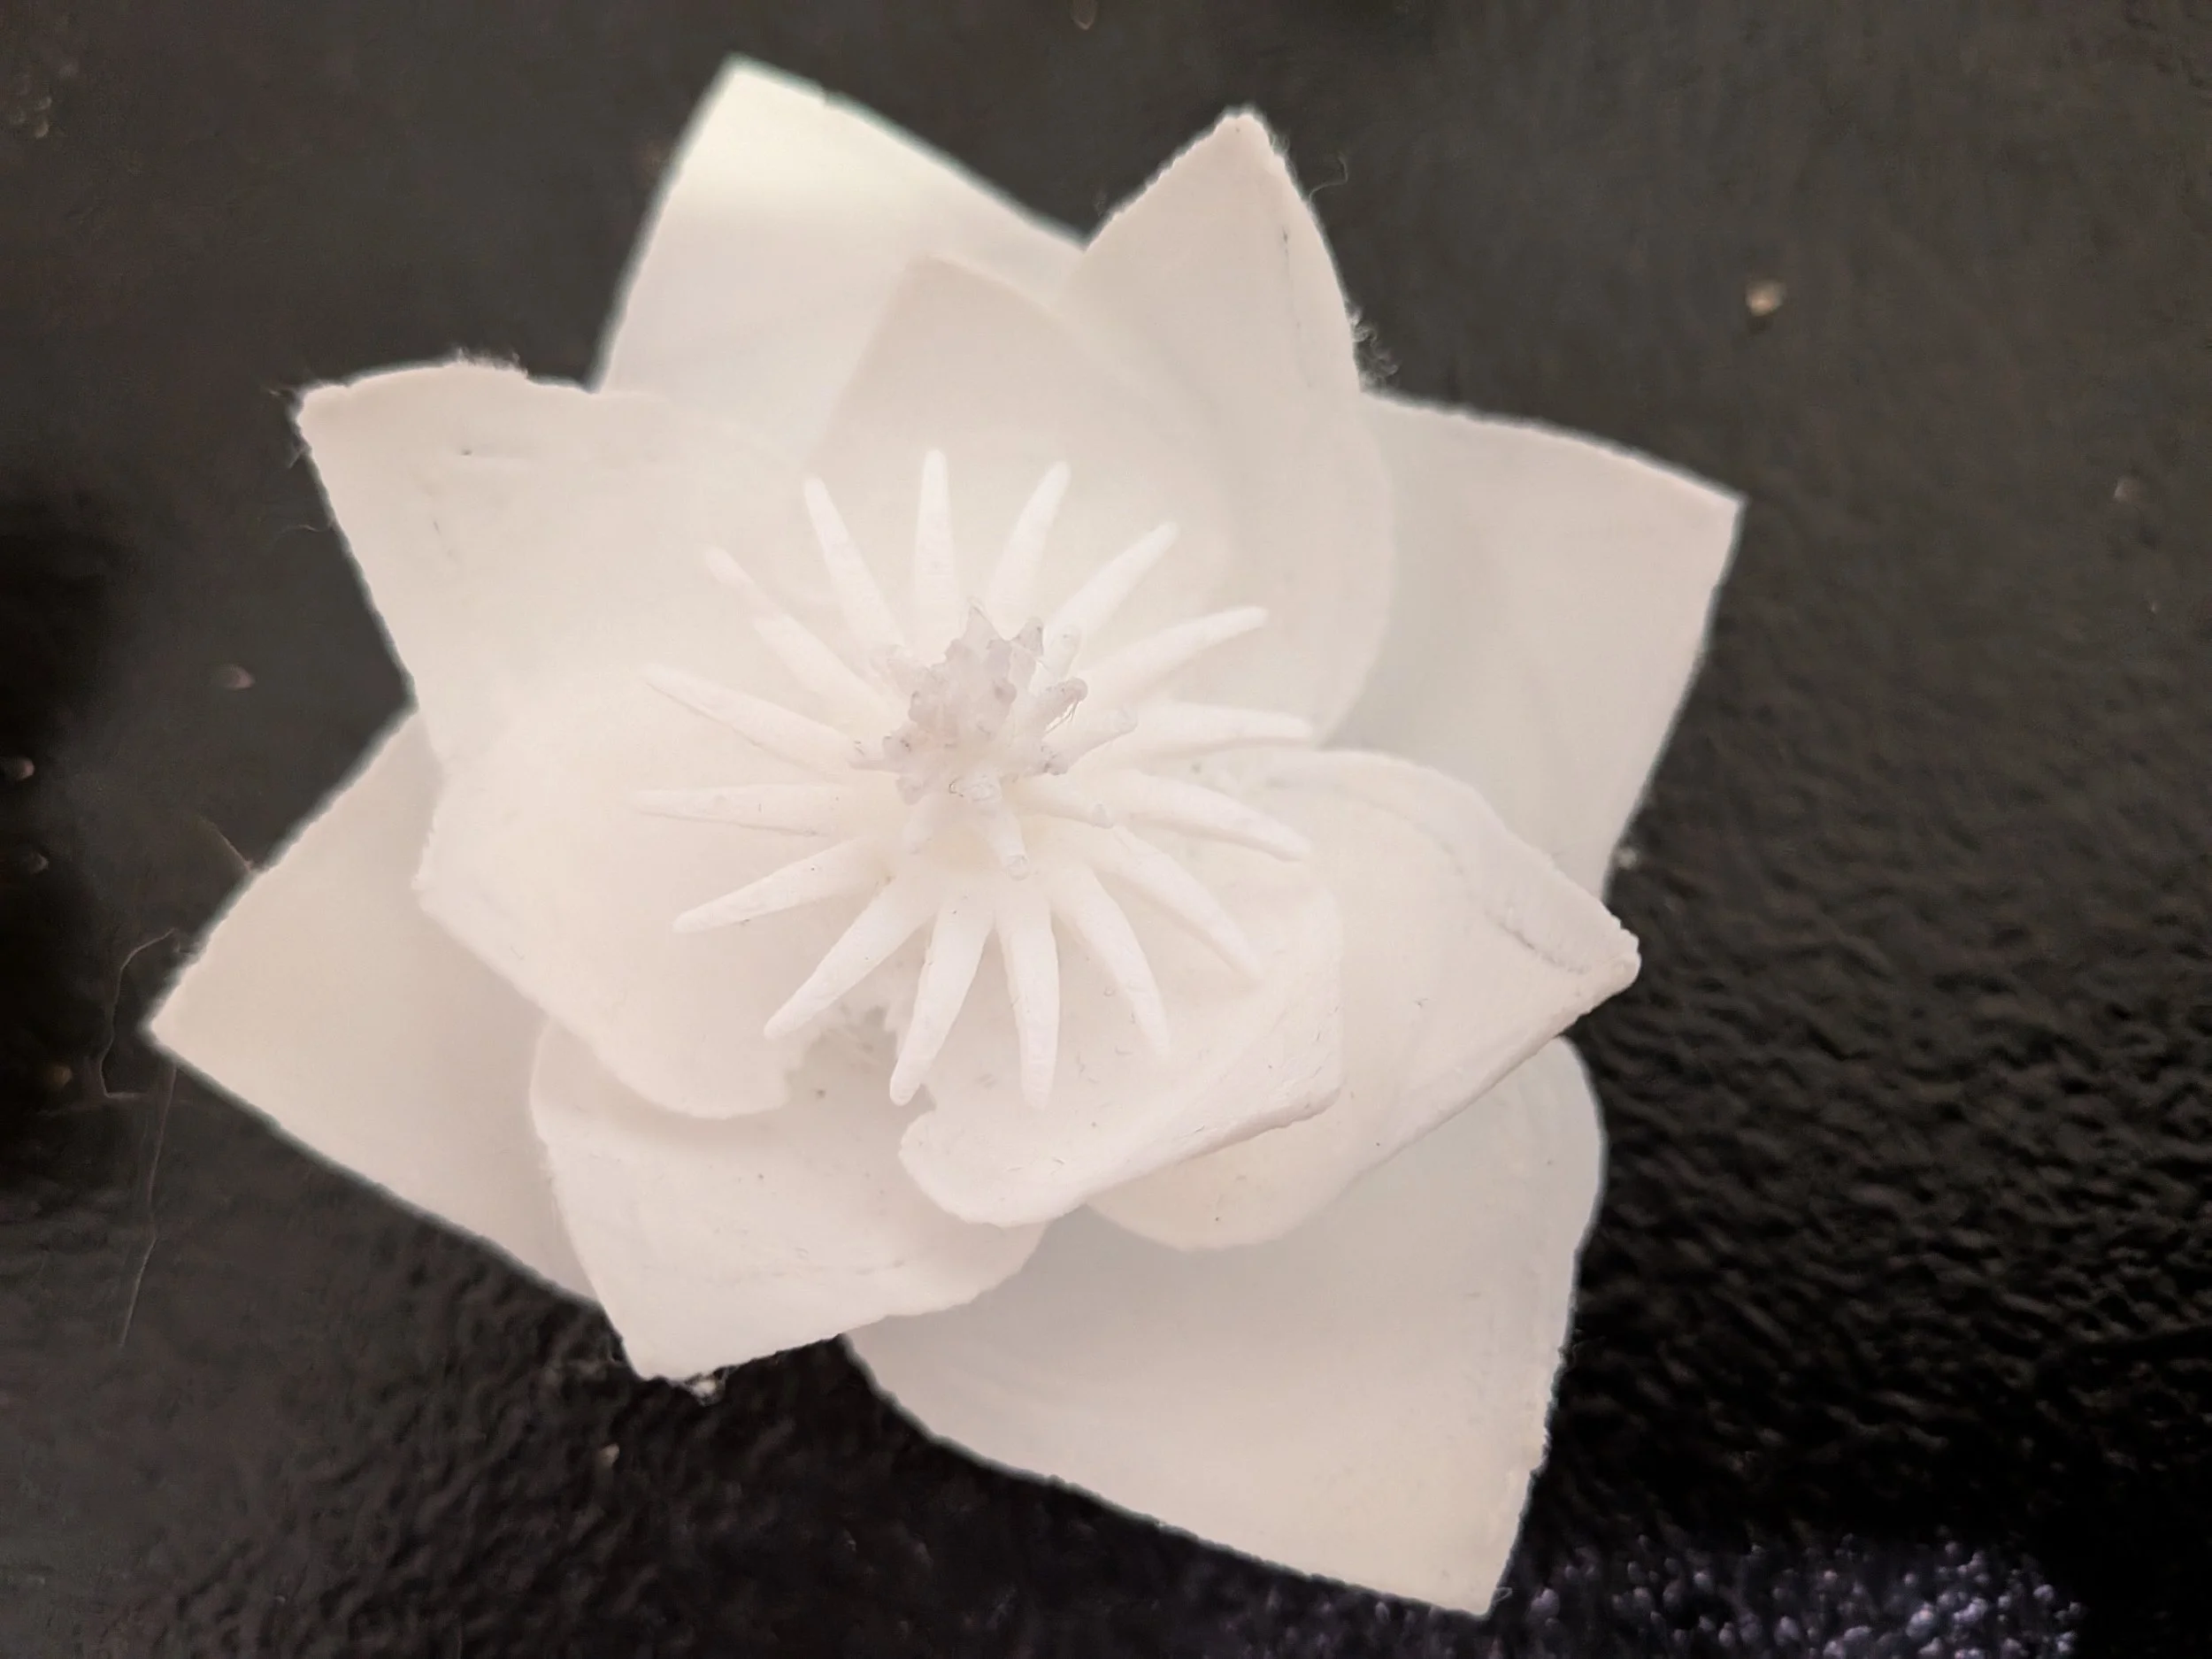
The amount of improvement gained from changing the settings was stellar. It couldn’t rescue a model as fragile as the original, but I was able to use these techniques to redesign the flower with finely detailed petals and better results.
Finishing the Model (Part 1): Sanding, Chisels, and Filler Primer
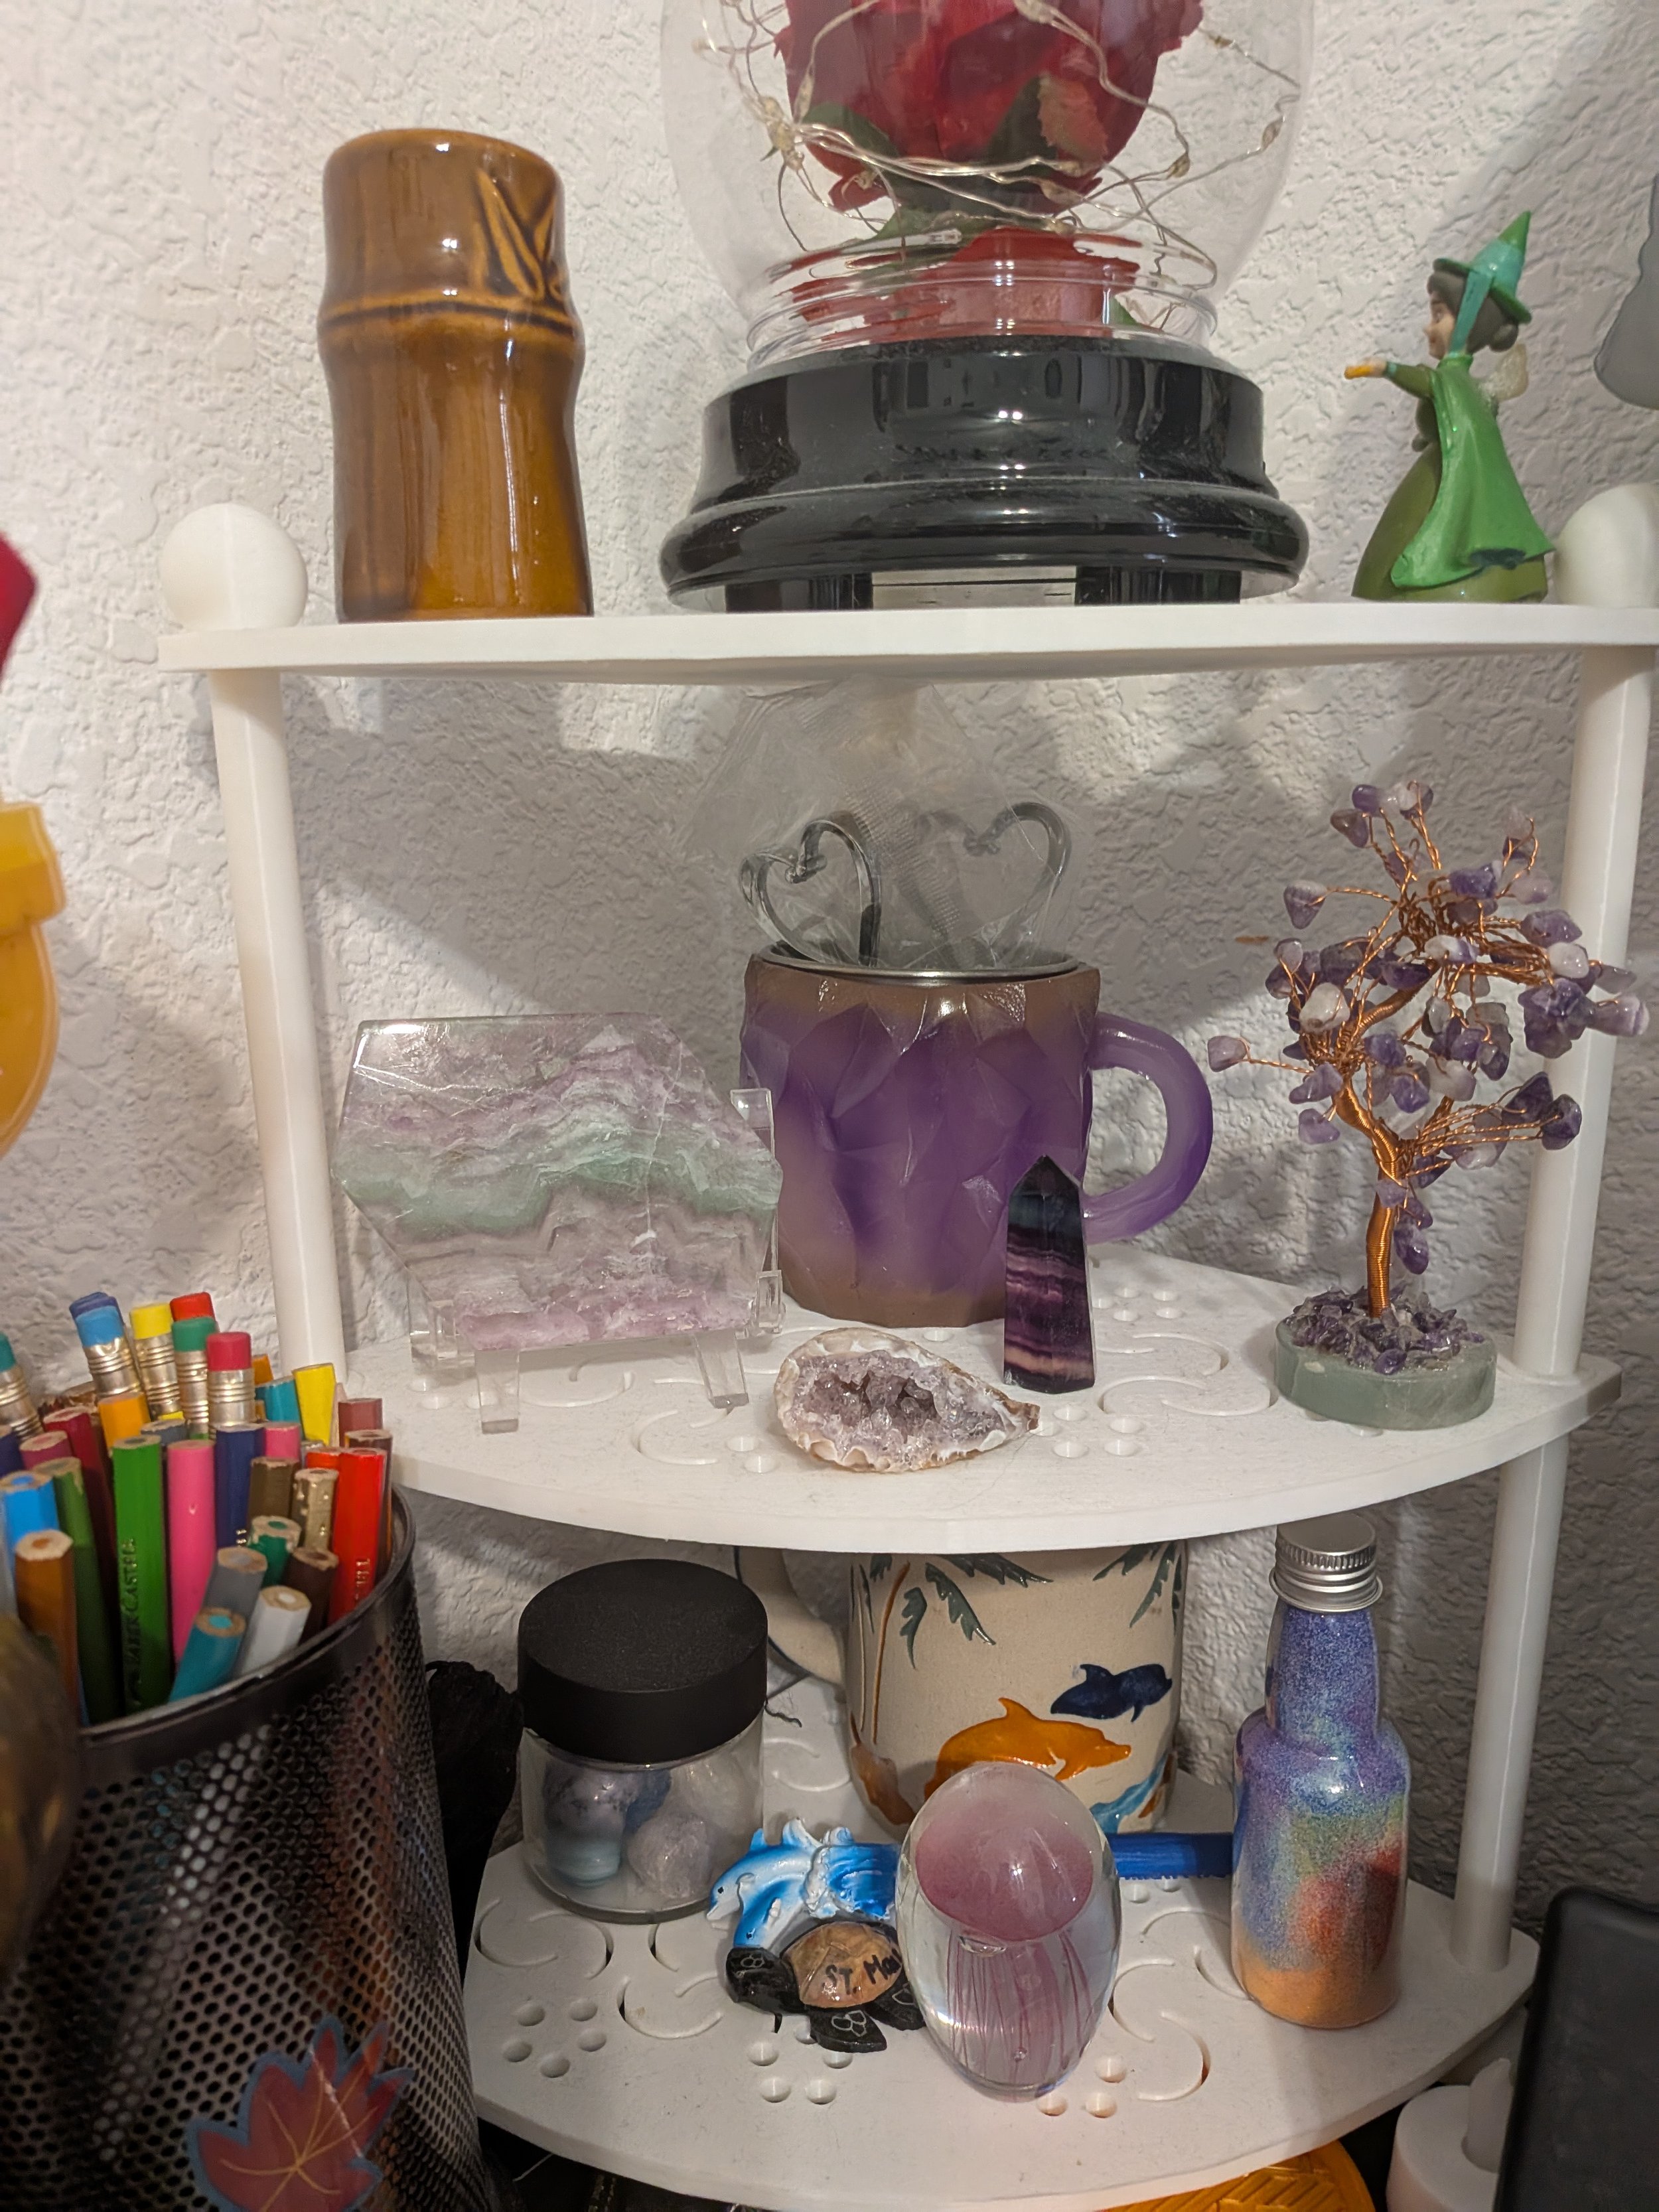
To make an object look like it isn’t 3-D printed, a model needs to have a smooth surface, with no print lines apparent and no trace of supports. Painting it also helps. This process is called ‘finishing’.
Clearing a Jammed 3D-Printer Extruder
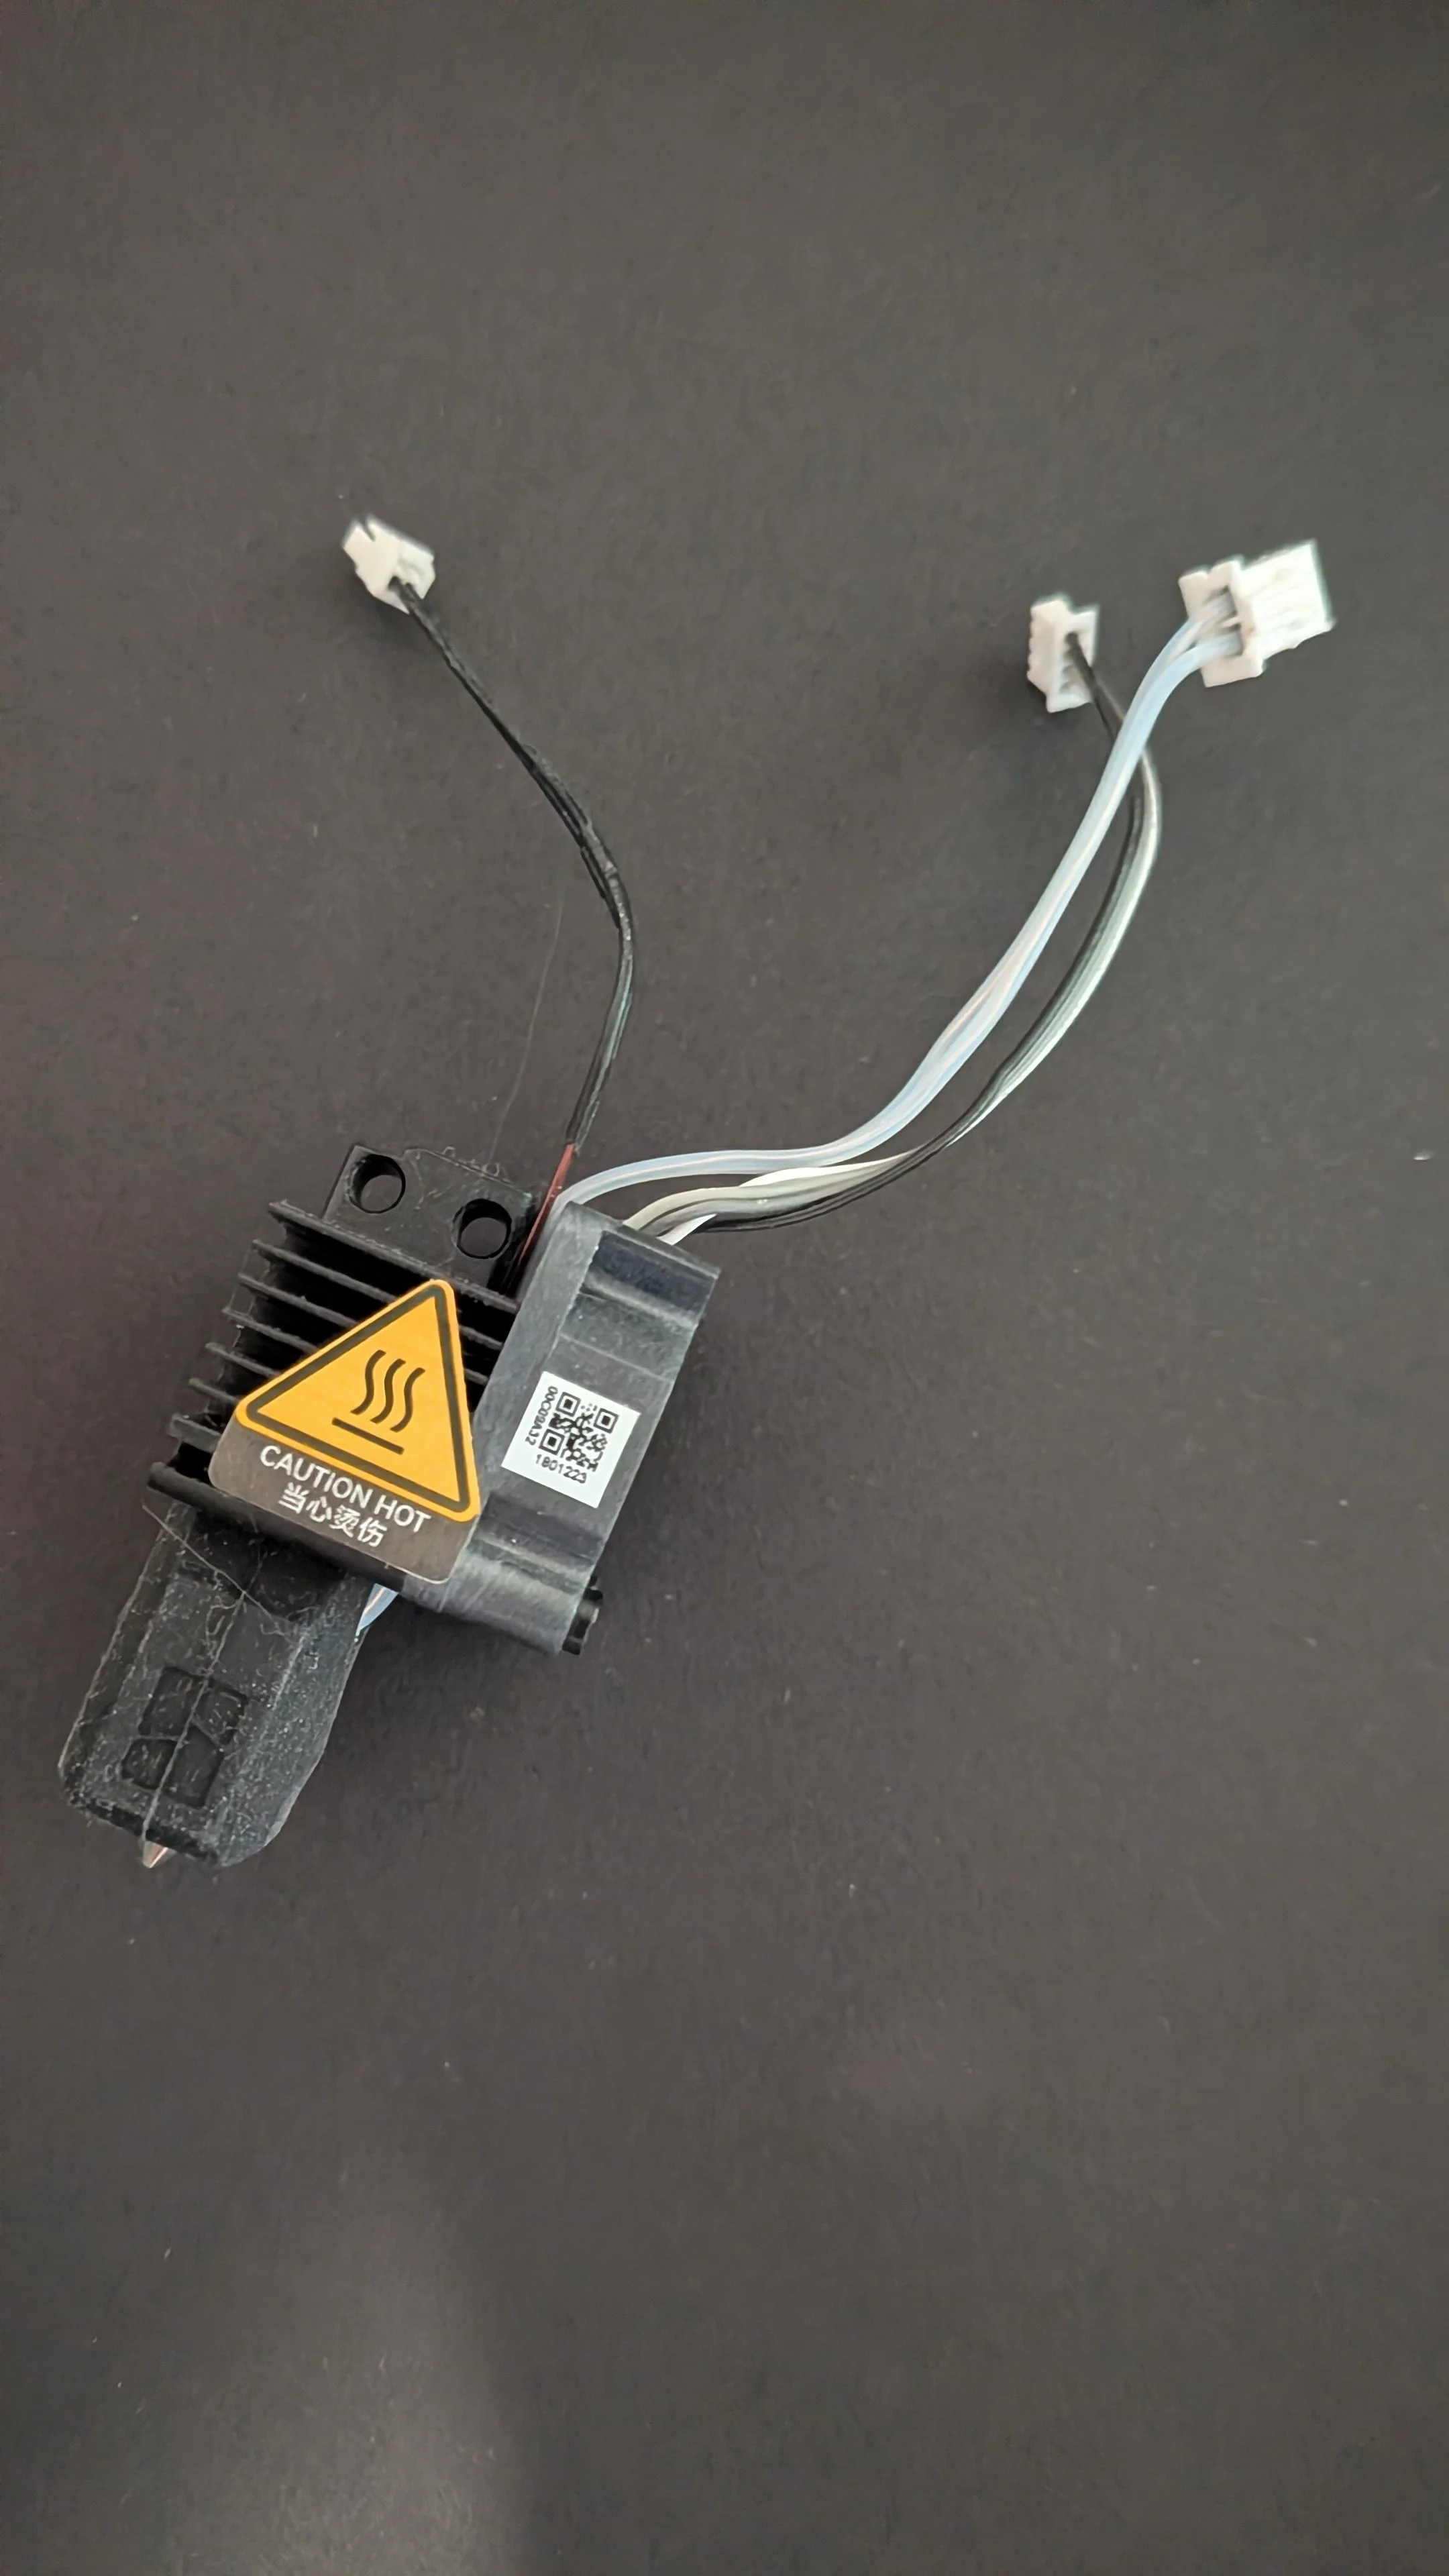
“We did not take it apart. This project had already eaten up around a week of free time, maybe a week and a half, and quite frankly nobody wanted to deal with it any more. We had succeeded in clearing the nozzle, and isolated the remaining problem to the hot end — good enough. We ordered another hot end and replaced the old one.”
3D Printed Custom Nightstand Organizer (Part 3): Tab and Slot Connectors for Multi-Tier 3D-Printed Shelving
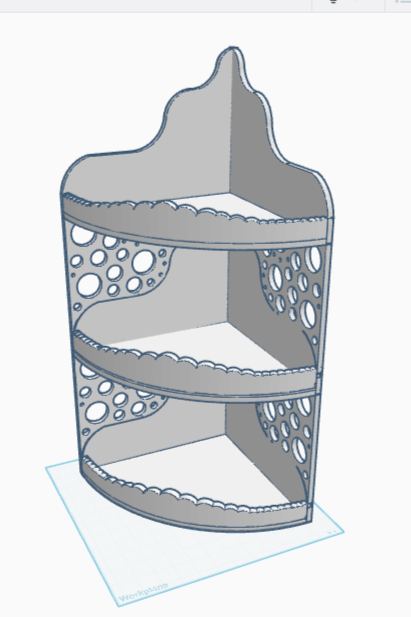
I spent days worth of hours breaking the arc into bits while documenting the process. Creating new wave patterns, while documenting the process. Putting it back together, documenting the process. Changing it up a little by repeating all the prior steps but on a second, smaller tier, dutifully documenting the entire time. All that effort, only to realize that the second tier was rather ugly, as was the sectioned curtain wall, a fact made especially apparent by the prototypes, which I printed in miniature. I’m sharing an image so that the work doesn’t feel entirely wasted.
3D Printed Custom Nightstand Organizer (Part 2): Sculpting Curved Walls and Decorative Panels
I had made sculpted curved walls and flowing decorative panels in Tinkercad, using negative shapes, grouped cuts, and carefully aligned curves, and the result was beautiful. I attached it to the base. It kept all the separate colors because I used the bundle function to keep the pieces together while I moved them around. Neat. Except for one thing: at some point I lowered the center red sphere, and didn’t notice til now. No problem, I broke it all apart, moved the base out of the way, raised up the center sphere, then combined it all again, to make a perfect fence. I then recombined the absolutely perfect fence to the base.
3D Printed Custom Nightstand Organizer (Part 1): Planning Stage and Creating Wave Patterns
I love the look of a shelving unit I made earlier, and am thinking of making something similar in style, but more resistant to cats. While I’m not a big fan of chunky builds, I think I can make this one look good. Time to put some of that art practice to work!
Perspective Drawing for 3D Printing: 1, 2, and 3 Point Perspective
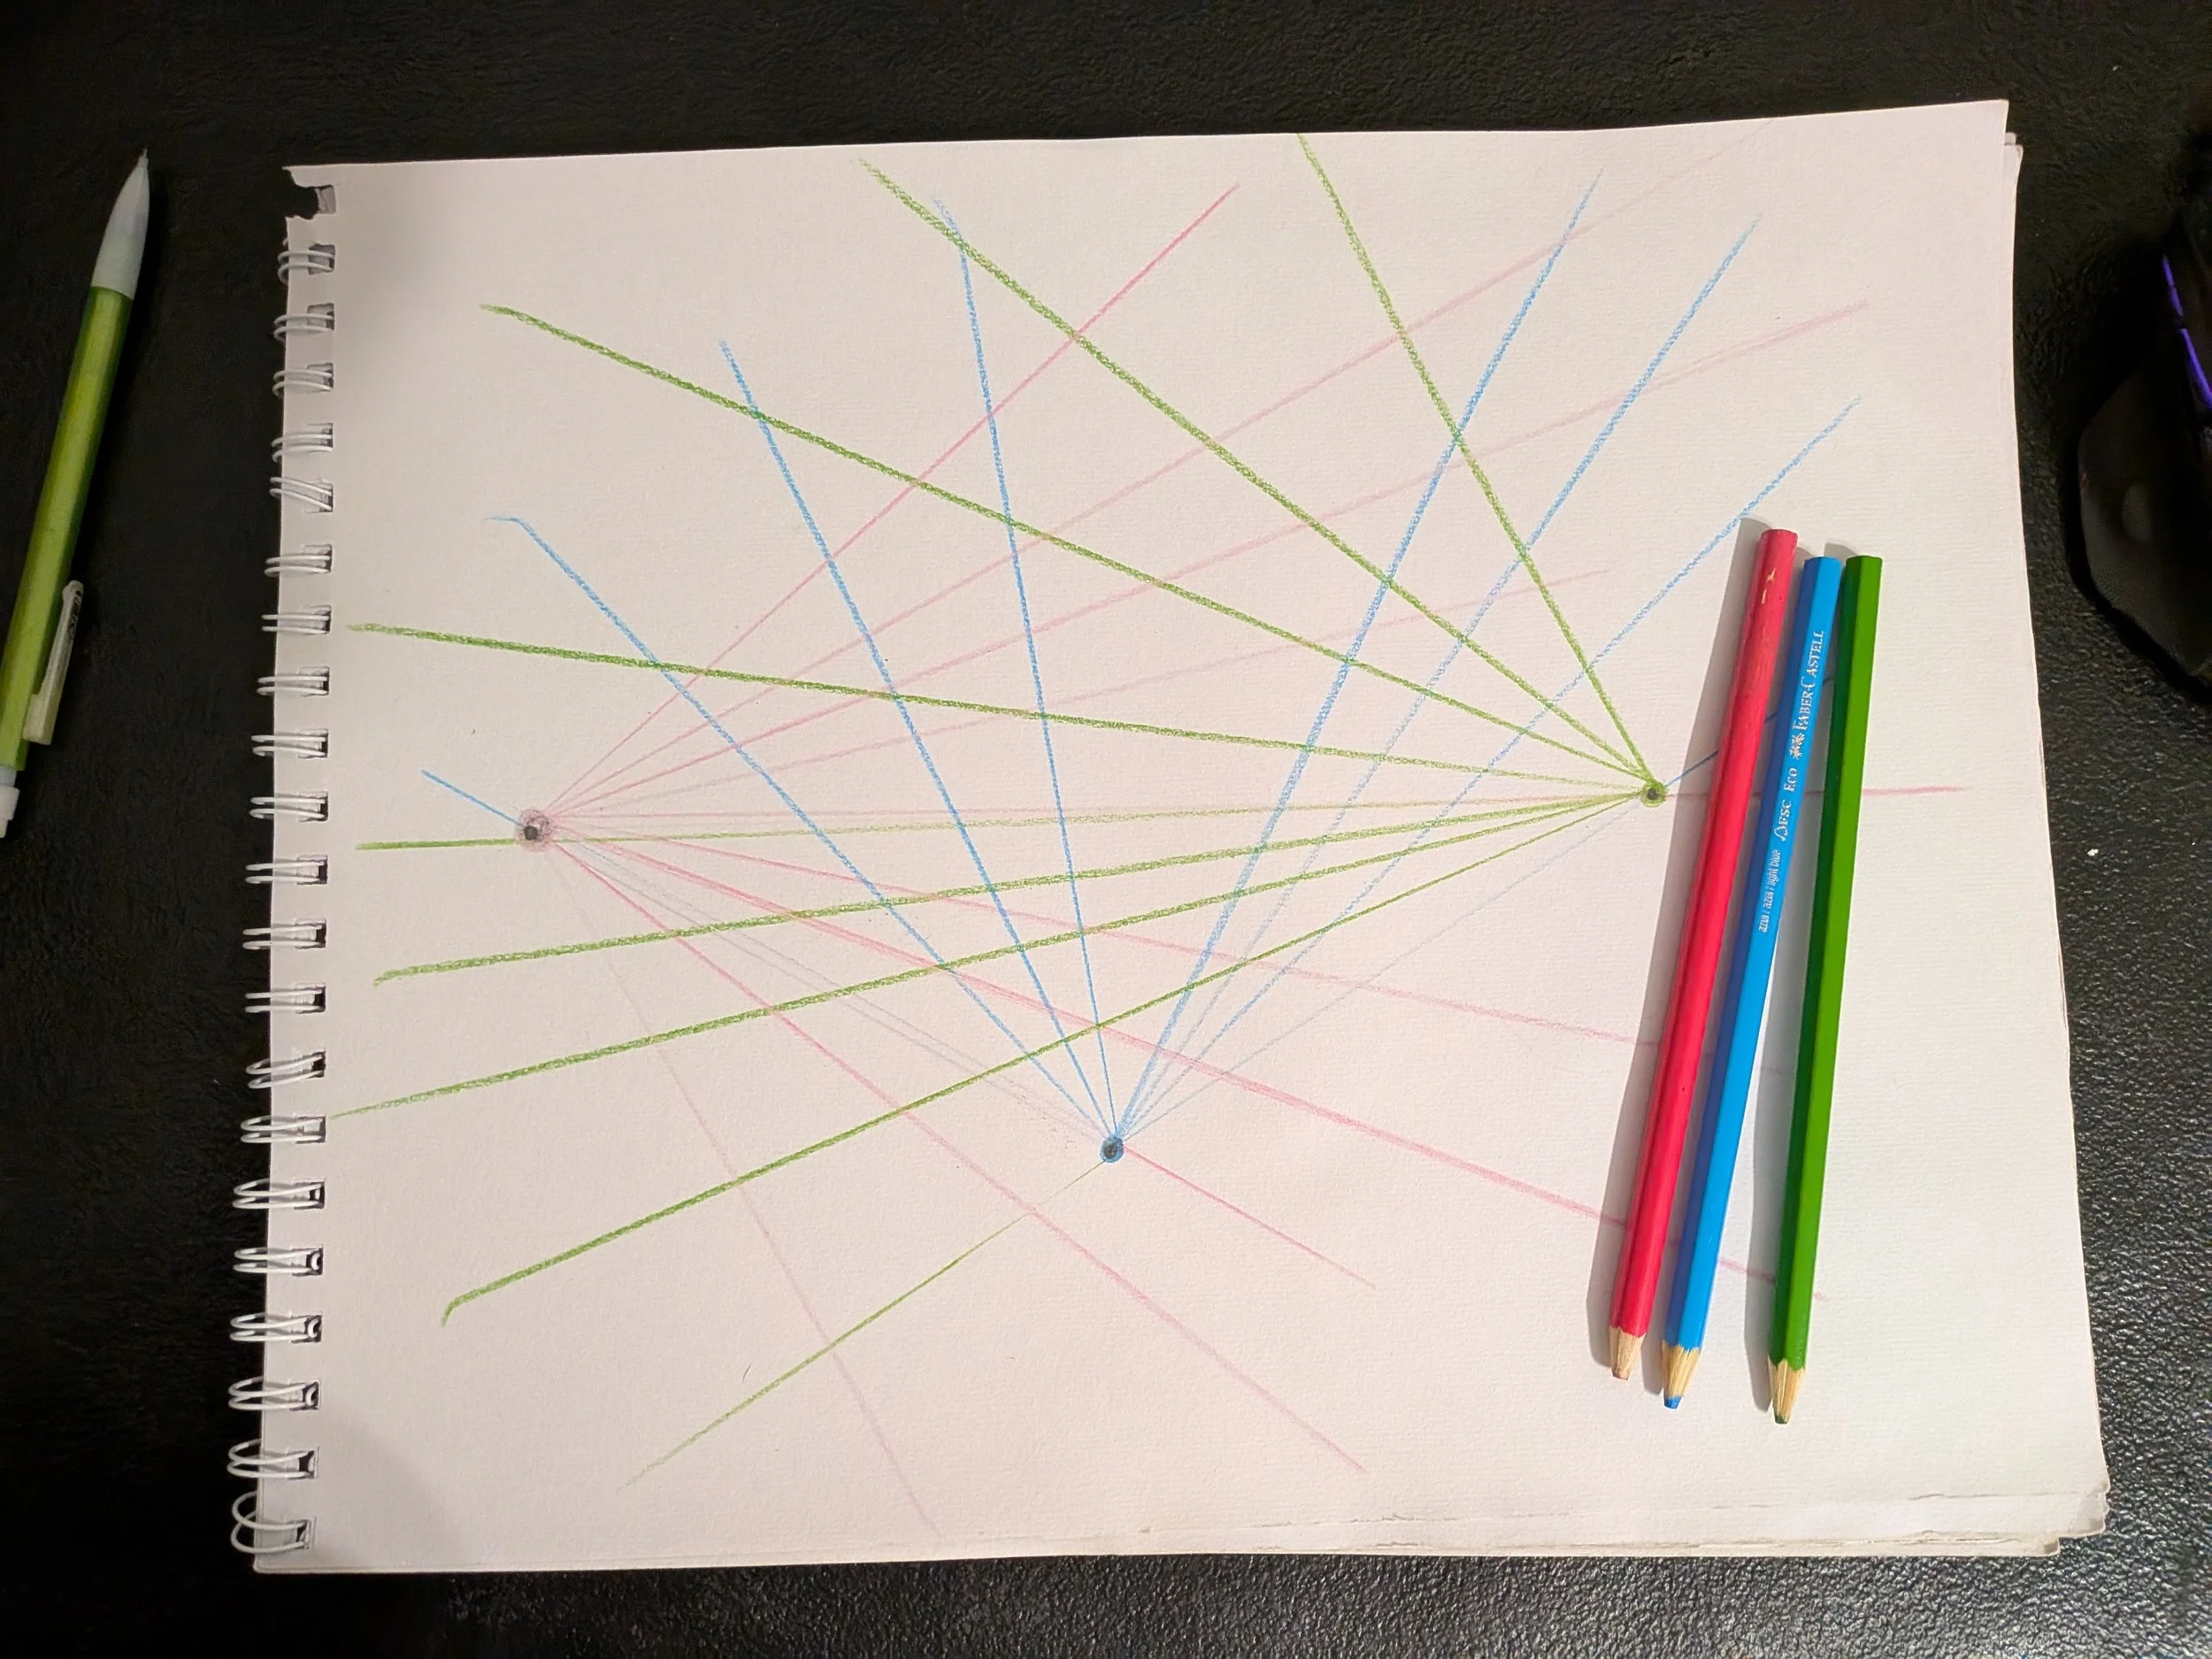
I struggled mightily with the concept of two-point perspective, up until I found a blog post explaining it. Then I merely struggled. Anyhow, here is an attempt at a two-point perspective sketch, made especially impressive by the fact that I kept drawing while the cat tried to wrest the pencil away with his teeth.
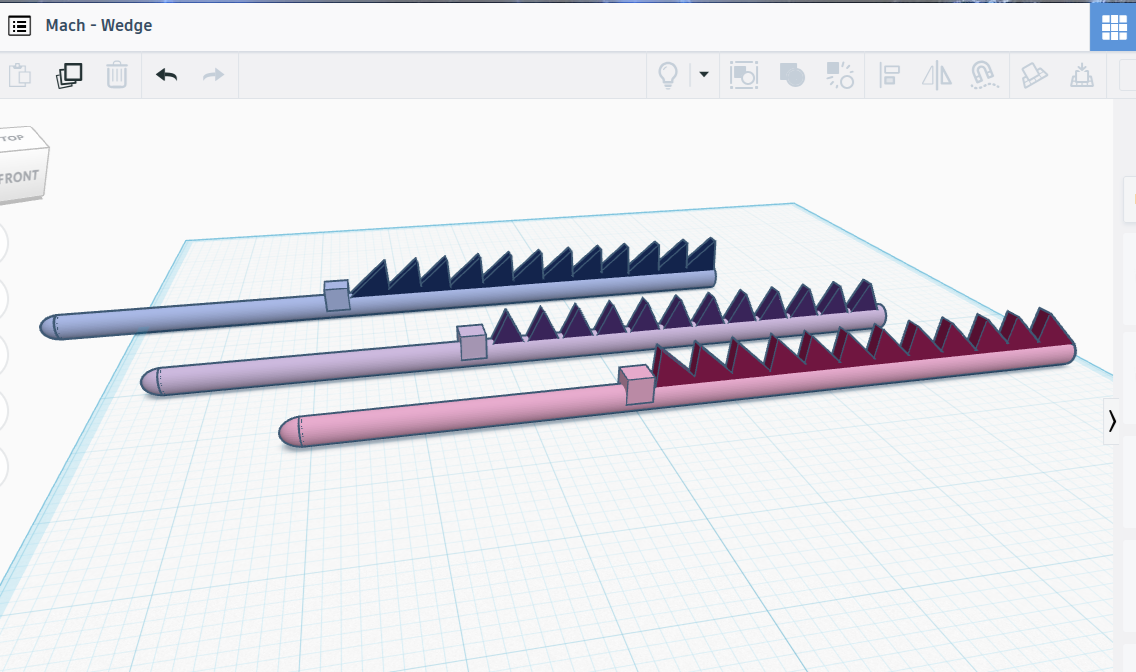
3D Printing Simple Machines (Part 2: Wedge)
With that cleared up, I considered what other things might be actual wedges as opposed to wedge shapes. The first thing to come to mind: a doorstop. I’m going to make one right now. While I’m making it, I’m going to be thinking about other examples. It would probably help if I defined ‘wedge’ first.
3D Printing Simple Machines (Part 1: Pulley)
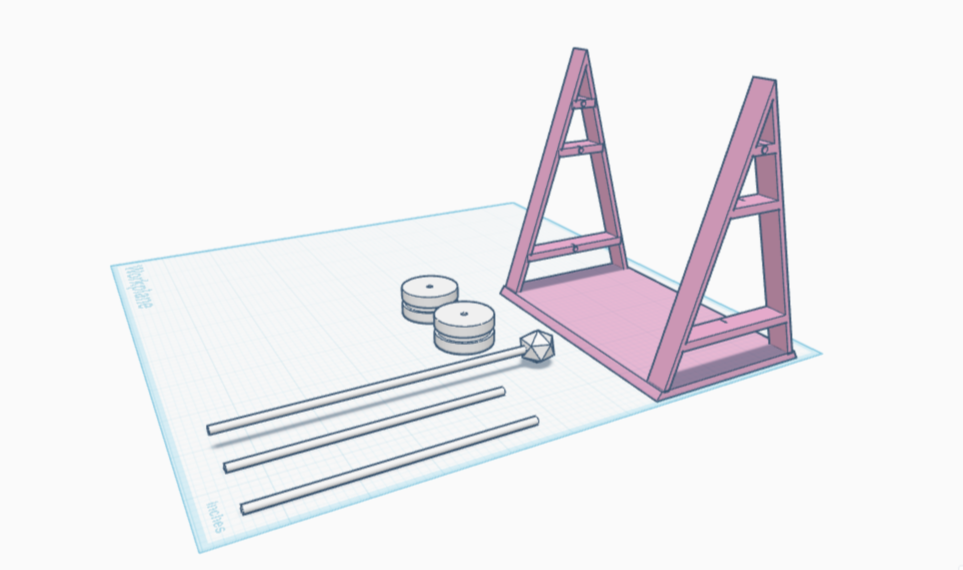
I printed it, and it was super cute! But would it be effective? Time to find out! I wrapped a piece of string around one of the wheels, then placed that on the axle slotted near the top of the scaffolding. I tied my phone to the other end of the string, but the axle was too thin and the scaffolding too weak to hold it. I then threaded two wheels side by side on the same axle, expecting and receiving no advantage. After all, the single pulley is meant to change the direction of force. Adding more wheels shouldn’t make it go in the opposite direction even harder, and one wheel alone wouldn’t change the heaviness of the phone. Still, this was a chance at experimenting, so try I did, and of course the phone was still too heavy.
Designing a Roof and Gables for a 3D Printable TtRPG Blacksmithy (Part 3)
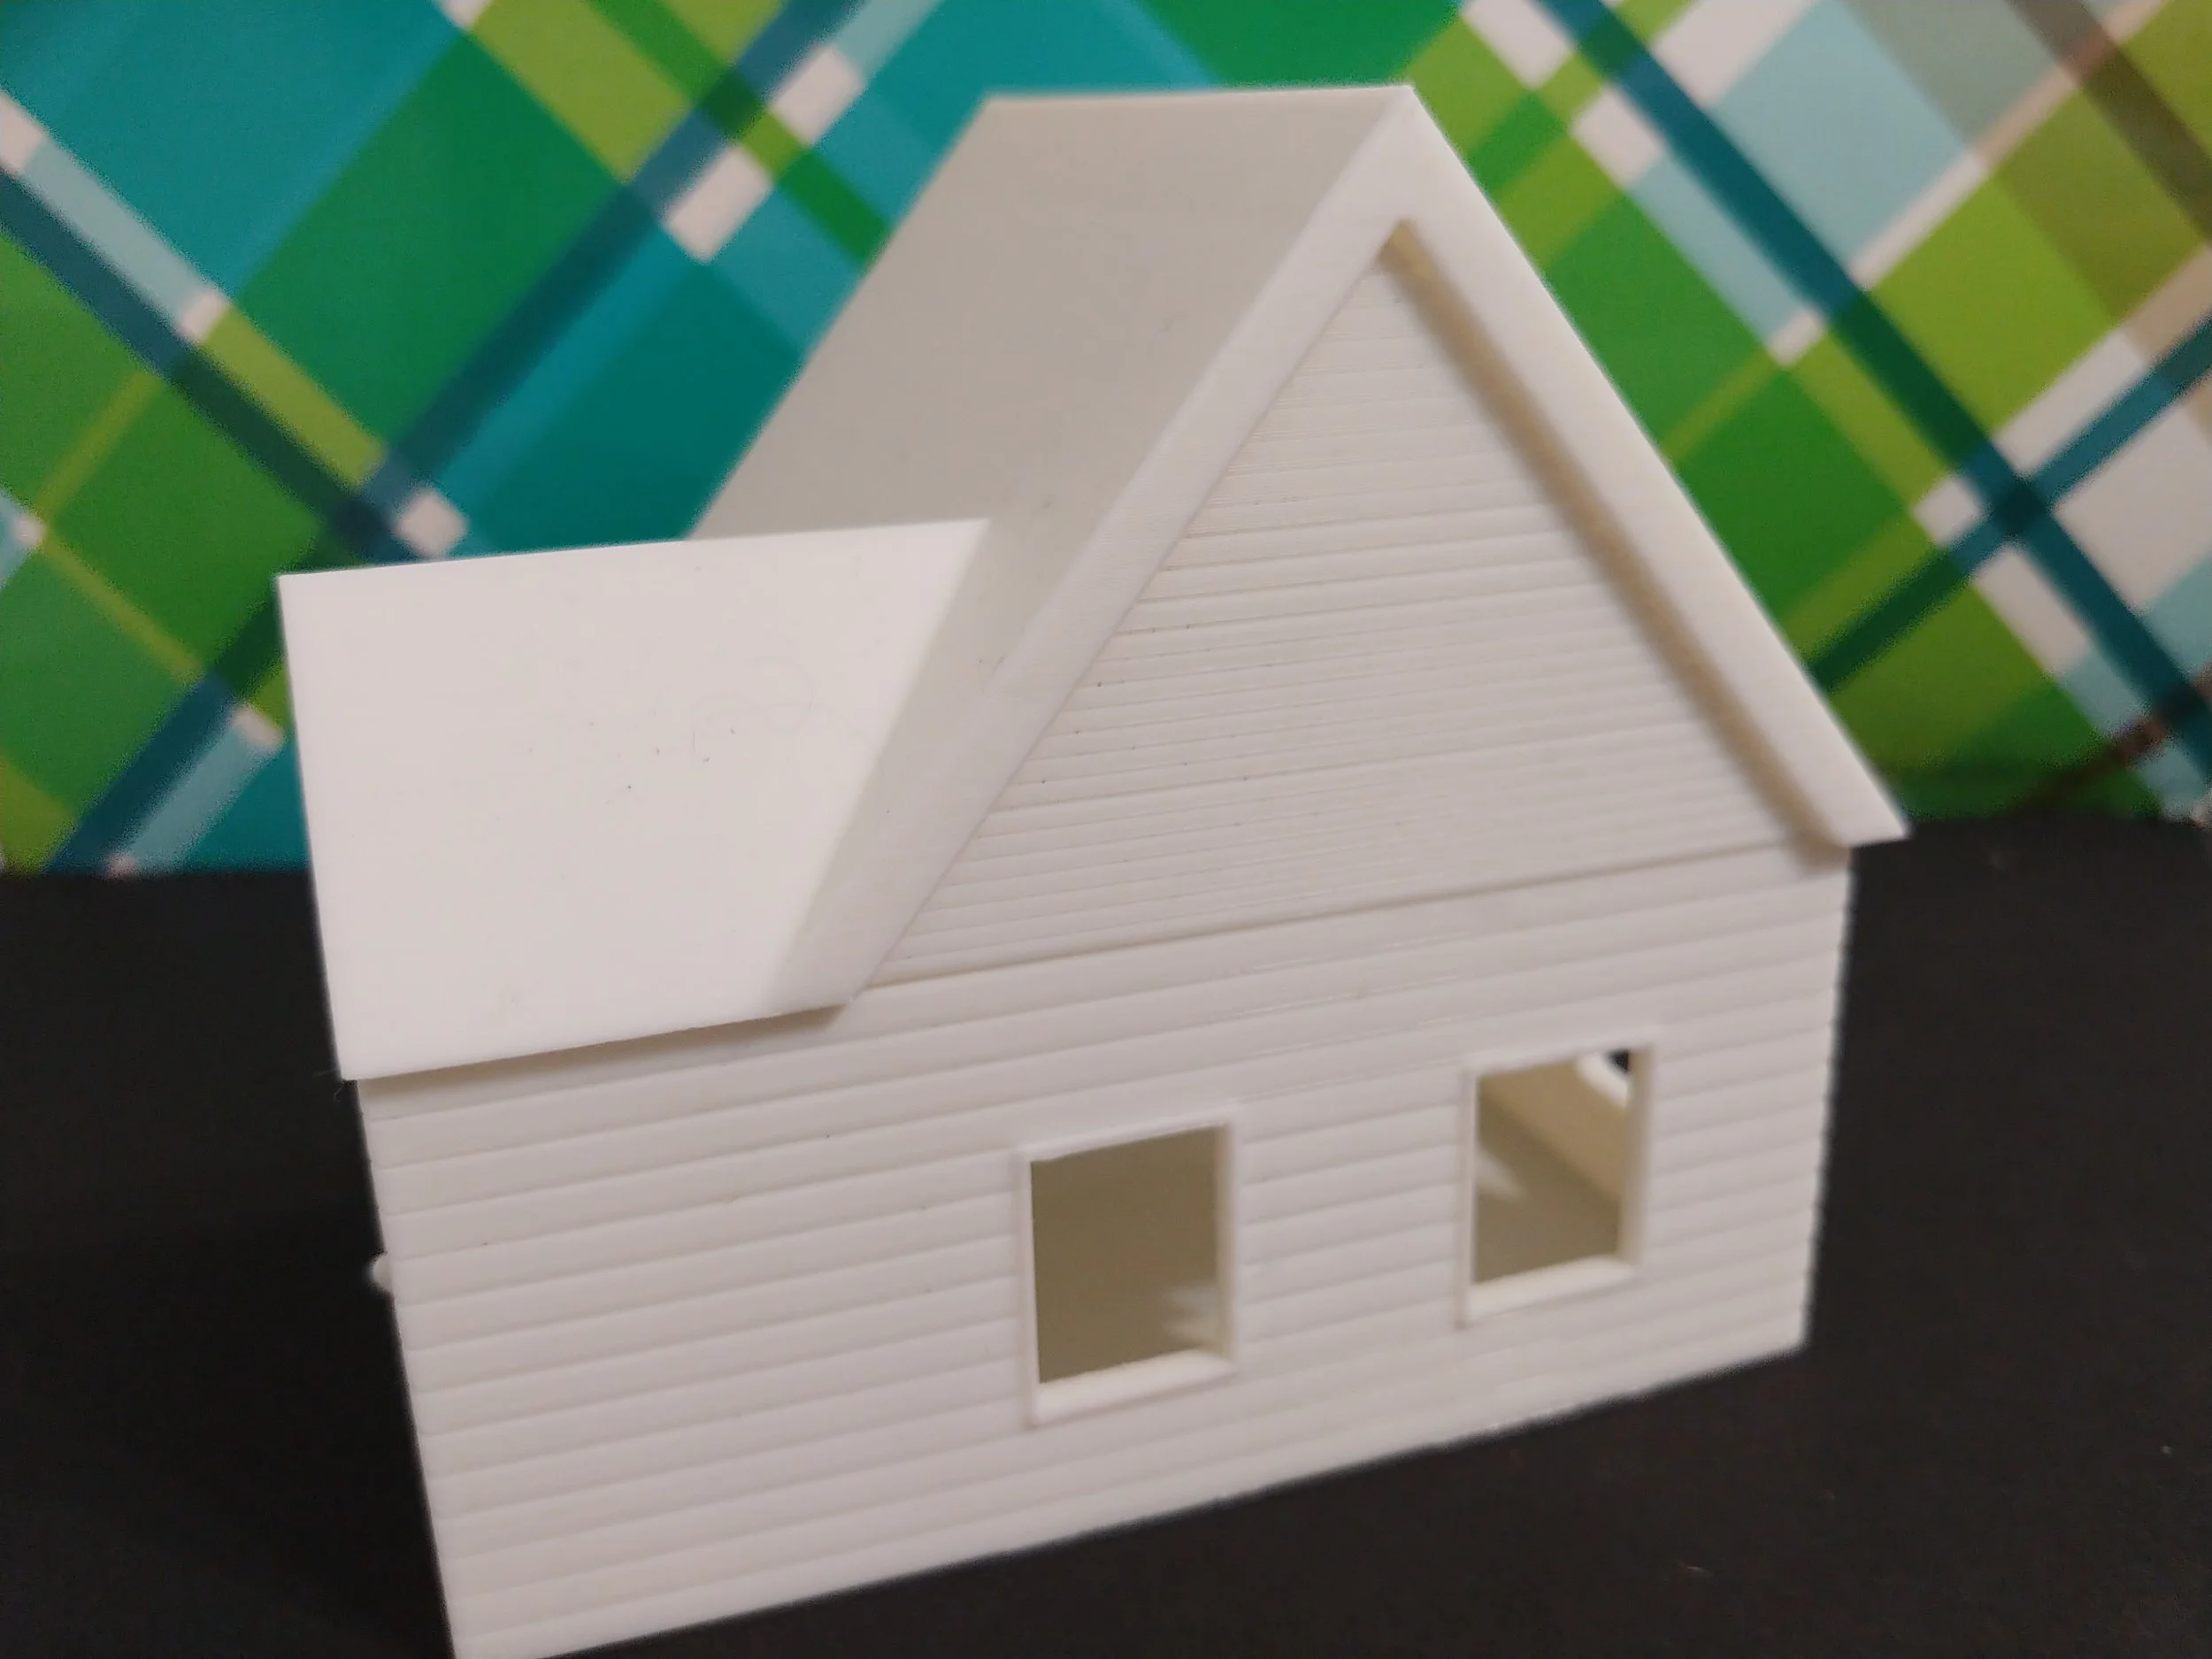
I am now the proud owner of a 3D-printed Colonial-style smithy that I researched and designed myself. While the smithy needs equipment, the building is now printed and ready to paint!
Designing Floors, Walls, Windows, and Doors for a 3D Printable TtRPG Blacksmithy (Part 2)
I now have an extremely cute 3D-printed model of a Colonial-style smithy. It could use sanding in a couple of spots, but overall it came out nicely. Now on to the roof!
Designing a 3D Printable Blacksmithy for a TTRPG (Part 1)
The research and planning stage for the Colonial-inspired 3D-printable smithy for my TtRPG was done, the layout and lighting appropriate. With that in mind, it’s time to put the idea to work. In the next post we’ll explore turning the plan into an actual model.
How to Create a Technical Drawing for 3D Printing Projects
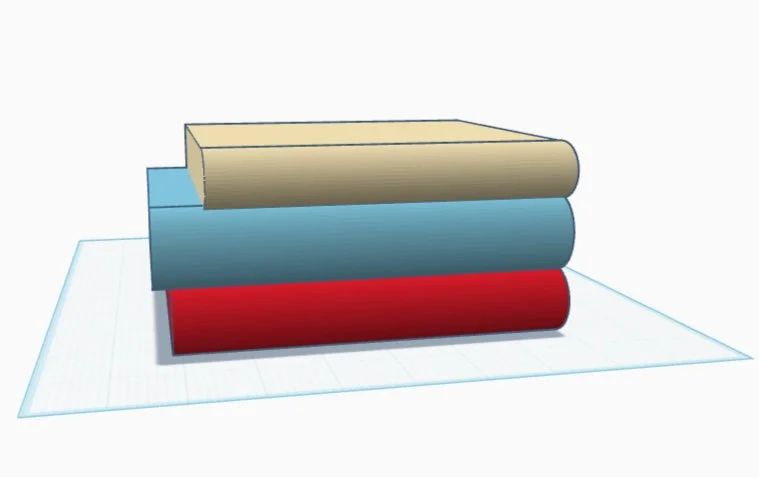
Having technical drawings made the work SO much easier, goodness. It took far more time initially, but I was able to anticipate most potential problems before they saw the light of day. I realize mine are baby steps, but I feel really good about this. Creating a technical drawing for each of the 3D printed parts helped me avoid some of the earlier problems.


.