3D Printed Custom Nightstand Organizer (Part 3): Tab and Slot Connectors for Multi-Tier 3D-Printed Shelving
Creating the Middle Tier
I should correct what I said earlier. I’m going to work on the connectors WHILE the prototype is printing. To do that, I need to have my middle tier ready.
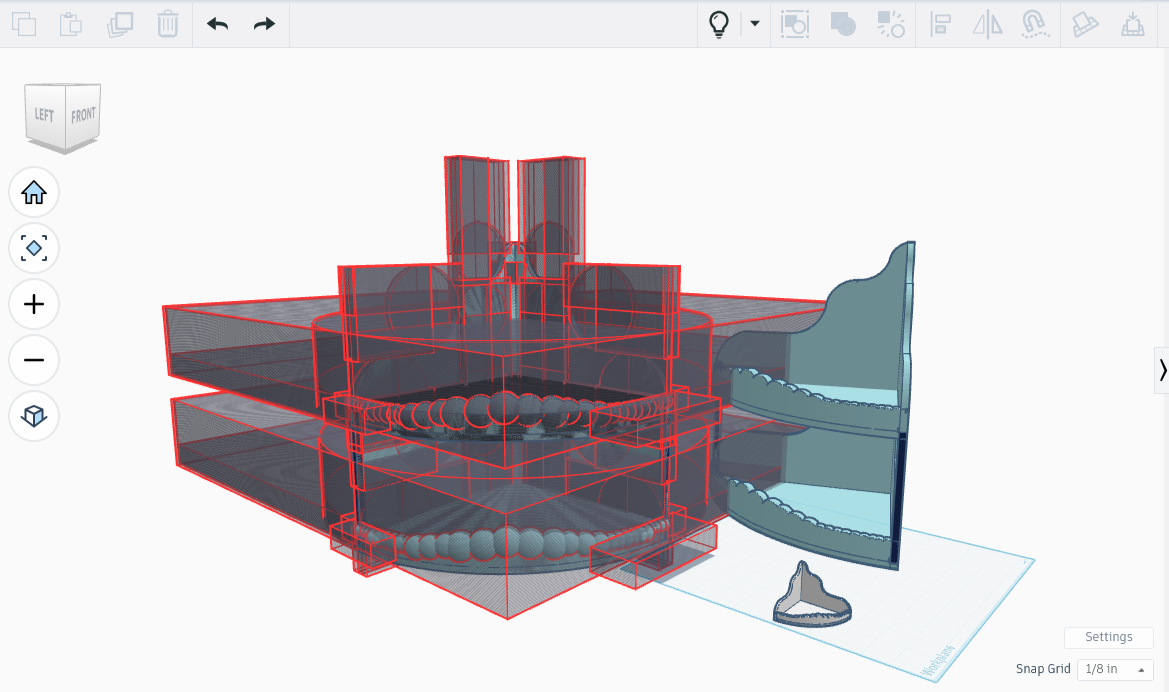
I then created a copy of the top tier. I’m going to color the copy light blue, light because it makes the project’s surface more visible, and blue because it feels more technical. I copied the copy, then stacked them on top of one another, creating a top and middle tier.
When a design is complex, Tinkercad can take a good while to recombine bits. Watching it build in basically stop-motion was a cool experience. I grabbed an image of a piece while Tinkercad was still recreating the work done so far.
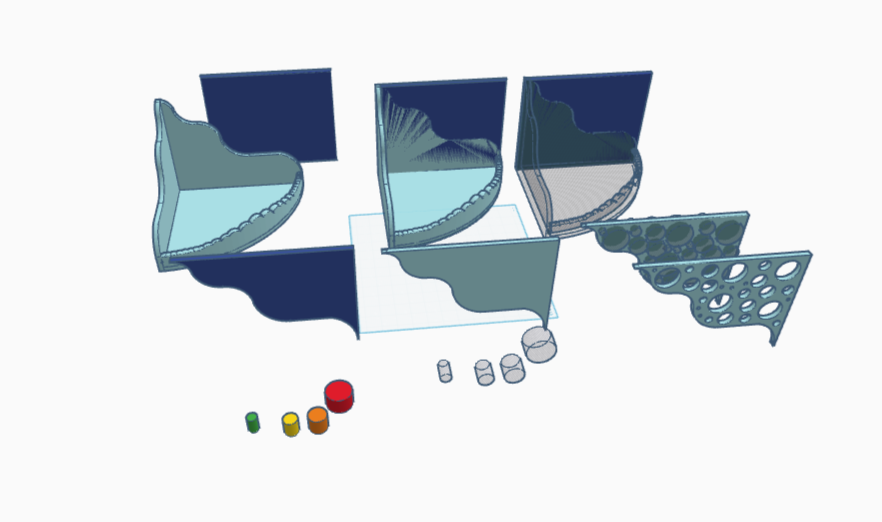
This seemed a good time to make sure all my hidden pieces were sorted. I set aside all the bits that I might need later and hid them away.
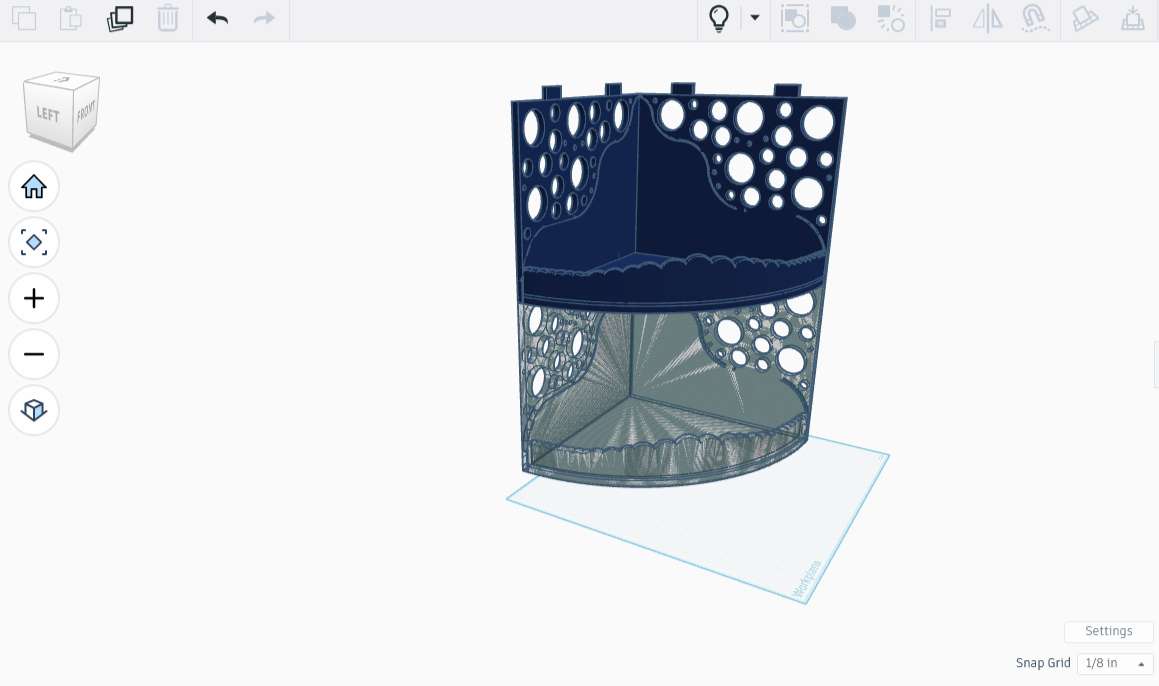
The space between the middle and bottom tiers was supposed to have a net-like shape between them. What if I use the same net-like shape on the space between the top and middle? It would add a thick piece of support that was also decorative.
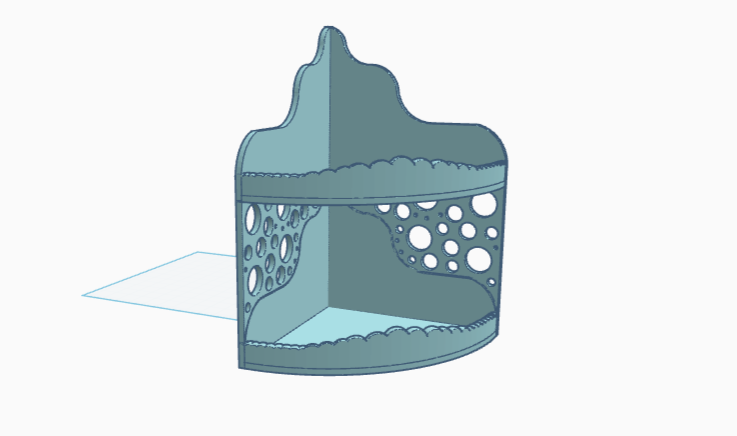
I created a side panel. First I made an 8x10” rectangle that was .25” thick, and aligned it with one of the sides of the tier. Then I turned the tier into an eraser, and zapped away a curvy portion of the rectangle!
The lovely curve created, I then made 4 cylinders of the same diameter as those used to make the top of the wave. I even colored them the same way! I tilted them 90 degrees onto their sides, then used copies of those cylinders as cutouts, forming a pattern like bubbles.
I kept a .25” border of solid space around the bubble pattern, and at least .125” around each bubble, though not much more. I then copied the finished pattern and added it to the other side, then made certain the pieces were aligned.

It’s Time for a Tab and Slot!
Finally. The connectors, some feet, and we are done. This has been a long and arduous process, yet I am extremely pleased with the look so far. Oh right, the tab and slot.
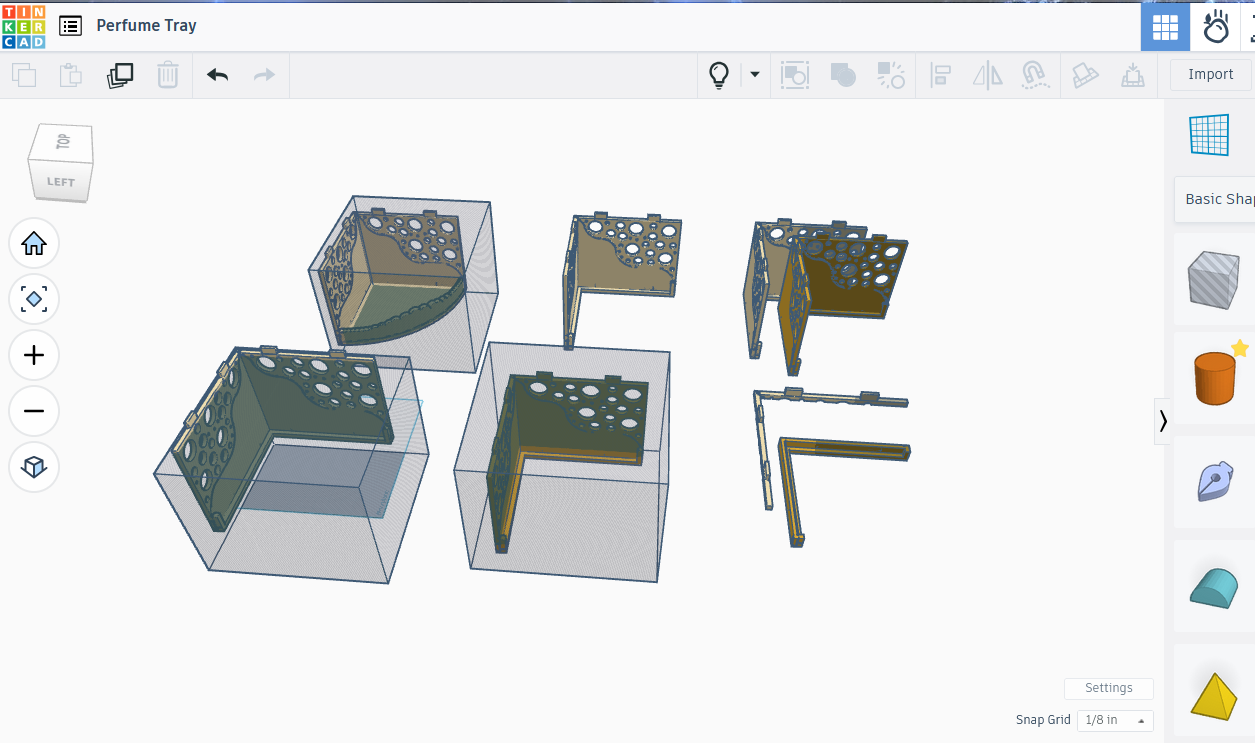
I decided that the tiers were gorgeous, and I no longer wanted a basket at the bottom: the front and sides were basket enough. I copied that mid tier, and now had all three tiers done.
A pair of nubs on top of the mid and bottom tier, with matching slots under the top and mid tier, should do the trick. I’ll add those now, do a test run, pop some feet on, and print as soon as the test is successful.
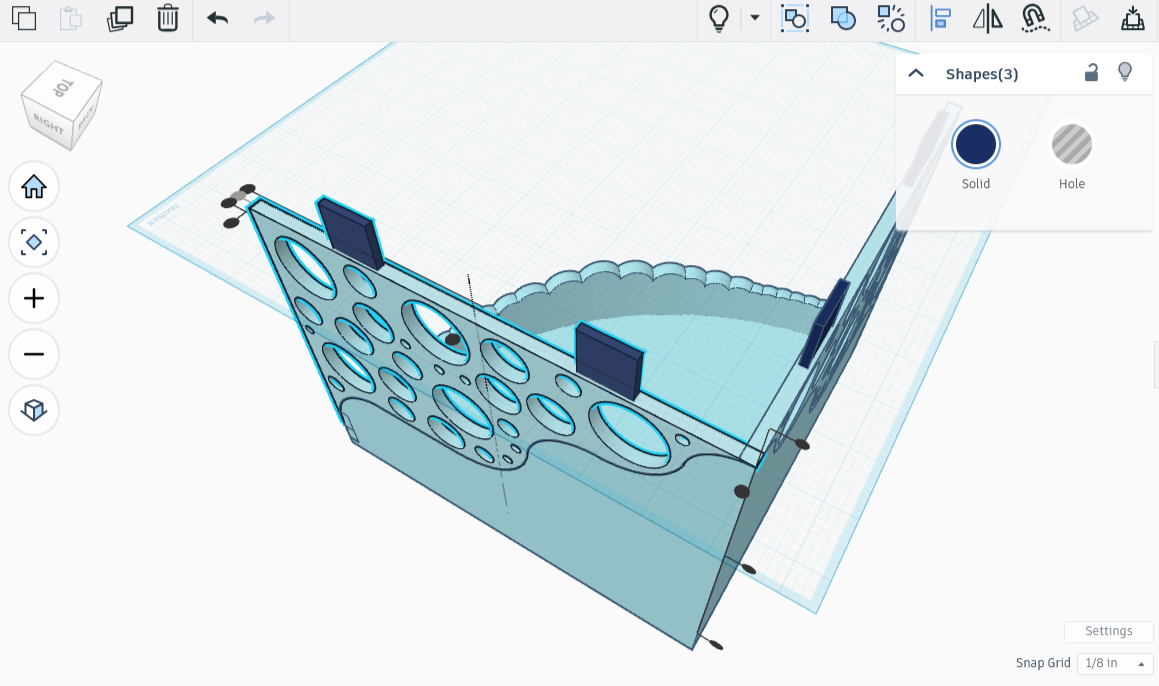
I hid everything but the bottom tier, then got to work. The sides are .25 inches thick, so the nub needs to be thinner than that. Too thin and it won’t print well, or might break. I grabbed a 1 inch cube and slimmed it to .125 inches thick, copied it four times, then colored the stack dark blue.
I then lined up the nubs so that they left two inches of space on each end, on both panels. They wouldn’t line up along the middle, so I split the tier apart, used the align tool to make sure that the narrow bits were centered in the narrow walls, then put the tier back together. The whole ordeal was made easier by shoving the tier to right below the plane. That also made easier the shortening, as it occurred to me that the pieces risked snapping at that height. I made a giant eraser cube and cut off the top 1/2 inch of the nubs, easy peasy.
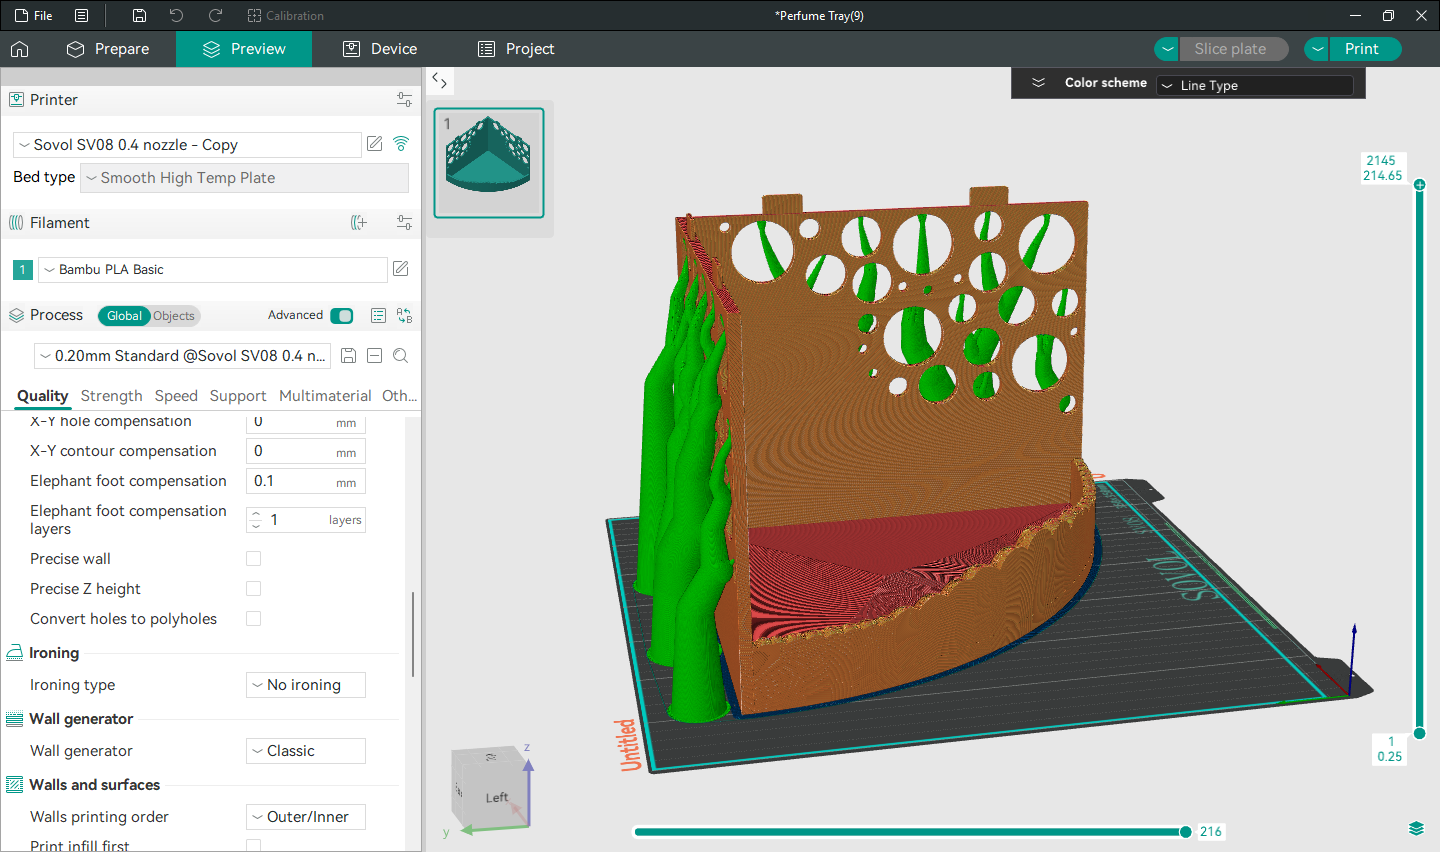
To make slots for the top, I made a copy, combined the pieces, then turned it into an eraser. I then stacked the copy on top of its eraser-twin and combined them. Before test-printing, I checked to make sure there were slots.
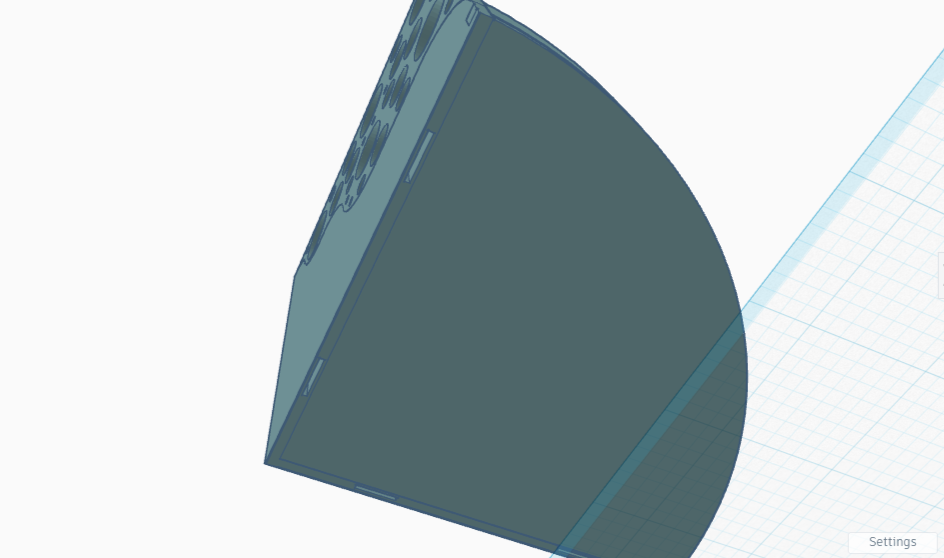
Yes, the slots are the exact same size as the posts. Will it work? It did for my other pieces, after sanding. Which doesn’t mean it will for this one, but it might, hence the testing. For that, I’ll clip a copy of the bottom, and a copy of the top, then see if they mesh. But not the whole arc, ew that would be a lot of plastic.
To make the test pieces, I used a cube to cut away the plate, leaving only the sides. I made a copy of the side piece, only colored it a brighter color than the original. The original will test the nubs, the bright color the base. To make that happen, I used an eraser cube to cut away all but the bottom of one and all but the top of the other. Time to print the test pieces.
Oof, no, the nubs need to be smaller to fit. I shortened them from .125 to .12 width, and from 1 to .98 length. I broke the tier apart and re-centered the newly sized nubs, aligning them with the old sized ones on the test piece.
I want to keep the slot size, so I set the test portion with the nubs aside. This is going to become an eraser later, preserving the original slot size and positioning. I also took the extra steps of rounding the tab, lopping off the bottom, then copying the new rounded tabs over the old ones. I fit them snugly onto the tier, making sure they were still centered before lowering them by .05 into the tier to ensure a good fit.
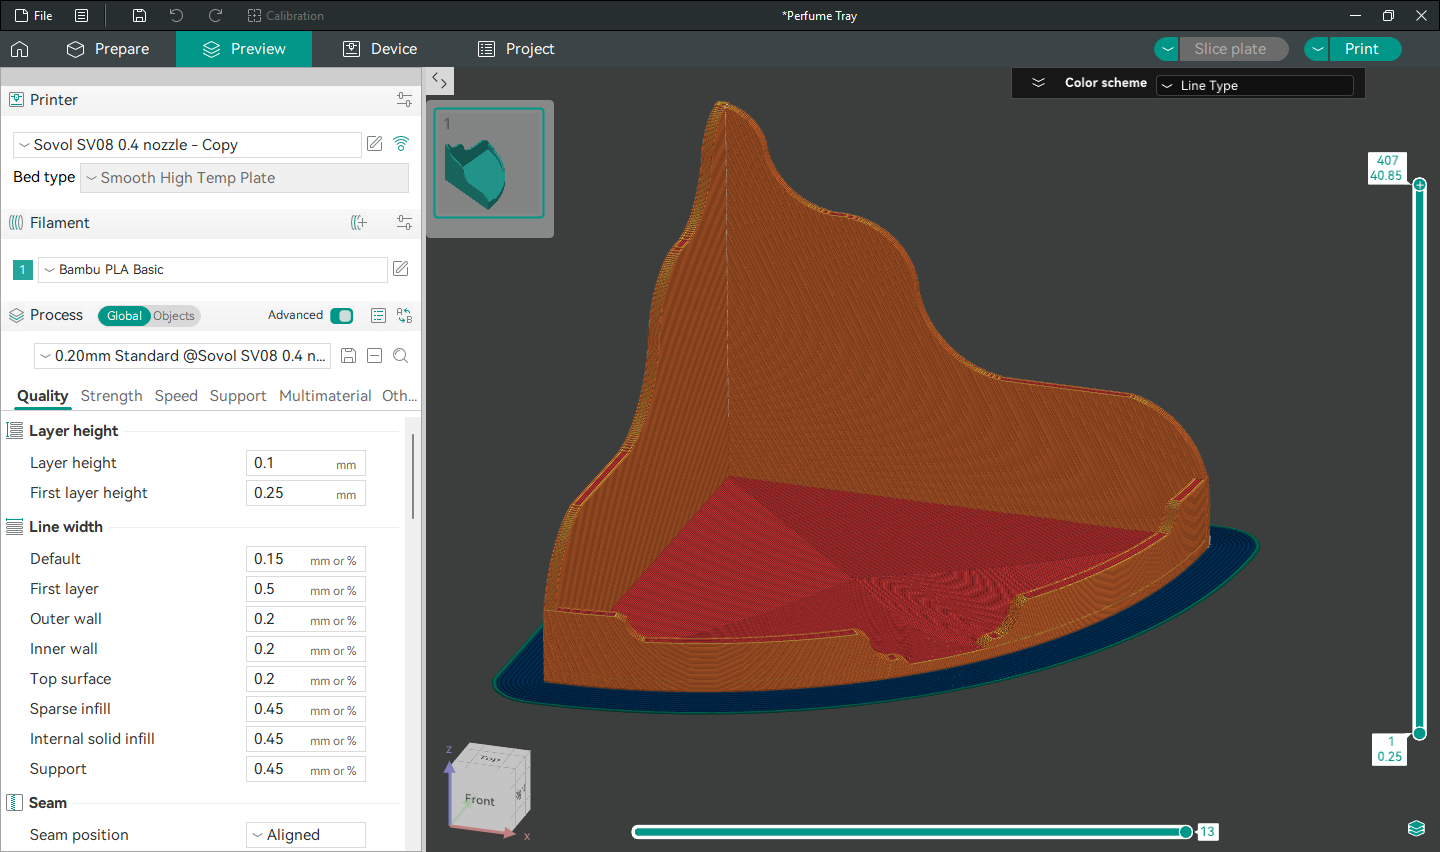
That took a few test tries to get right, and I ended up shrinking the tabs by .05 lengthwise and on top. Still, it looks great, the test worked, time for the print. I get a little anxious doing the larger prints, just hoping nothing goes wrong. Positively nailbiting. If the tabs aren’t aligned properly I will have wasted hours of work, not to mention the filament. I’ll find out this time tomorrow if it’s viable.

The Result:
First, the mistake. I completely forgot a very important thing about tabs: if you use them, they should be rounded! That reduces the stress and makes them fit better, two very good reasons to round the tabs before slotting them!
When the first tab broke, I wasn’t thrilled, but thought that three tabs would probably hold it up anyway. Then another tab broke, disaster! Except it still held, and honestly the other tabs were more of a future break waiting to happen than any kind of help. I broke them off too, deciding that superglue would do for later, as gravity seemed to be doing fine enough now, and I had used too much of both time and filament to re-print the pieces.
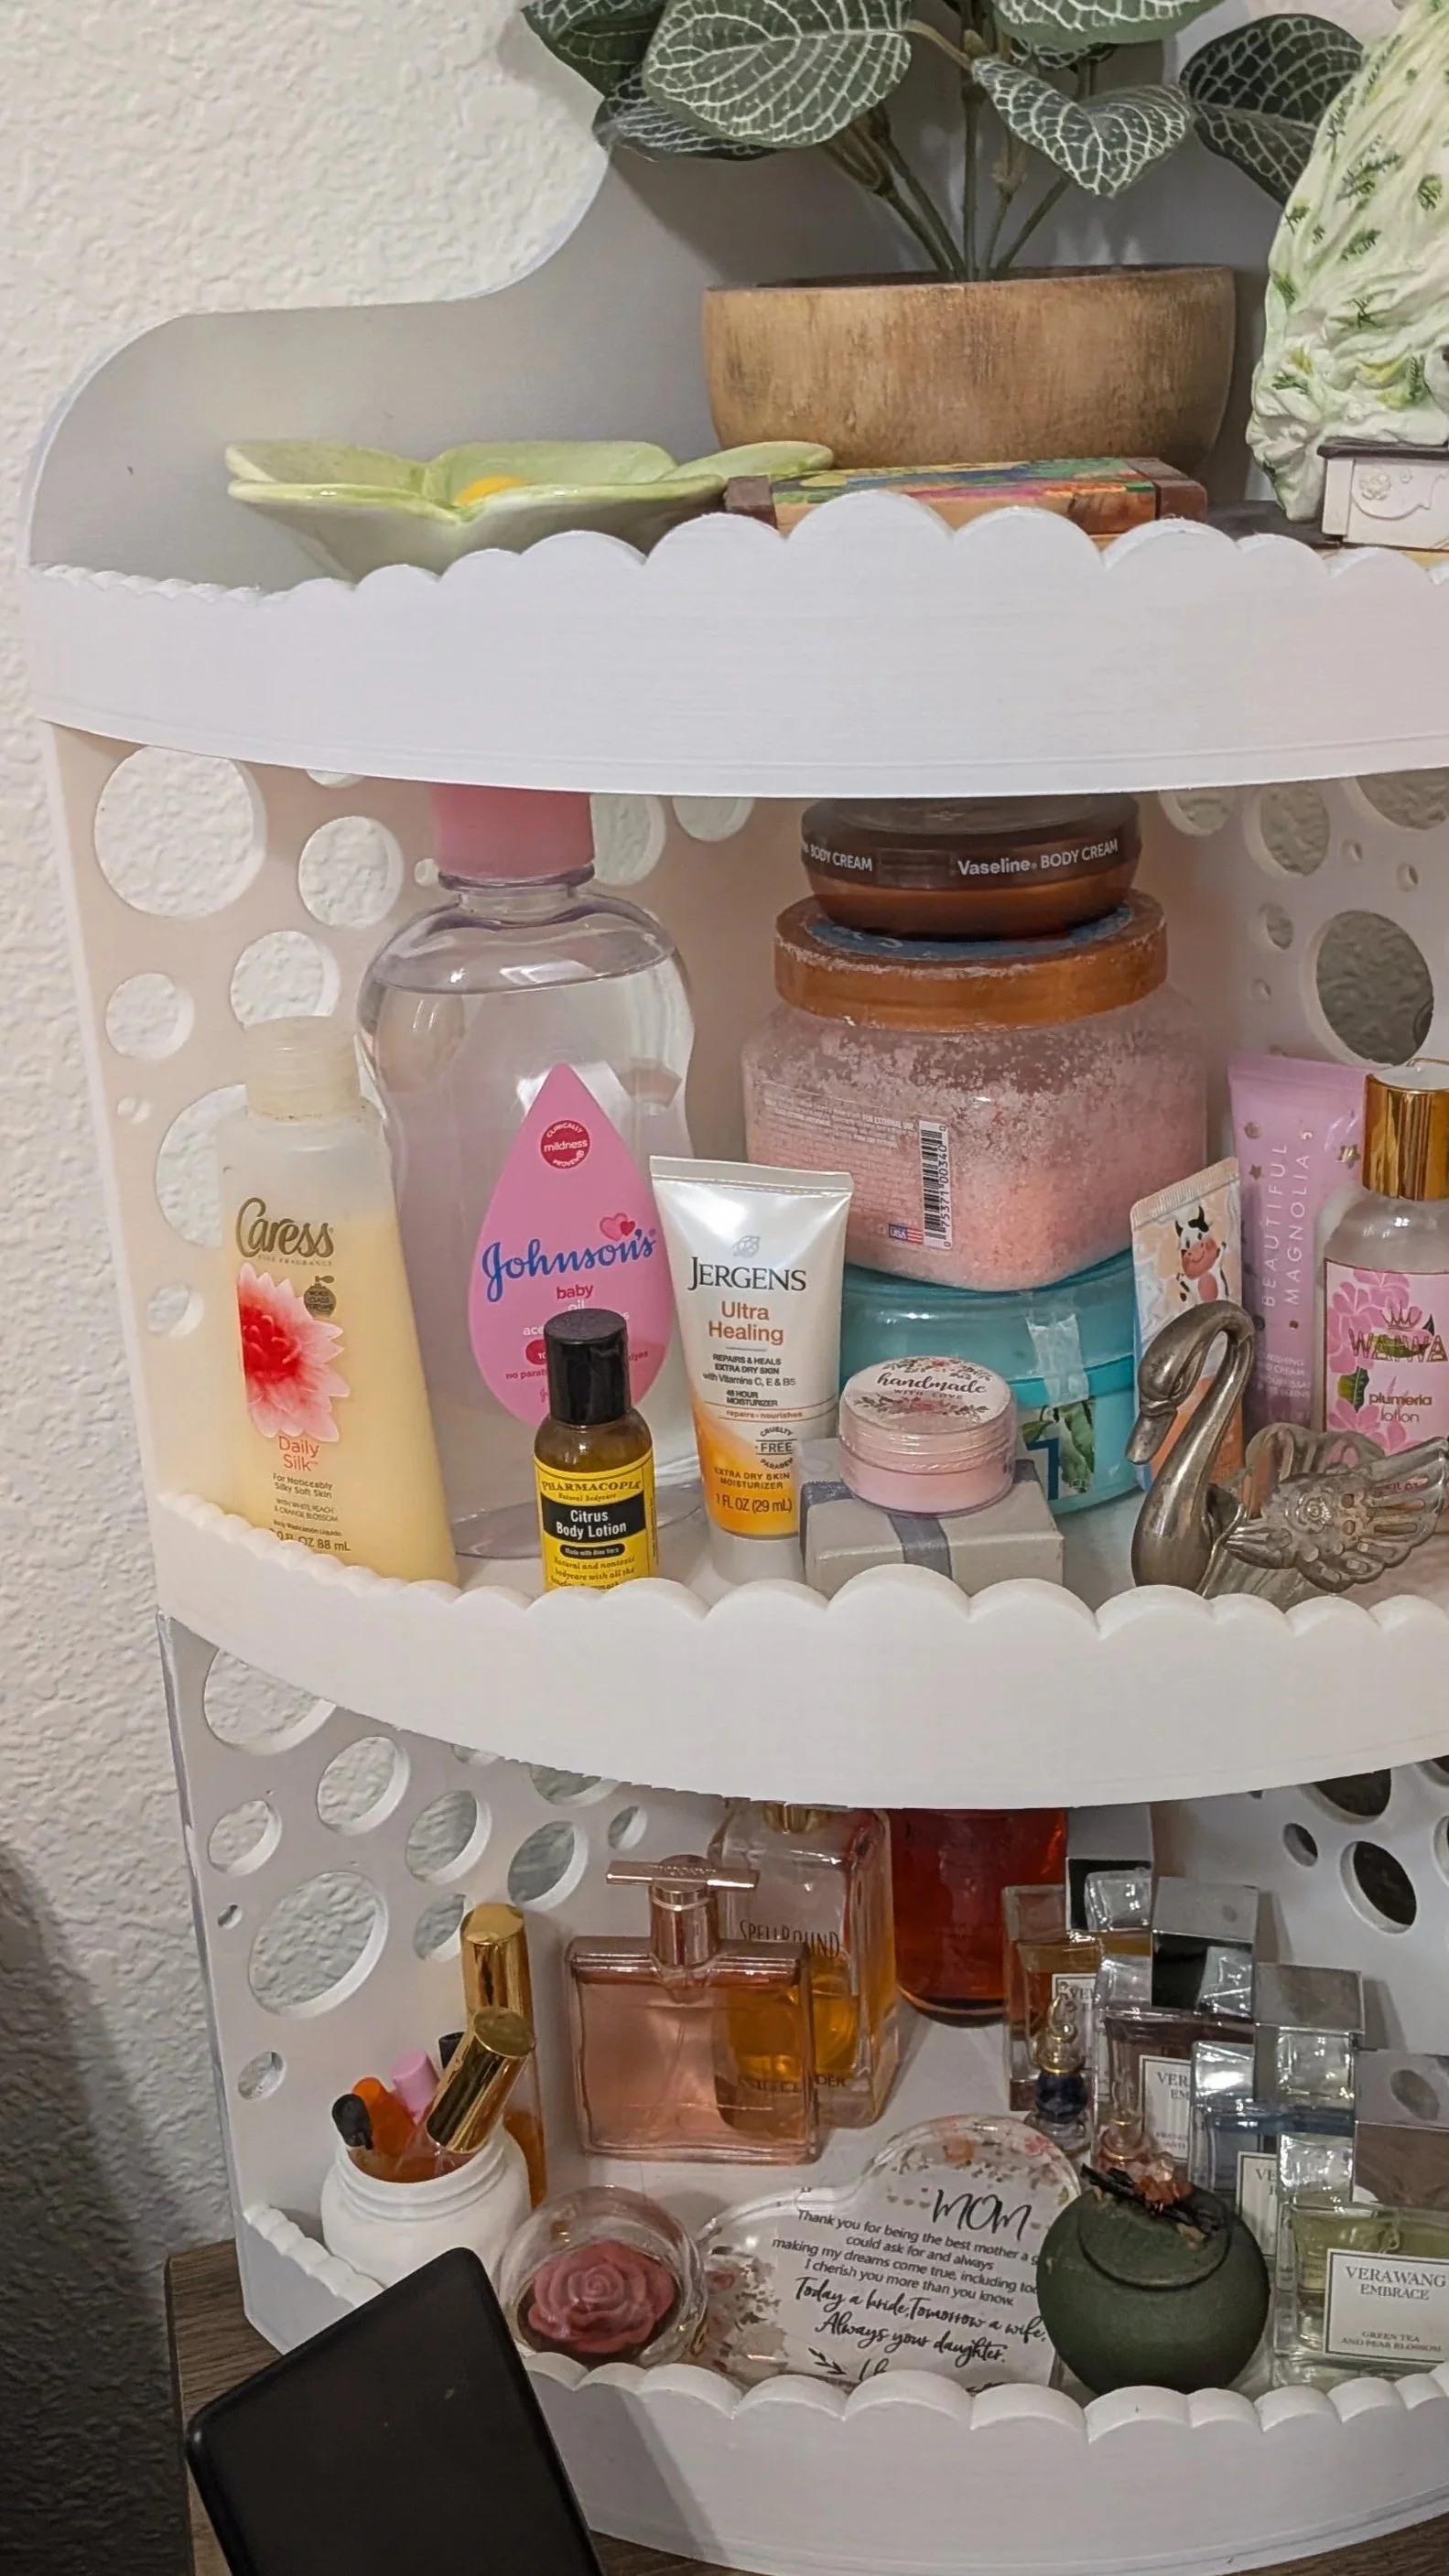
Well, it’s been a hot minute and gravity is still doing a fine job. I will get around to super-gluing it eventually, but my 3D-printed multi-tiered organizer was such a success that it not only holds my perfume, but also fits a bunch of lotion (I am a little crazy about lotion), the musical jewelry box, and some knickknacks. My hair accessories are in some newly freed space, and my nightstand looks super organized.