Perspective Drawing for 3D Printing: 1, 2, and 3 Point Perspective
Vanishing Points
Before designing a model, before drafting it even, I almost always make sketches of what I imagine a thing could look like, how it might work, or even details about specific parts of the final product. It’s been a long time since art class - if I want these pictures to look better I need a refresher on perspective drawing. Learning one-point, two-point, and three-point perspective drawing could make it easier to sketch and plan 3D-printed models.
I first consulted Wikipedia. According to the article on Perspective (graphical), there are multiple types of perspective, but they share a few qualities.
For one, in a perspective drawing, the further an object is from the viewer, the smaller it will appear. Secondly, objects are subject to something called foreshortening, which means that objects parallel to the line of sight (an imaginary line between the viewer and the object) are shorter than objects that run across the line of sight. In all perspectives, objects in the distance appear to recede.
So far so good. Then came the Wiki examples, and while they looked different, there wasn’t much text to distinguish them. To go further required more digging.
One-Point Perspective:
One of the pages on the website of the Westmoreland Museum of Art defines one-point perspective as : “a drawing method that shows how things appear to get smaller as they get further away, converging towards a single “vanishing point” on the horizon line.”
This perspective requires a single vanishing point, an imaginary point on the horizon line at which ‘horizontal’ lines converge. According to the article, this method is used by architects and illustrators, especially when drawing room interiors.
The page also includes an activity in which a reader can go through the steps to create their own one-point perspective drawing. FUN!! LET’S DO IT!!
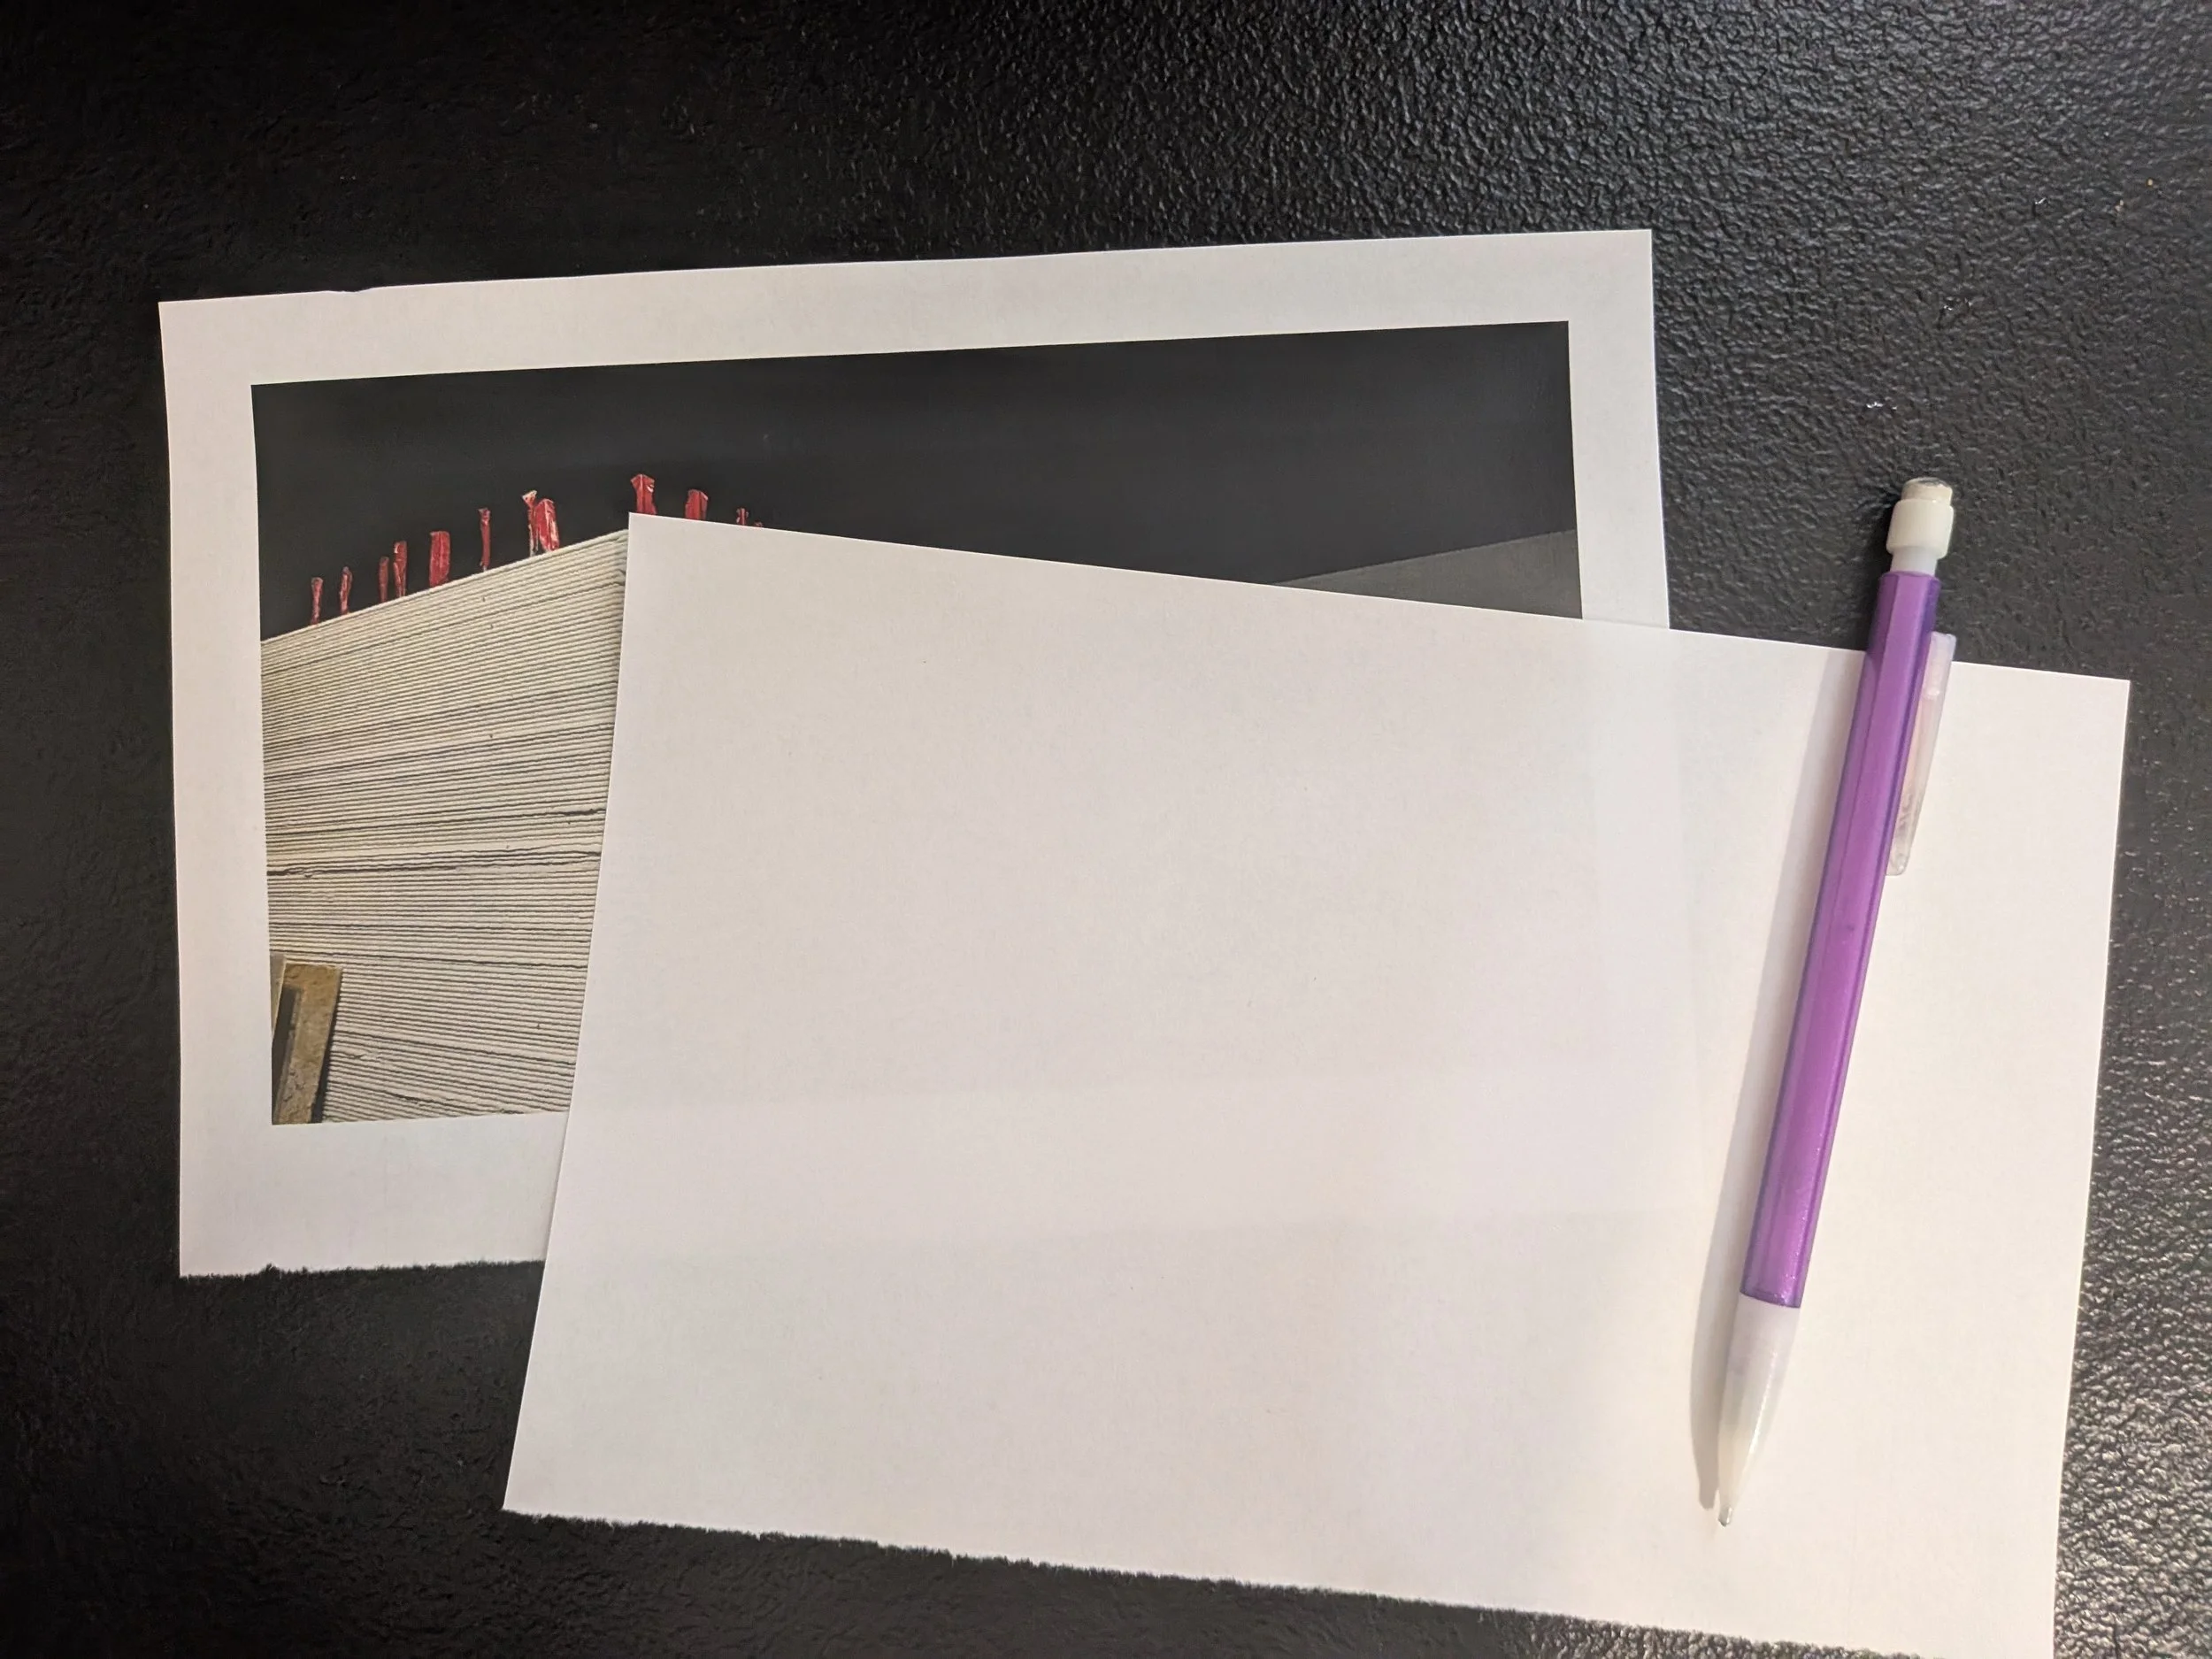
The first step is to choose a photo showing a street, canal, or room interior for a reference. Hmm. I’m feeling edgy and BOLD - a photo of a 3D printed building sounds groovy. A website called Construction Dive had an article on a 3D printed Walmart expansion, and the accompanying photo was exactly what I had in mind, except that I had to ignore the leftmost portion to make it into a one point perspective drawing.
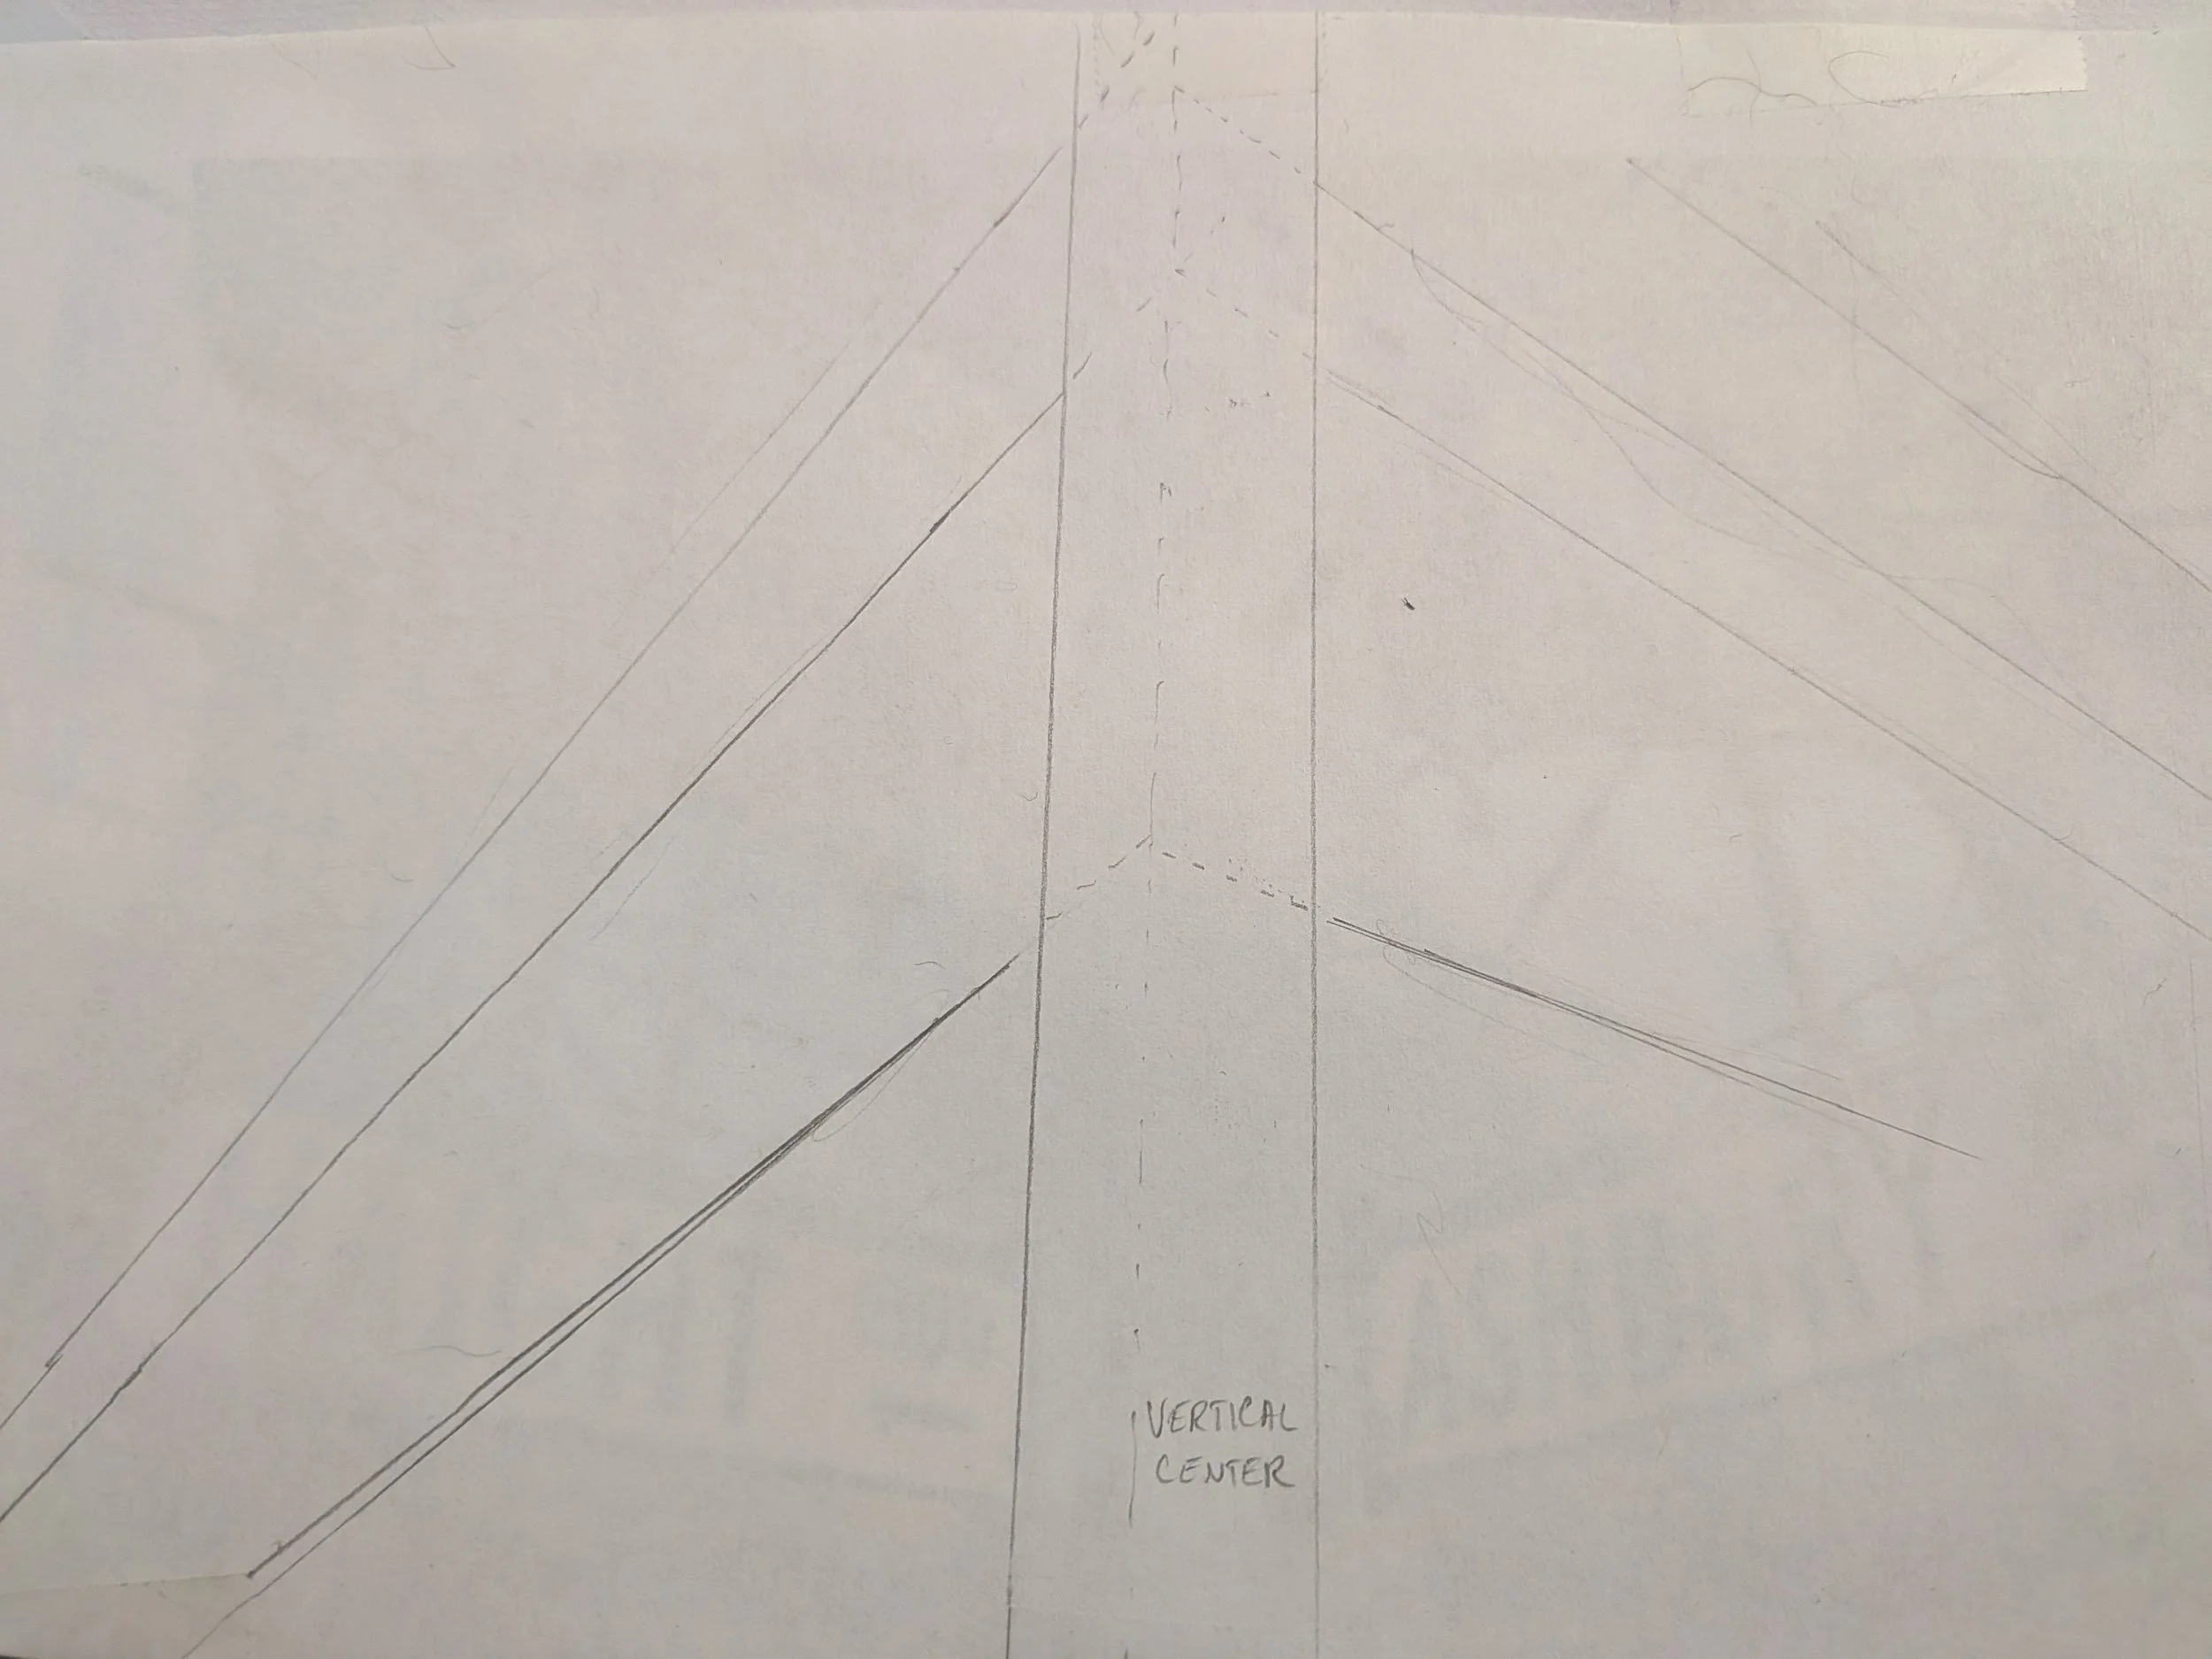
I printed the pic, taped the blank half of the page over the photo, and went to work. After a few sets of lines, I put them side by side and tried to draw what I saw, minus the human. On comparing the sketch to the photo, I realized that I misplaced the ladder, and the size of the vanishing point was rather distracting. Still, it was a fun way to find the perspective lines.


Two-Point Perspective:
The next art style to investigate was the two-point perspective. The one-point is supposed to be like looking down an alley or a tunnel, or peering between structures on either side, all lines converging on a single point at the end. Two point is different because instead of drawing something that the viewer sees head-on, it shows two sides of an object, and has two vanishing points.
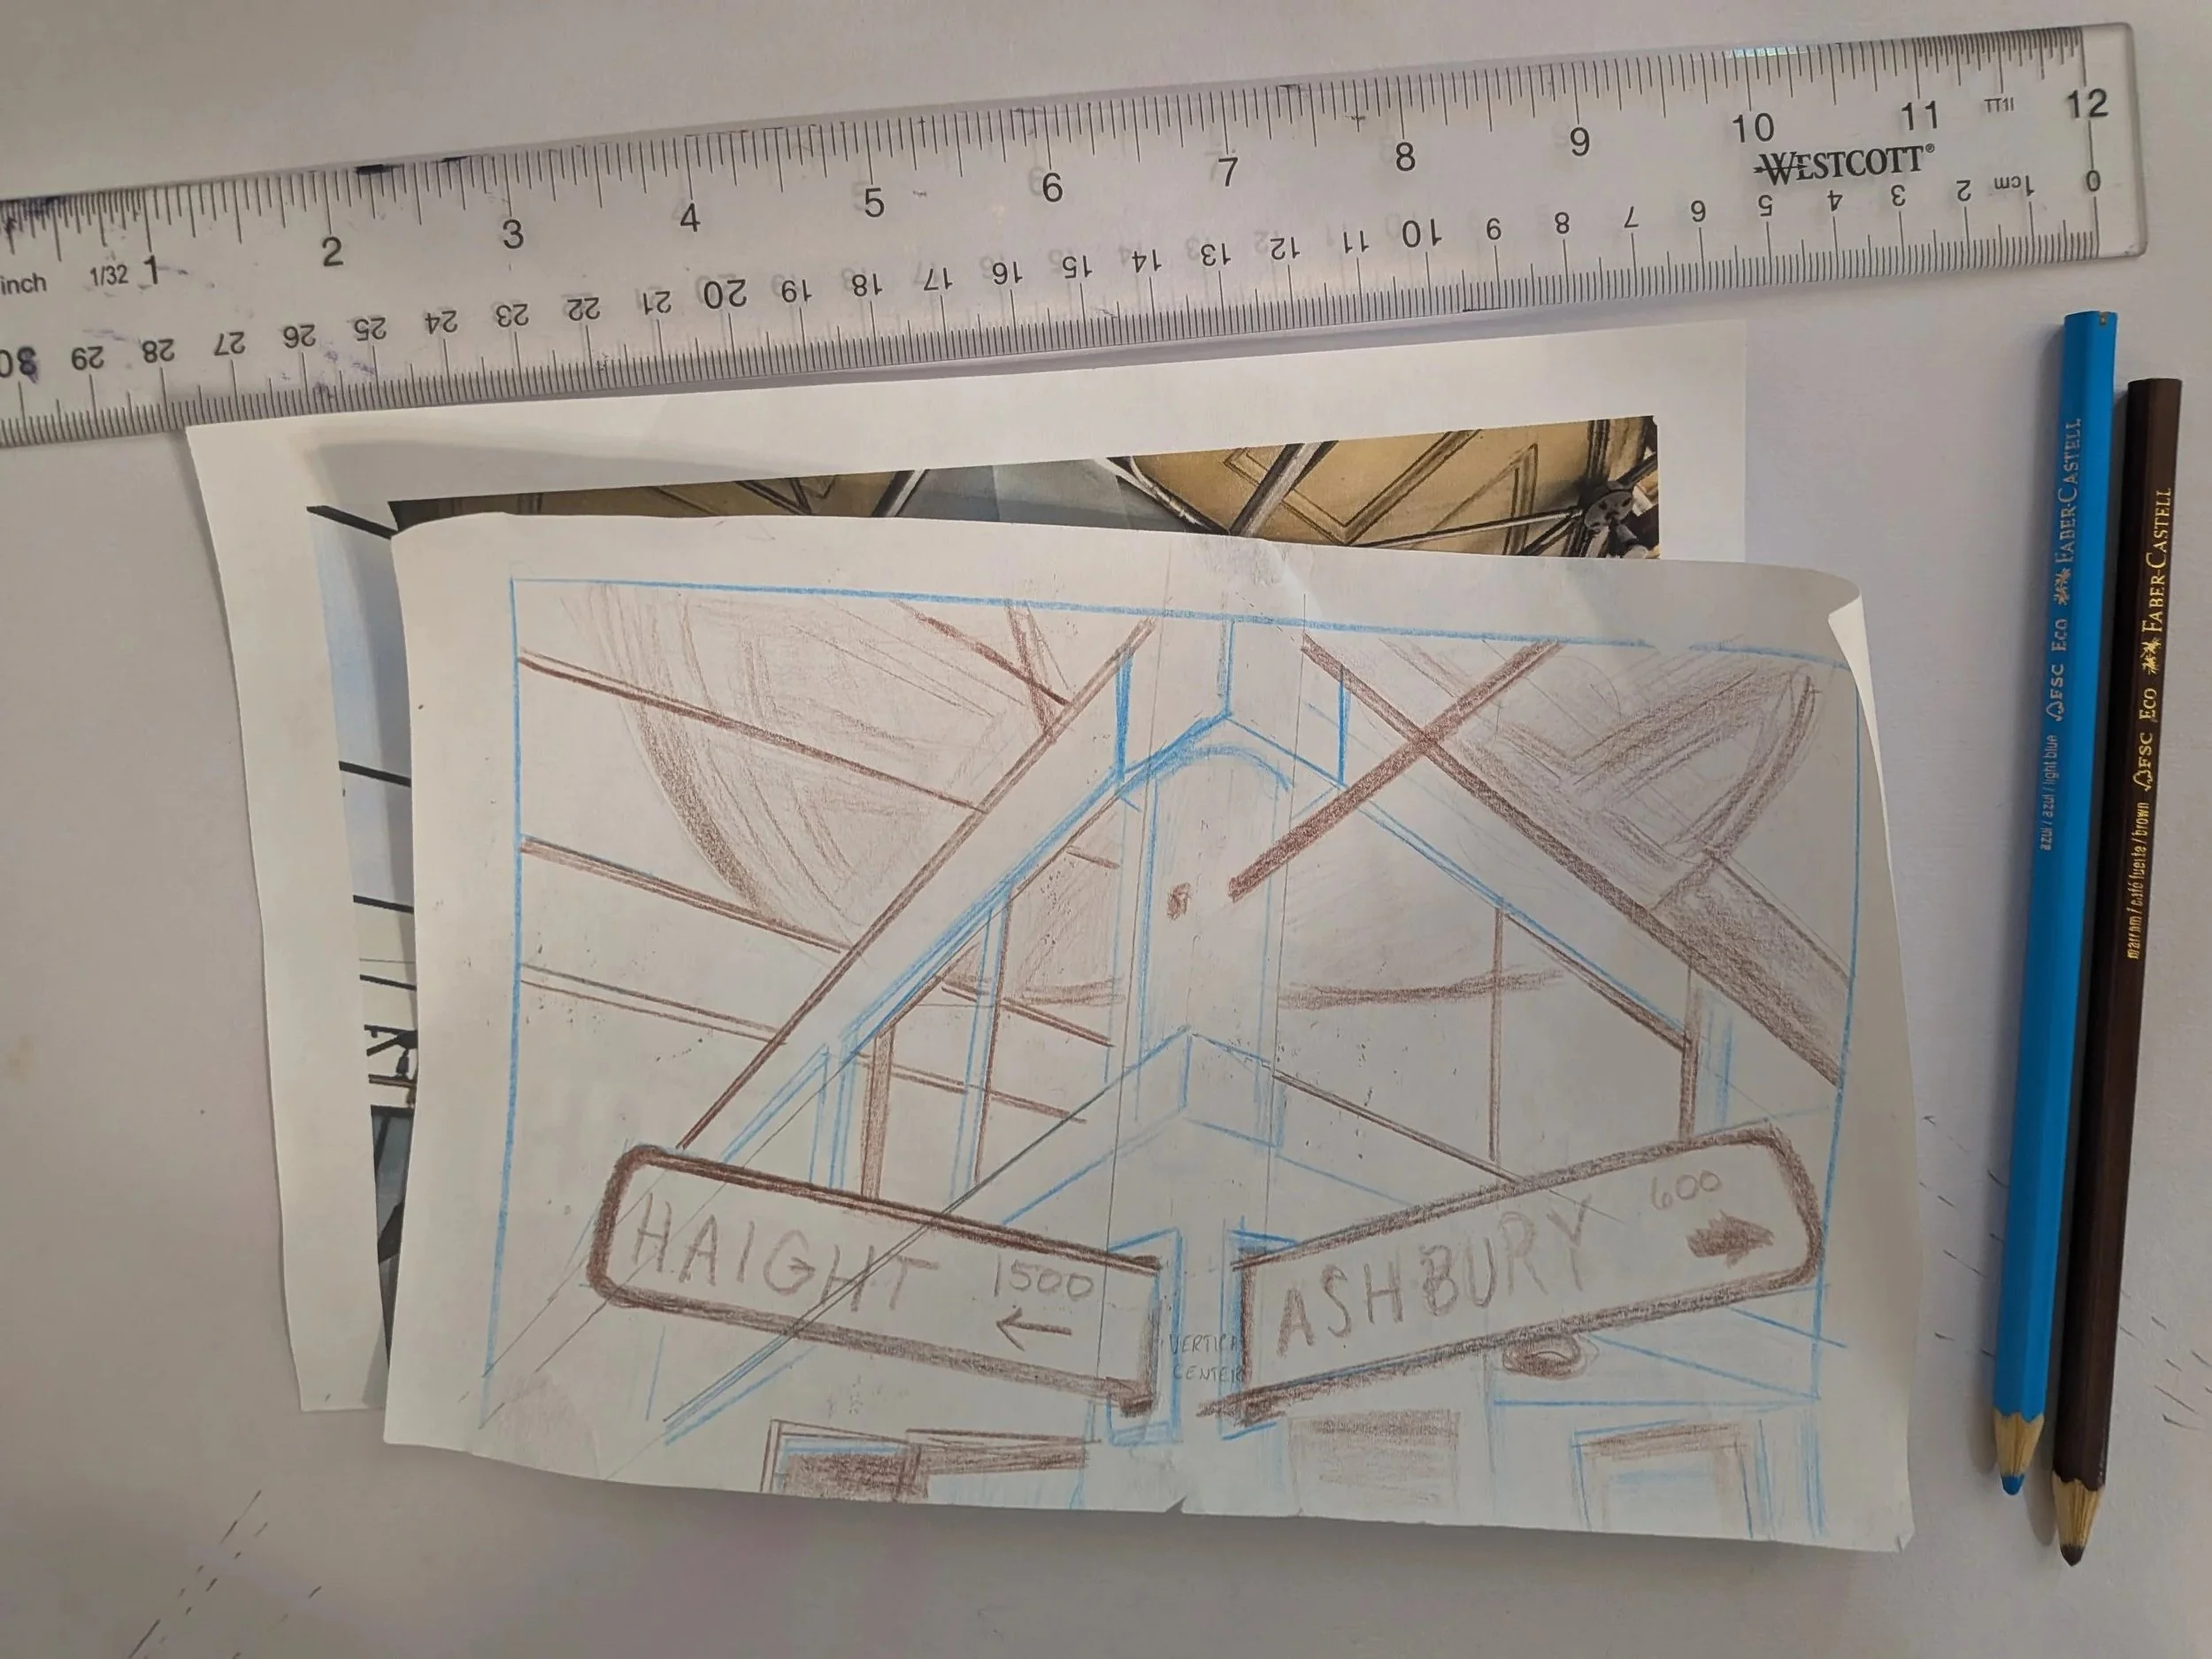
The picture I used was in a news article online, and there’s no artist listed to credit - it merely says ‘Shutterstock’. Since I couldn’t figure out how to credit it, I won’t post the image from the article, but here is a link if you want to read about the corner of Haight and Ashbury being declared a national treasure.
I struggled mightily with the concept of two-point perspective, up until I found a blog post explaining it. Then I merely struggled. Anyhow, here is an attempt at a two-point perspective sketch, made especially impressive by the fact that I kept drawing while the cat tried to wrest the pencil away with his teeth.
It has two vanishing points that are well-named, as they’ve vanished completely off the photo. Regardless, once I penciled them in, all major lines went either to one of the points or was a vertical line.


Three-Point Perspective:
You can draw an alley with a tall building at the end, all done in one-point perspective, and have an idea that the building is tall. You could draw that same building in two-point perspective, adding the kind of depth that you get when looking around corners and edges. With three-point perspective, you add height in a magnificent way, not like what it should look like on paper, but what it would look like if you were actually standing below a building, or above a pit. This style puts you right there.
It’s tremendously difficult to visualize; I can’t believe I was in Art Club once. Did I ever know this stuff? I need this refresher. I am shakily confident that my image above would result in a different look if the vertical bars were instead angled to meet at a third vanishing point below. I think it would create a distortion making it seem as if the viewer were directly below the image. I’m intrigued enough to test this theory, in fact.

Results of switching vertical lines to ones that end in a vanishing point 2.5 inches below the drawing.
That worked, sort of. It lacked the full depth of a 3 point perspective drawing because it took adjustments where the new lines met the old, but it’s close enough to working that I could see the effect taking shape.
I then started drawing a lamppost on a streetcorner, from a cat’s point of view. At that point I stumbled yet again. Fortunately I had the internet before me.
While exploring sites that explained 3 point perspective, I found a website that not only explained the idea in terms I could understand, but also had a link to how to draw isometric sketches. The site is called Sketchplanations, and appears to be about explaining big things with small sketches. Super neat.
Here’s another go at the corner, using three vanishing points.


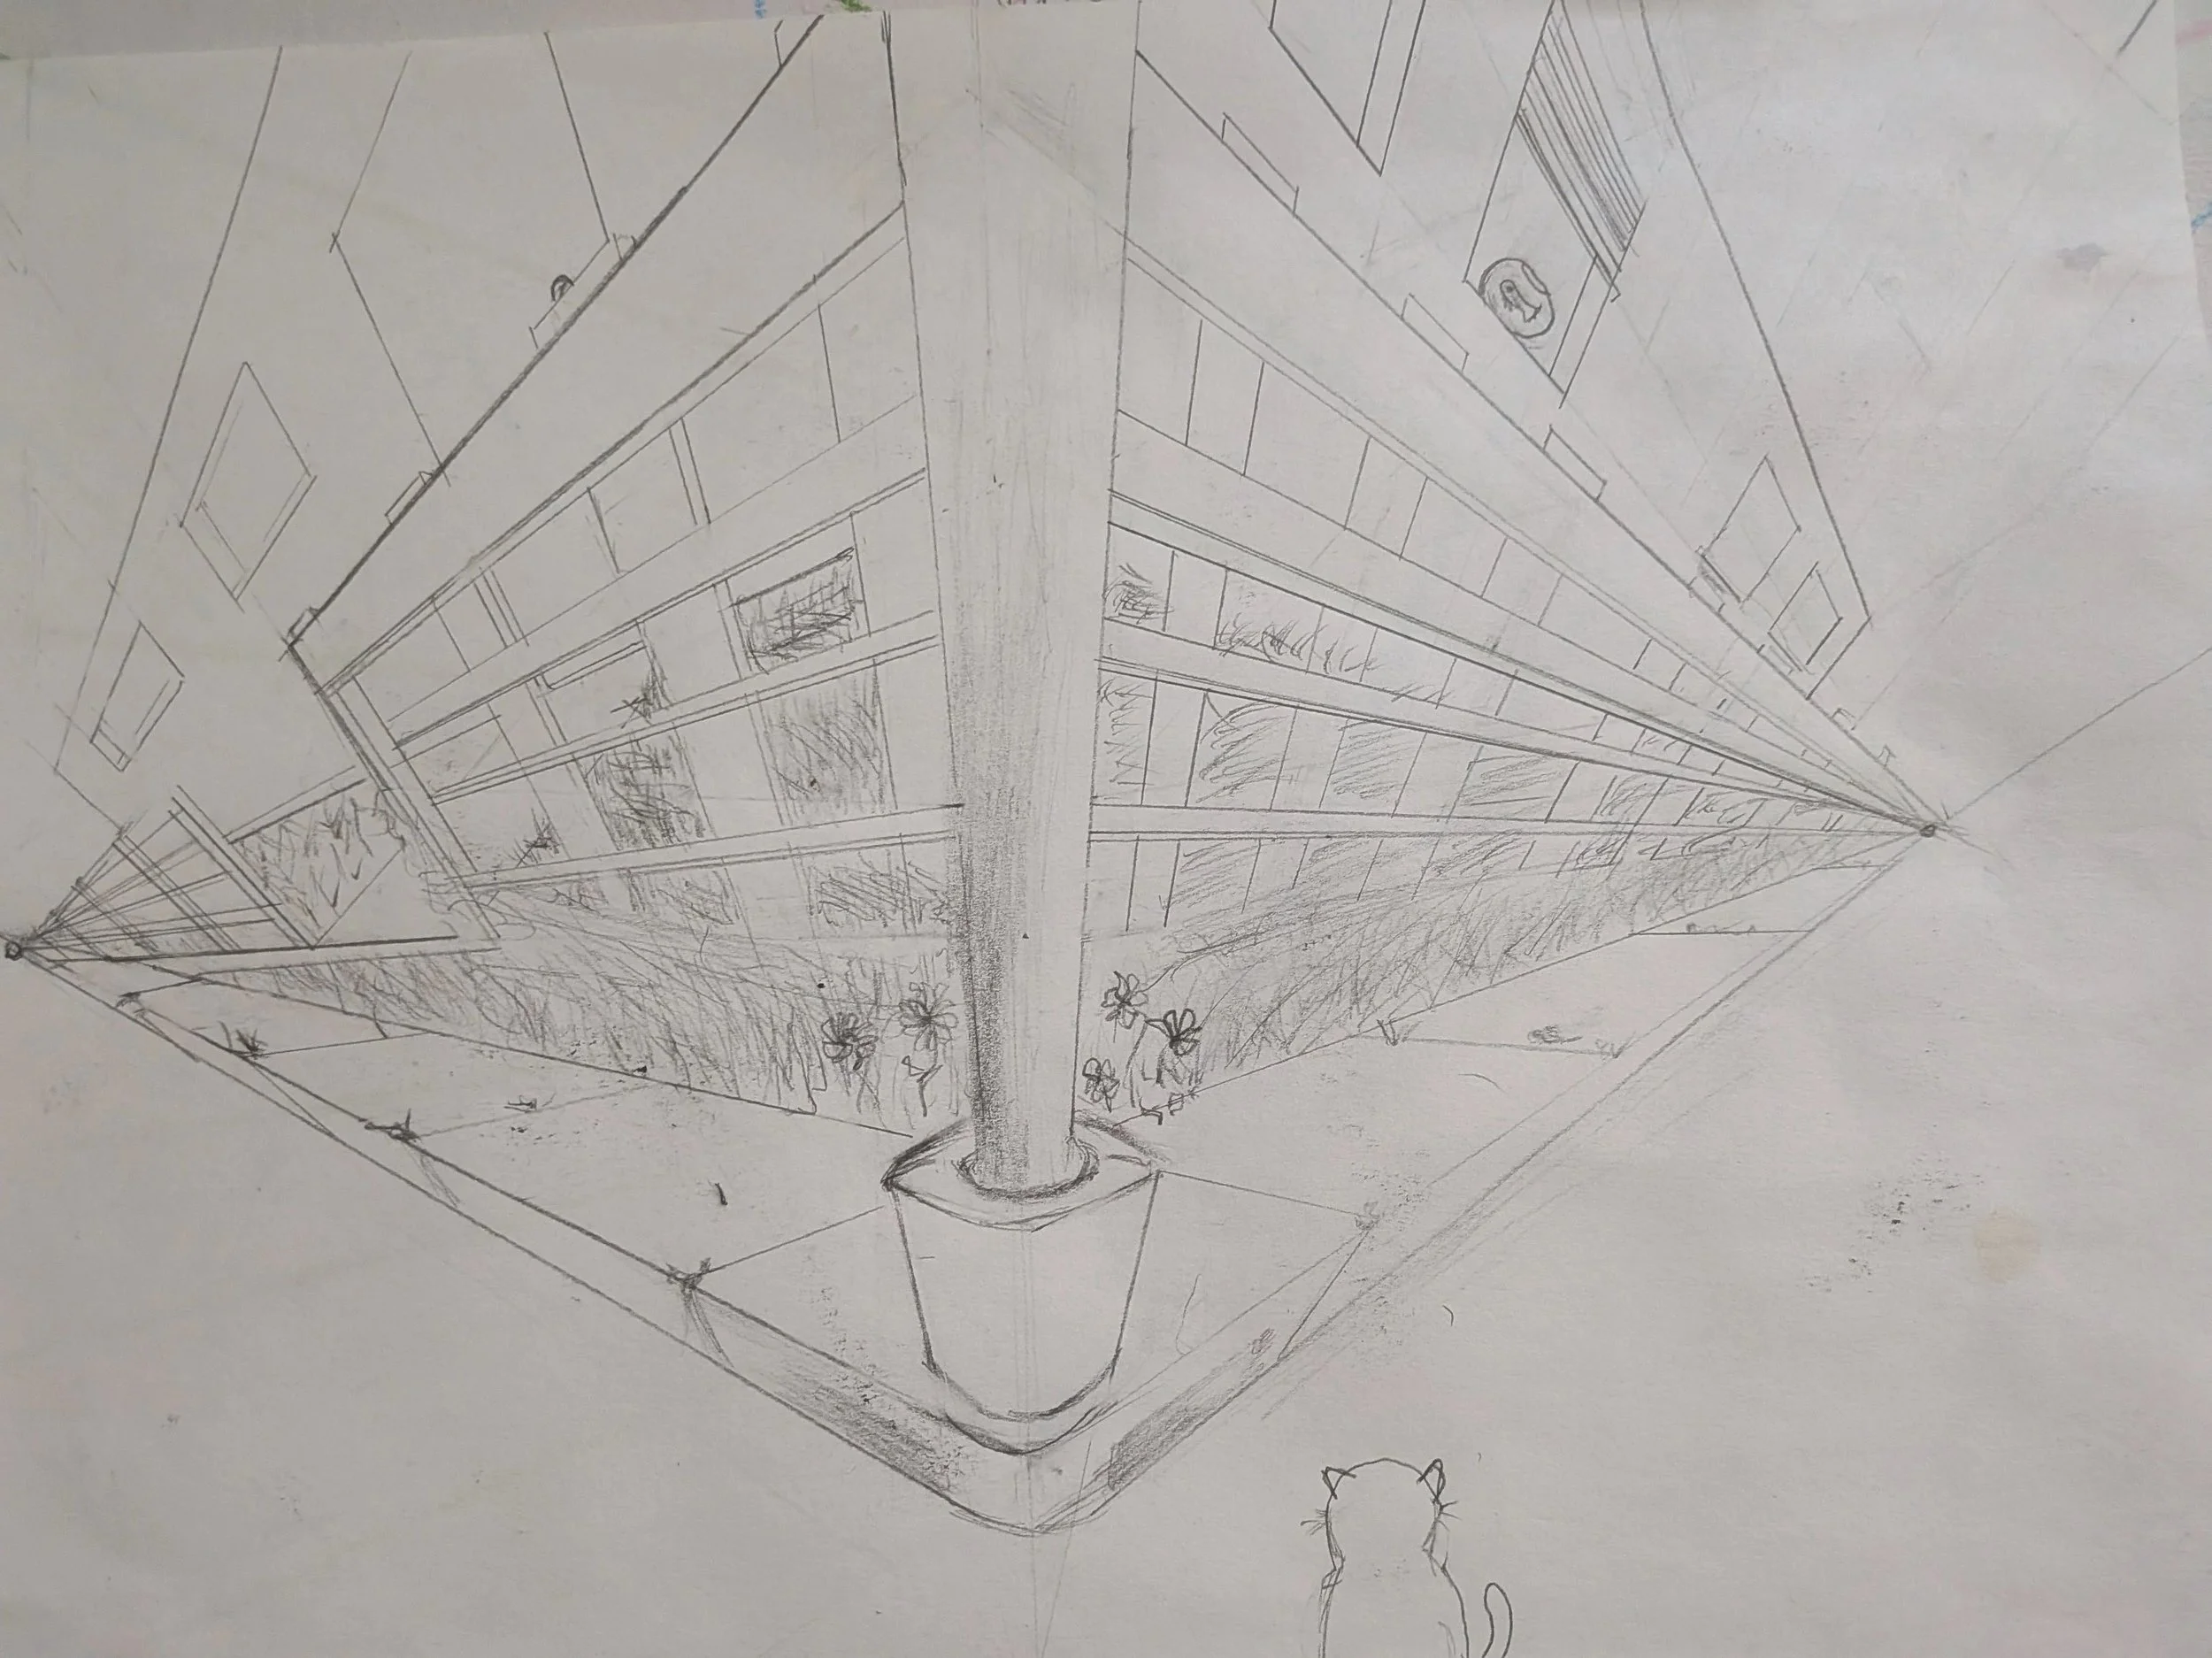
Good enough. The driveway seems off, and I’m not sure about the proportions, but overall I feel like I got the gist of it.
A Word about Isometric Drawings
I wanted to improve my technical drawings, which I have started making for all my projects ever since I learned how to draft them. The isometric drawing required in the upper right section of these types of drafts could be a lot easier if I studied perspectives, I thought.
Apparently isometric isn’t a perspective style at all, which makes sense as there’s no distortion. What you see is what you get, which is the point of those types of drawings. So to improve that I probably just need to practice my drawing skills.
In Conclusion:
I’ve found these exercises both challenging and enjoyable. It’s been a long time since I’ve reviewed these concepts, and I think that these studies will help tremendously with my 3D printing.
The first perspective style of drawing will be especially useful when preparing to model interiors. Apparently it’s common to use this sketching method before actually designing the layouts, something I’m interested in doing.
Two point perspective drawing could be helpful when sketching things I want to make. I could see it being useful when deciding how a finished product might look from different angles.
I’m not sure how three point perspective drawing fits into 3D printing, perhaps it will be useful for certain types of modeling?
Overall this has been a very satisfying exercise, though I’m still left with the problem of improving my isometric drawings, which apparently means I need lots of practice. Learning the various perspectives has been positively rewarding, and I look forward to implementing them in my next pre-design drawings.
Bibliography
Wikipedia
Carsone, Michael
Art Making Activity: One-Point Perspective Drawing
The Westmoreland Museum of American Art
29 April 2020