Designing a Roof and Gables for a 3D Printable TtRPG Blacksmithy (Part 3)
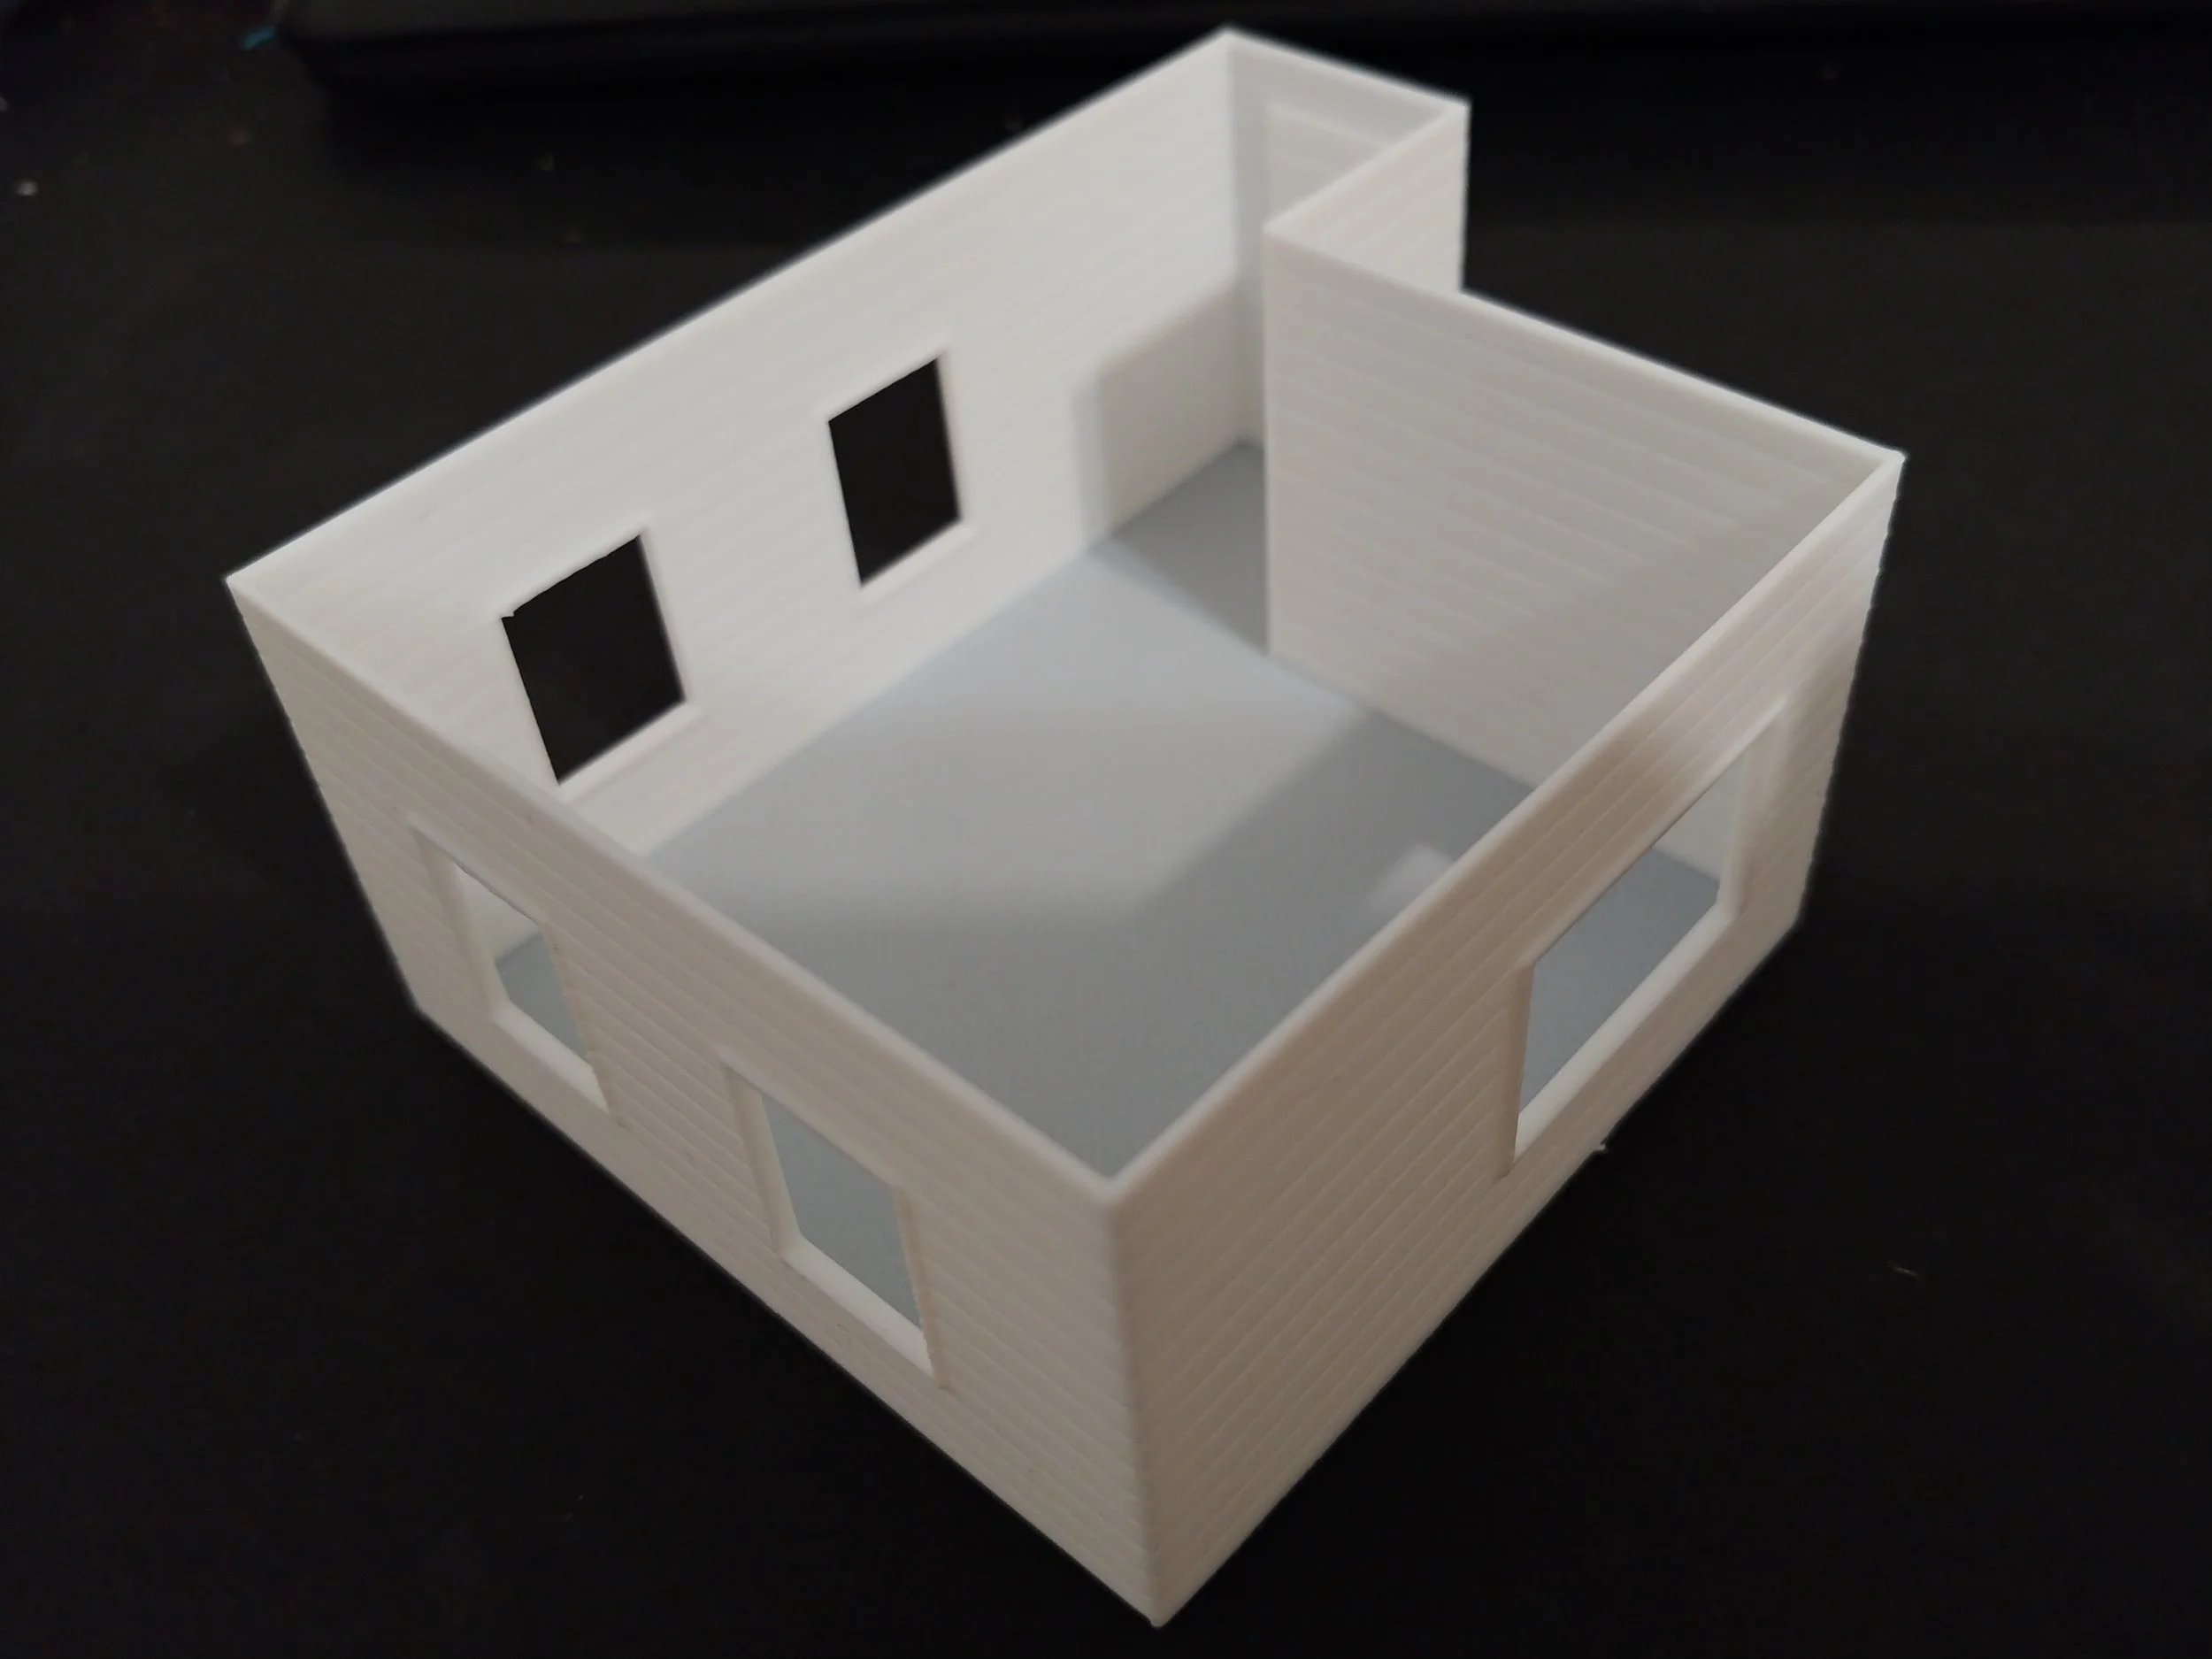
A very nice model
Part 3: The Roof and Gables, also The End
The Roof
Lastly, the roof. I made a peaked roof that covered the building. It didn’t look right though. I then looked at pictures of rooves and diagrams of rooves and explanations and images and blah blah blah til my eyeballs hurt.
Despite all that, I found nothing remotely resembling my attempt at a roof. I did however find a website for a business that does roofing (among other things), and that site had an excellent diagram of roof parts, along with readable definitions.
After much trial and error, and possibly swearing, I finally combined two of the default roof shapes into a shape that I liked. The shape fits over the roof, with a 2mm overhang on all edges.
I made a copy of the roof, dropped it down by 2mm, turned the copy into an eraser, then joined it with the roof, creating a perfect roof shape.
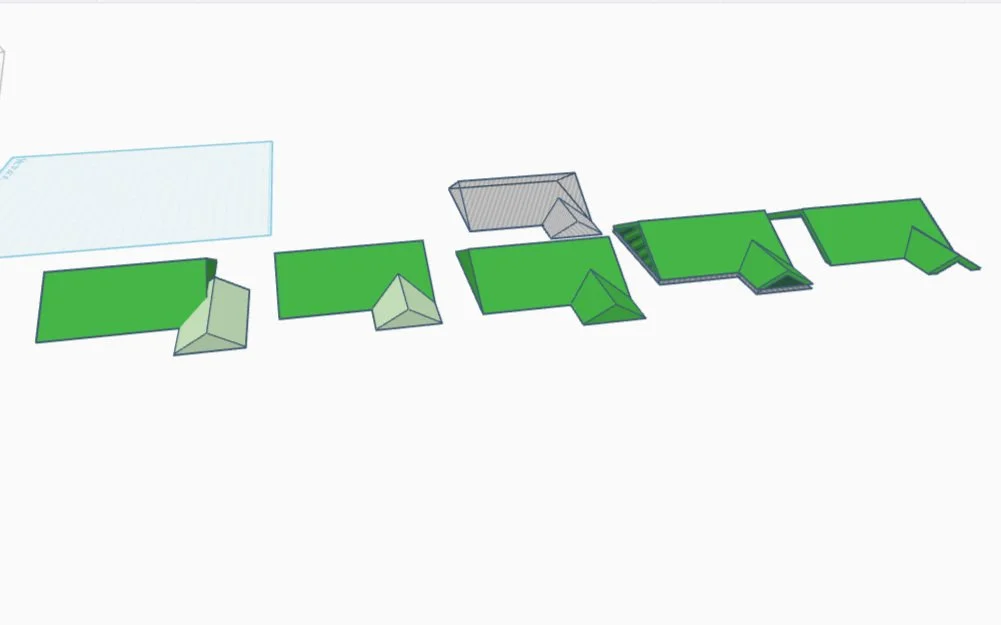
Making a roof, step by step
The Gable
The part of the wall that holds up an angled roof is called a gable, and I needed a roof shape before I could make this. When finished, the gables will look like three triangles, each positioned to support a portion of the roof.
I can’t help but feel that there’s a better way to do what I ended up doing, but here goes:
There are three portions of roof that have an angle under them, so the roof needs three gables to support it. I used a wall panel for each gable, stretching each panel the length of the appropriate roof section, then placing it on the building in the appropriate spot.
It was then that I decided to double the height of the roof for aesthetic purposes.
Because of the added height, I added another wood panel on top the first. I next copied the roof, turned the copy into an eraser, and combined it with the wall bits, leaving behind a trio of roof supports and a mess of clutter that needed erased.
After cleaning up the mess, I combined the supports and roof, testing them on the surface of the building first. And a good thing too, as somehow things slipped and it took a rather long while to align all the bits correctly again. I did it though and the roof looks good.
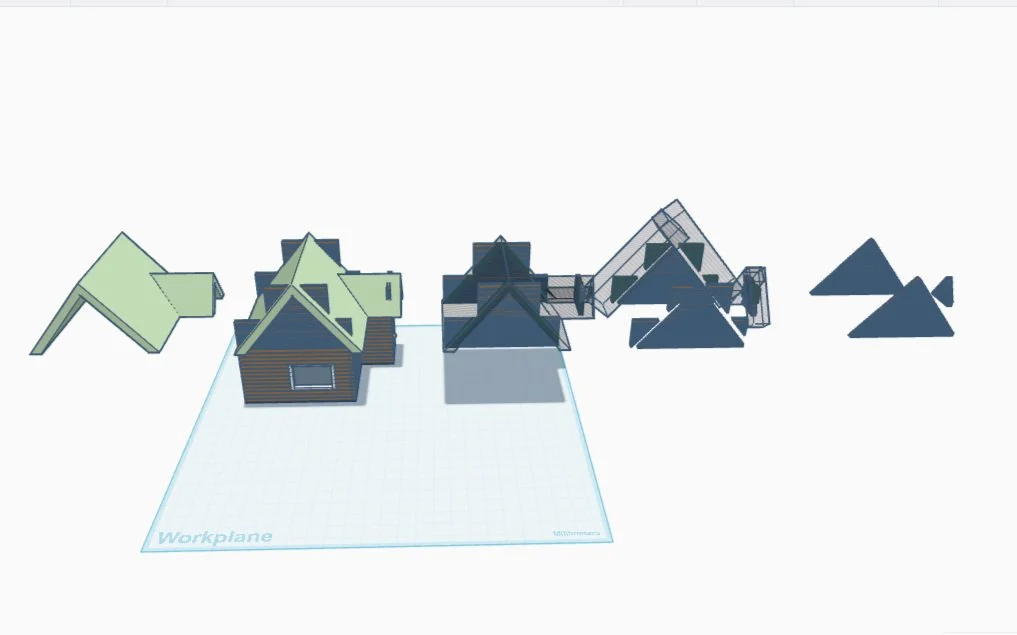
Creating some gables
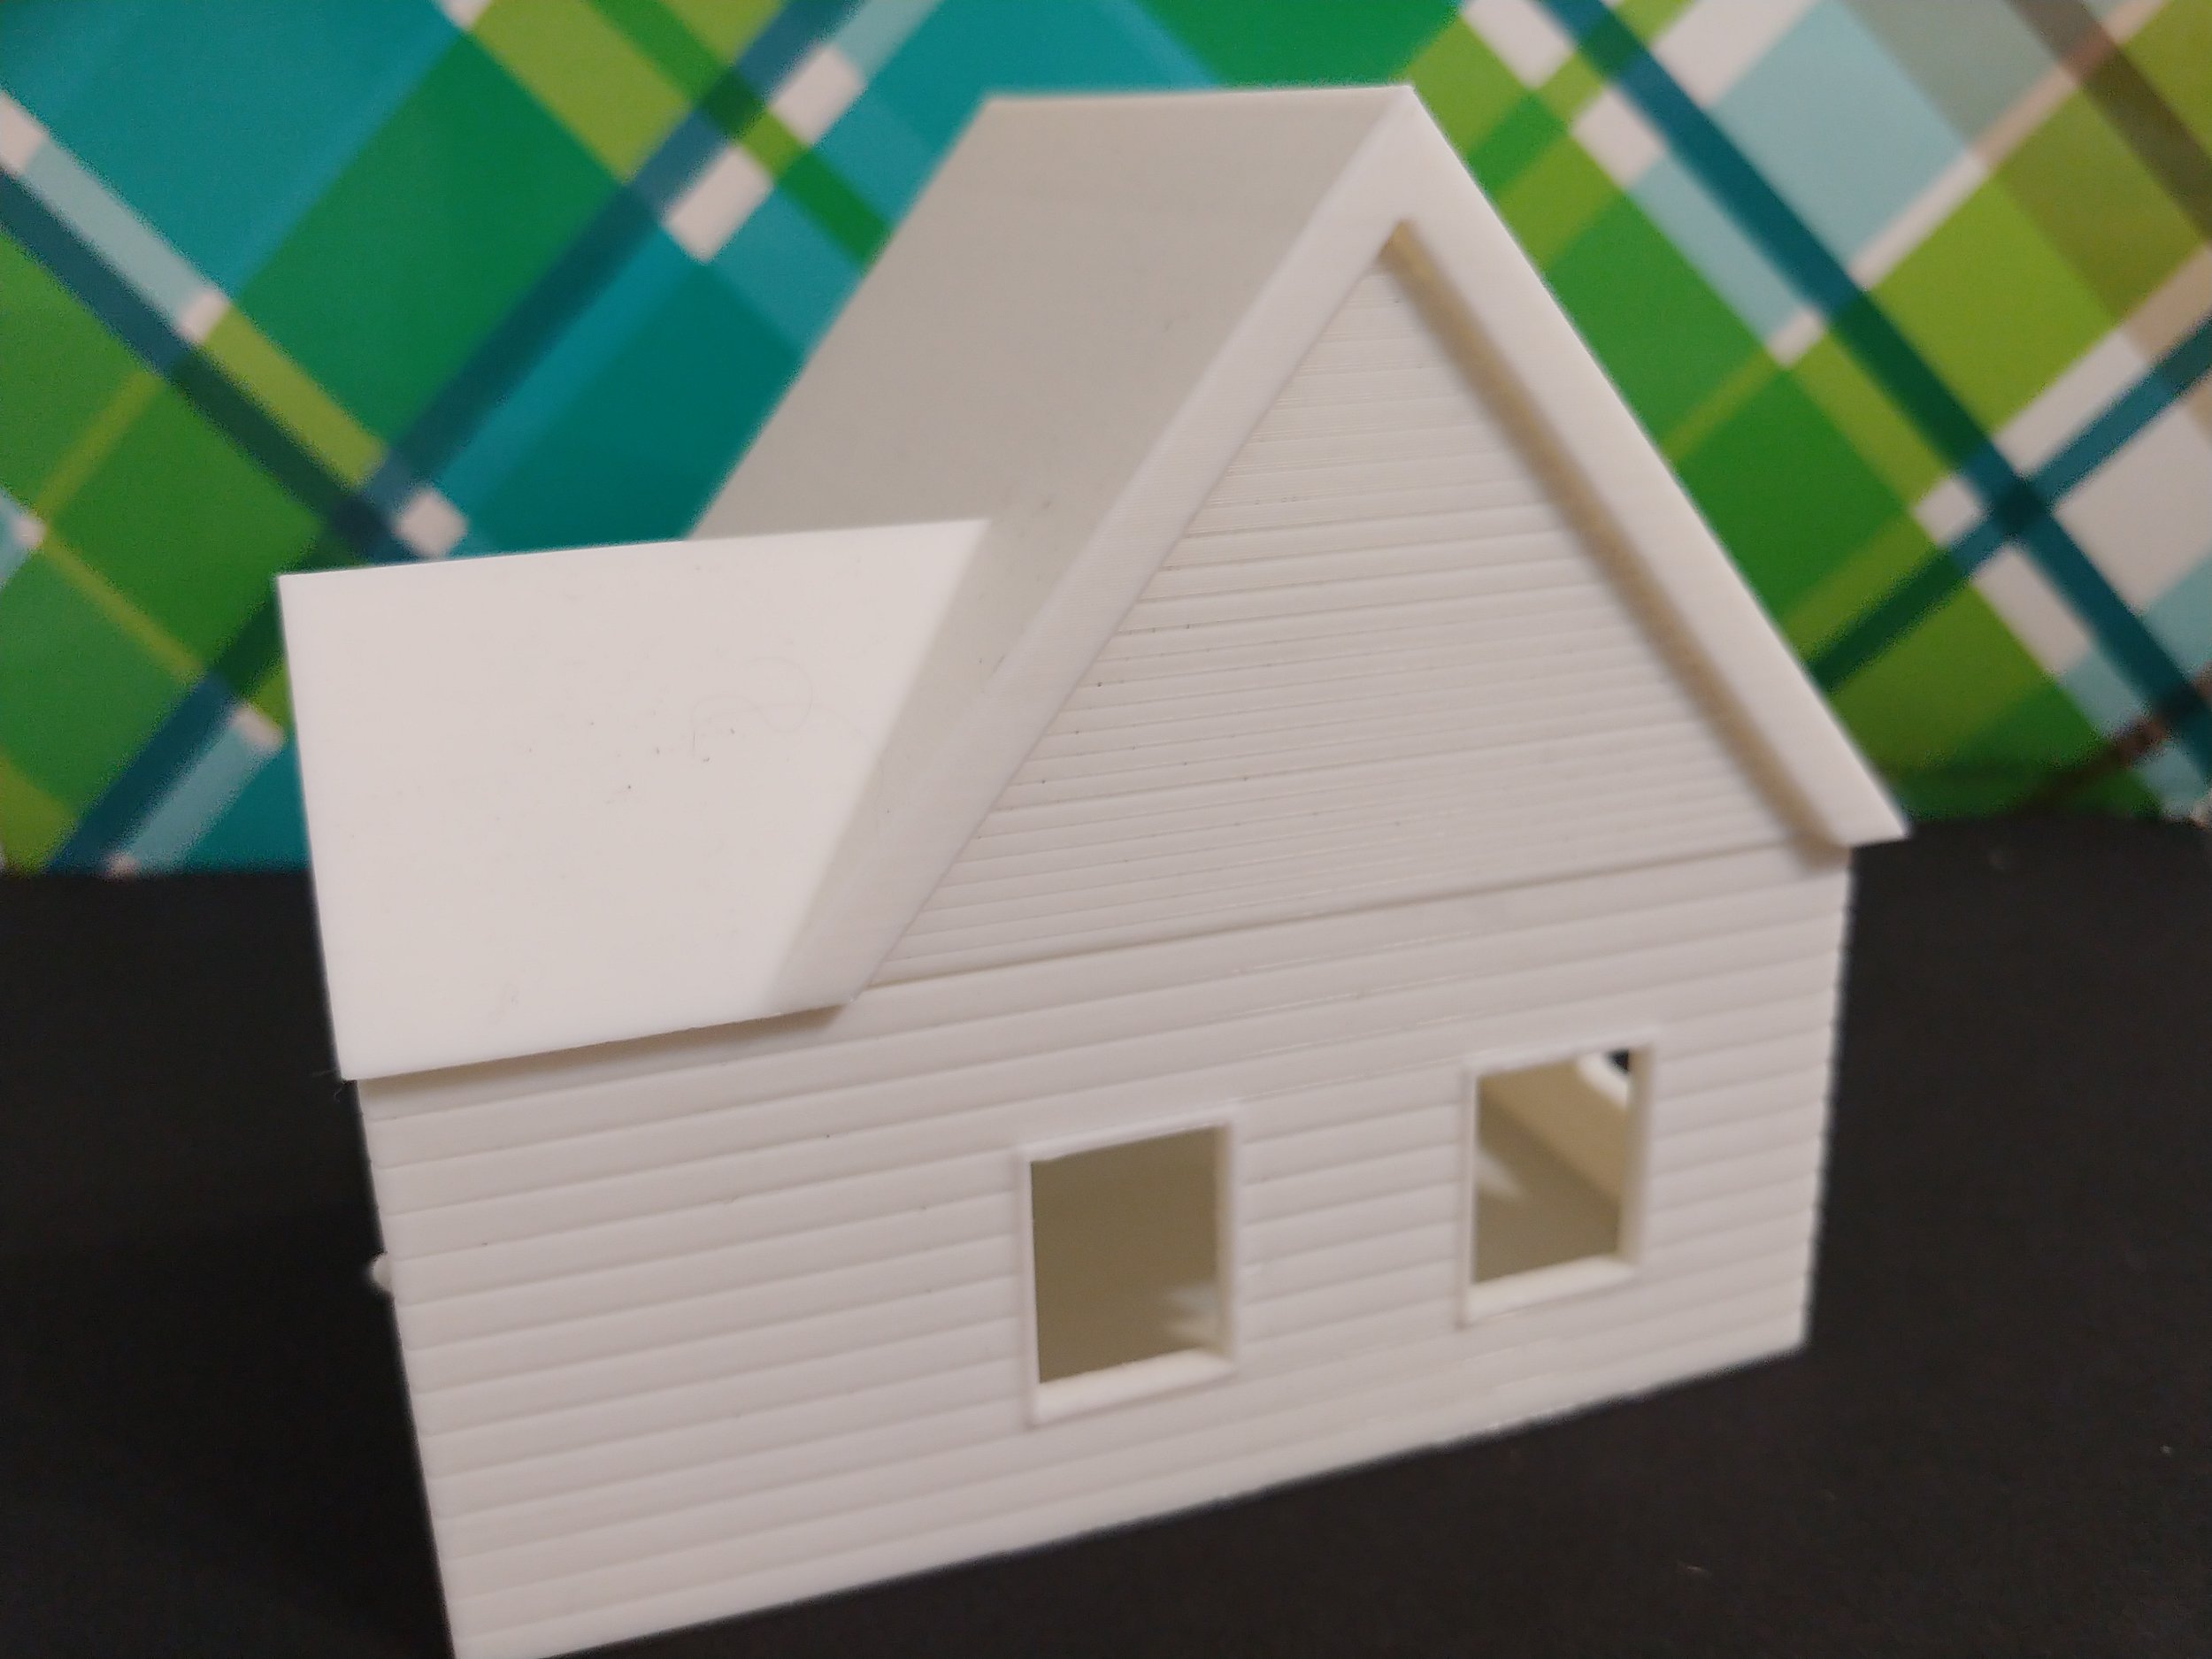
The Finished Product
I am now the proud owner of a 3D-printed Colonial-style smithy that I researched and designed myself. While the smithy needs equipment, the building is now printed and ready to paint!
Ye Olde Fashioned Blacksmithe