Designing Floors, Walls, Windows, and Doors for a 3D Printable TtRPG Blacksmithy (Part 2)
For this entire project, I used the standard scale for miniatures: 25mm for every 5’, or 5mm to a foot. Part 2: Building a Floor, Walls, Windows, and Doors — Everything but the Roof!
The Floor
I put down a pair of rectangles, one for the main room and one for the entryway. I next flattened them, colored them grey, resized them to the appropriate floor dimensions, then joined them together. I now had a two-dimensional floor that matched my sketch.
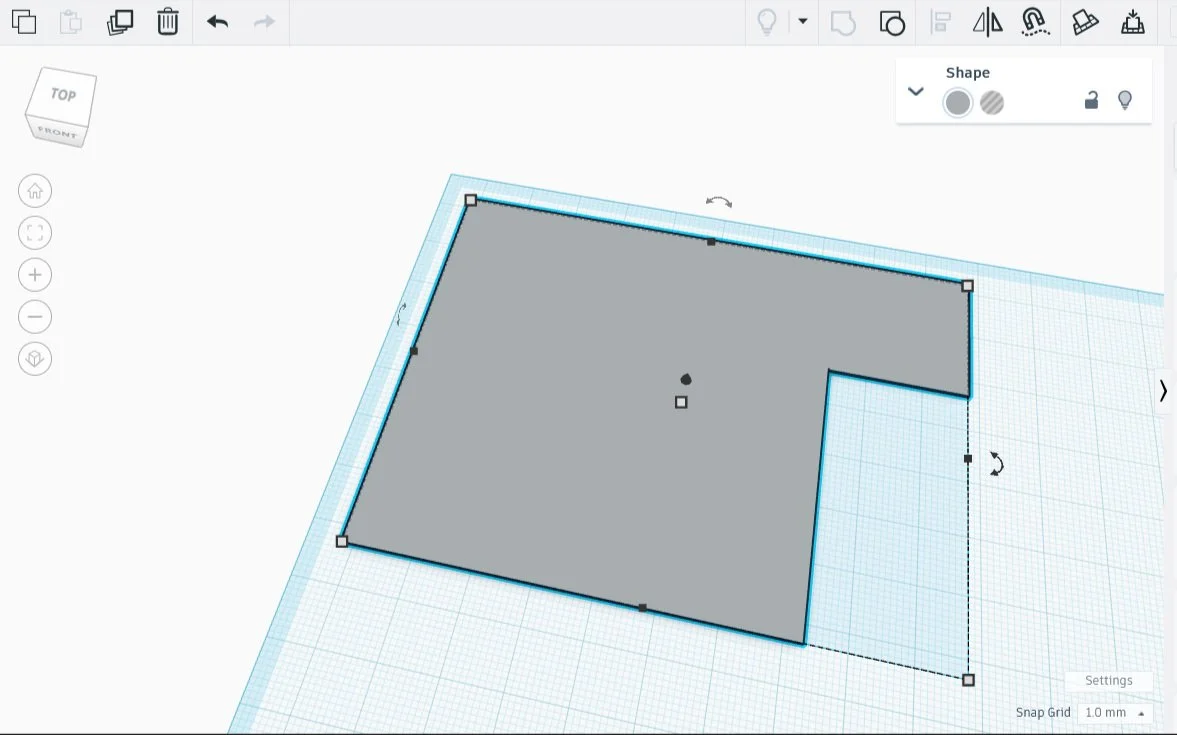
100x75mm
The Walls
This was a bit trickier. I wanted a planked-wood texture, but my last attempt at one ended up something of an unprintable disaster. Perhaps I could apply what I learned last time about negative space and the importance of supporting it…
I first measured out a single wall panel 5’ wide and 8’ high (25x40mm) and colored it tan. I know that whatever I print will be in a single solid color, but coloring the pieces makes it easier to visualize the work.
To add texture to this wall panel, I made a thin ‘plank’ that ran the width of the wall. I added another below it, leaving a slight gap between the two. I added another, with the same gap, repeating until I had a stack the height of the wall.
I combined the set, colored it dark brown, made a copy, and applied the wood planking texture to each side of the wall.
I honestly don’t know if this texture will work until I print it, so I’ll first print a single wall panel. If it works, cool, and if not I’ll come back to this. Meanwhile it looks good, so I made enough copies to have one textured panel for each section of wall. I lengthened each one to the correct wall dimension, then attached the lot of them to the floor.
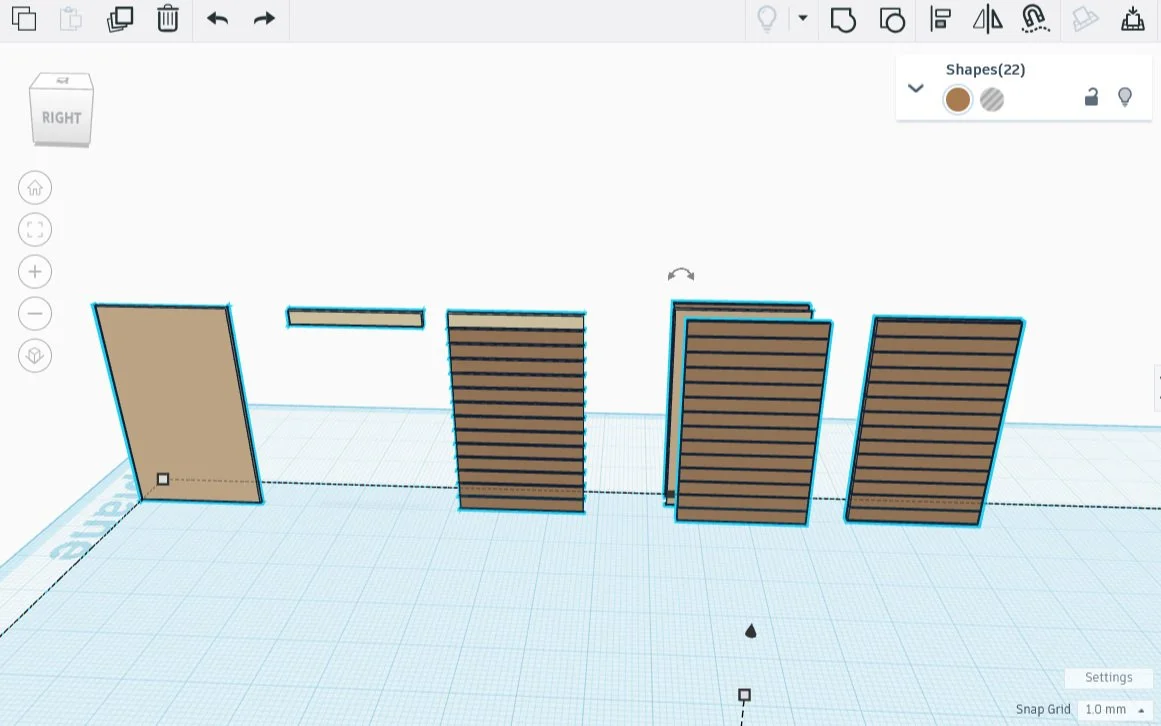
1. Tan Panel 2. Single Plank 3. Series of Planks 4. Planks Covering Panel 5. Combined Pieces
The Windows
I chose to use a standard 3’x4’ window size, which translates to 15x20mm. To make the window I first created the frame, a 15x20x1.05mm white box with a 13x18x2 pale blue box centered in the white one. Without the extra thickness of the center box, the window wouldn’t be thick enough to cut a hole through the wall and windowframe.
I placed four of these windows in the appropriate spots, turned the ice blue center into an eraser, and combined the whole lot.
I copied one of the windows, lengthened it, then placed it on an empty wall, keeping the same height as the other windows.
I also added a copy of the window and one of the wall panels to my library for re-use.
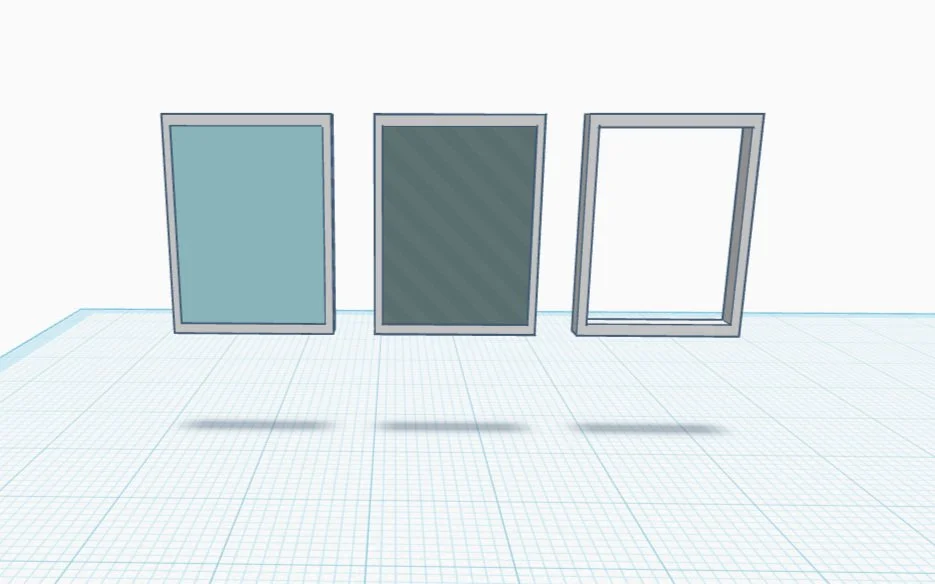
Beautiful Windows
The Door
For the door I made a rectangle 15mm wide, 36mm tall, and 1.8mm thick. I then made a doorknob: a 2mm thick, 1.3mm diameter spheroid. I copied that, positioned a copy on each side of the door about halfway up, aligned them, then melded the pieces together.
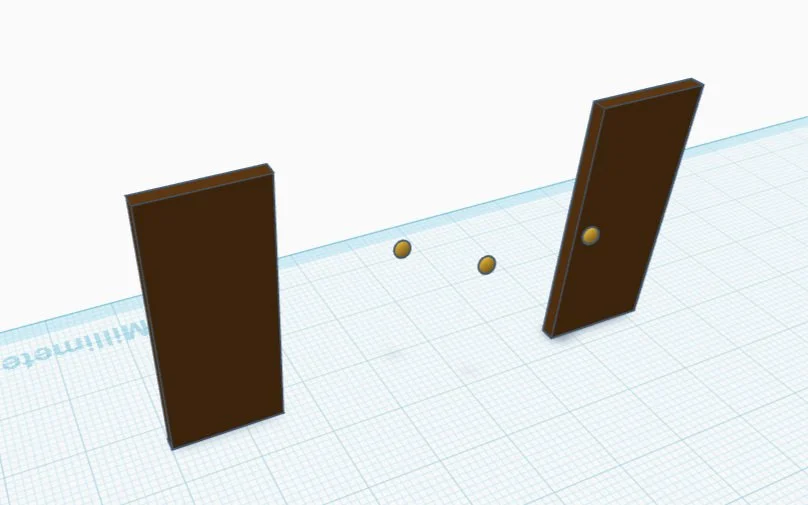
Building a Door
Everything but the Roof
The roof needs to be detachable. Furthermore, I don’t want gables sticking up, as we’re going to be putting minis in some of these buildings - triangular bits are just asking for arm scrapes . The roof and all it’s supporting pieces are going to be printed separately.
Given that, here’s the smithy so far:
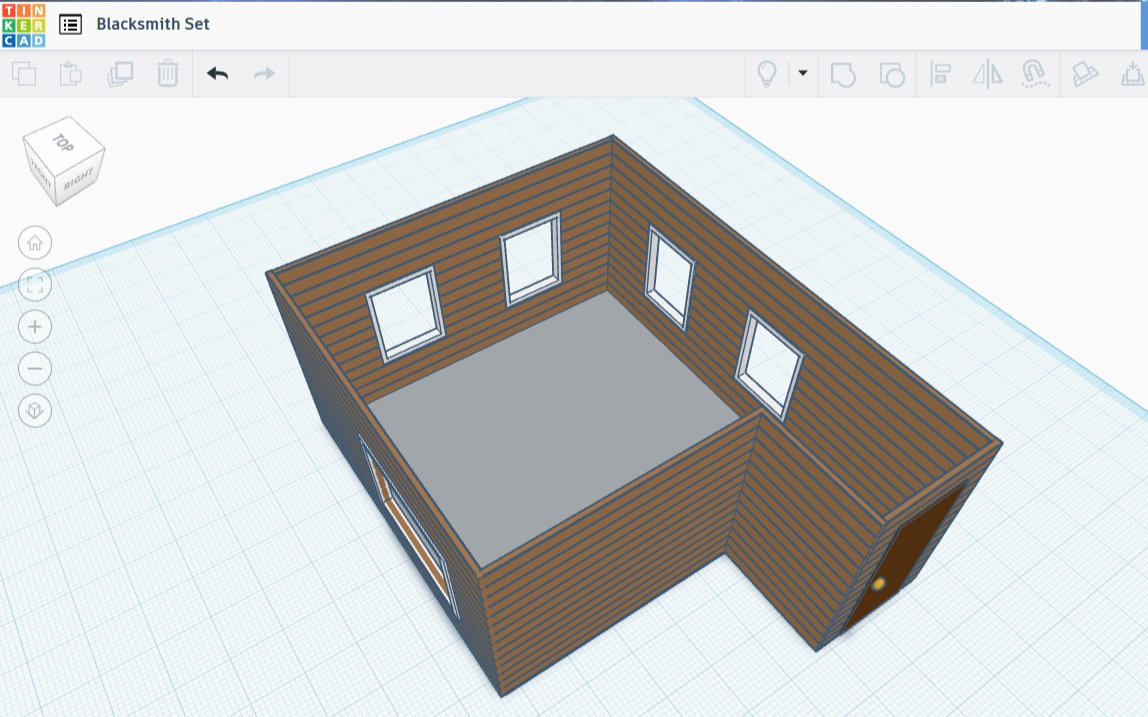
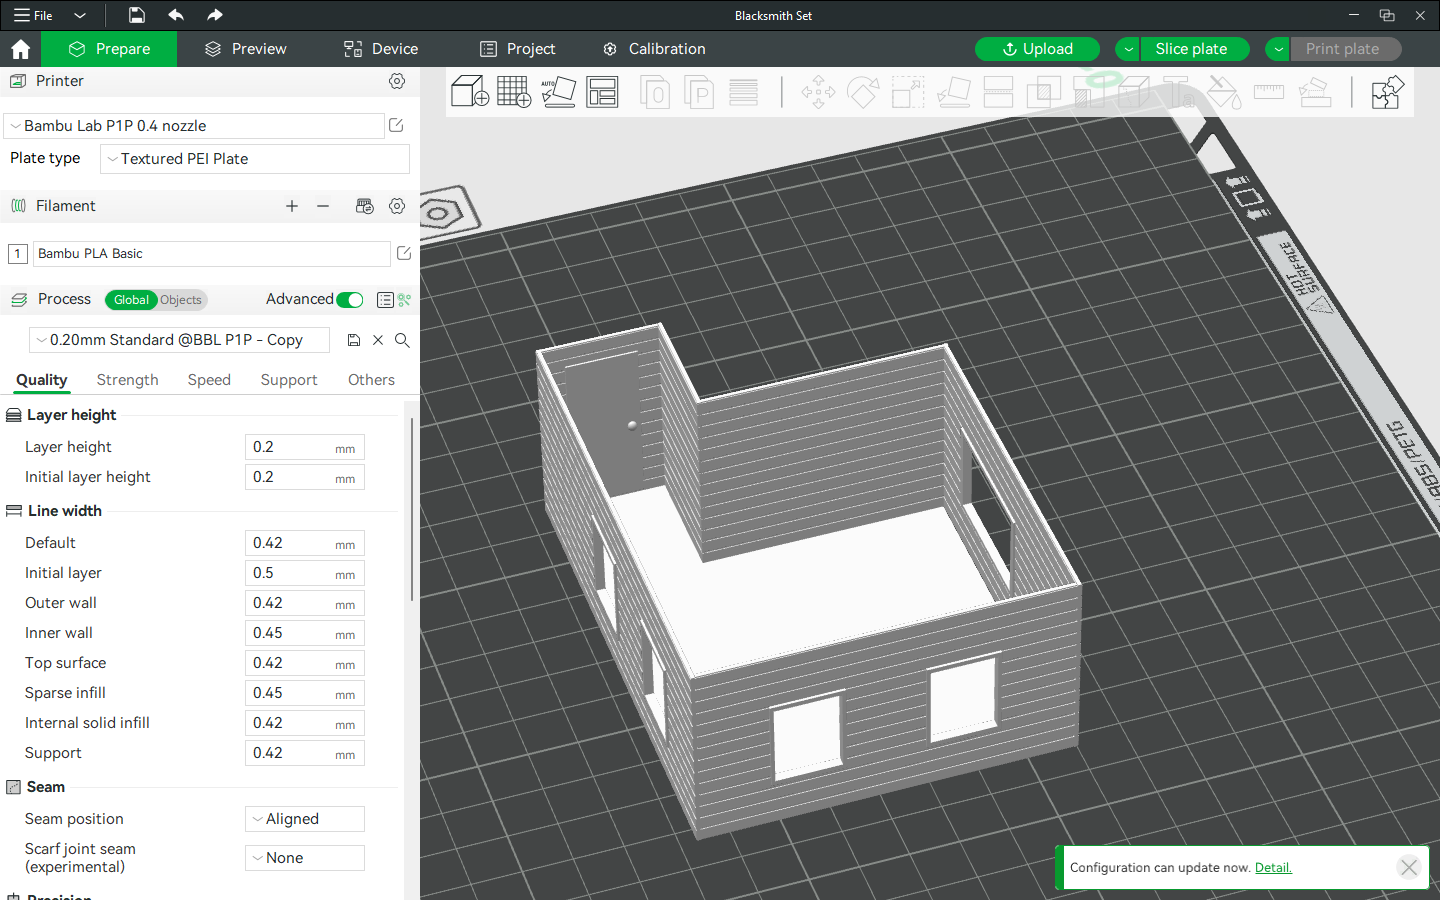
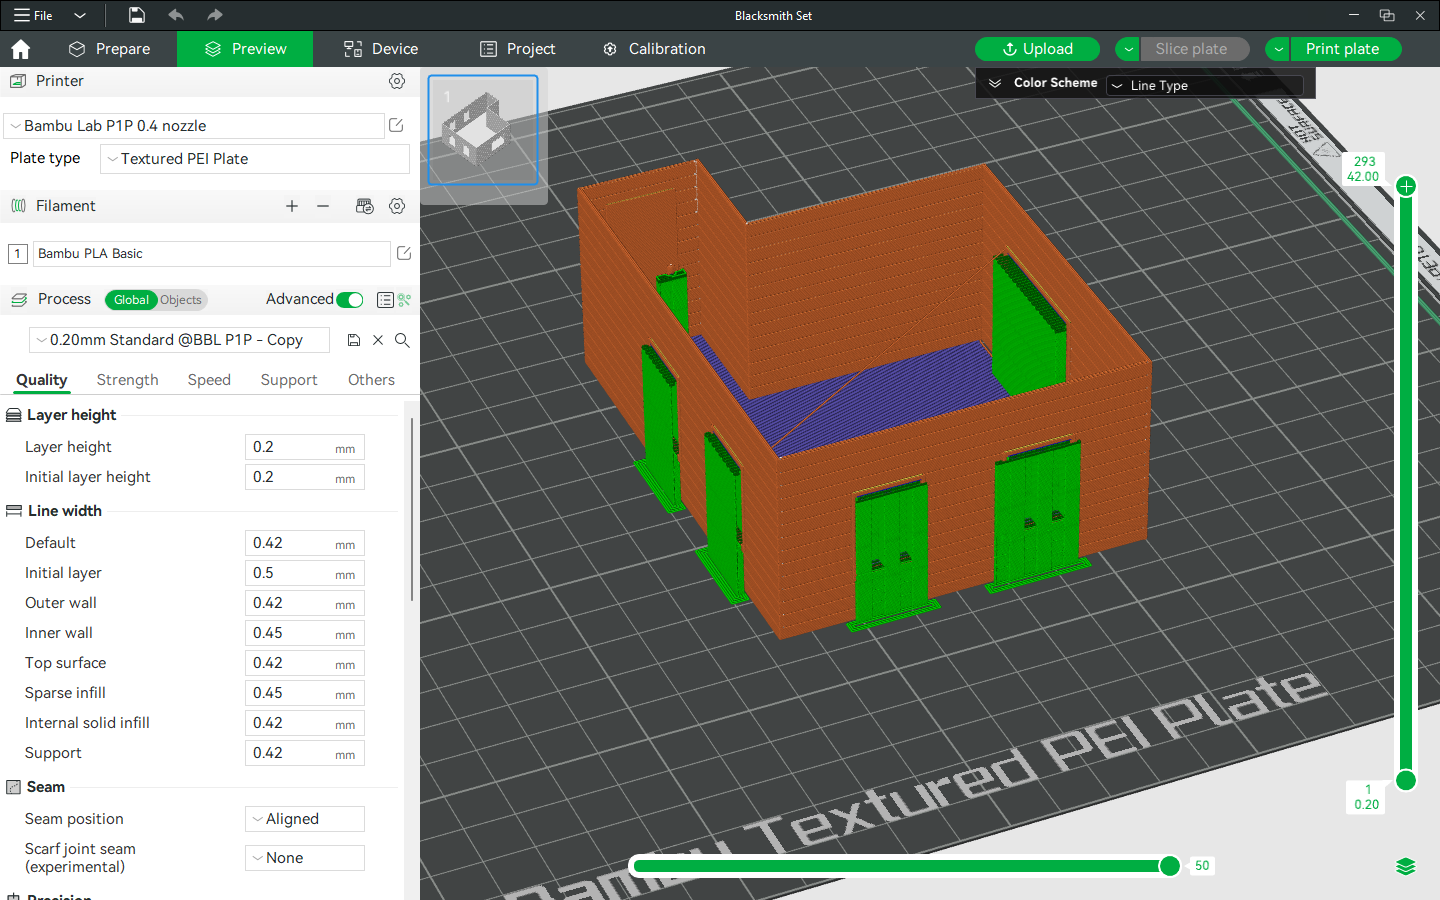
My biggest concern is removing the window supports without tearing the walls - the walls and floor seem rather delicate. In fact, the floor is nearly transparent, no thicker than a brim. The next building is getting a thicker floor and thicker walls. Whether the next building is something fresh or a redo of this one depends on whether I’m able to remove the supports without damaging the print.
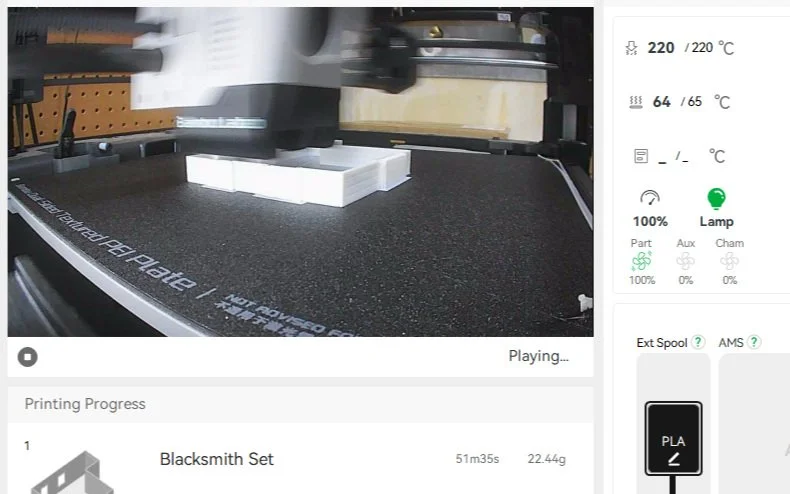
The supports came off easily, phew! I now have an extremely cute 3D-printed model of a Colonial-style smithy. It could use sanding in a couple of spots, but overall it came out nicely. Now on to the roof!