Experimenting with 3D Printing Infill Patterns!
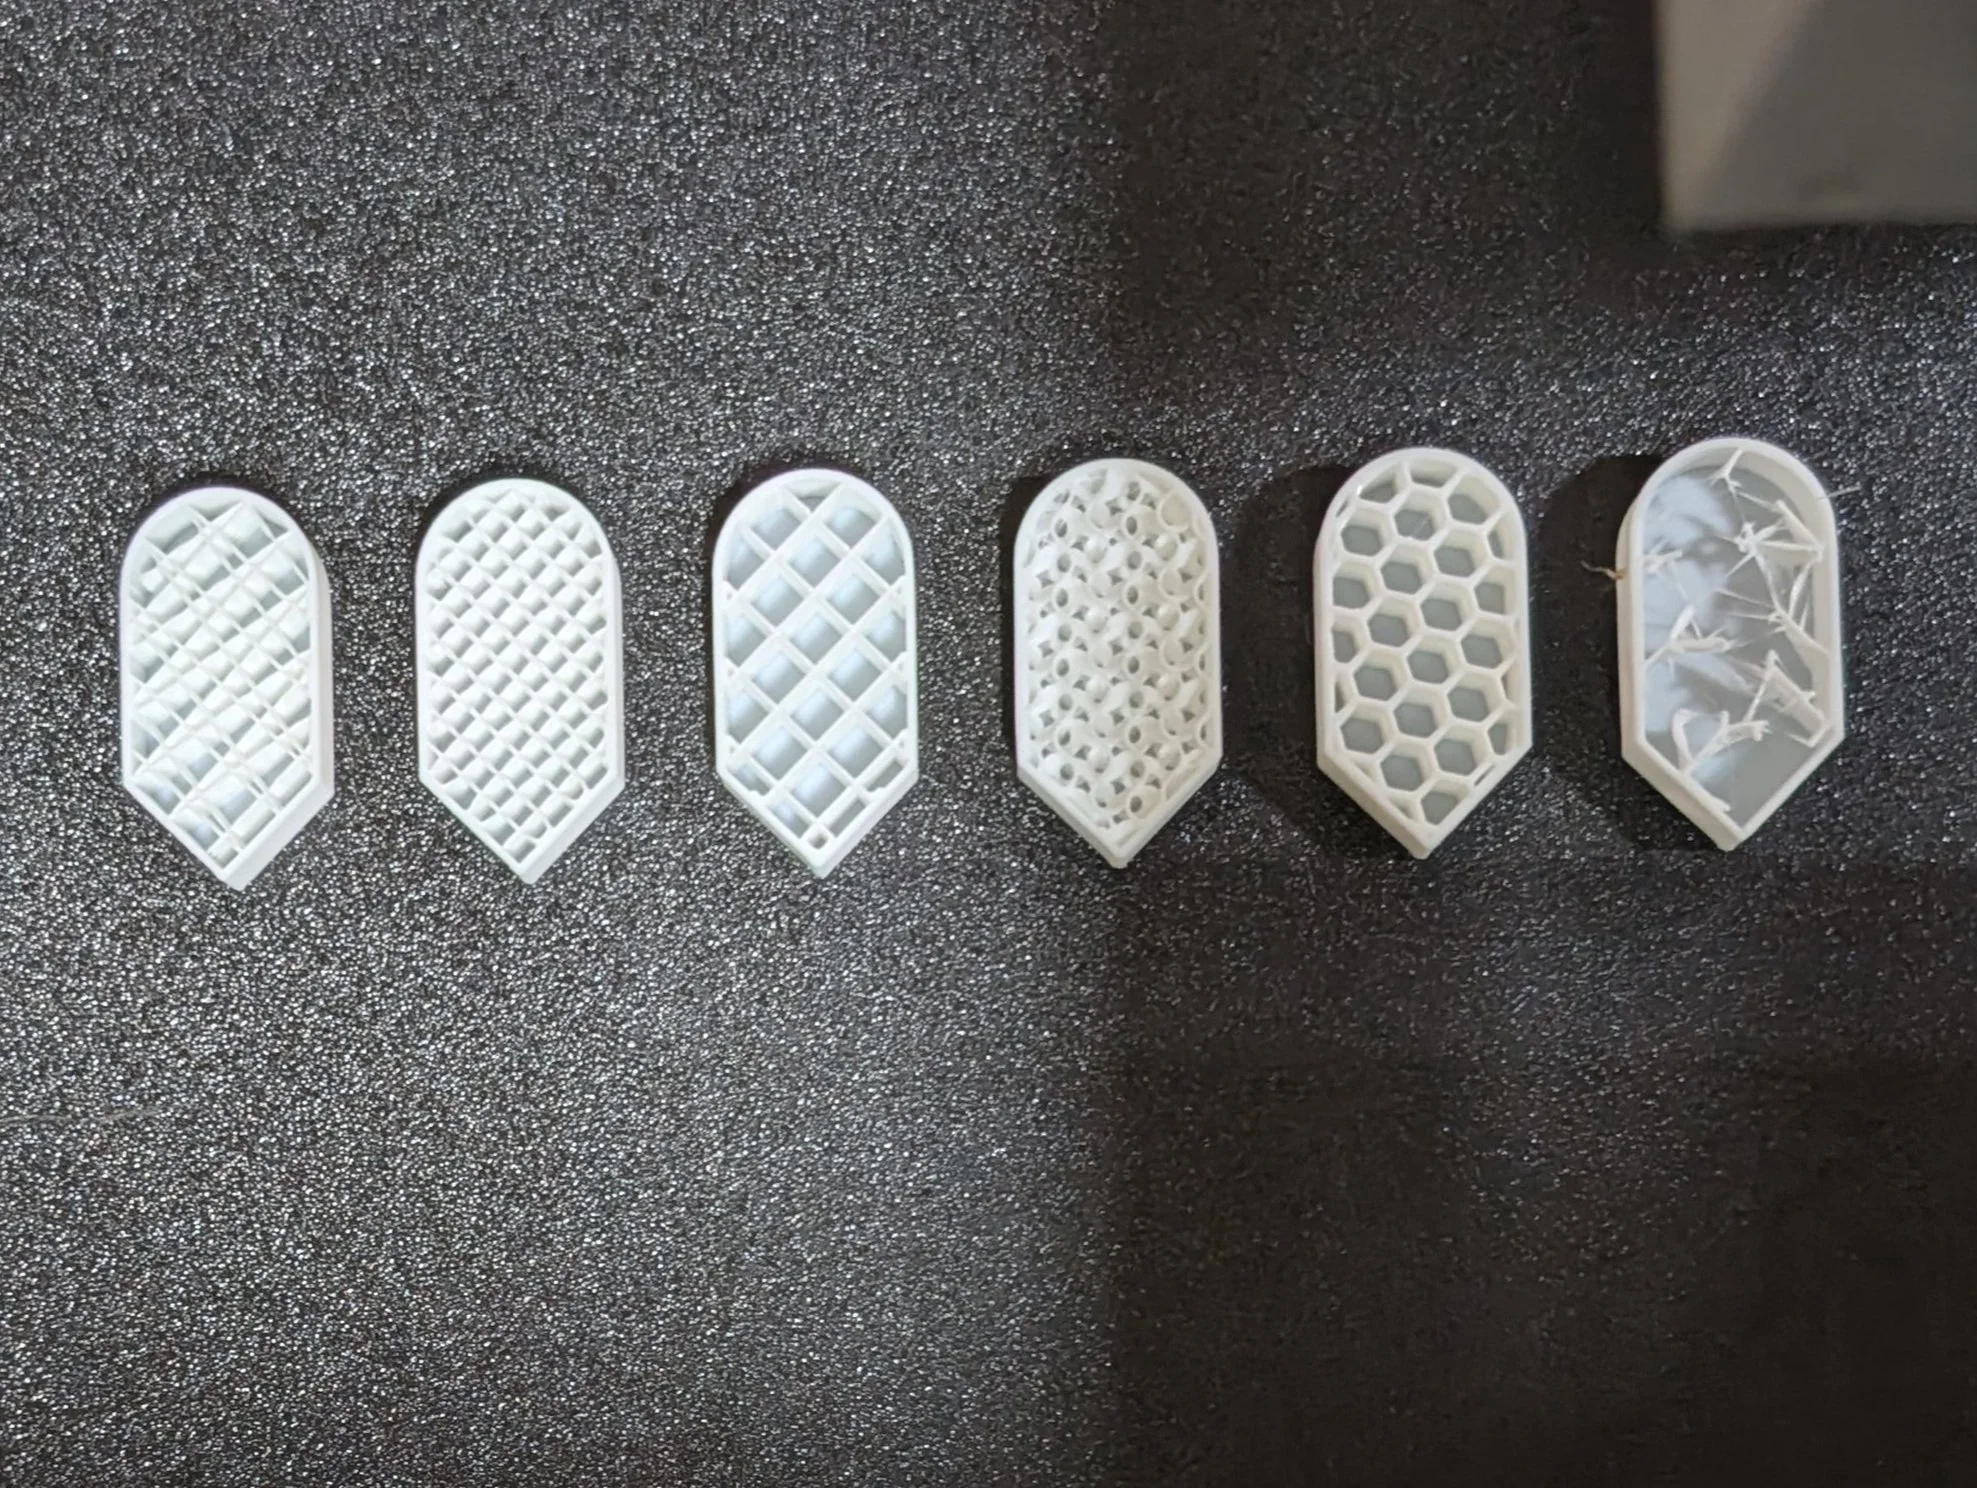
How many types of patterns are there? The Bambu Wiki lists thirteen. Thirteen! I had no idea! What are the thirteen different types used for, specifically? And what do they look like? Not only do I want to see examples of how the patterns look, but I wonder how the different patterns handle curves and corners. I lined up six identical shapes, then applied a different infill pattern to each one. In order they are Line, Rectilinear, Grid, Gyroid, Honeycomb, and Lightning patterns. Halfway through the print I’m going to stop it, then share the results.
Basic 3D Modeling in SketchUp Free
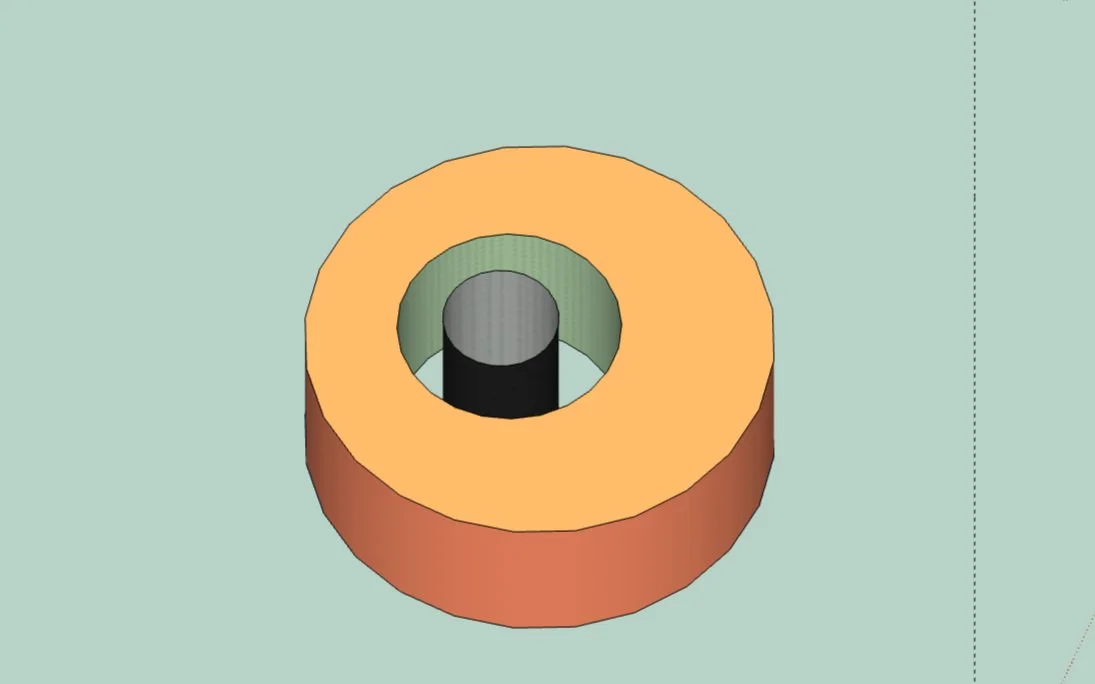
Undeterred, I set out again. My second attempt succeeded. Hooray! I had to hit that sweet spot between the very bottom and the reflexive bounce-back, but I did it. Now to push a holed cylinder through a cylinder. That working exactly as expected, I moved on to more interesting shapes, pushing and prodding my way through the ‘verse.
3D Printing Supports: Threshhold Angle and Build Plate Only Settings! (Part 2)
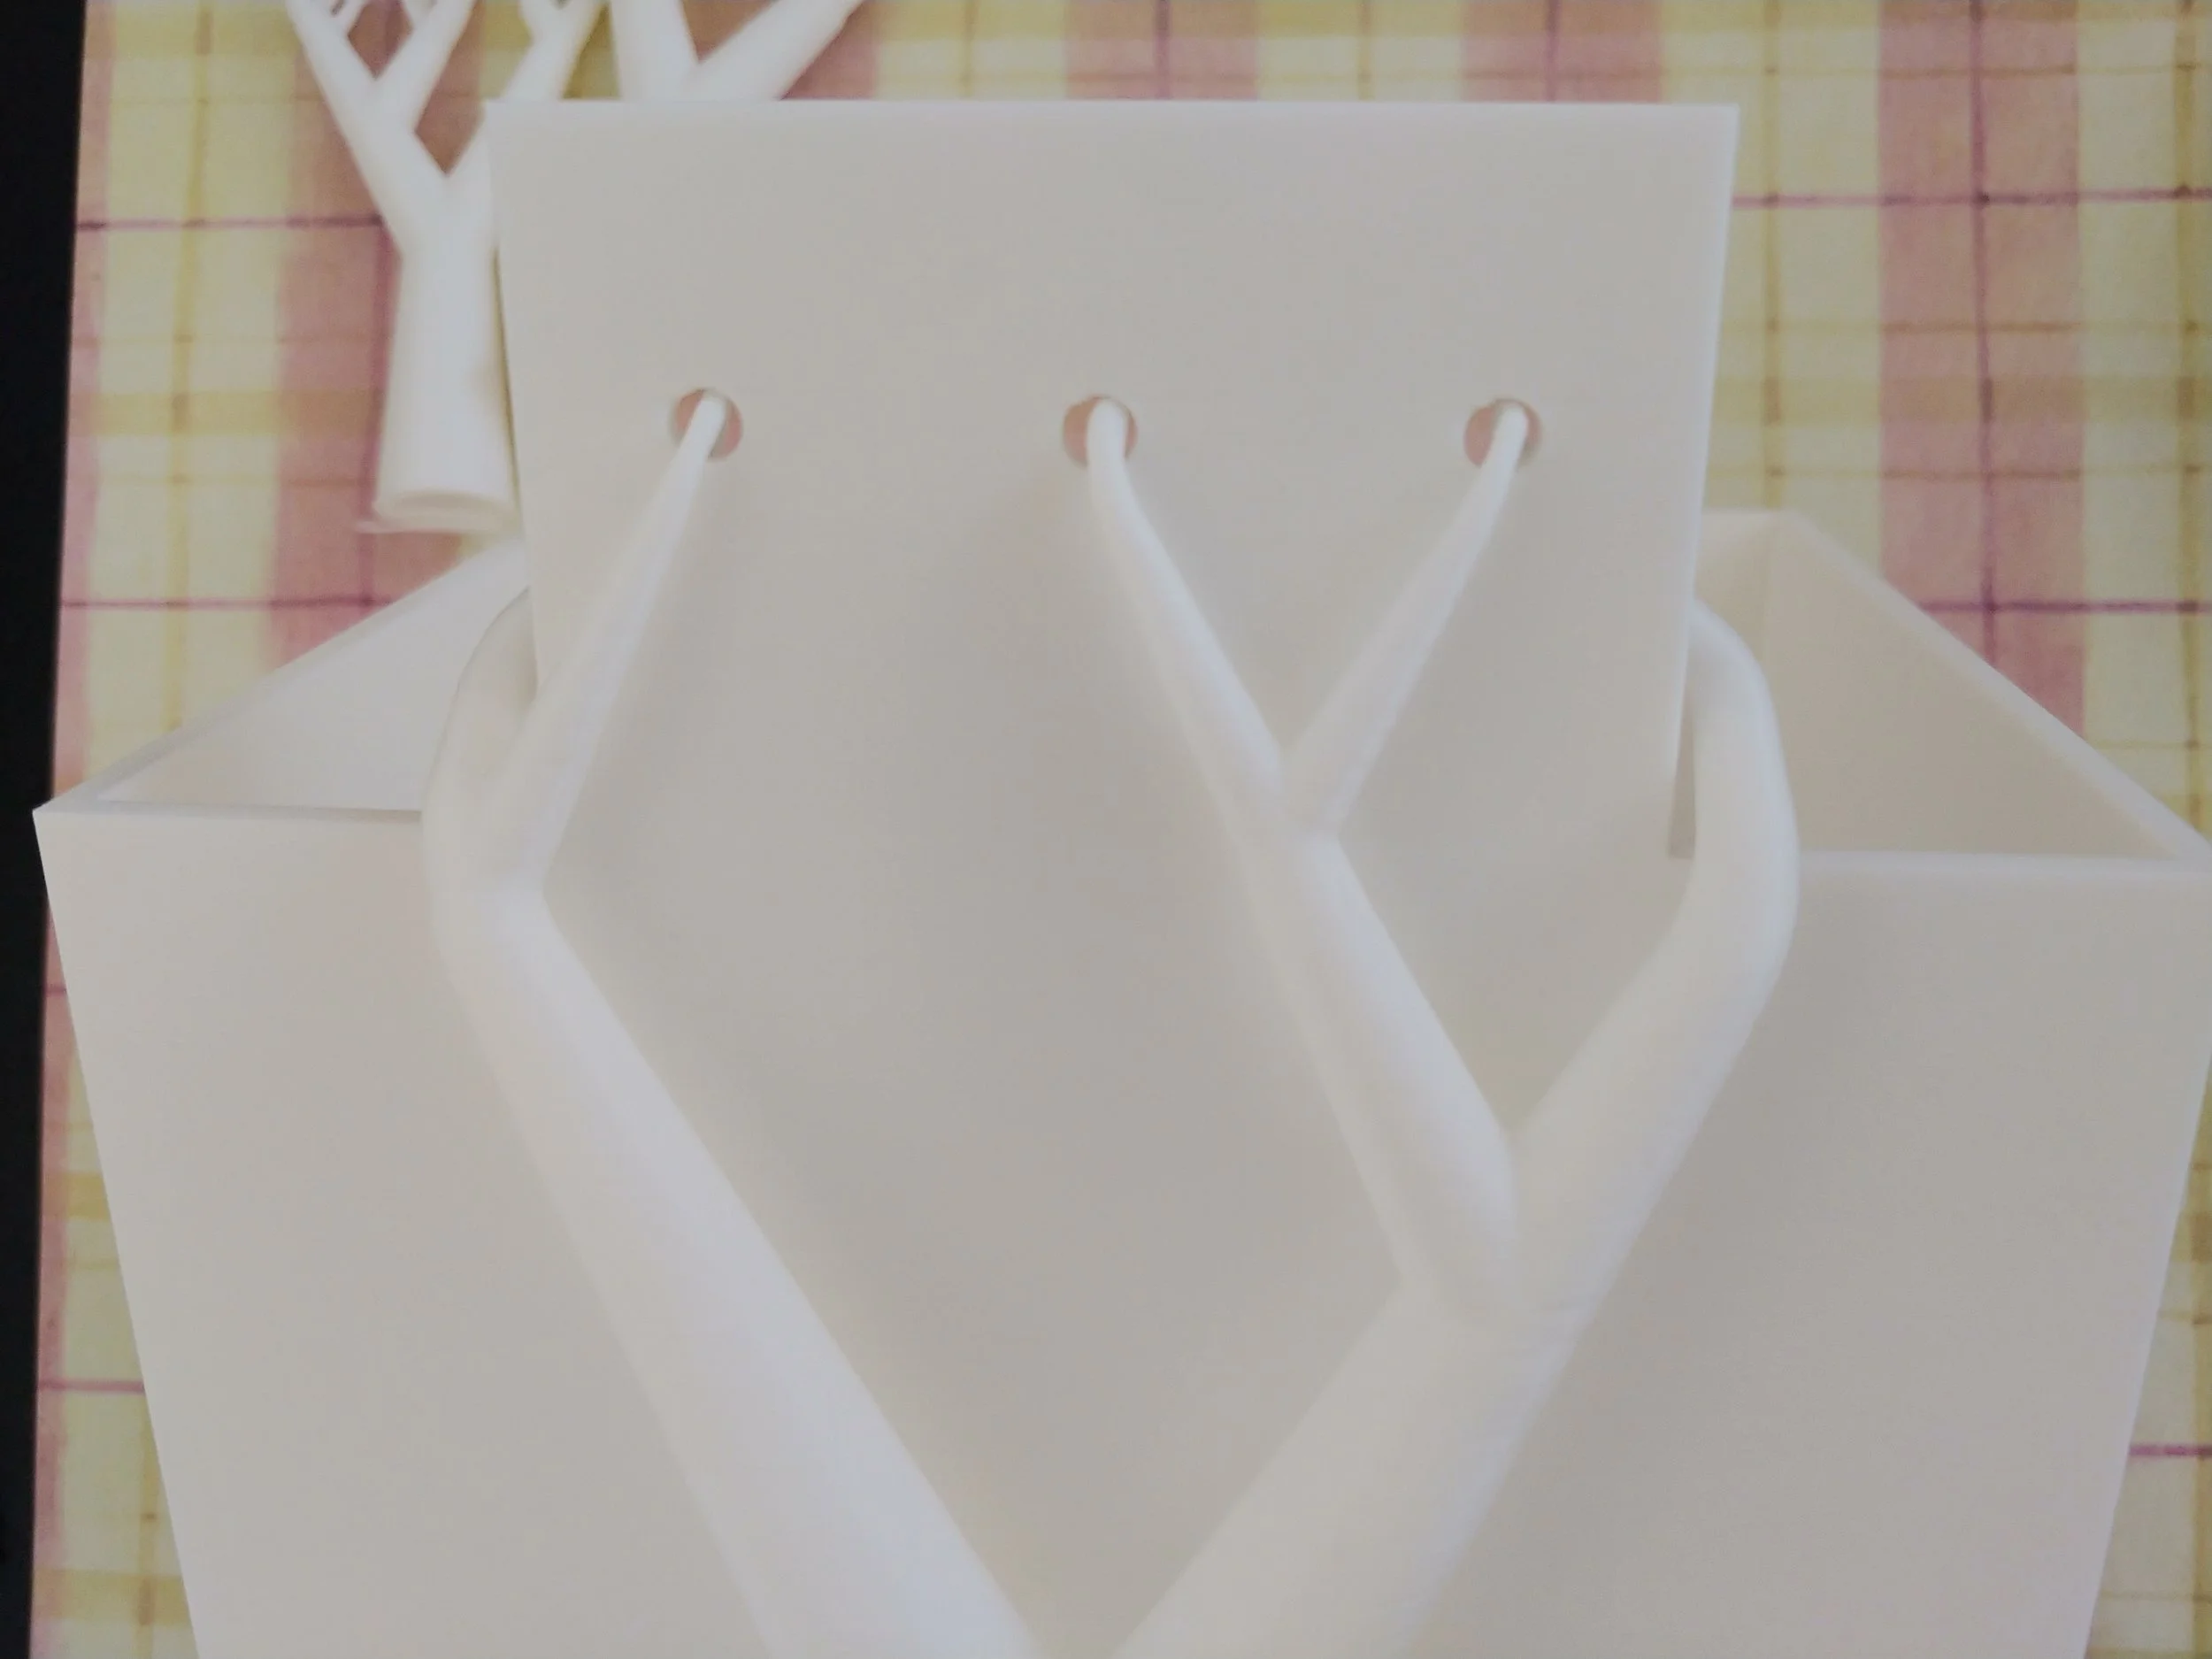
“No matter the angle, exceeding the threshold without supports resulted in an impossible situation.”
3D Printing Supports, Normal vs Tree! (Part 1)
Since I opted for lettering on the model, I wanted supports suitable for a more detailed print. I’ve found tree supports to be far better at preserving detail than the default blocky ones. The tree supports are often easier to remove too, probably because less of their surface touches the print. I ended up selecting the tree(auto) option for Type and default for Style.
Importing STL Files into Tinkercad for Mash-Ups and Remixes in Tinkercad
With my newly acquired knowledge, downloading a font was a snap. I created a folder just for fancy fonts and unzipped it into that. From there, it was super easy to import select letters and add them to the design. Adding the font was as simple as stringing the letters together and aligning them horizontally, combining them into a single long shape, narrowing it to fit the box, shrinking it so that it had a nice look, flattening it so that the text protruded only 2 mm, then rotating it and sticking it on. While aligning the text was slightly time-consuming, the rest of the steps were done in only slightly more time than it took to type them.
My Starting Library for Learning 3D Printing and Tinkercad: Five Reviews
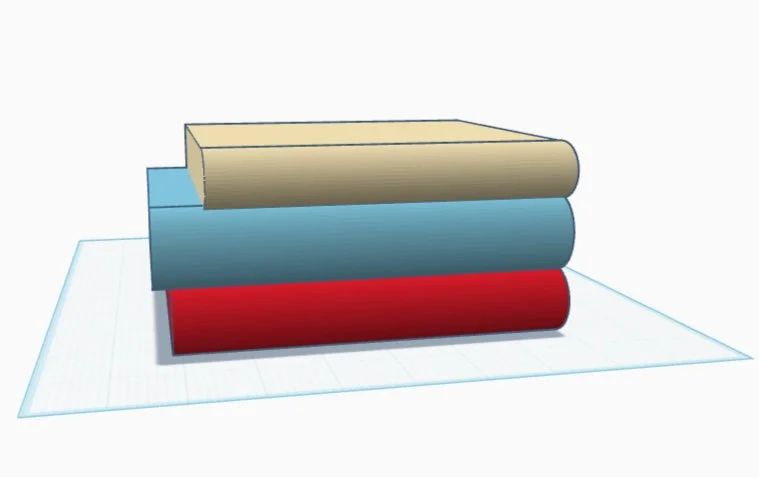
I enjoyed this book immensely. It made the learning process fun, and I could see the results of my lessons in real time. I did most of the work in the book, save for converting real-world models. When I get to that bit, I’ll write an article on it :)
3D-Printing Children’s Toys: Safety Considerations Every Maker Should Know
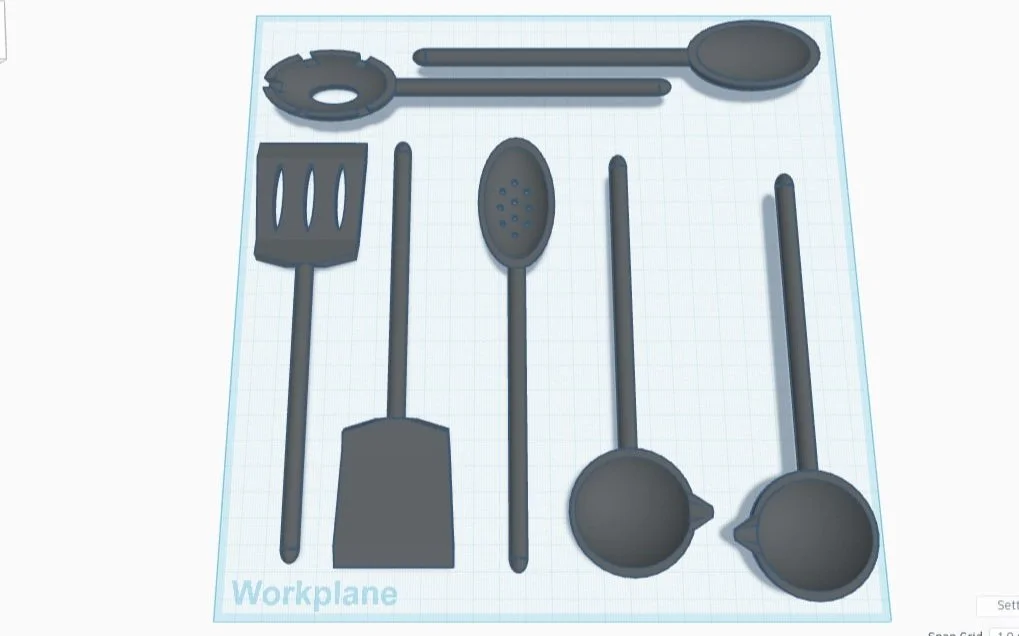
I went home and immediately made the necessary changes to make this set safe for smaller children. I made the ends even rounder, ensuring that they couldn’t accidentally scratch someone. I also angled the spatula, then created a ladle for left-handed people.

PLA, PETG, and ABS: Which filament type do you need for your 3D Print?
A pause while I considered this new information. Filament quality can be different? The rolls look basically the same to me, but for the color. Clearly I was missing some important knowledge.
Reworking A 3D Printed Packet Organizer into Game Storage
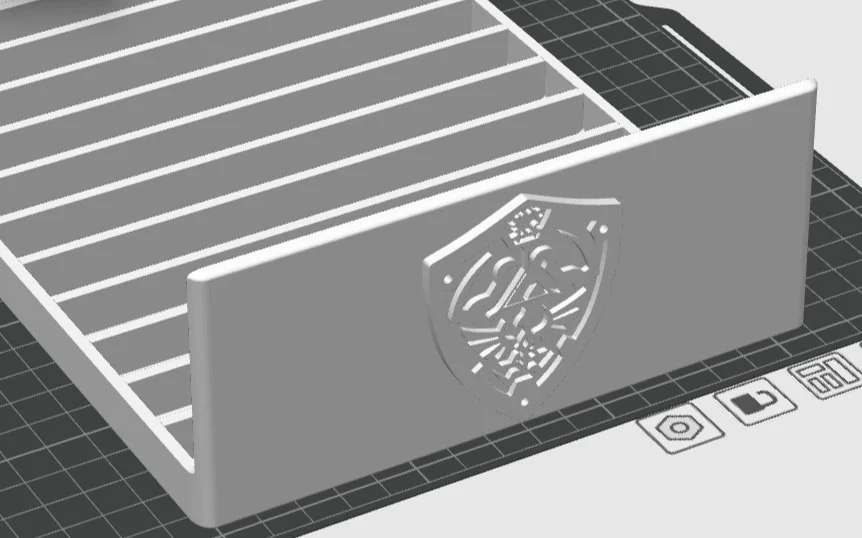
My imagination on fire, I grabbed some pens and started making some sketches. In no time, I had another person join the brainstorming session, so you can see the results of our ideas.
Making Some Ball and Socket Joints in Tinkercad
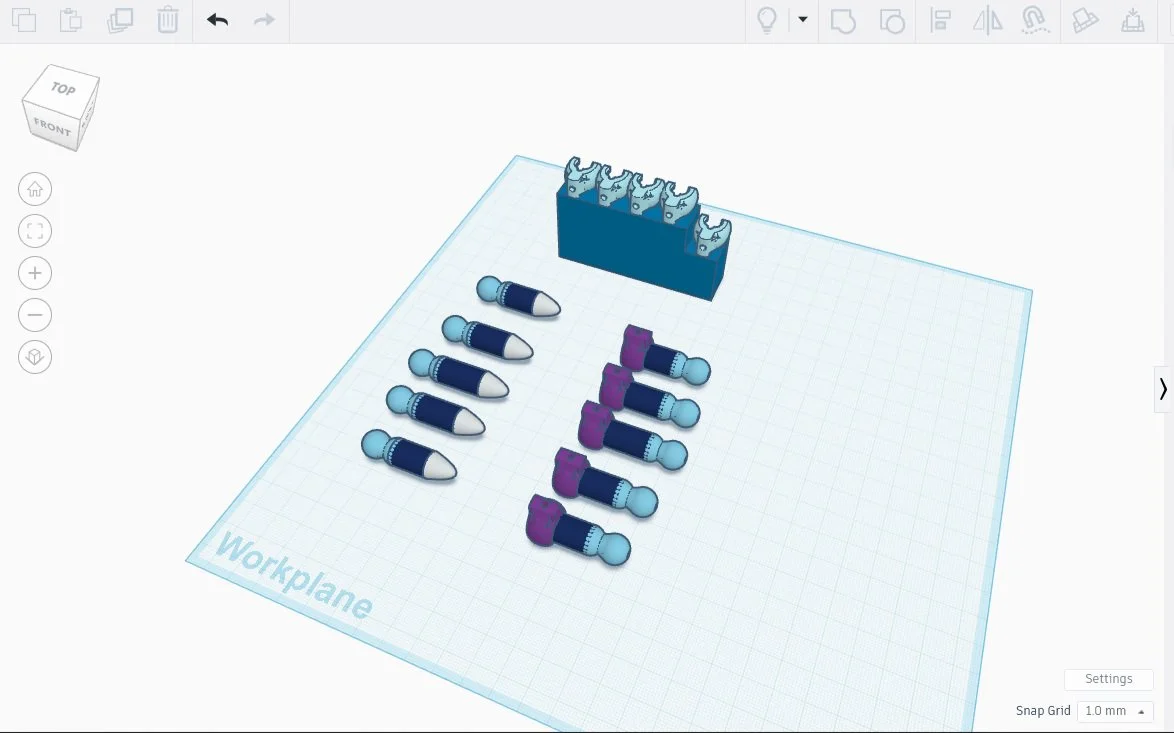
Have you ever wanted to design ball and socket joints that resemble human fingers? Neither have I, but it’s the next exercise in a book I’m reading. Specifically I’ll be creating 3D-printed movable phalanges, or finger bones, by printing a mostly-rectangular ‘palm’, some socket ‘knuckles’, ball joints on fingers, and some fingertips. The sockets will perform a similar function to ligaments in the human body, allowing the fingers to move. Neat, and also creepy. But neat.
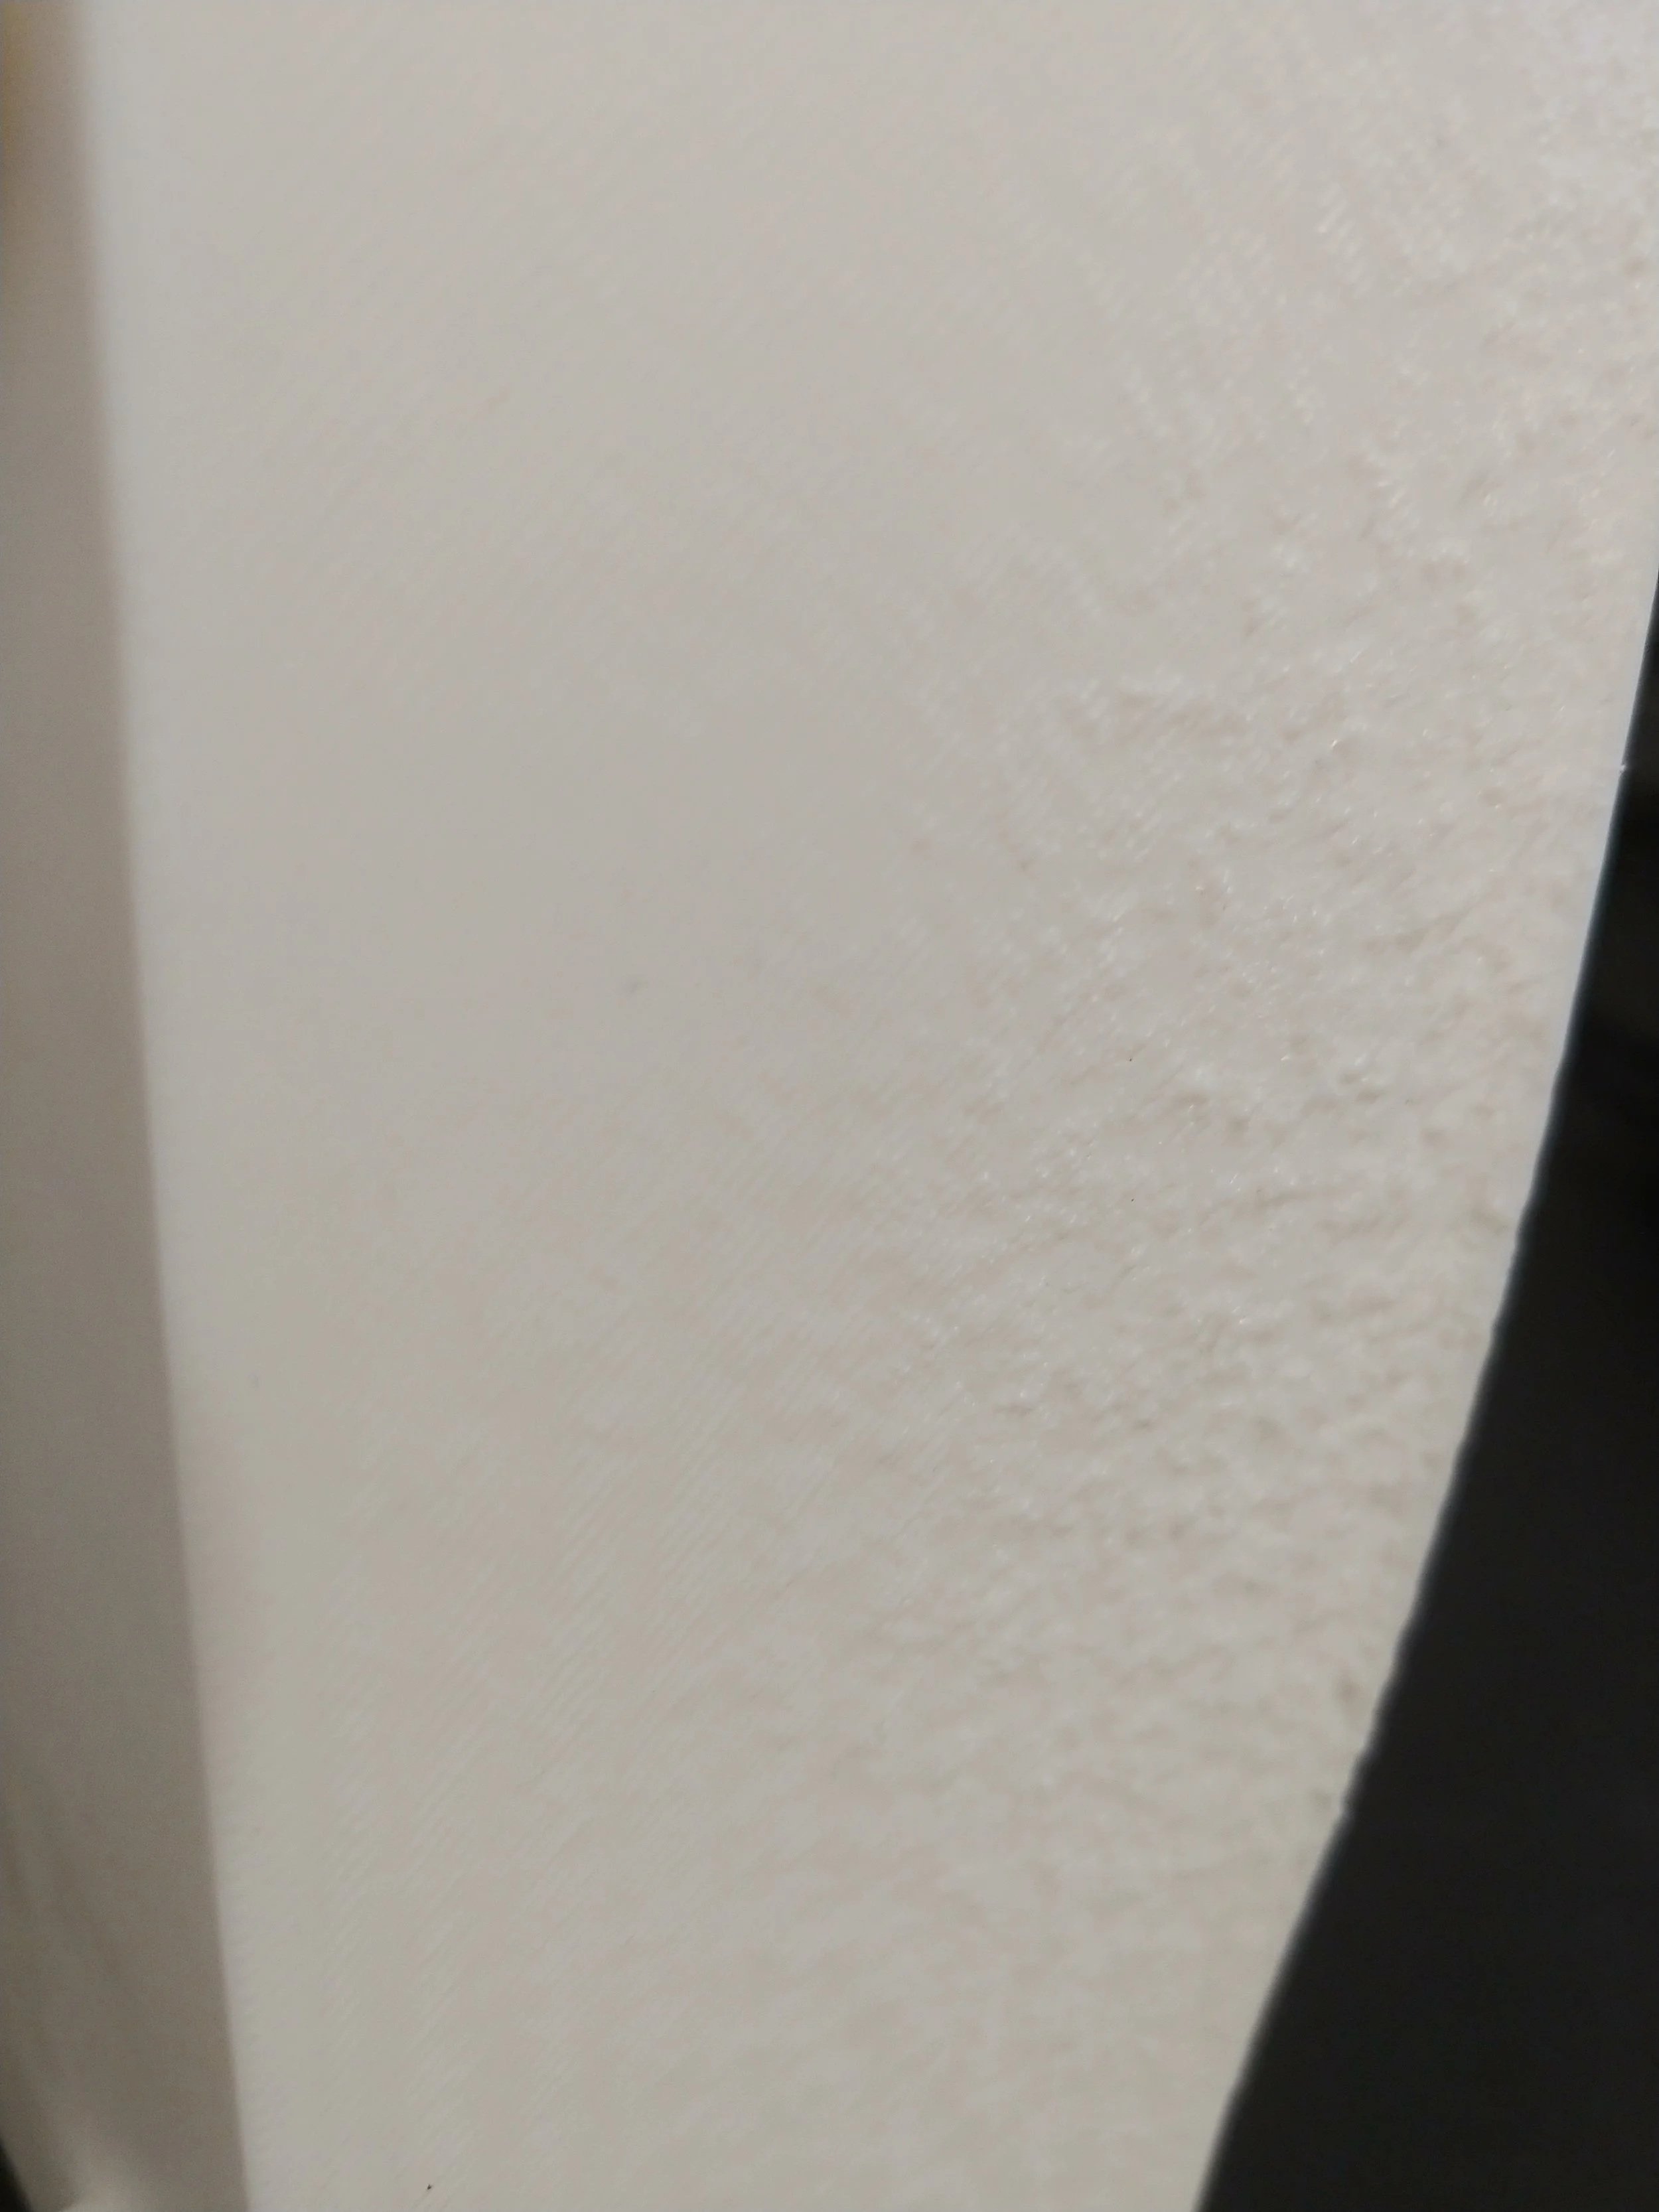
Troubleshooting & Tips: Why does my 3D Print have wrinkles in it?
Have you gone to print something really cool only to find that mysterious wrinkles had appeared? Unless your really cool 3D print needed a molten slag effect, those wrinkles and layer defects probably ruined it. But why? What are they? And how can you not have this happen again?
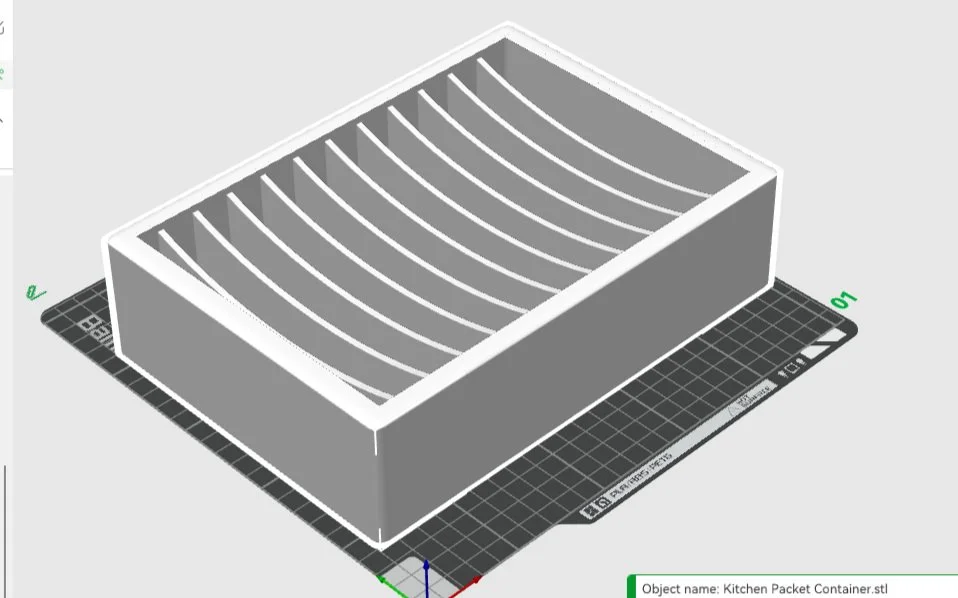
Designing a 3D-Printed Kitchen Organizer (for Food Packets)
The good news: the print was perfect! The bad news: the scaffolding was the absolute worst. The good news again: my toolbox had everything I needed to deal with the unruly scaffolding! It took time and patience, and also a chisel and some sandpaper.
My Toolbox
I went to youtube for help, and discovered a secret that would change my 3D printing life: chisels. I wish I could find that video again - it was made by a carpenter who did 3D printing as a side hobby, and not only was it a good video, but I also suspect he has other great 3D print videos. If I find it again, I’ll link it.
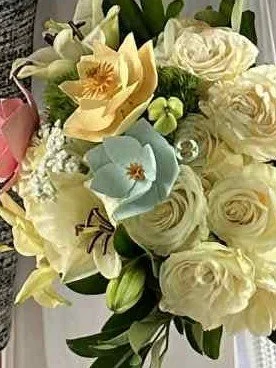
3D-Printed Wedding Flowers (Part 2)
“I made another crown, exactly like the first, only this time I decided to add the pieces to a ring shape, with a plan to make the next three pieces nestable, then print them separately instead of as one solid piece.”
3D Printed Wedding Flowers (Part 1)
I then looked at what went right.
Despite the crummy edges, my idea for forming a petal tepal shape had mostly held. The stem/tepal joining looked like it could work if I fine-tuned it — it was only the height of the rings that made the stacking bad. The stem itself was rather nice, proof that the overall concept worked.
Excellent. Back to the drawing board.
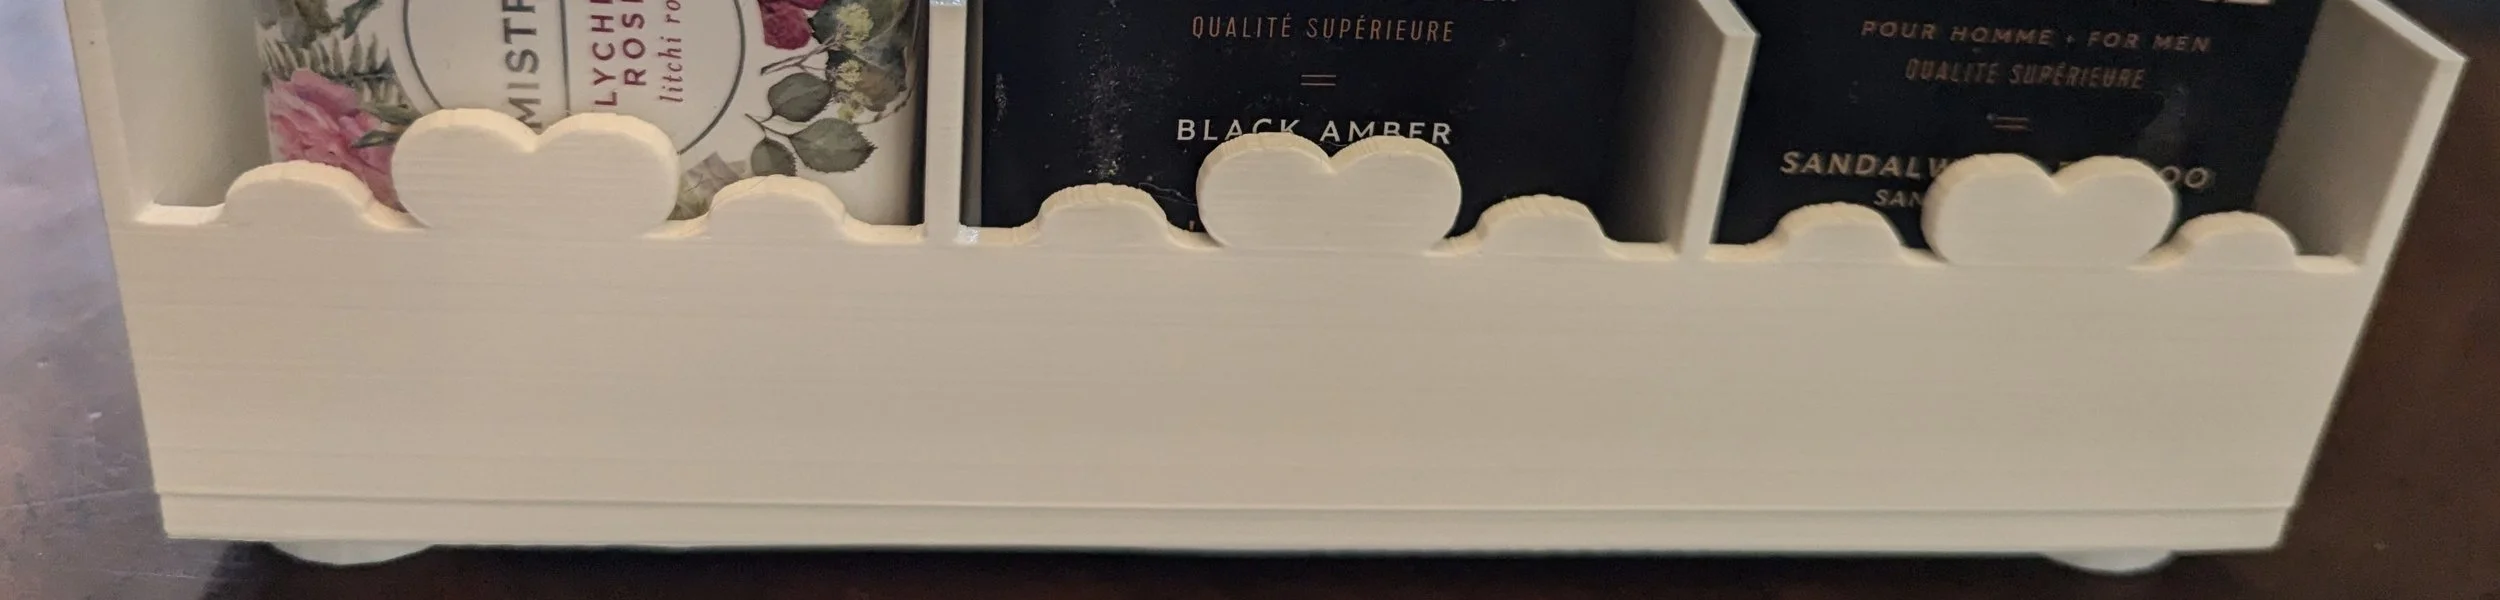
Reworking A Piece of a Finished Design
I applied the tool to the edges and it worked perfectly, almost like it was made for it! I then made two copies of the newly improved box, overlapped their sides, and merged them. I centered the ensemble on top of the feet that had been set aside, aligned the two pieces, then combined them into one. It looks like the rework was successful, though it will take a print to be certain.
Best Sites for FREE STL Files: Comparing Thingiverse and Printables
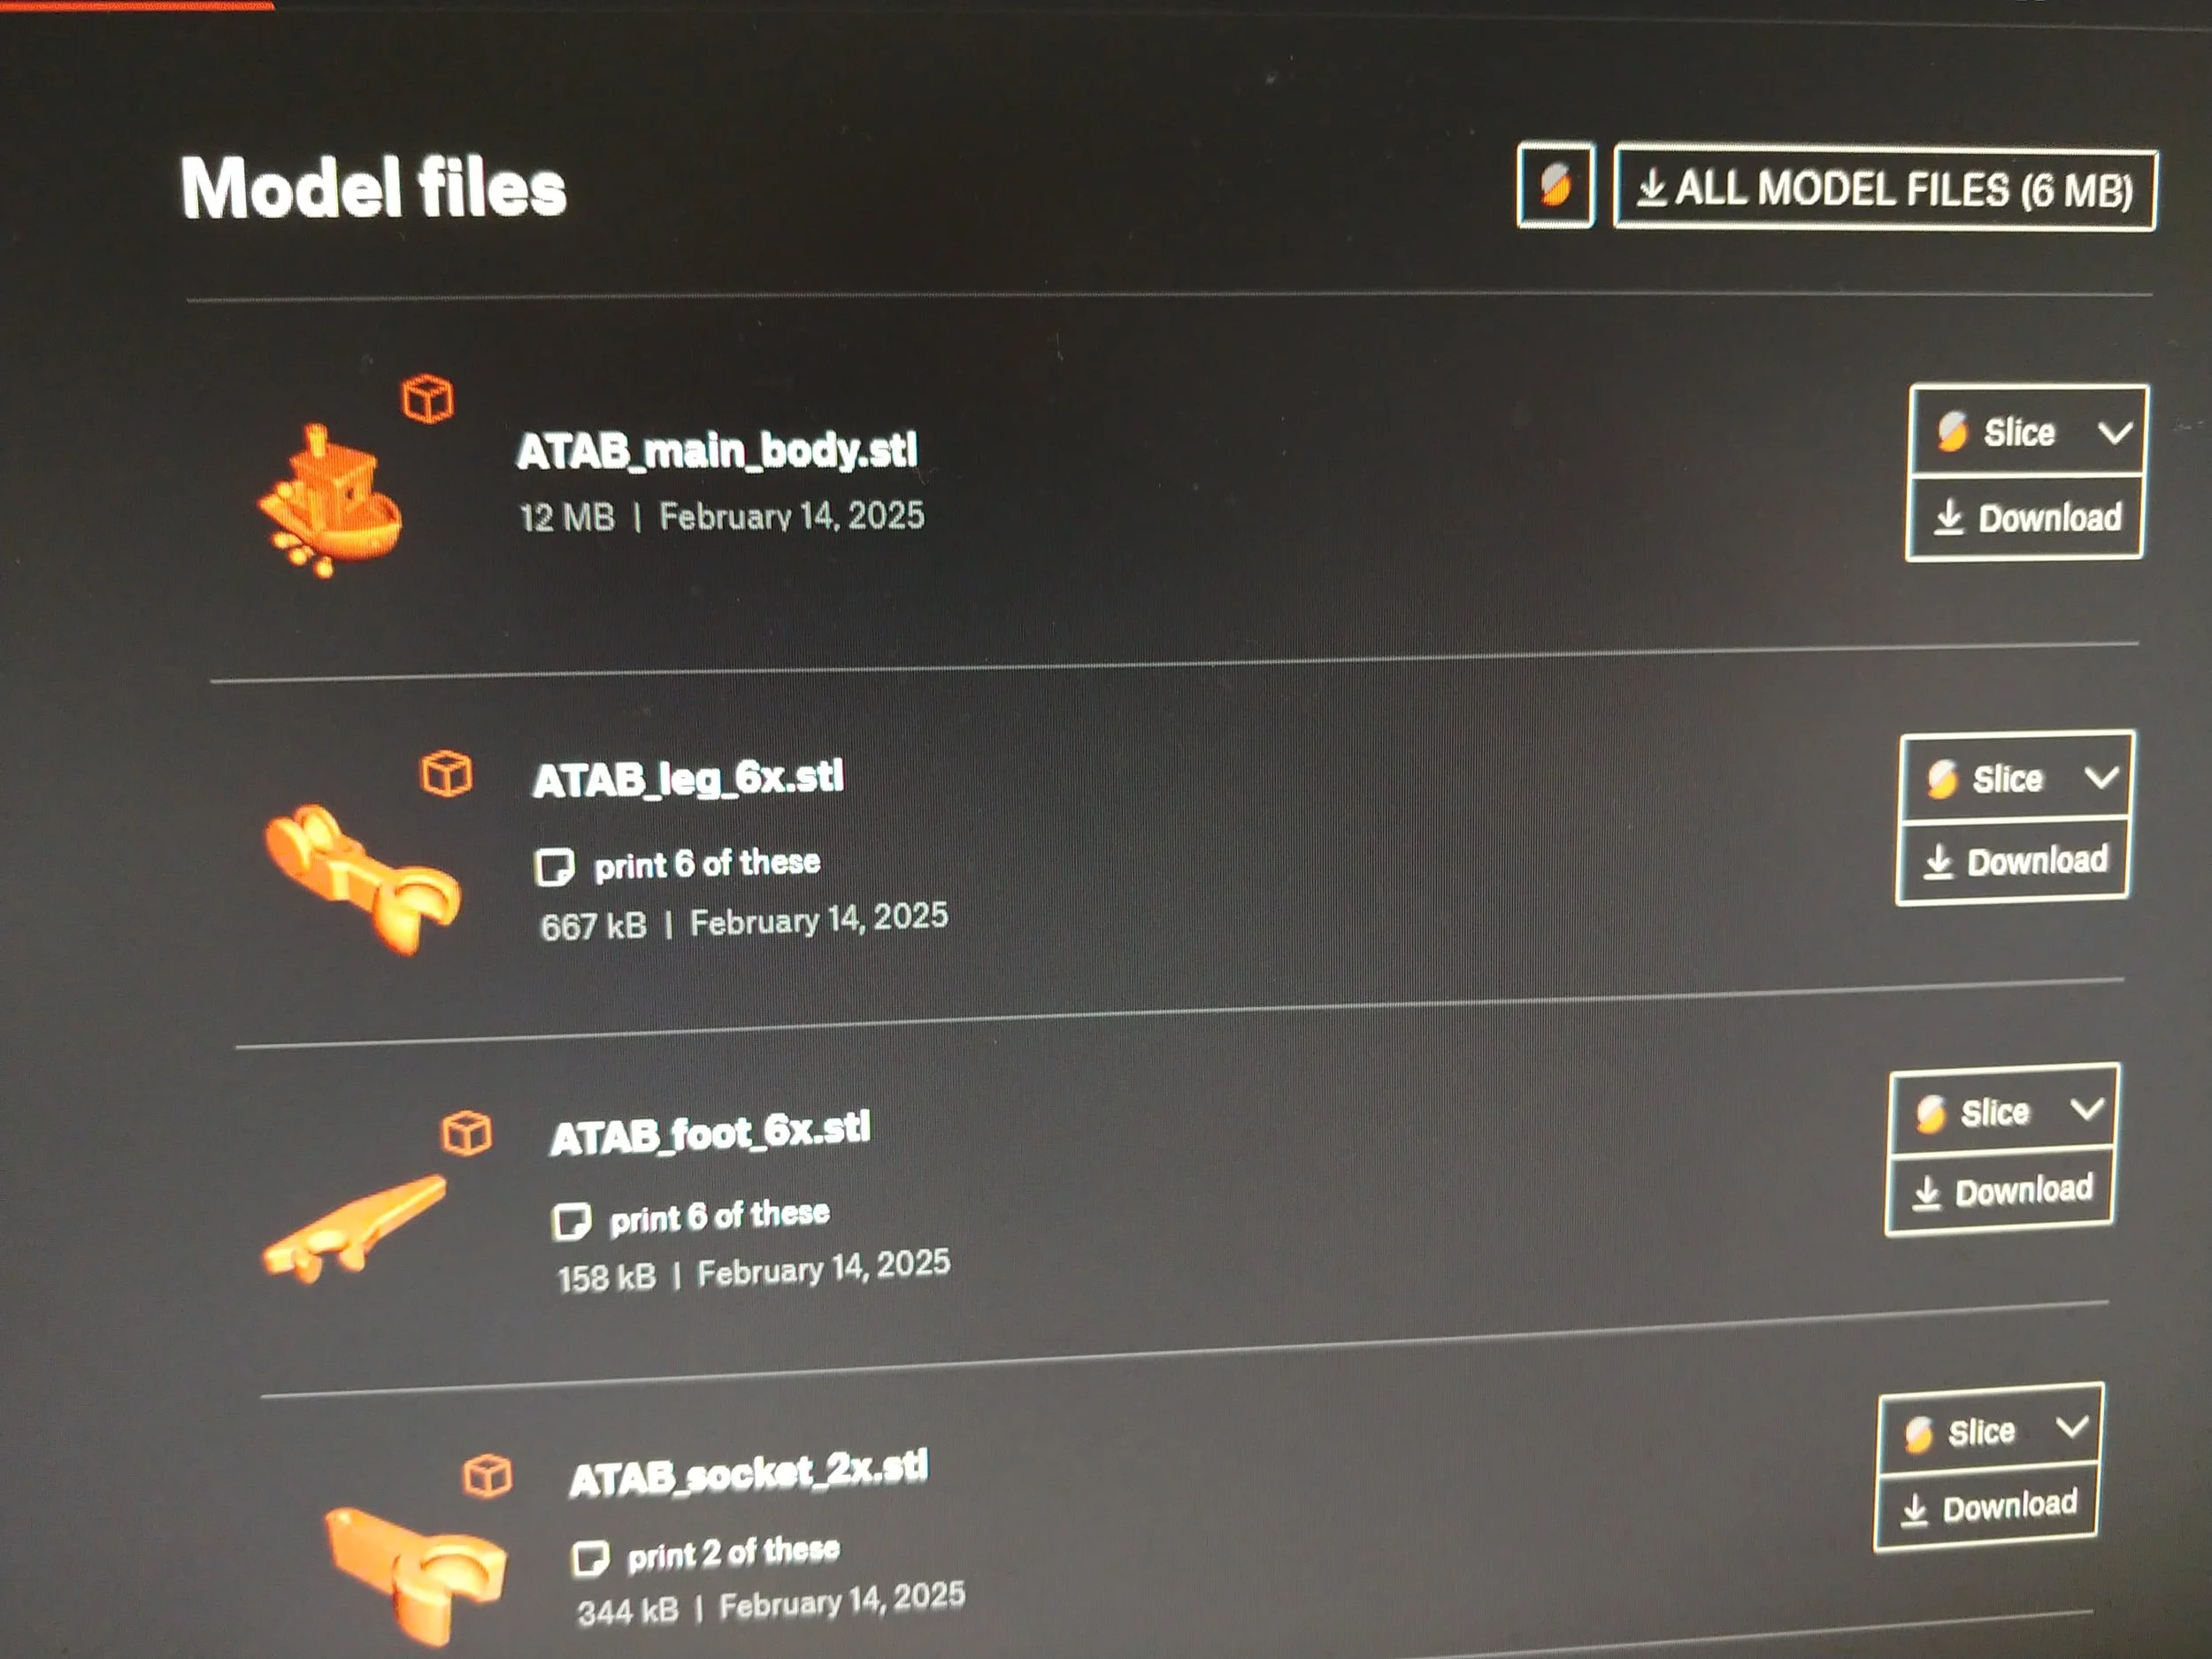
I went to Thingiverse first. Due to the struggles I had in placing the mini magnets the other day, I had planned on designing a set of long plastic tweezers. I typed in ‘long thin tweezers’ and was instantly rewarded with literal pages of just that.
Magnetic Stylus Holder for an Amazon Kindle Scribe
The second print was perfect. The stylus stayed in place when subjected to vigorous shaking. The sides of the holder are sturdier, and the magnet holes are a more aesthetically pleasing depth. Excellent. I added superglue to the magnet holes, then dropped the magnets in, and boy was I glad I wore workman’s gloves for this. The glue was unexpectedly messy, as it came pouring with incredible speed out of an improbably small tube. I felt that the laws of physics were being defied by that surreal flood.
Welcome to Golden Leaf 3D Printing
I have been having so much fun making things with the 3D printer. Even though I’ve only been designing for a few weeks, I’ve already learned how to model and print things that have made our household nicer. And what’s more, I love doing it!


.