Finishing the Model (Part 1): Sanding, Chisels, and Filler Primer
There are numerous steps to actually making a model. It starts with an idea, then sketches and notes, followed by plans: blueprints and drafts. From there, the plans get laid out in some form of software, portions may get tested separately, the piece then printed, and lo, there is a model!
Except it’s not done yet.
When a design gets printed, the printer often leaves behind layer lines and pieces of support. To make an object look like it isn’t 3-D printed, a model needs to have a smooth surface, with no print lines apparent and no trace of supports. Painting it also helps. This process is called ‘finishing’.
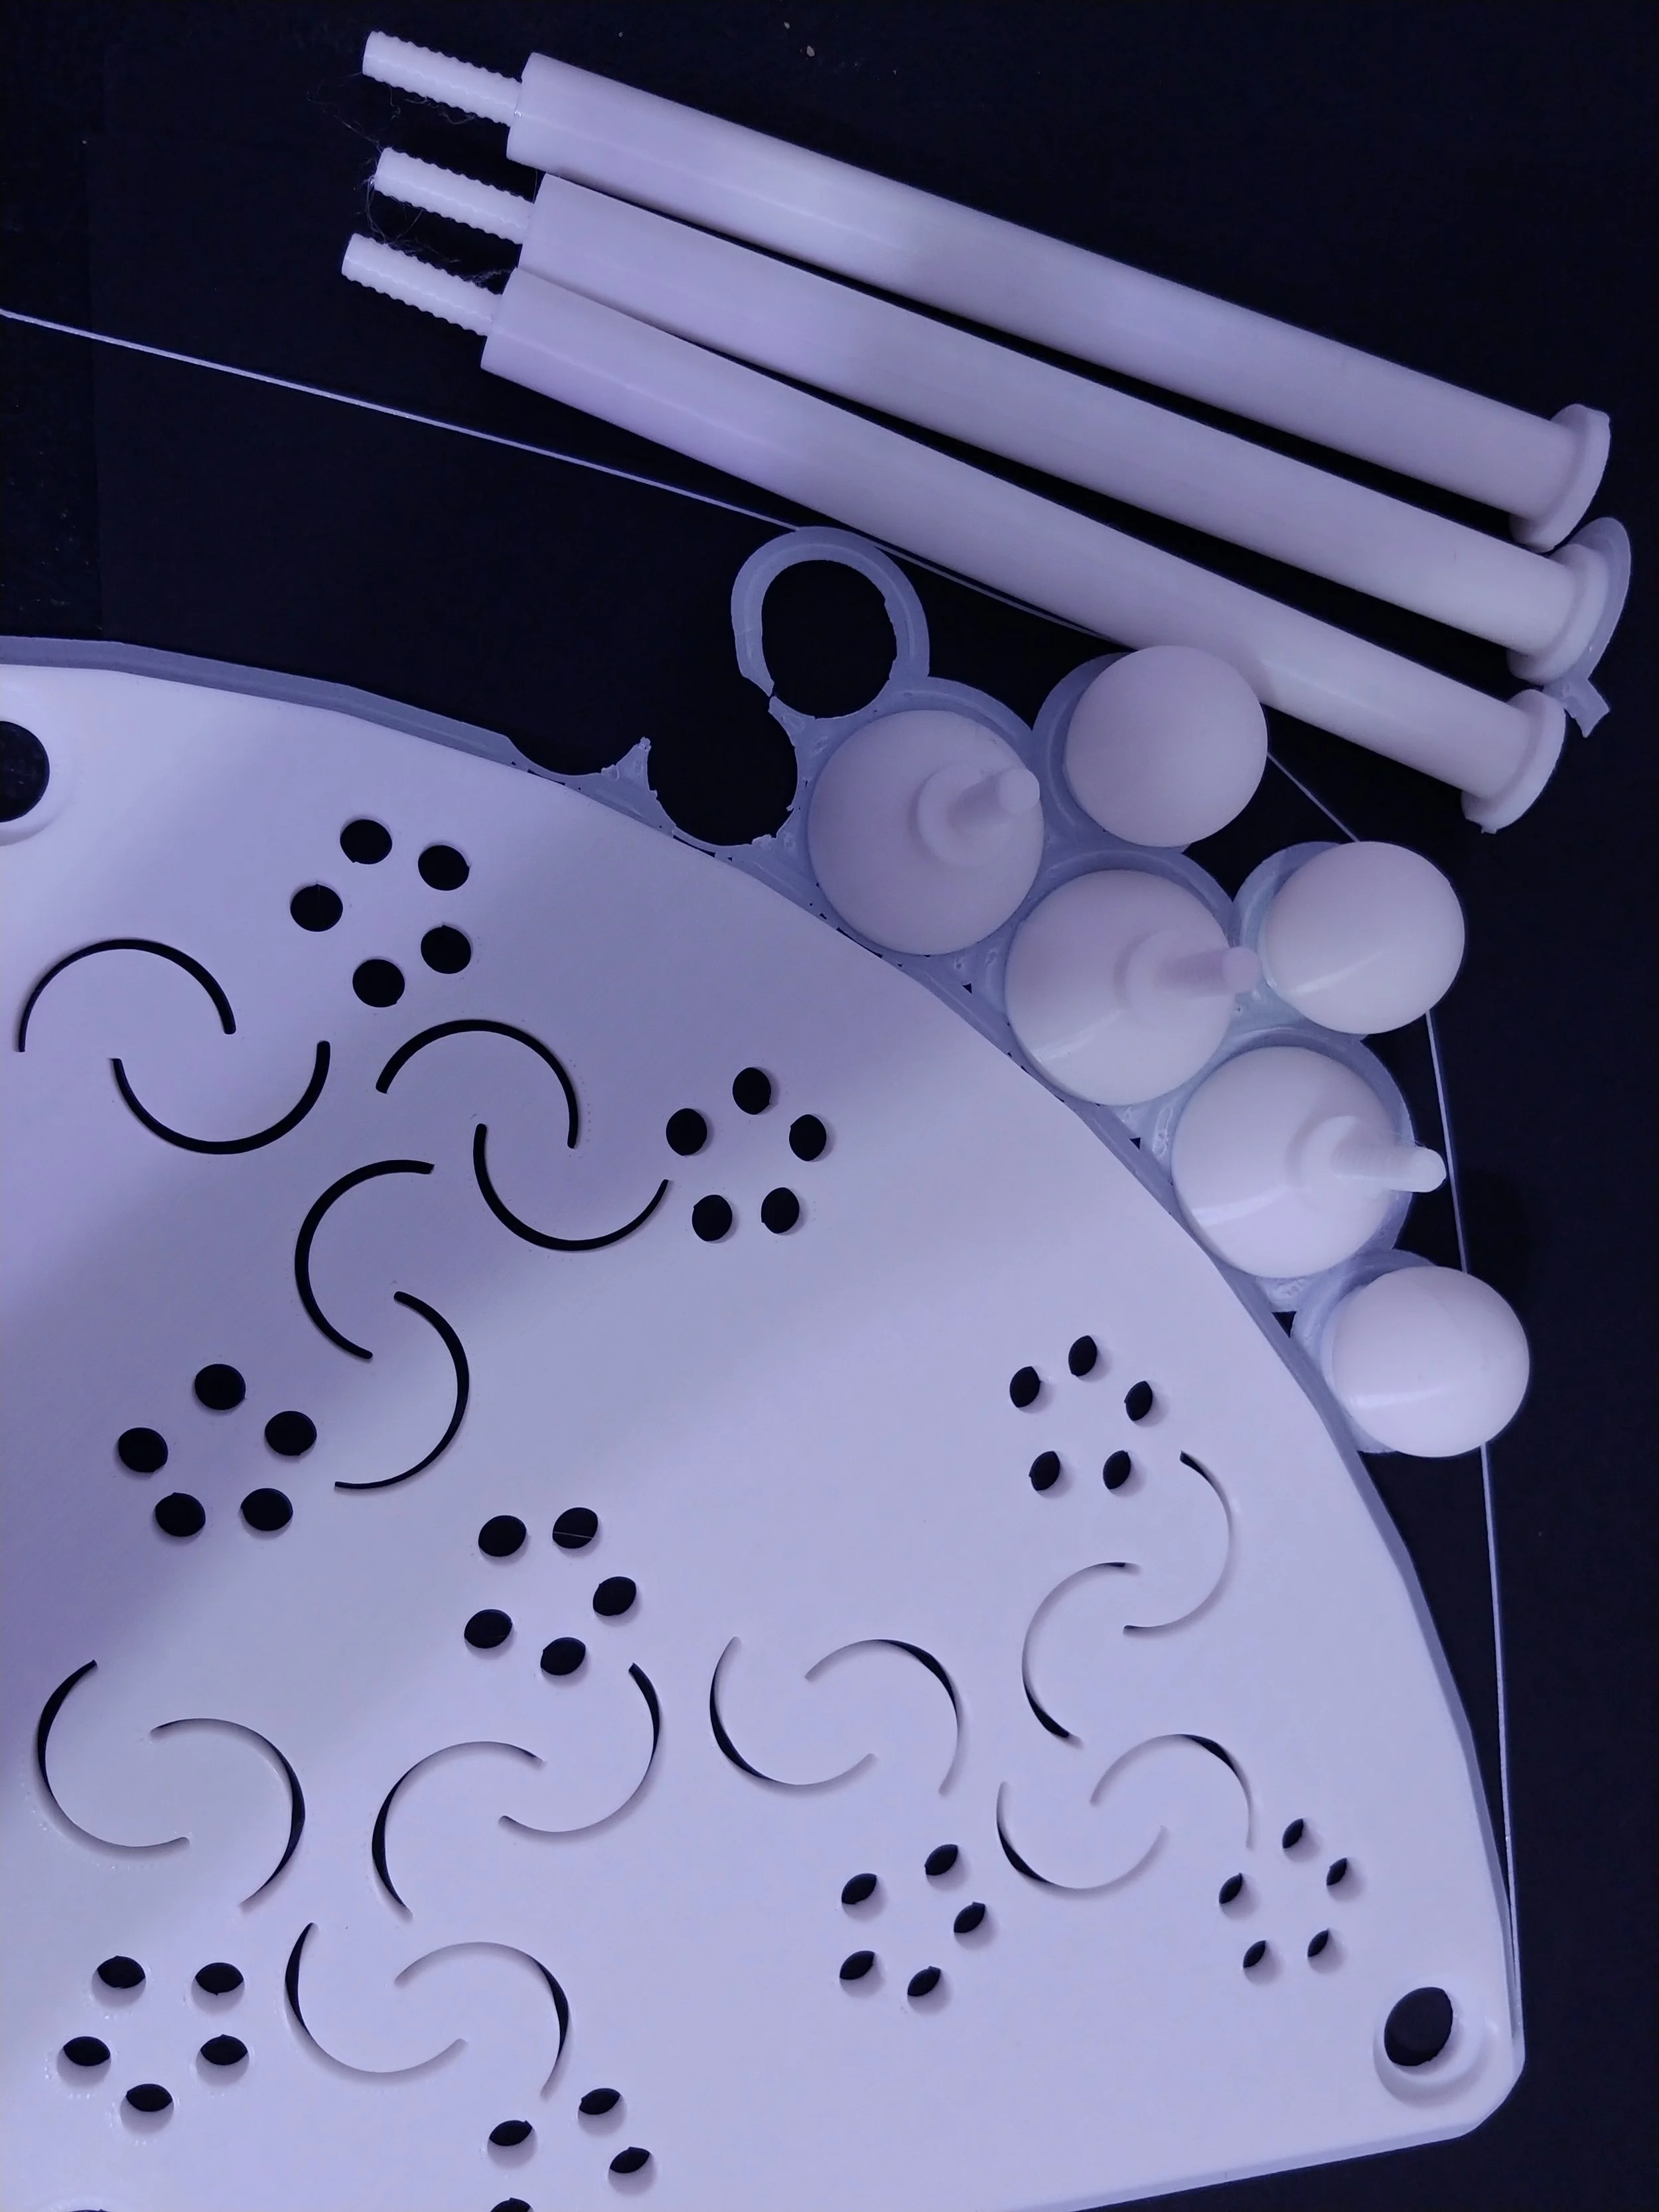
Brim that needs trimming
Today I’m going to finish a shelf I designed for the top of my desk. I’m printing it with no supports, but I used a brim, which will need trimming.
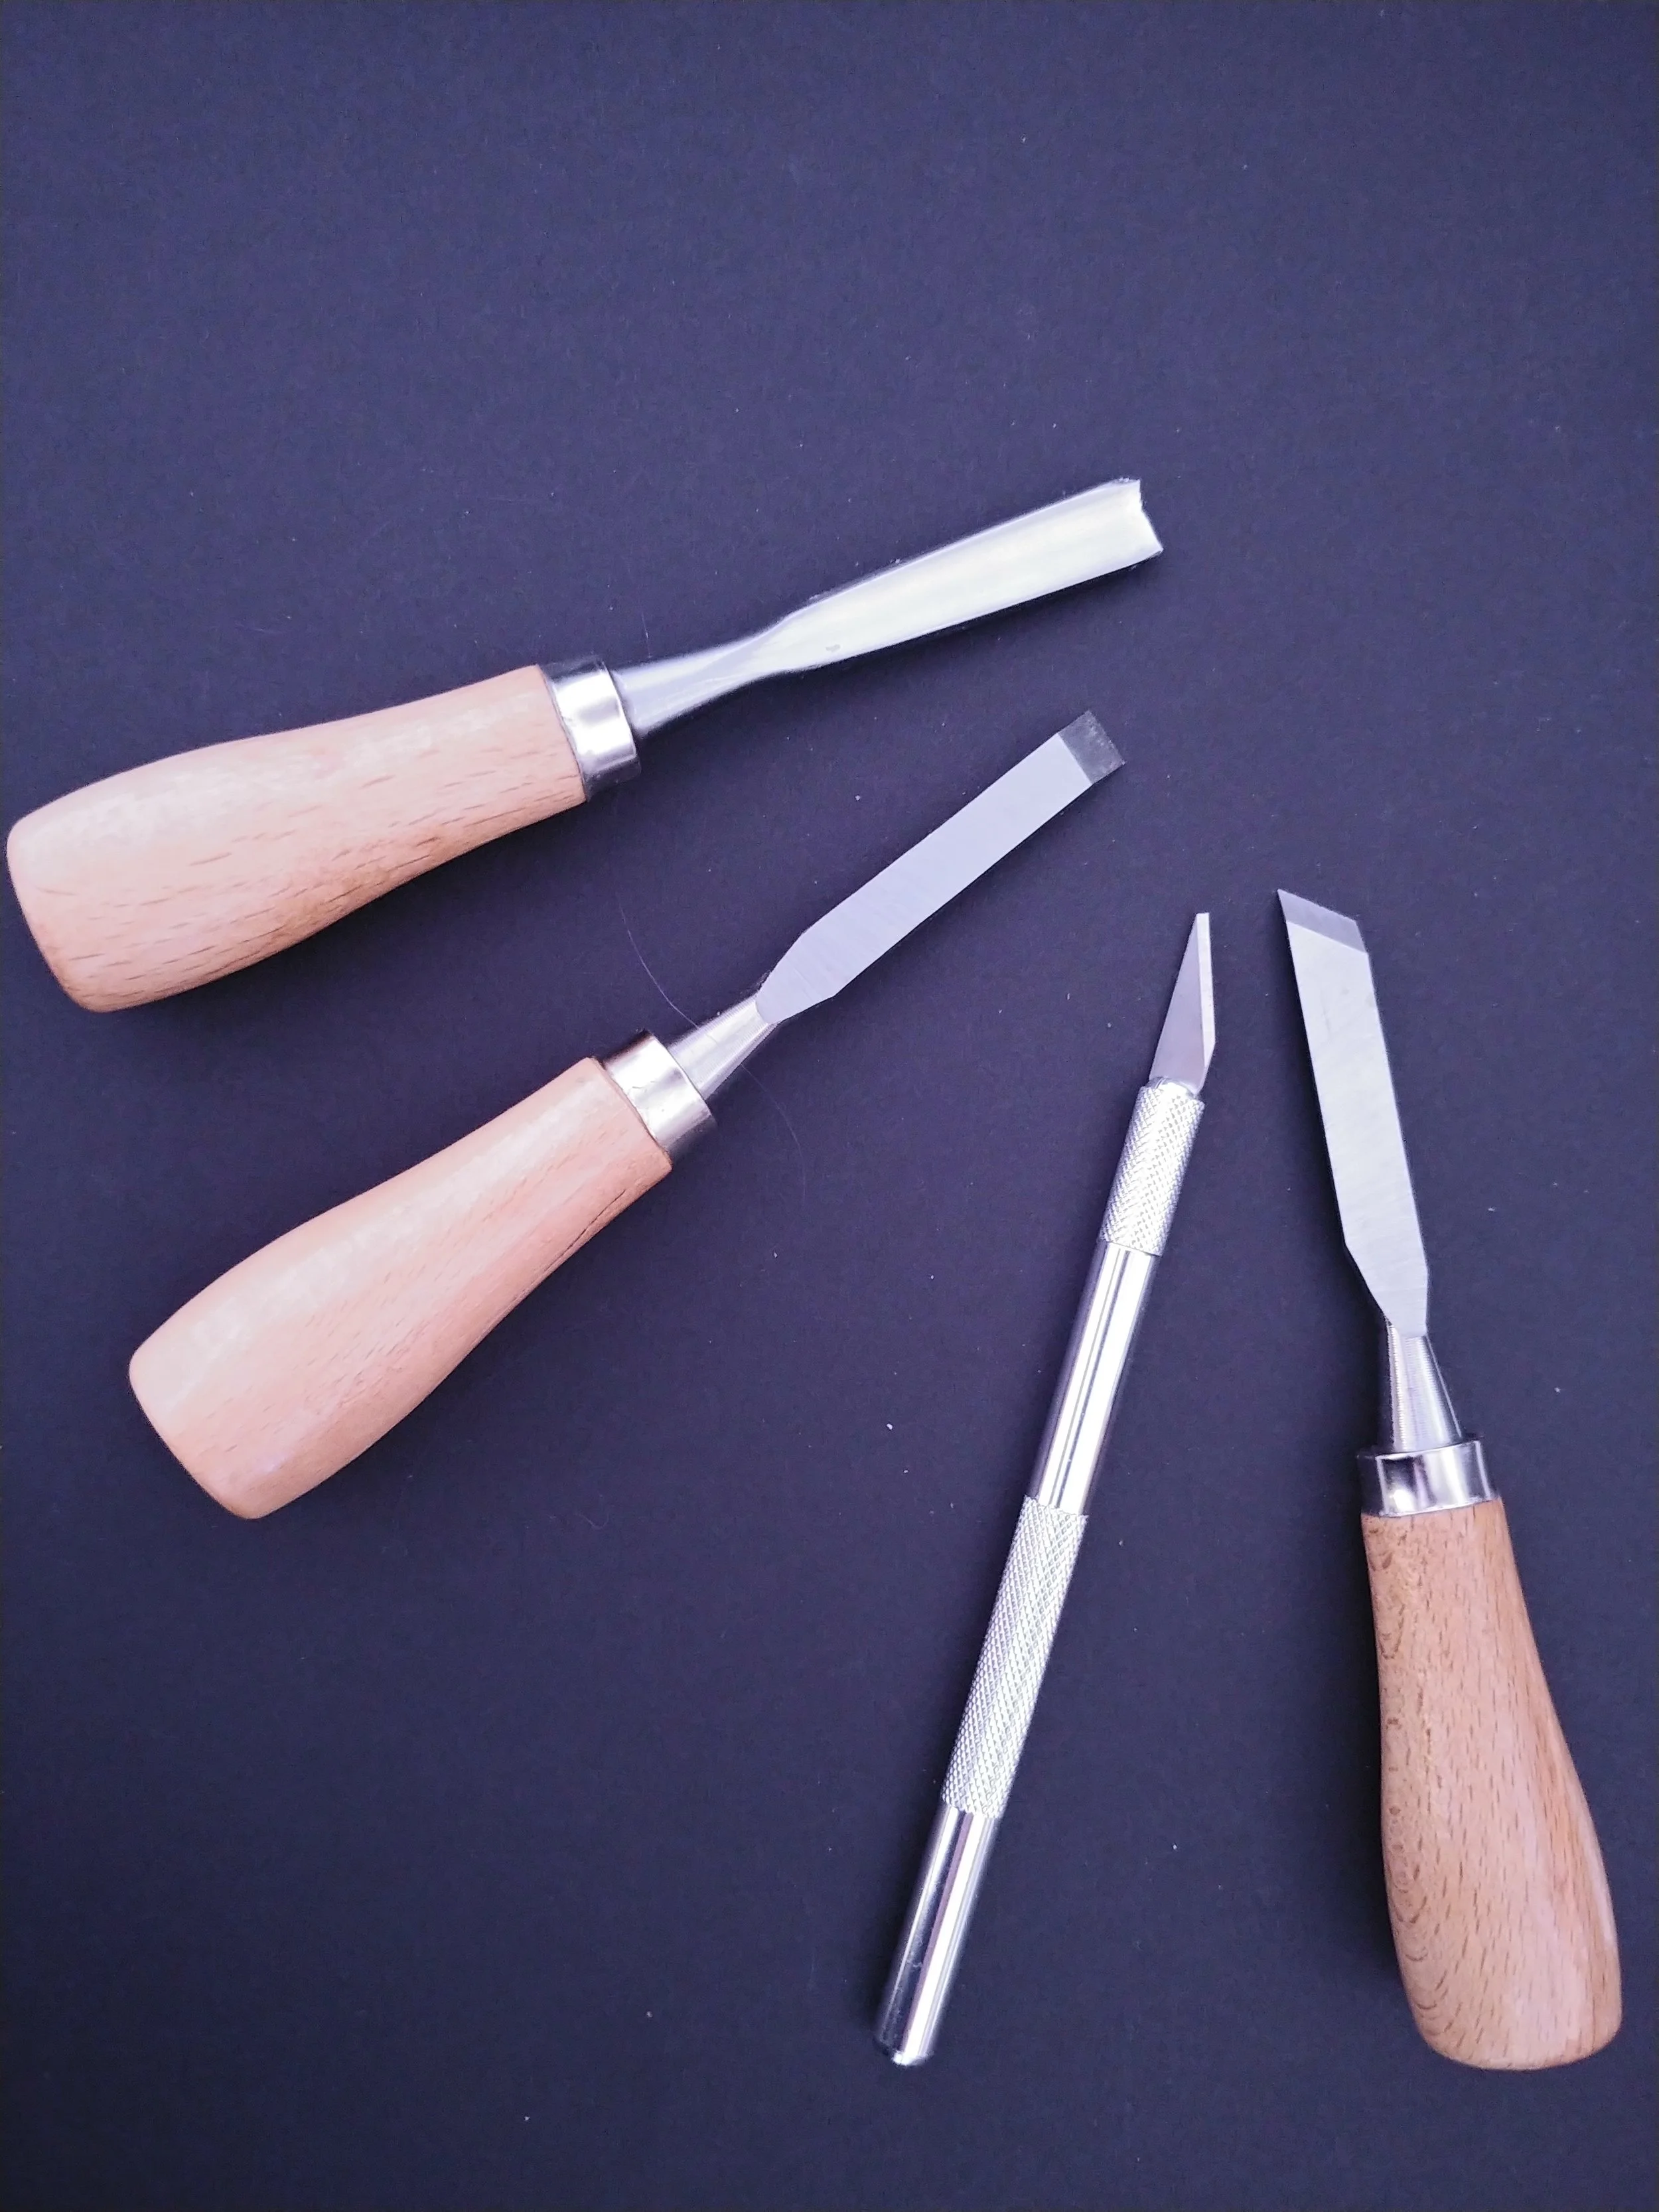
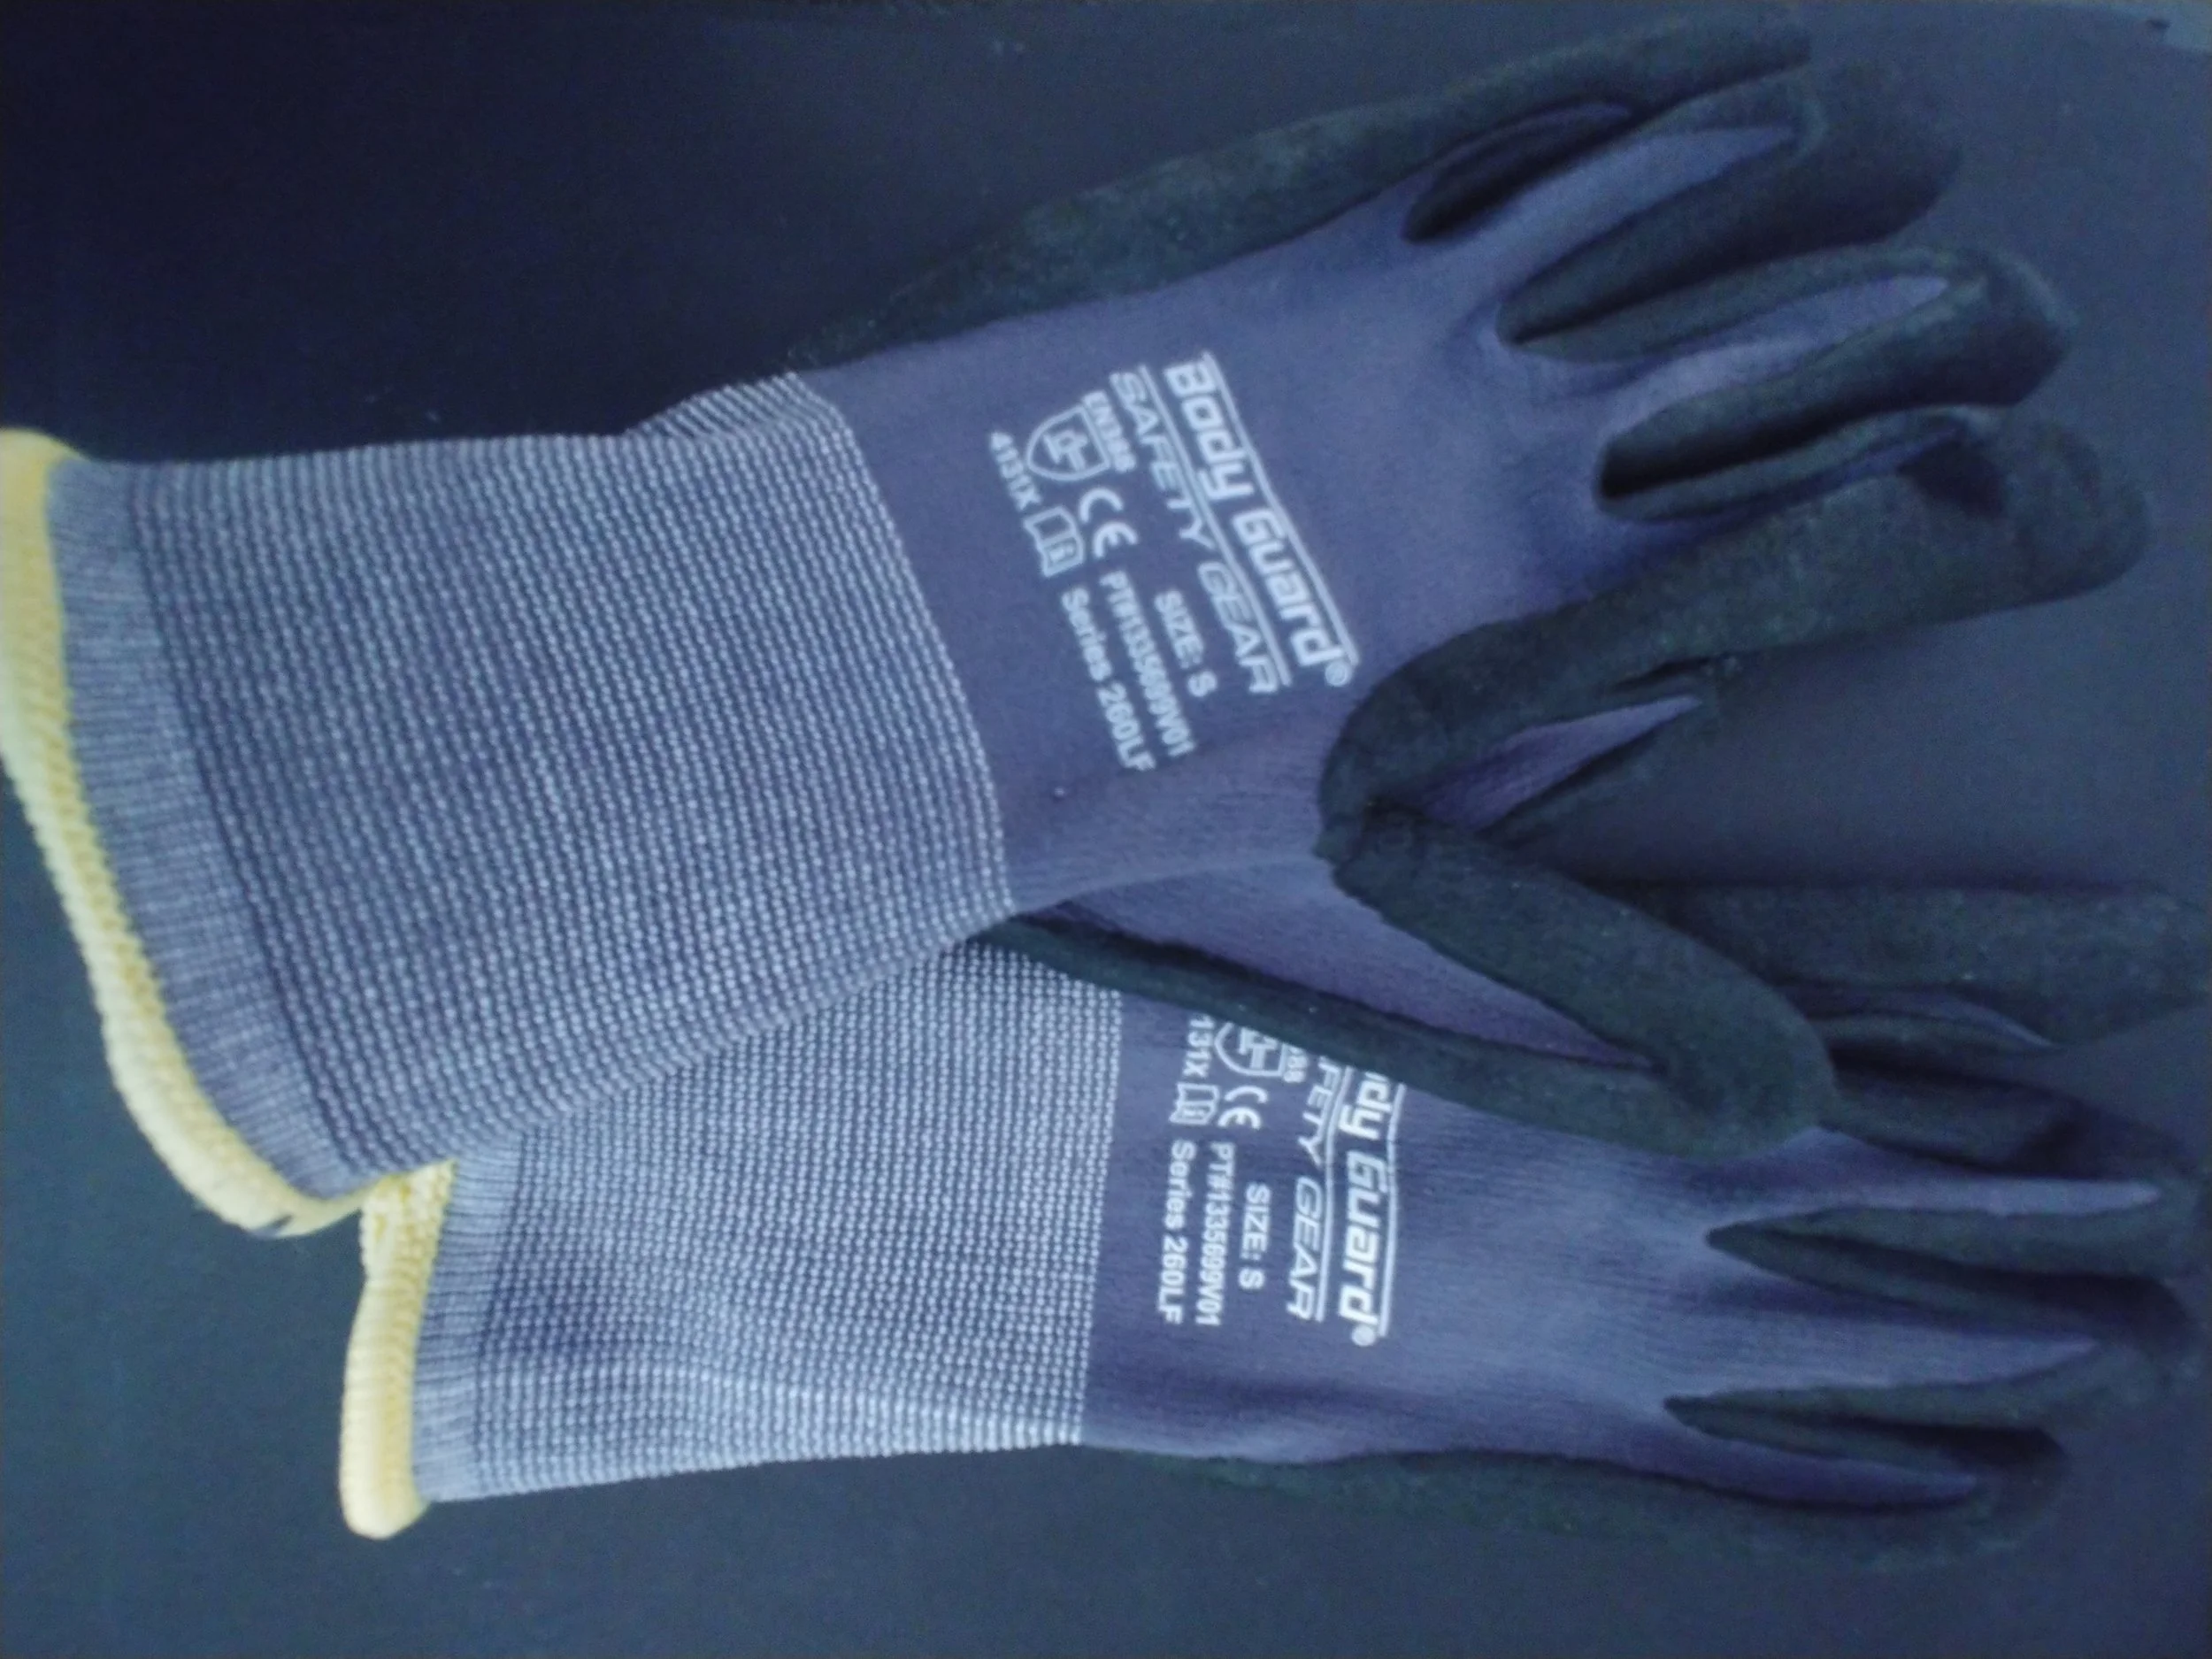
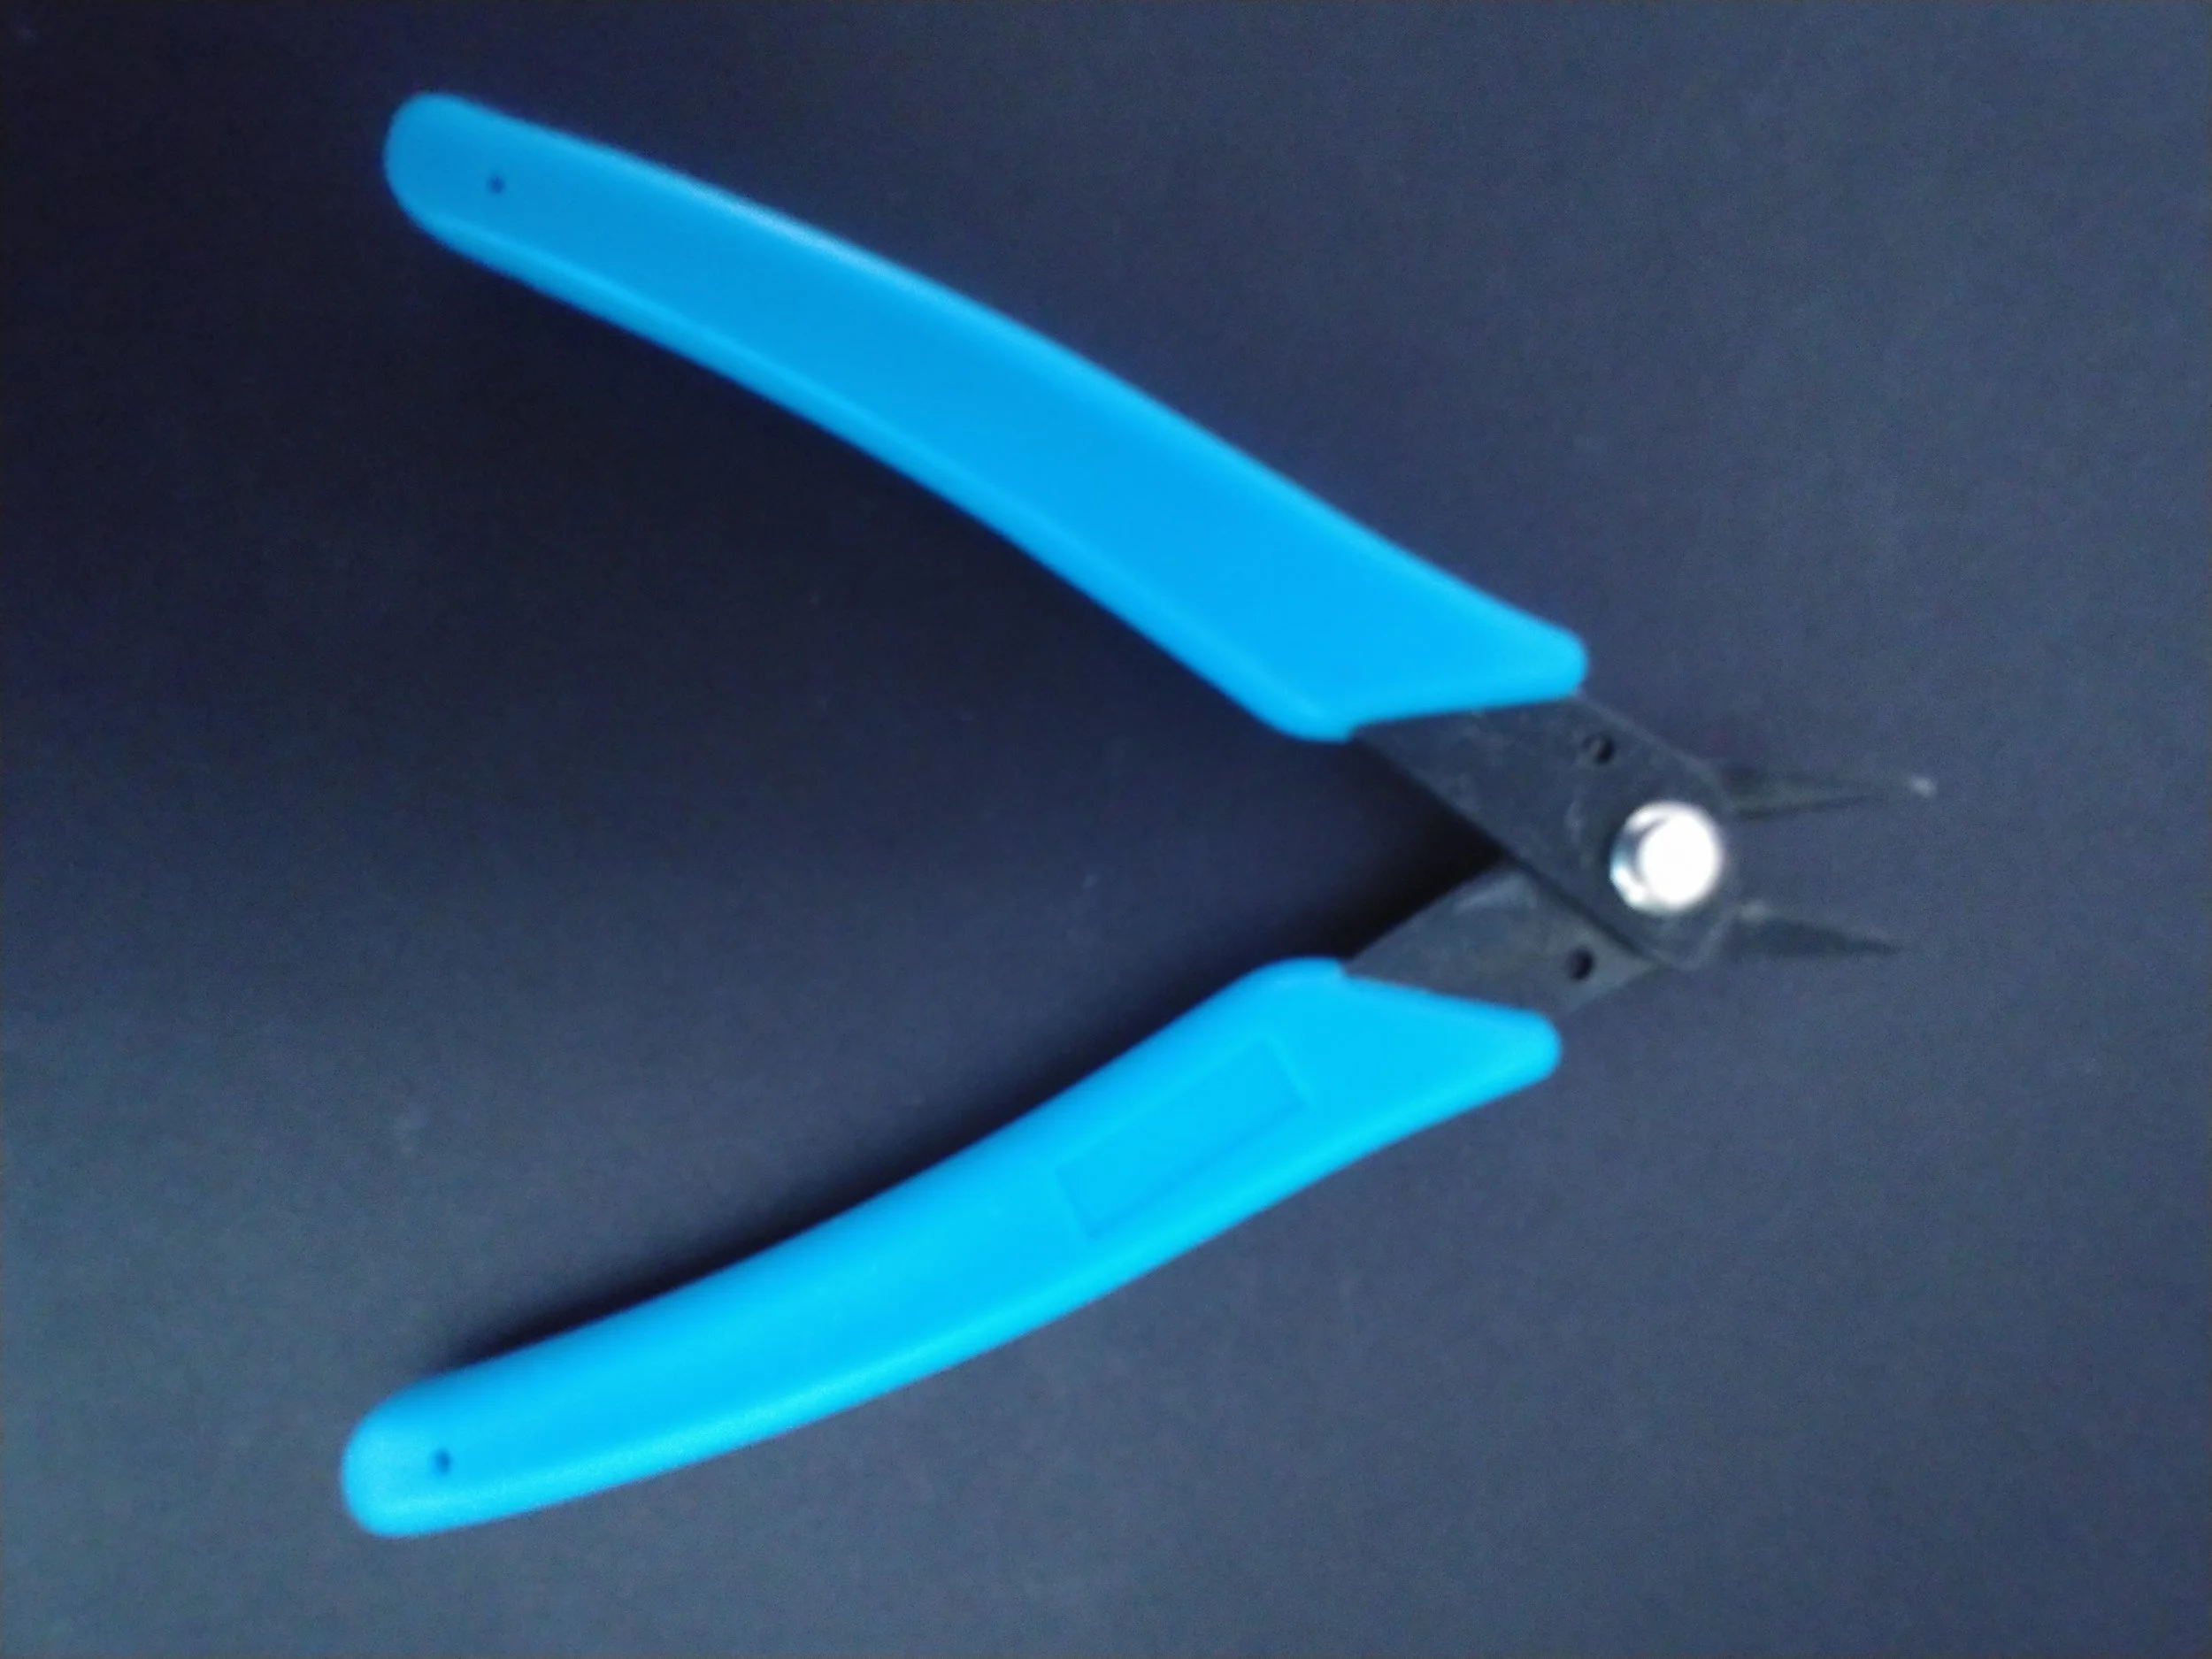
The items I’ve set aside for this project are: workgloves, a set of chisels, an X-ACTO knife, diagonal cutters (apparently also called flush cutters!!!), various grits of sandpaper, and sandpaper sponges.
I decided to watch some videos on the subject first. The finishing I’ve done on my 3D prints has been good enough, but there is always more to learn.
The first video I watched blew me away. That was an incredible amount of work, done with equipment I hadn’t even thought to use, and the end result was spectacular. Still, does a person really need to use filler primer to have a nice 3D print? Well, a look at a Reddit thread suggests that yes, using filler primer is a good and common method for the best outcome, and that I need to change the scope of my article!
Continuing to research, I found four methods to finish a model. A designer might use any number of them to improve their work.
A Basic Finish: Sandpaper, Chisels, and Cutters
Sandpaper, chisels, cutters, and a sharp blade are good tools for a basic finish, and what I have used for all my projects so far. After the print is removed from the bed, put on workgloves! Remove the supports with diagonal cutters. Next, remove the brim, using an XACTO knife or other sharp blade. With chisels, chip away at any remaining pieces or lumps.
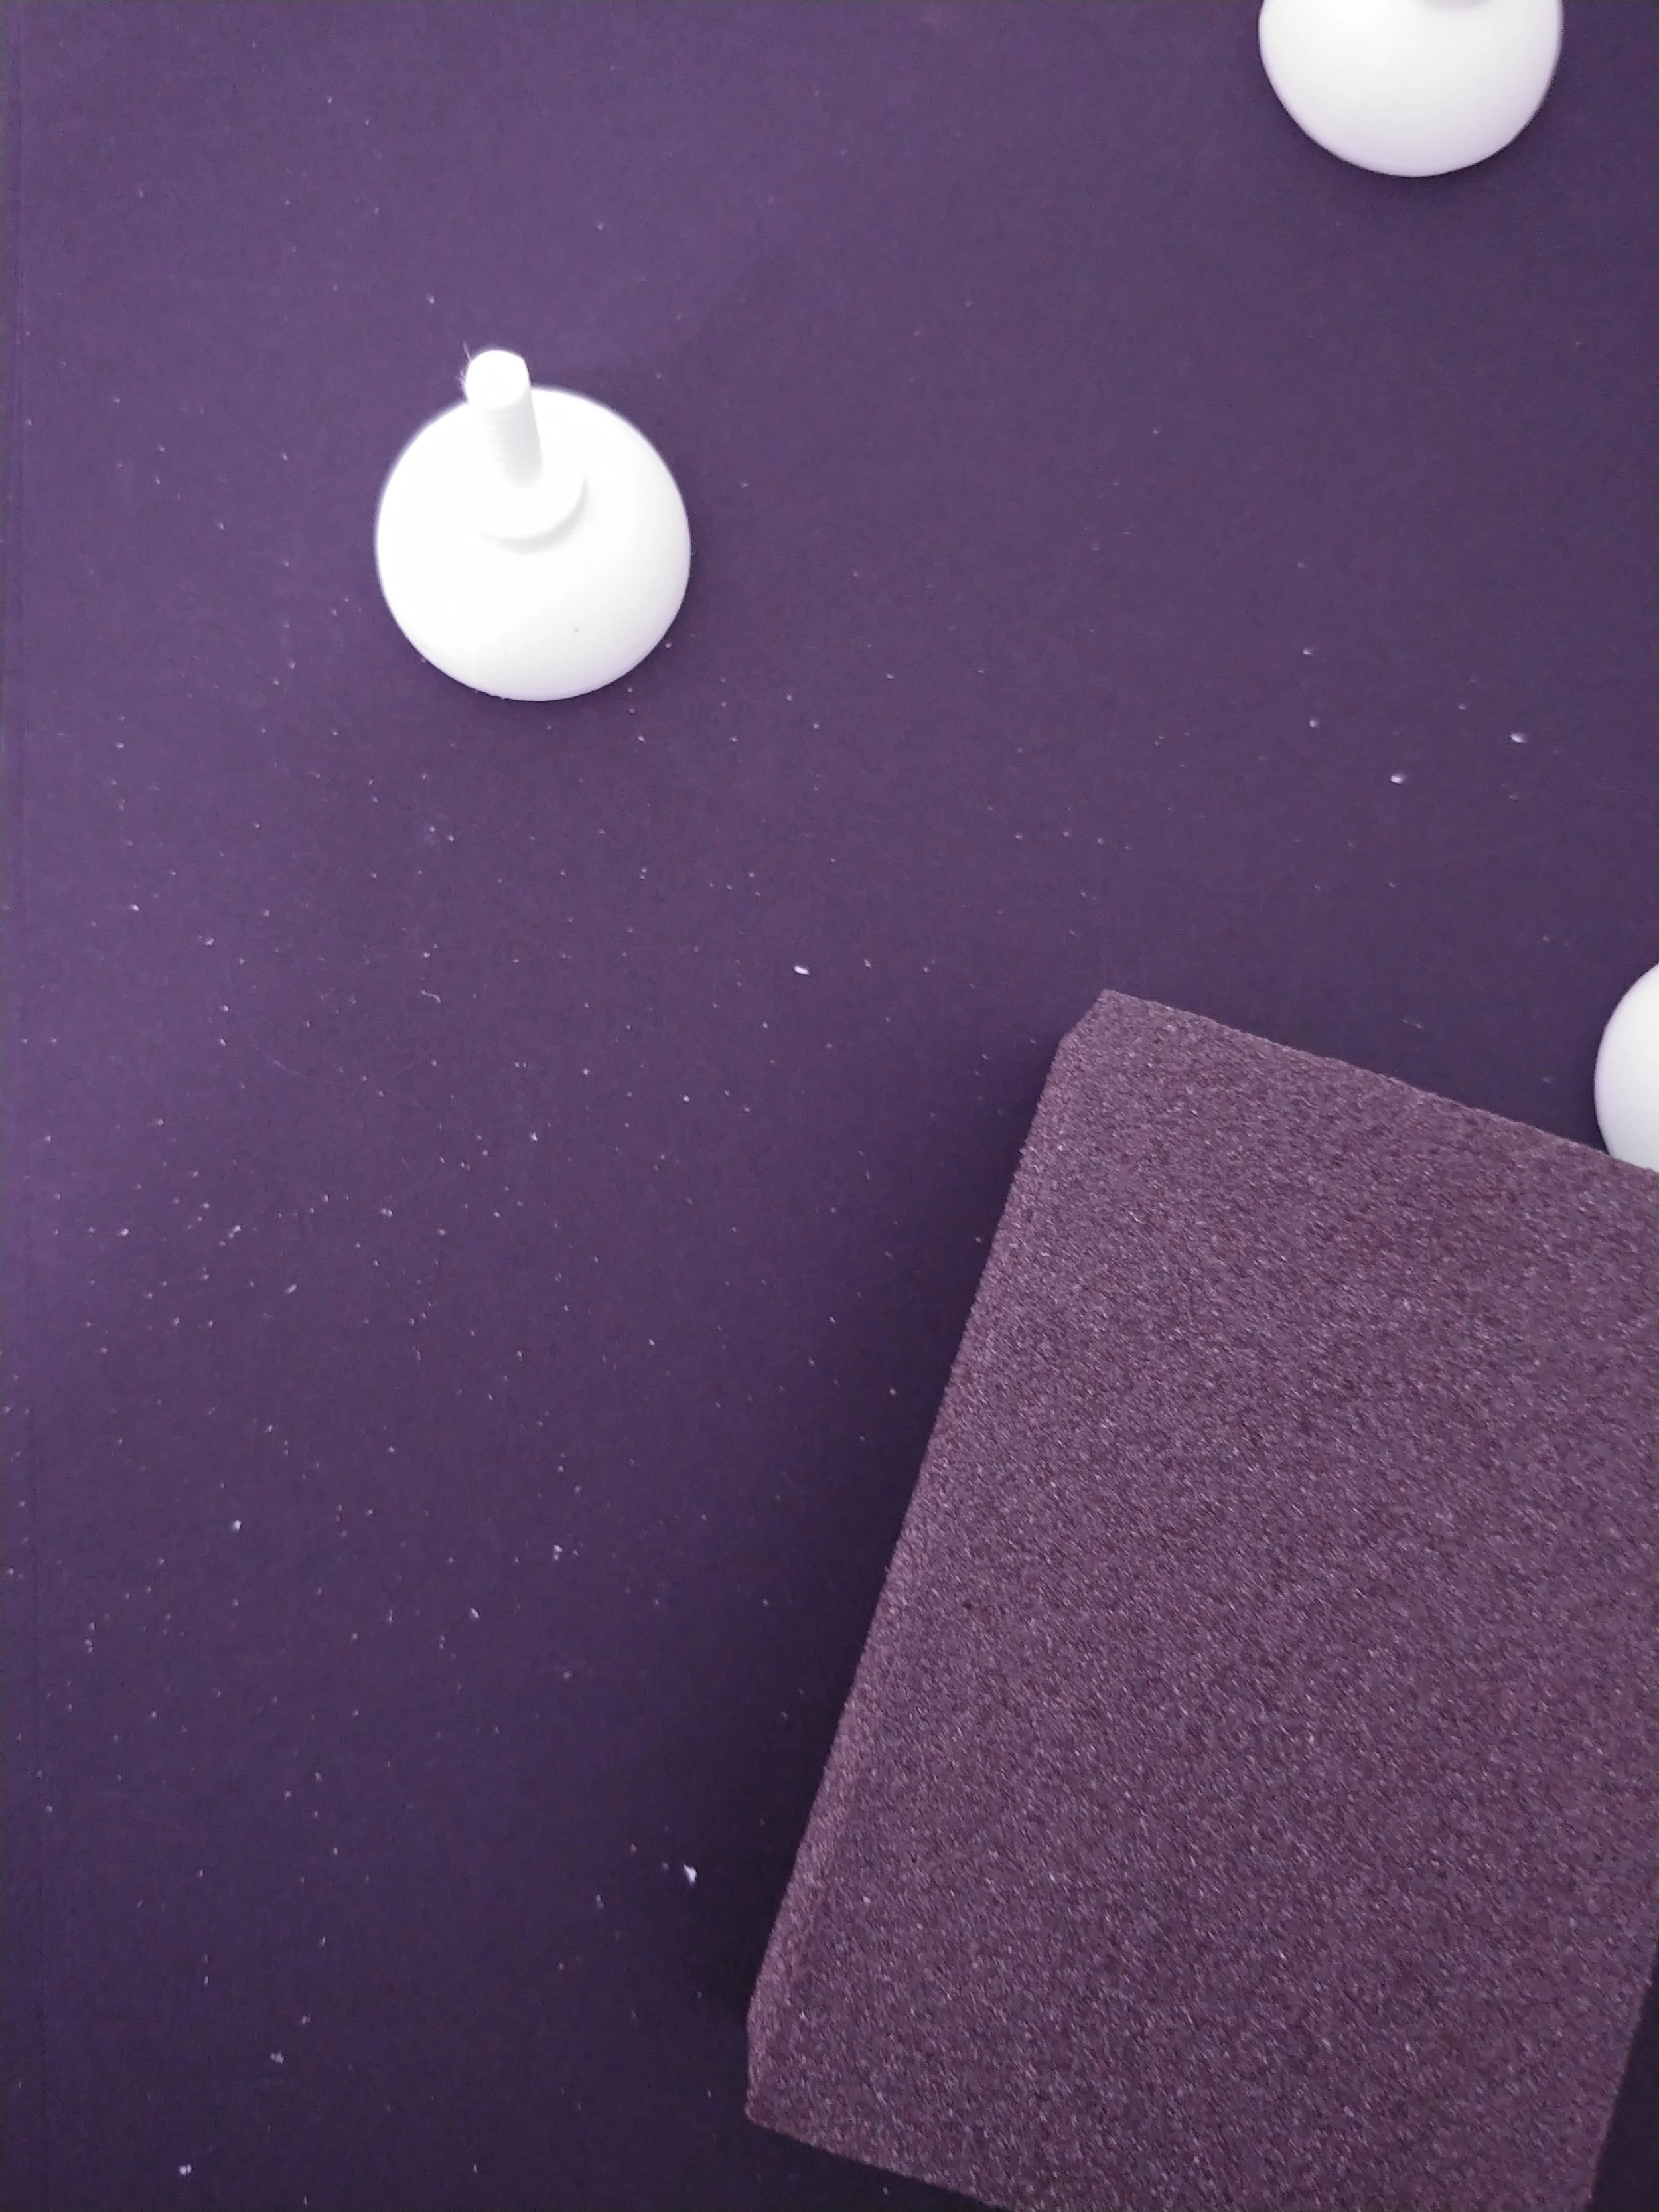
After all the extra bits have been removed, gently sand the edges and any remaining rough bits using a 60 grit sanding sponge. That should take off any brim remnants and smooth things out. You can use increasingly finer sandpaper, but it will only sand so well, because if you sand a layer down too far you just reveal a new unsanded layer.


A Very Smooth Finish: Basic Plus Filler Primer
The basic finish has been enough for my projects so far, but a glassy look does sound rather nice. I’ve been asked to make a custom holder for fake nails and the finished project will need to be smooth, so I have a perfect test subject. I’ll design it this weekend, then print and finish it with FILLER PRIMER.
Or not. I finished printing it, but alas it was perfect. The client took possession, and may have painted it already for all I know. I’m skipping ahead to the printer settings section. When I have something that can use an acetone wash or the filler primer treatment, I’ll jump back here.
[Weeks later]
I made another shelving unit. It’s huge, it’s fancy, and it needs some post-processing help. There are some rough spots and a few very small but noticeable tears, problems that I think will be solved using this finishing method.
First, I’m going to do the steps needed for a basic finish, including removing supports, brim, and remaining chunks, then gently sanding off any remaining lumps. I used all the tools used previously in addition to a pair of flush cutters, which were critical in removing chunks from hard to reach spots.
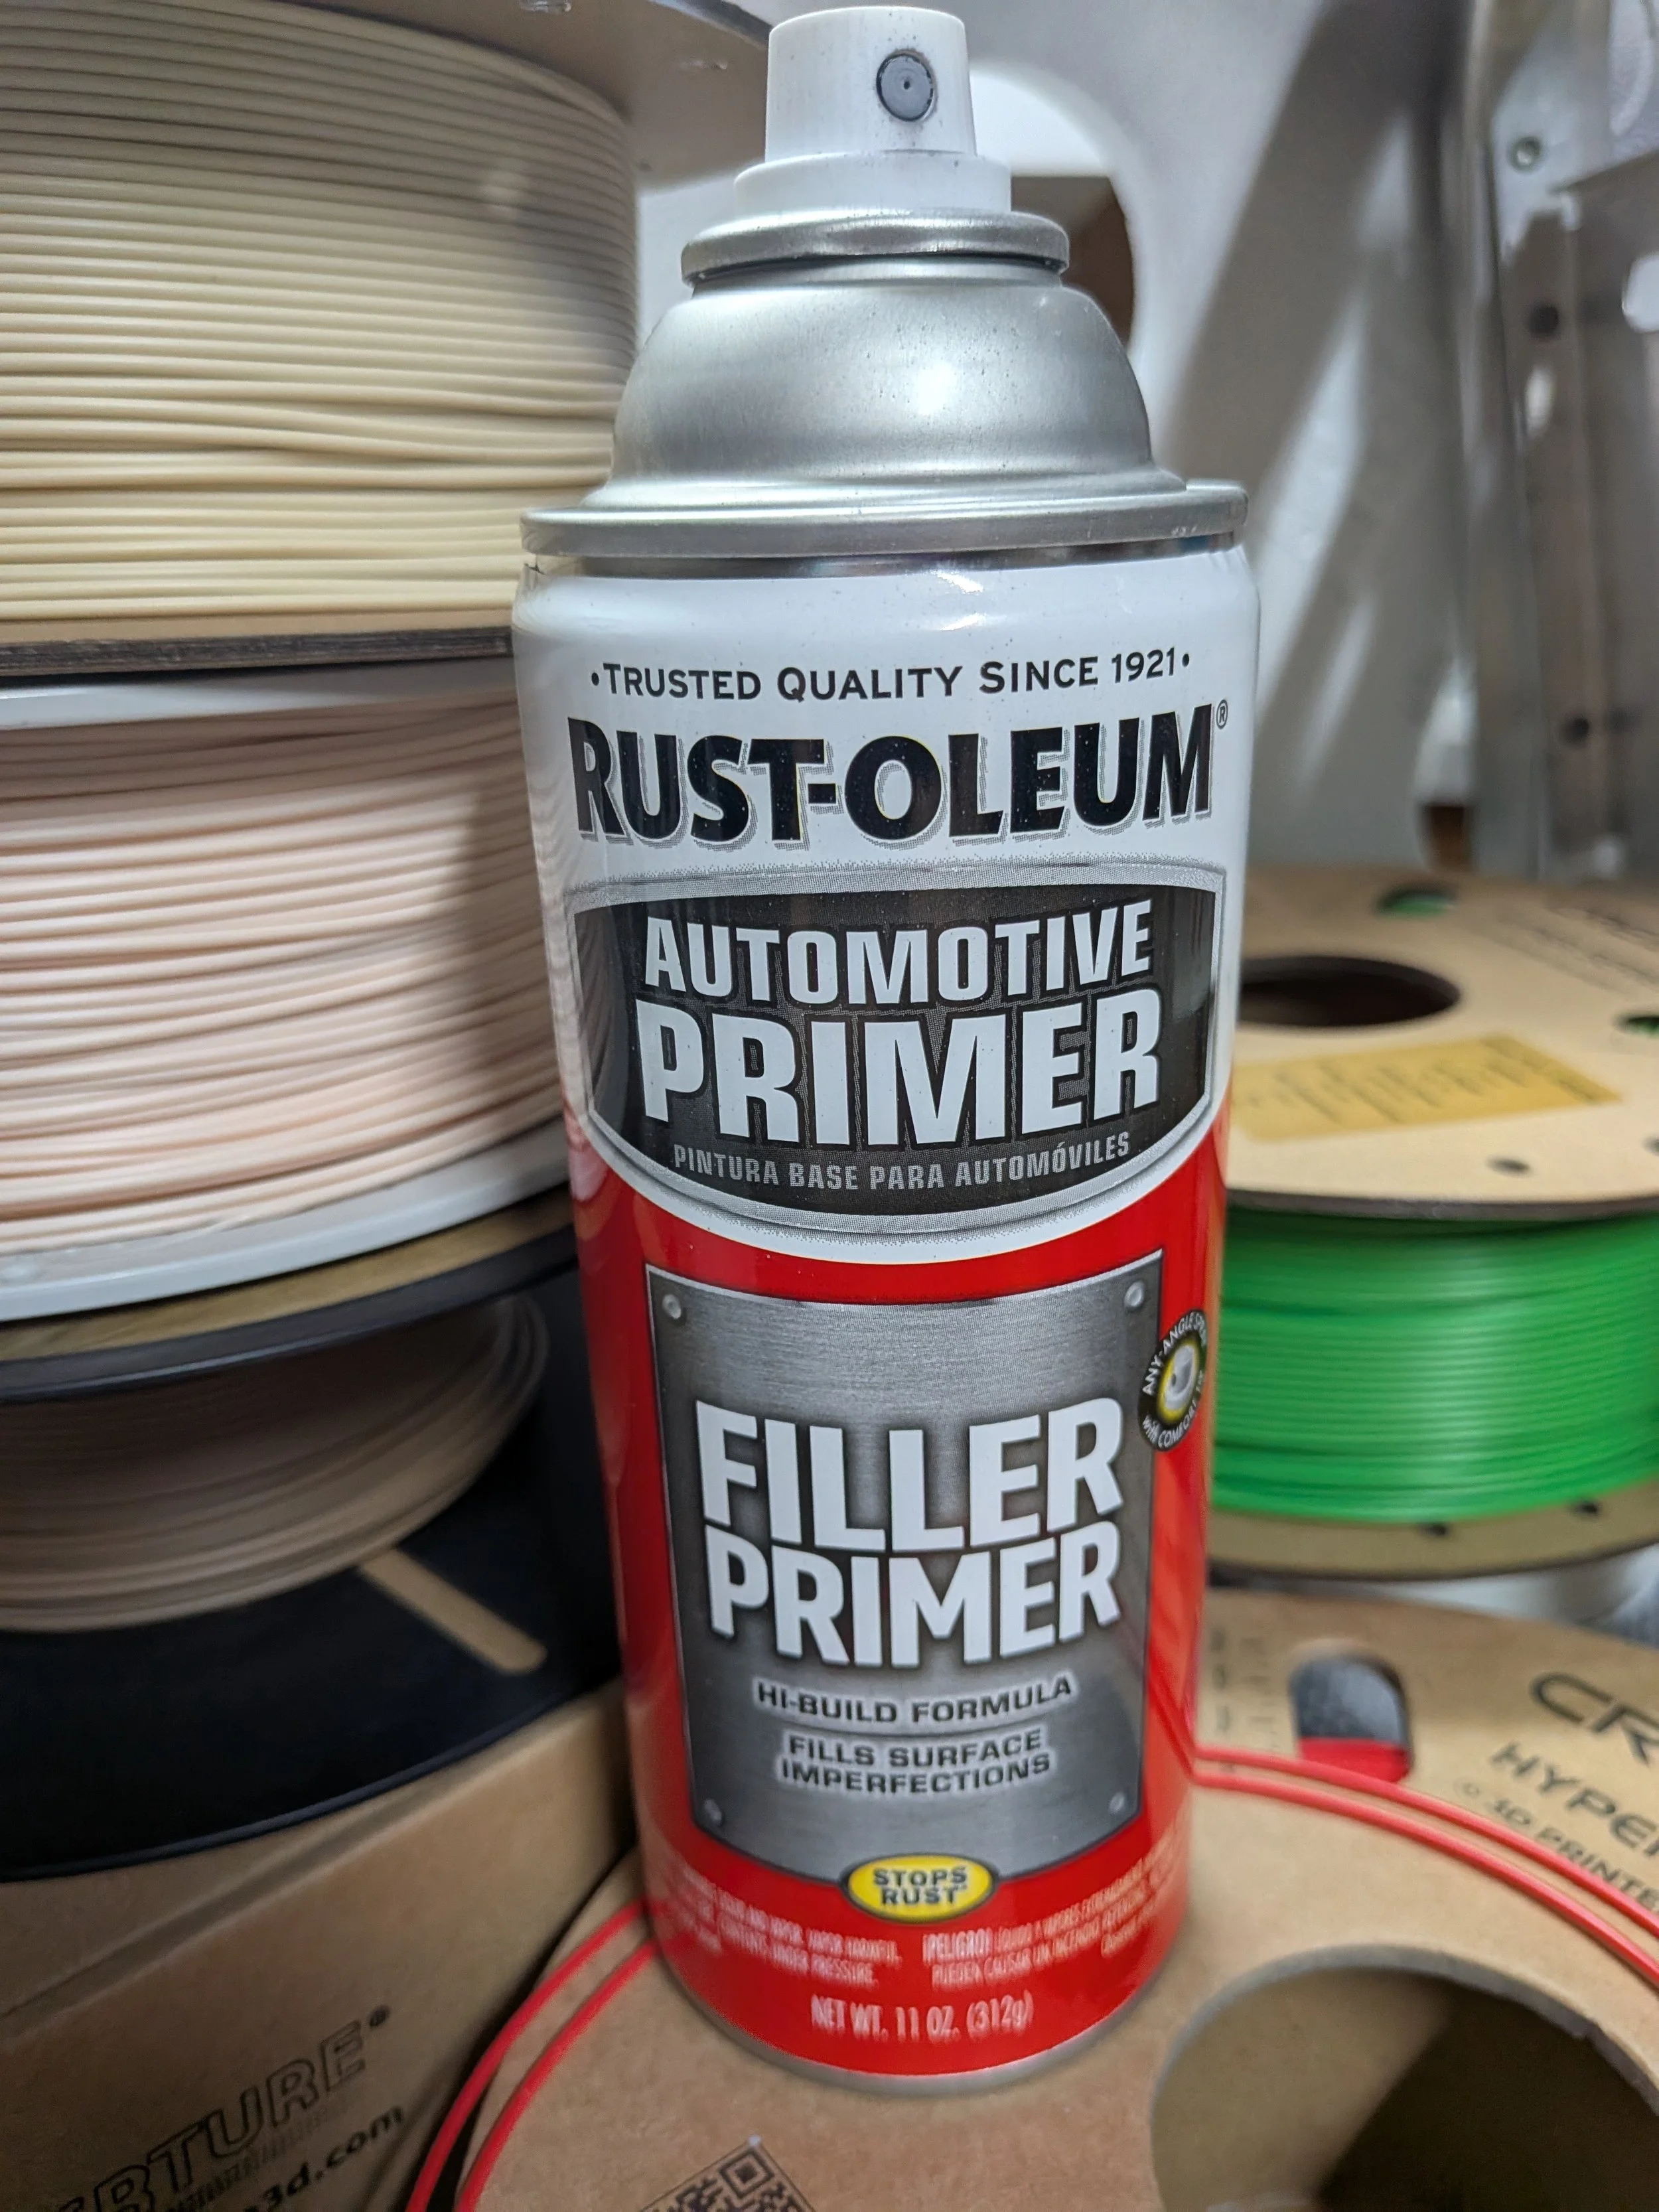
Now for the fun part, acquiring some Filler Primer. I tried a craftstore, and they not only didn’t have it, but had also never heard of the stuff. I was a little surprised, as they have rows of primer, in many colors and for many purposes, and were the same brand as the filler primer I was looking for. I get all my 3D print stuff there! Not any more I guess. Maybe I’ll write the company. Meanwhile, the quest to find filler primer was still ongoing.
My next stop was a hardware shop, where the employee took me straight to the place and pointed it out. Alas, I did not look for one that said ‘sandable’. Apparently using wet sandpaper helps with the kind that doesn’t say sandable, and dry sanding will be goopy and gross. I’m going to find out if that’s true.
Once home, I opened up the garage for ventilation and did the spraying out there, first a light coat that I let dry overnight, then a heavier one the next morning. The grey color made those holes really stand out.
As soon as this heavier coat dries, I’m going to start the process of sanding, using increasingly finer paper until the surface is smooth like glass. After that, I will repeat the process of spray, dry, sand until the holes are all filled in and it shines.
A Few Days Later
I repeated the process til I ran out of filler primer. I think I layered it on too thick the second and third passes. I sanded nearly all of it off again each time, but ended up wasting a lot of material in the process, and the thick layers didn’t do any better of a job filling cracks than the thin ones. My fourth layer had appropriate coverage, a nice even light coat, but that pretty much used up the bottle and I need to get more.
I did let it dry thoroughly between coats, and took my time sanding, starting with 60 grit, then using 80 grit. Afterwards I used the 120 grit sanding sponge, then when it felt really smooth I used the 220.
The piece felt really nice, a little bit of the original piece showed through in spots, and the holes were nearly invisible. Just another couple coats to finish!


ABS Only: Acetone Wash
An acetone slurry was mentioned in the first video I referenced, but the poor man’s wash is done using a bucket, some acetone, and some paper towels. I’m going to print a copy of the nailbed I made earlier for a client, and see how it looks after finishing it this way.
That was the plan, but then I realized that PLA wouldn’t work, as only ABS would do. I did not try this experiment; however, it seems worth mentioning.
The fourth and final technique, pre-printer processing, took so much writing space that I continued it in the next post.