Designing a 3D Printable Blacksmithy for a TTRPG (Part 1)
Part 1: Research and Planning
I would like to create some buildings for a tabletop role-playing game (TTRPG). Specifically, I need a tavern, a two-story inn with an attic, an aristocrat’s house, a smithy, a general store, a stable, a farrier, an abandoned river wheel, a magical mill, a brewery, four merchant homes, an apothecary, a governer’s mansion, two townhomes, a fountain square, a cemetery, two temples, a watchtower, and a cartwright — twenty-four buildings or areas altogether.
I already have a stable, though the roof needs reworking to be properly printable. Aside from that, I’m starting from scratch, and I’ve decided to start with the smithy.
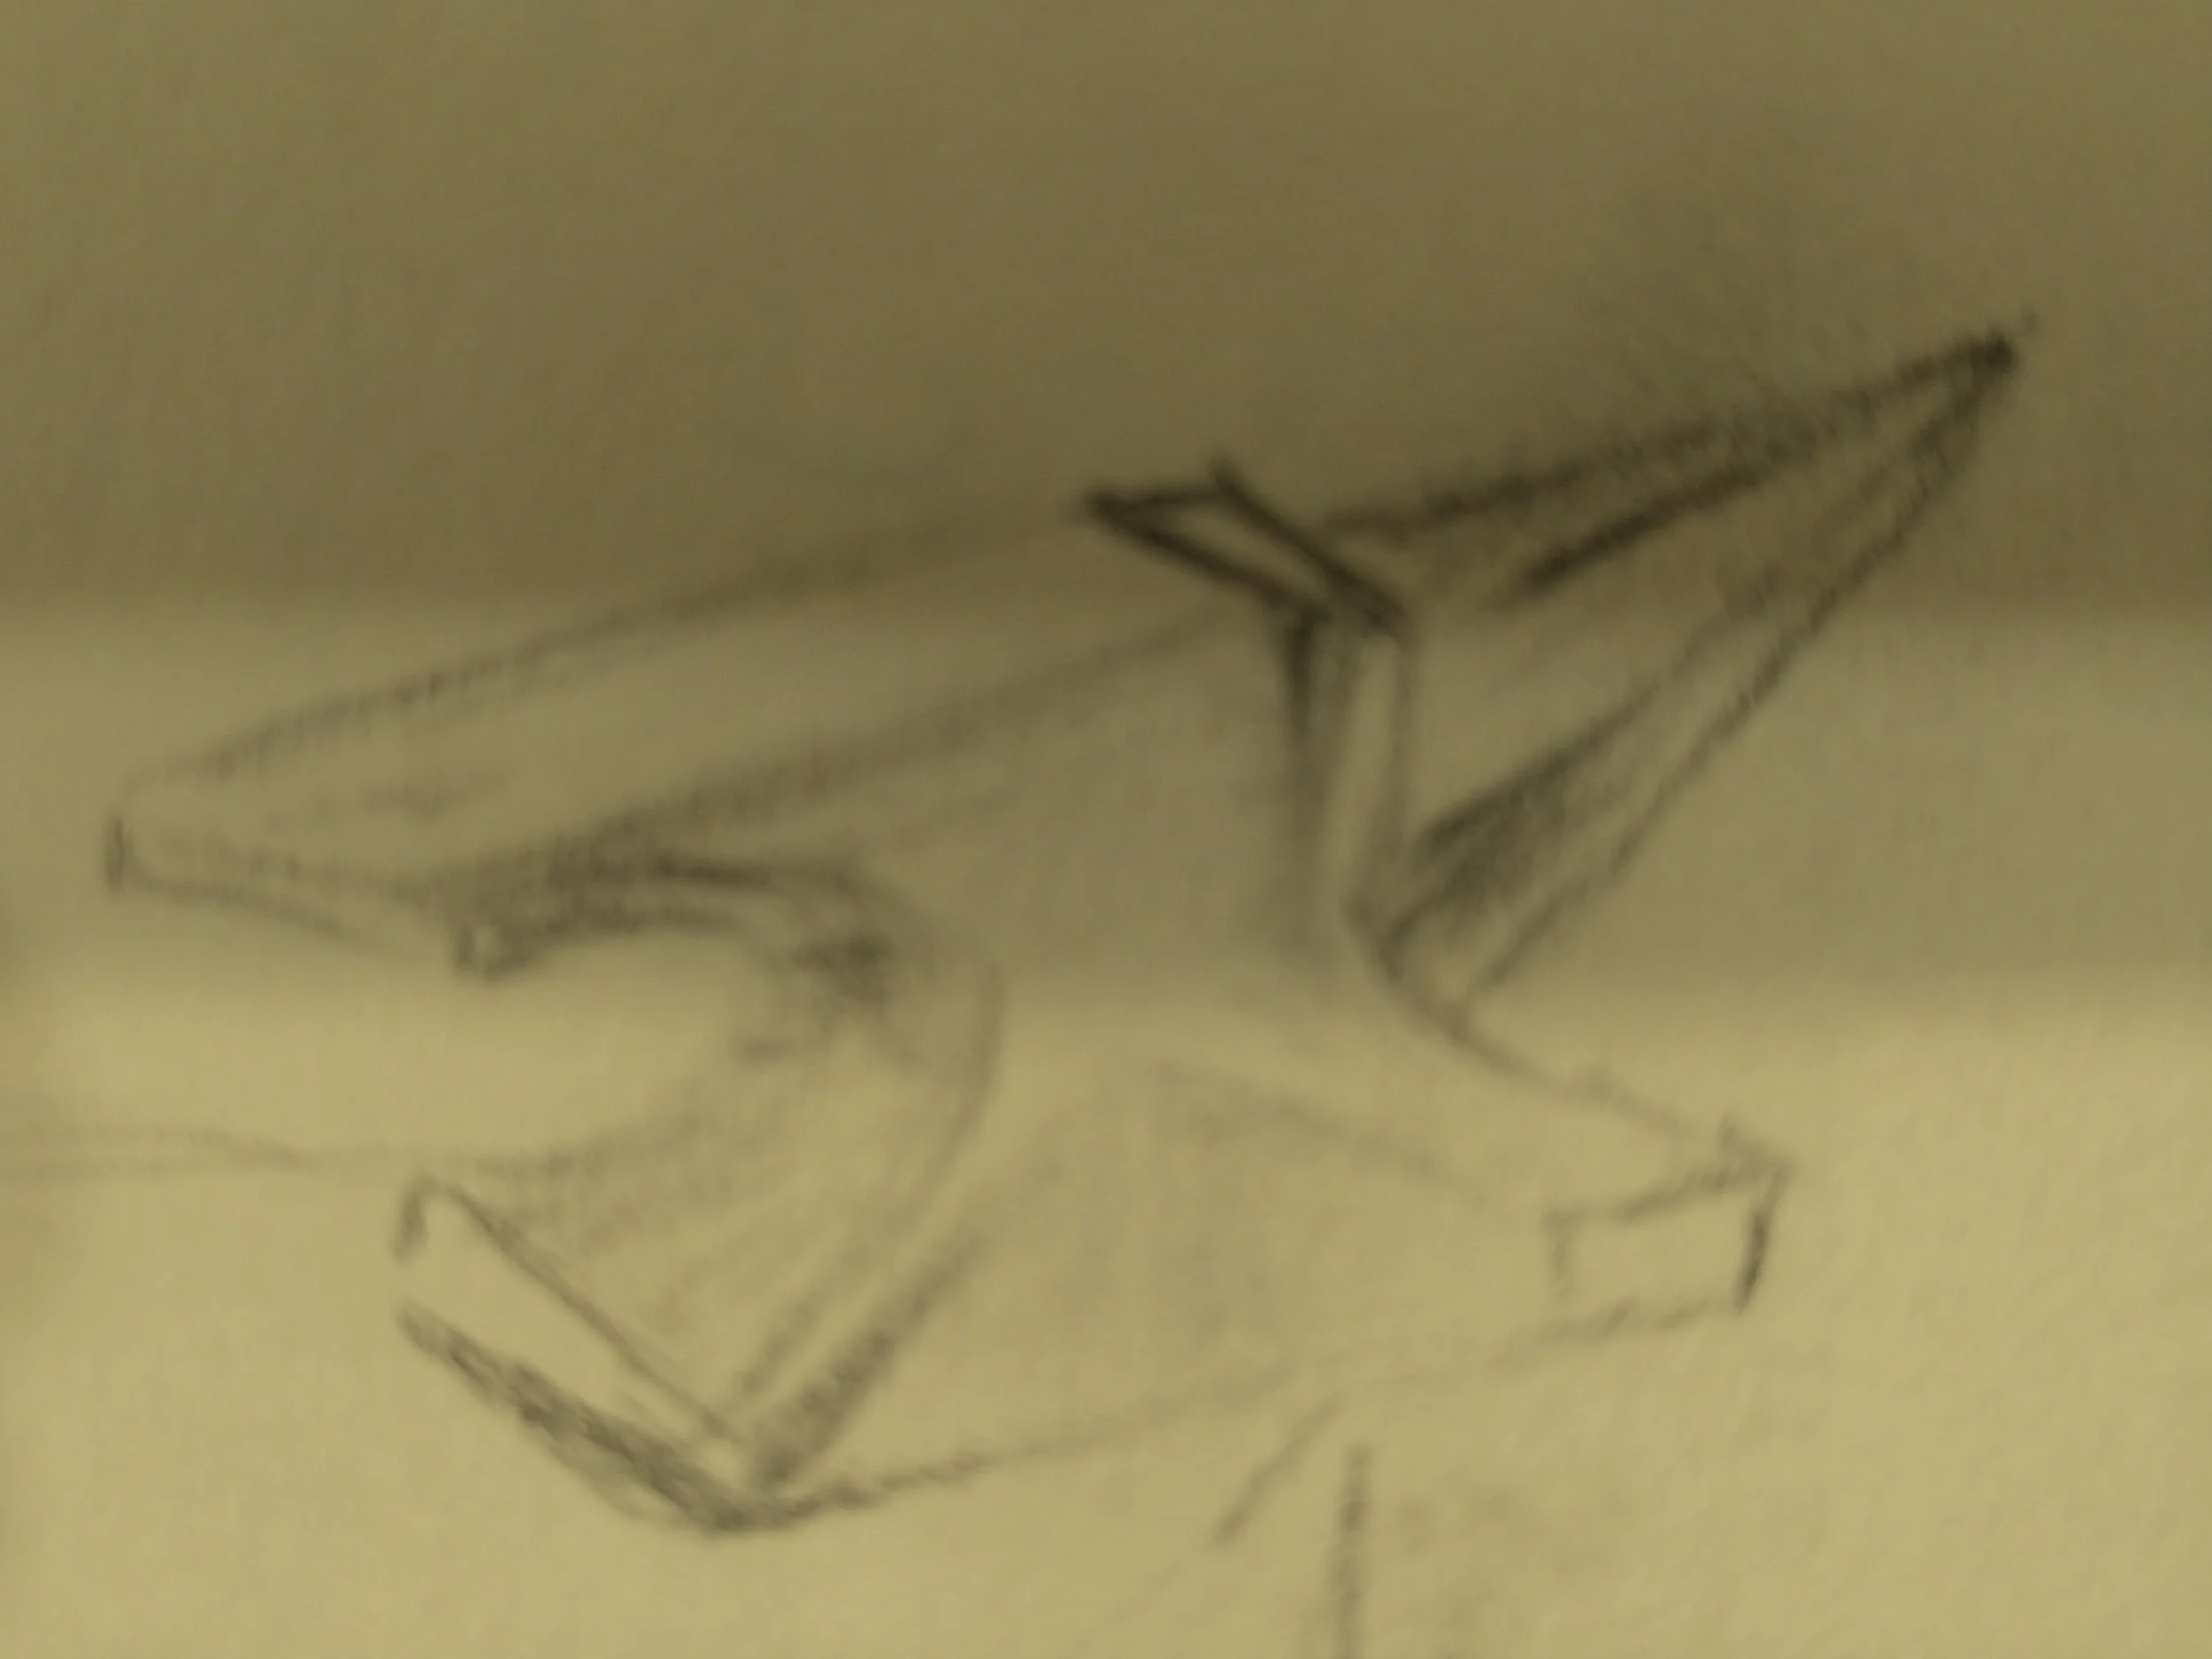
Anvil
I began by researching smithies from the Colonial period. Specifically I wanted to get a feel for the layouts, how people might flow through spaces and how much room was needed by the users of various smithing tools. More generally, what sources of light and ventilation were available? What kinds of equipment were essential and what were their names? Given that this is a project for a fantasy world, how might the workings of this smithy be different than a real one?
I went to Jamestown as a kid, and I distinctly recall seeing a smith at work there. I don’t remember anything else about it, not even what the smithy looked like, but that memory was enough to inspire me to start with the Jamestowne Settlement smithy.
The forge is obvious by its stone base and back, the bed of coals at roughly waist height, and a ventilation system above it all. It is central to the room, though a partition between the back wall and the forge nearly separates the space in two.
Nearby are barrels, anvils, and large metal tools. A workbench along one wall holds numerous smaller tools and what I think is metal stock.
Space for movement is rather scant, barely enough room to approach the forge or the bench.
A look at the Colonial Williamsburg smithy shows some similarity: the workbenches run along the wall, and the anvils are close to the forge, which is in the center of the room. While this smithy is more spacious than the other, there still isn’t much room to move about. There are numerous paned glass windows; whether open and bringing in fresh air or closed up tight, all of the windows flood the room with light.
From some angles it looks like this smithy has two forges, but I can’t be certain.
I looked at yet one more old-style blacksmith: the shop at Mt Vernon. The picture shows a forge up against a wall, next to an anvil, bellows, and a barrel. Other tools, a whole line of them in fact, hang on a board near one of the open windows.
This smithy is a stand-alone building made primarily of wood. The images show a surprising amount of natural light, considering there aren’t many large windows. There does appear to be a lot more room to move about.
From these photos I conclude the following:
Several large windows are necessary for ventilation and light.
Smaller tools tend to be hung on the walls, typically above workbenches.
Forges should be centrally located, with space allocated for bellows, anvil, etc.
Space between workbenches and forge is at least 3’.
Space between forge and anvil/barrels/bellows, 2.5’
The buildings are often made out of wood, possibly with stone foundations.
The smithies are no bigger than necessary, and in fact often seem cramped.
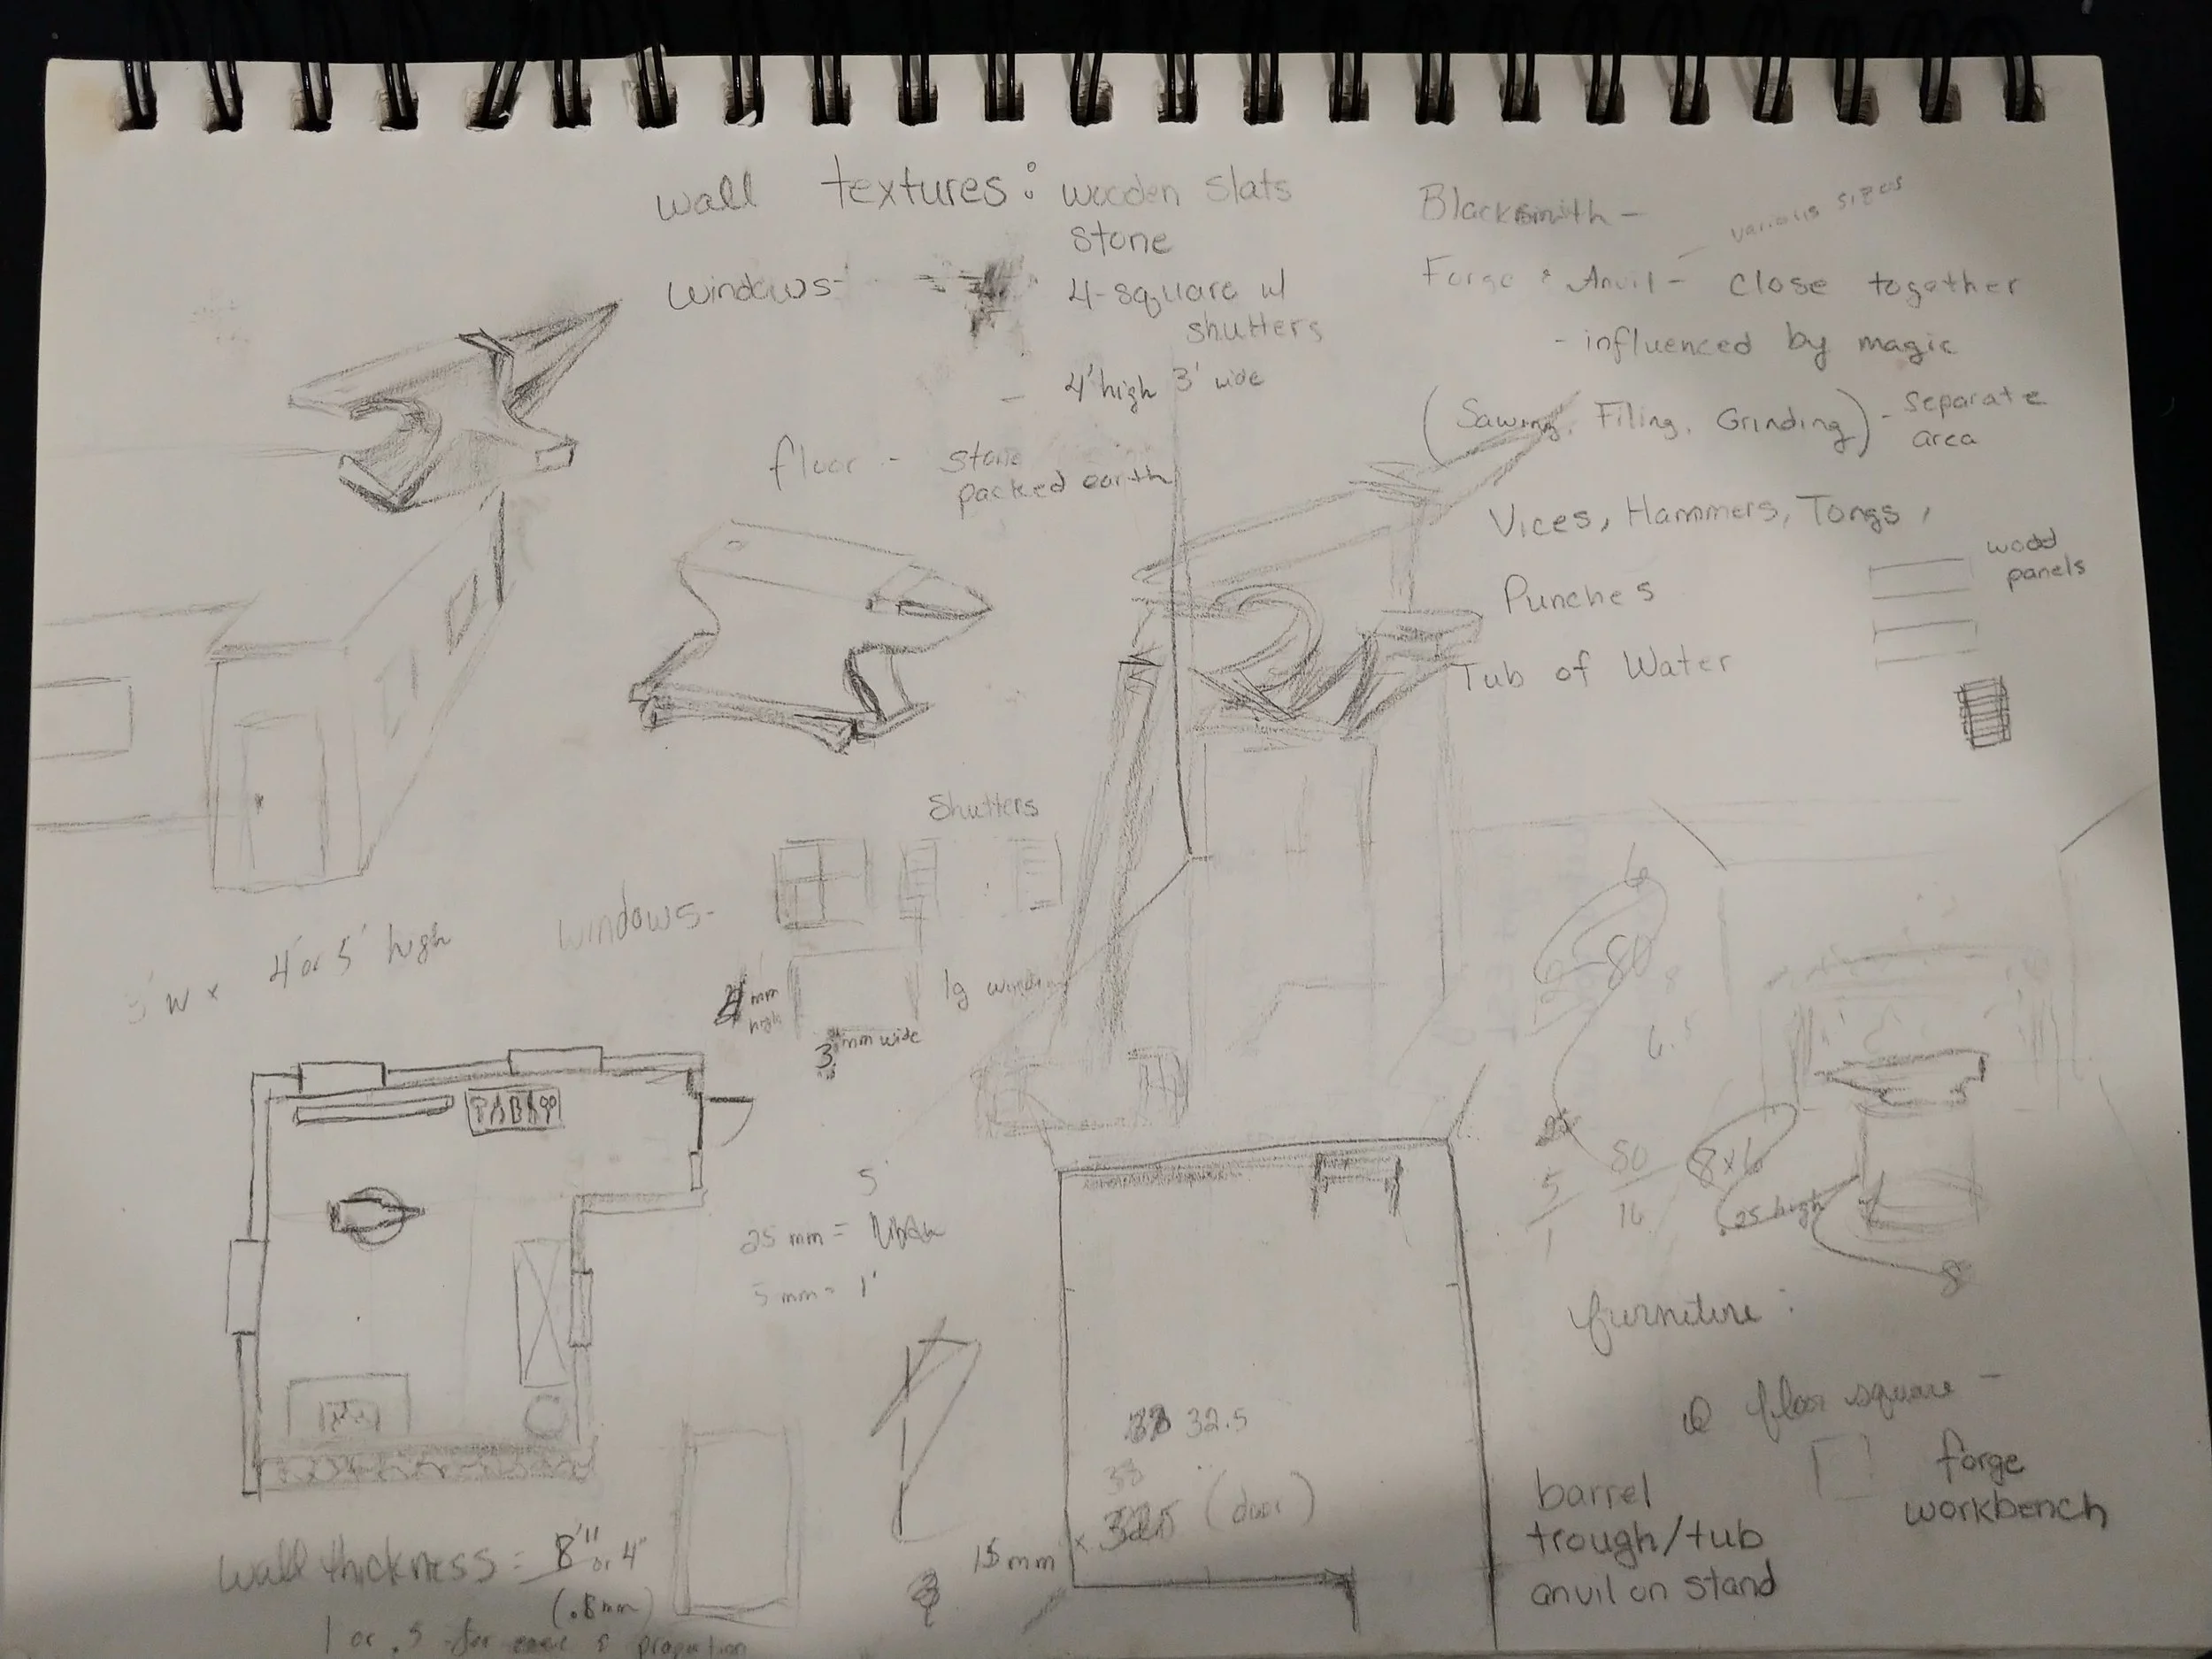
Initial sketches, ideas, and drawings of anvils.
I decided on an L-shaped building, with the entrance taking up the short corridor and the smith proper occupying the rest of the space. If the forge is placed in the center of the room then workbenches can be pushed against the walls, leaving a good amount of room for movement.
The windows should be placed above the workbenches, so they belong on the walls of the central room. I decided to put a pair of 3’x4’ windows on two walls and a 6’x4’ glass pane along a third wall. That amount of natural light seems to match what I’ve seen, while placing benches under windows won’t block movement.
The research and planning stage for the Colonial-inspired 3D-printable smithy for my TtRPG was done, the layout and lighting appropriate. With that in mind, it’s time to put the idea to work. In the next post we’ll explore turning the plan into an actual model.