Making a 3D-Printed Print-in-Place Fidget Bracelet
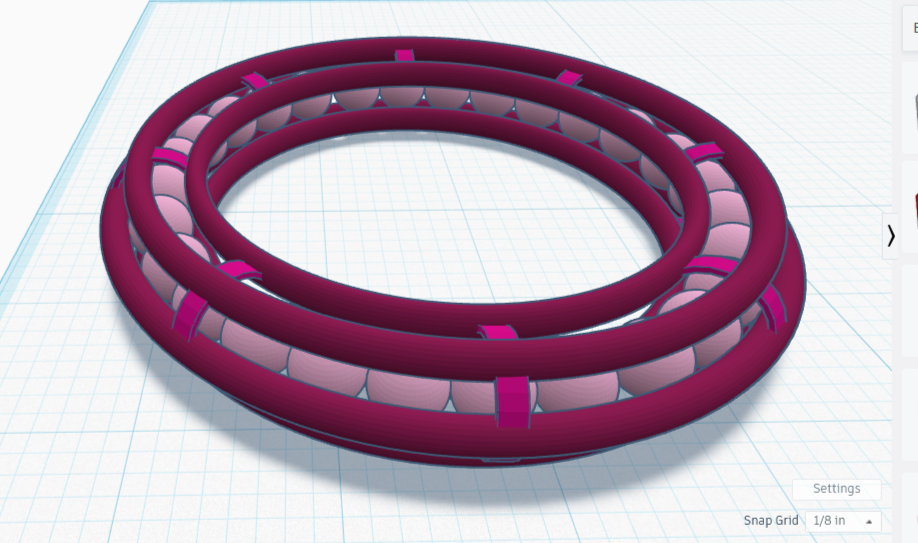
The design may not have worked, but it was remarkably close. In fact, every technique I had used was fine — it only needed resizing in places! I needed to widen the clamps, fatten the rings, add more beads, and possibly make some adjustments. Let’s fix some stuff!

Print-In-Place (Part 4): Lazy Susan with Cylinder Bearings
“Pressing the balls firmly towards the center with my fingers made the ensemble tight enough that I could test ability of the plate to spin, and it seemed to work rather well.”

Print-In-Place (Part 3): Cylinder Bearings Design and Testing
“The cage works exactly the way I thought it would, and there is a little bit of springiness in the cylinders thanks to the tolerance. If I put a round thing of the right size in the center, it can spin. Likewise, if I surround this piece snugly with a cylinder, the outer cylinder will be able to spin around it. Not perfect, but functional. I’ll take it!”

Print-In-Place Ball Bearings (Part 2): Following an Instructables Tutorial
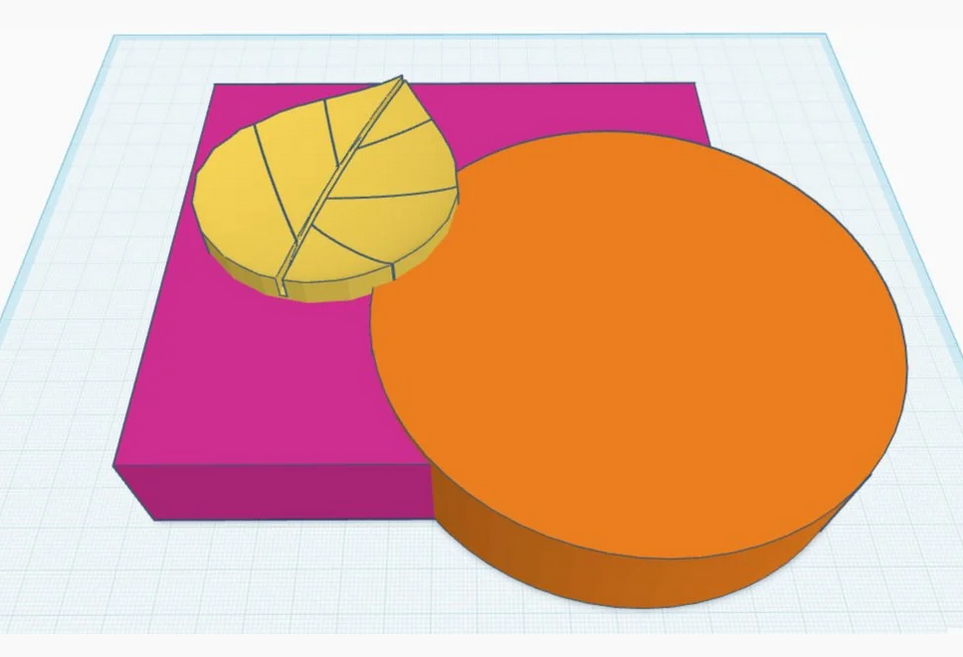
I know that I could make a better design though. What if I could make the spheres inside the plates? They wouldn’t fall out if the piece got knocked over. They would probably be more smooth, not being printed on a flat mat. And most importantly, they would be invisible. The platform would work like magic. I want to know how to do this.
Print-In-Place for Beginners (Part 1): Designing Flexible Strips in Tinkercad
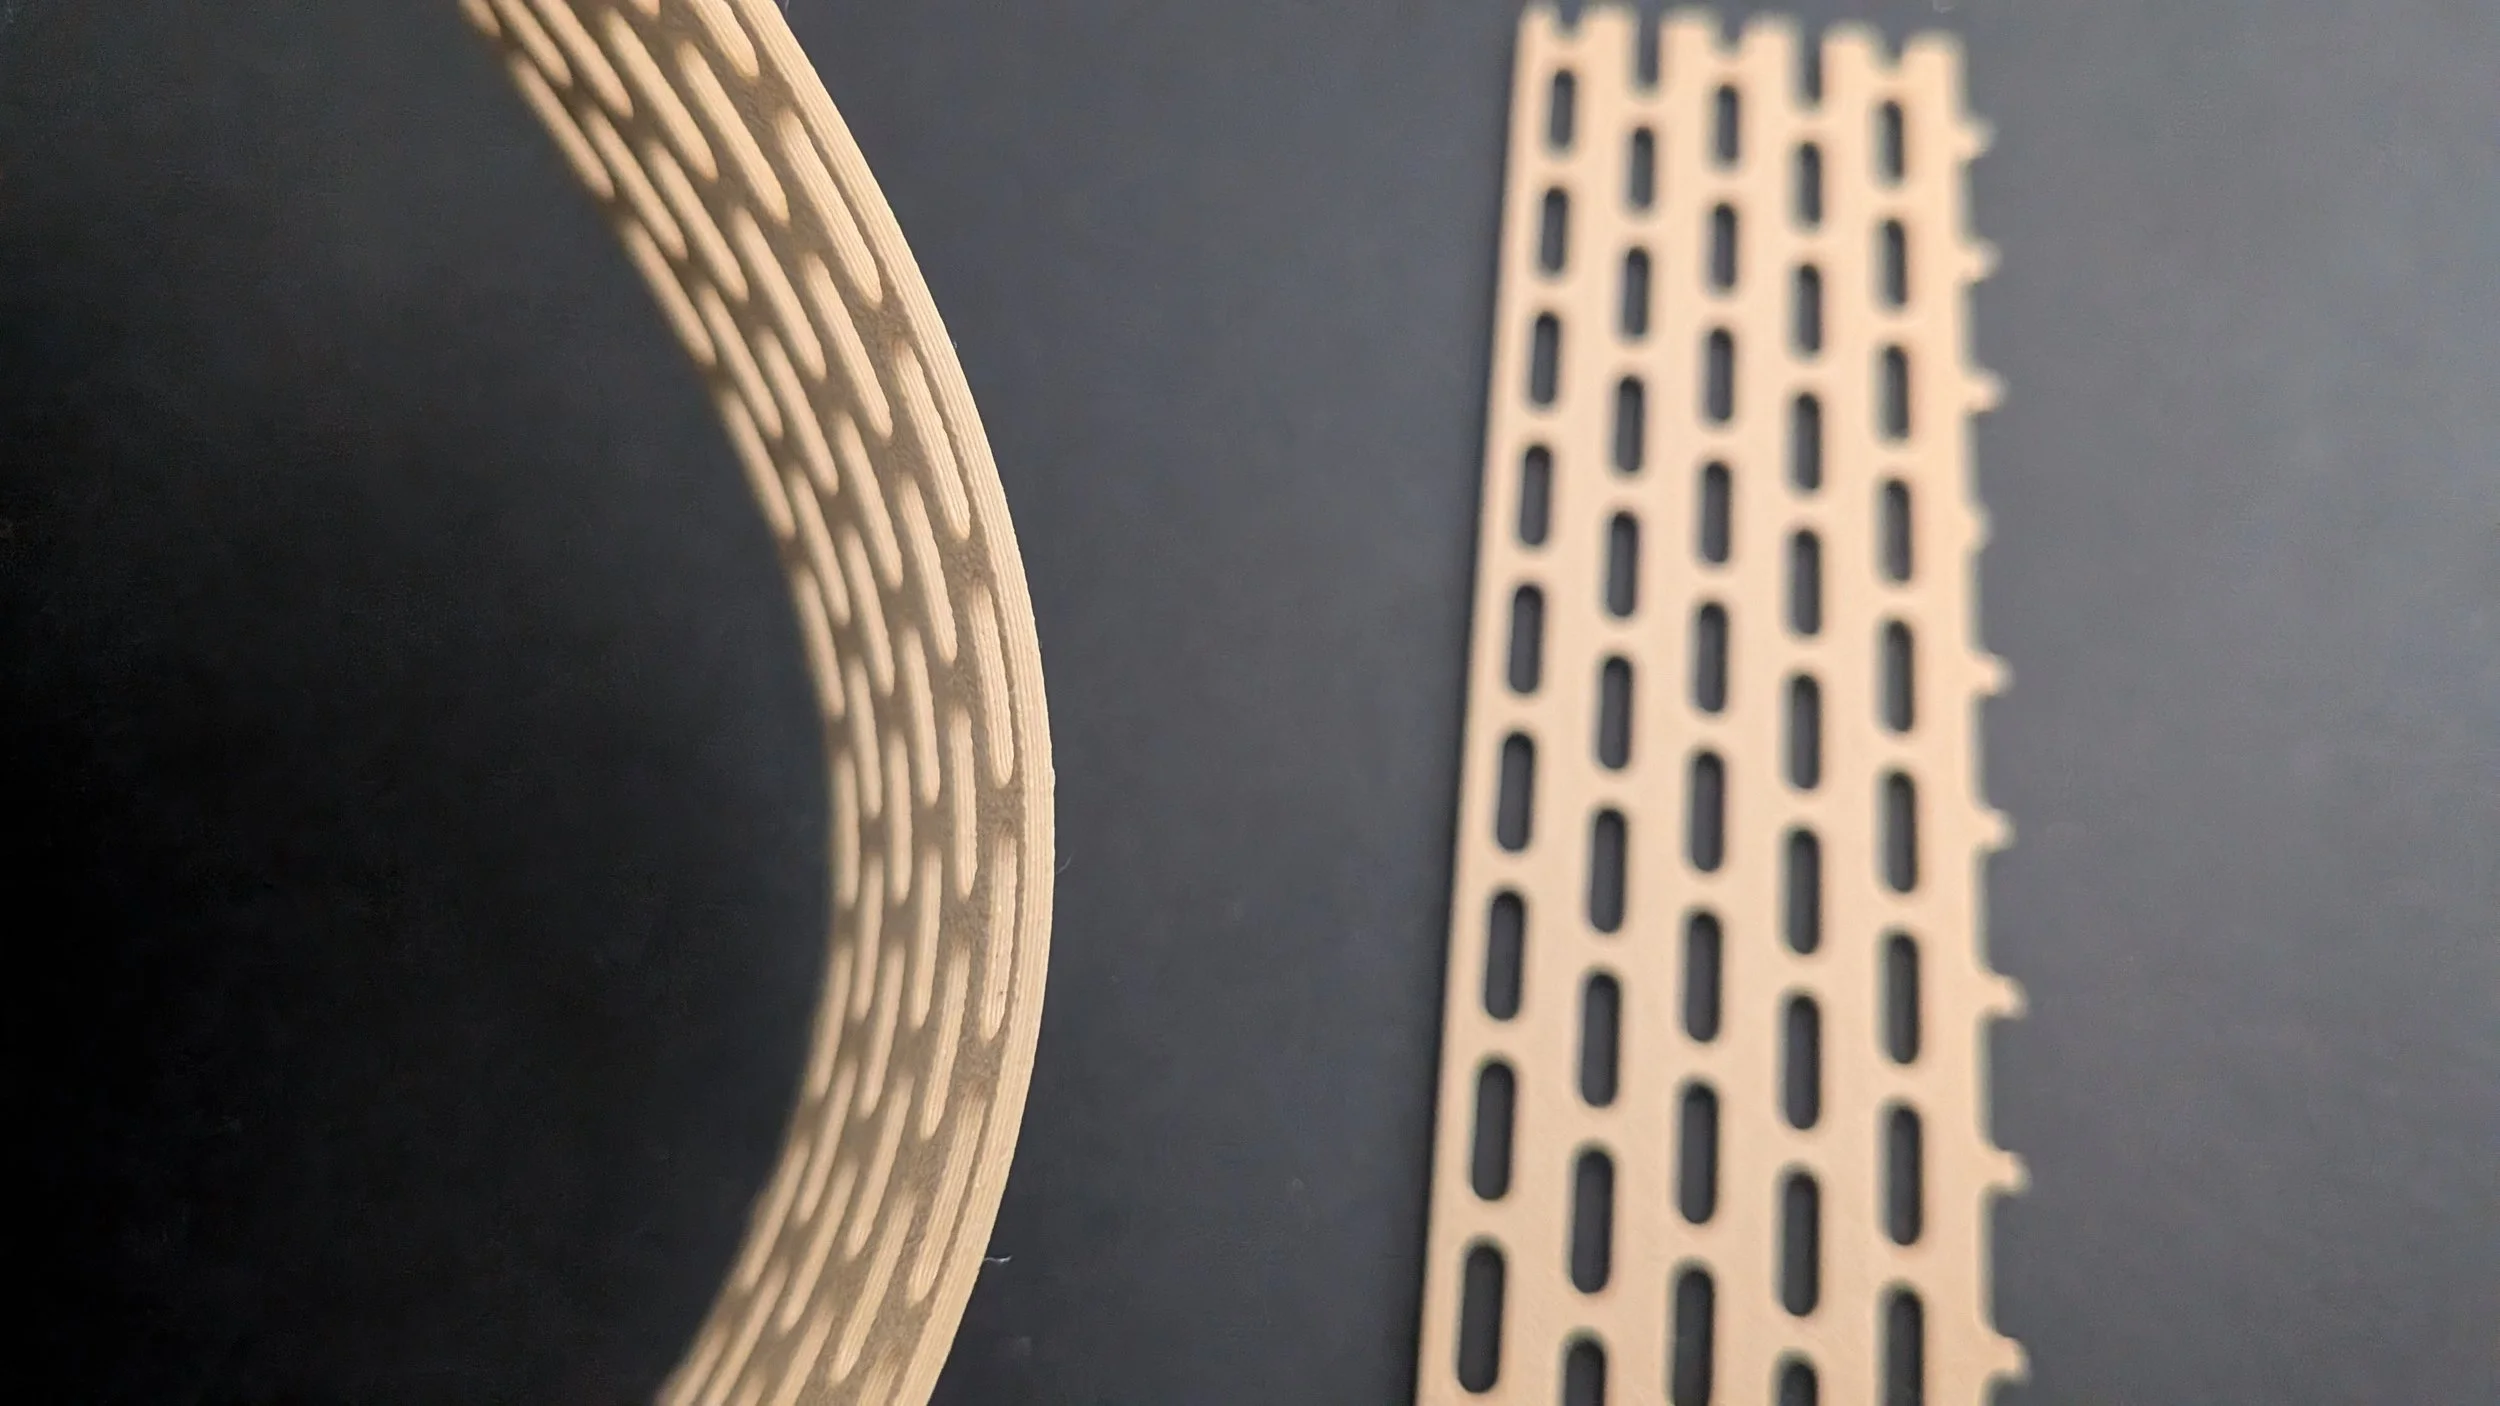
“The flexible strip appears to be made up of lines of oval shapes end to end, with only narrow strips of space between them. Every other line is shifted up a half-oval, so the entire near-flat plane is covered by alternating strips.”


.