The Workshop

Perspective Drawing for 3D Printing: 1, 2, and 3 Point Perspective
I struggled mightily with the concept of two-point perspective, up until I found a blog post explaining it. Then I merely struggled. Anyhow, here is an attempt at a two-point perspective sketch, made especially impressive by the fact that I kept drawing while the cat tried to wrest the pencil away with his teeth.
3D Printing Simple Machines (Part 2: Wedge)
With that cleared up, I considered what other things might be actual wedges as opposed to wedge shapes. The first thing to come to mind: a doorstop. I’m going to make one right now. While I’m making it, I’m going to be thinking about other examples. It would probably help if I defined ‘wedge’ first.
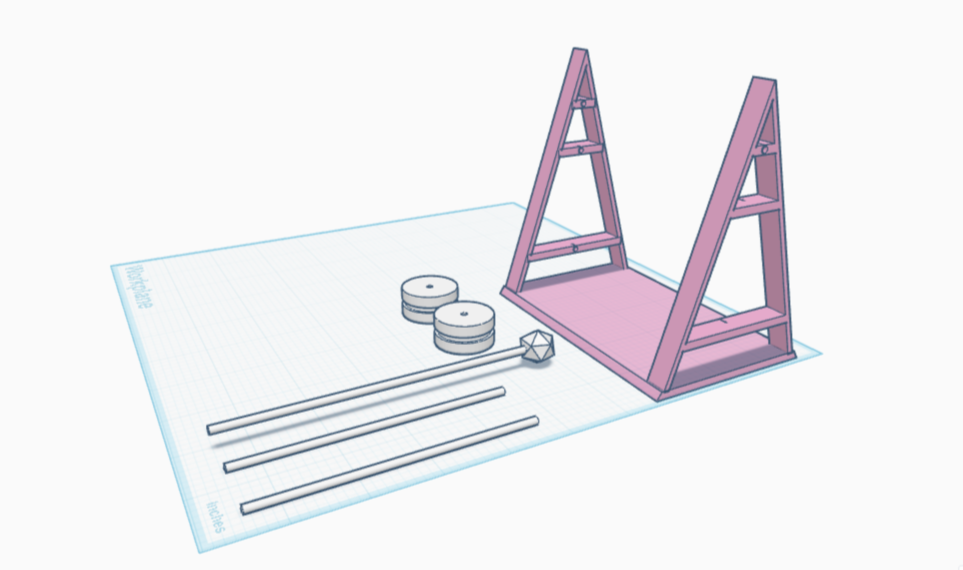
3D Printing Simple Machines (Part 1: Pulley)
I printed it, and it was super cute! But would it be effective? Time to find out! I wrapped a piece of string around one of the wheels, then placed that on the axle slotted near the top of the scaffolding. I tied my phone to the other end of the string, but the axle was too thin and the scaffolding too weak to hold it. I then threaded two wheels side by side on the same axle, expecting and receiving no advantage. After all, the single pulley is meant to change the direction of force. Adding more wheels shouldn’t make it go in the opposite direction even harder, and one wheel alone wouldn’t change the heaviness of the phone. Still, this was a chance at experimenting, so try I did, and of course the phone was still too heavy.
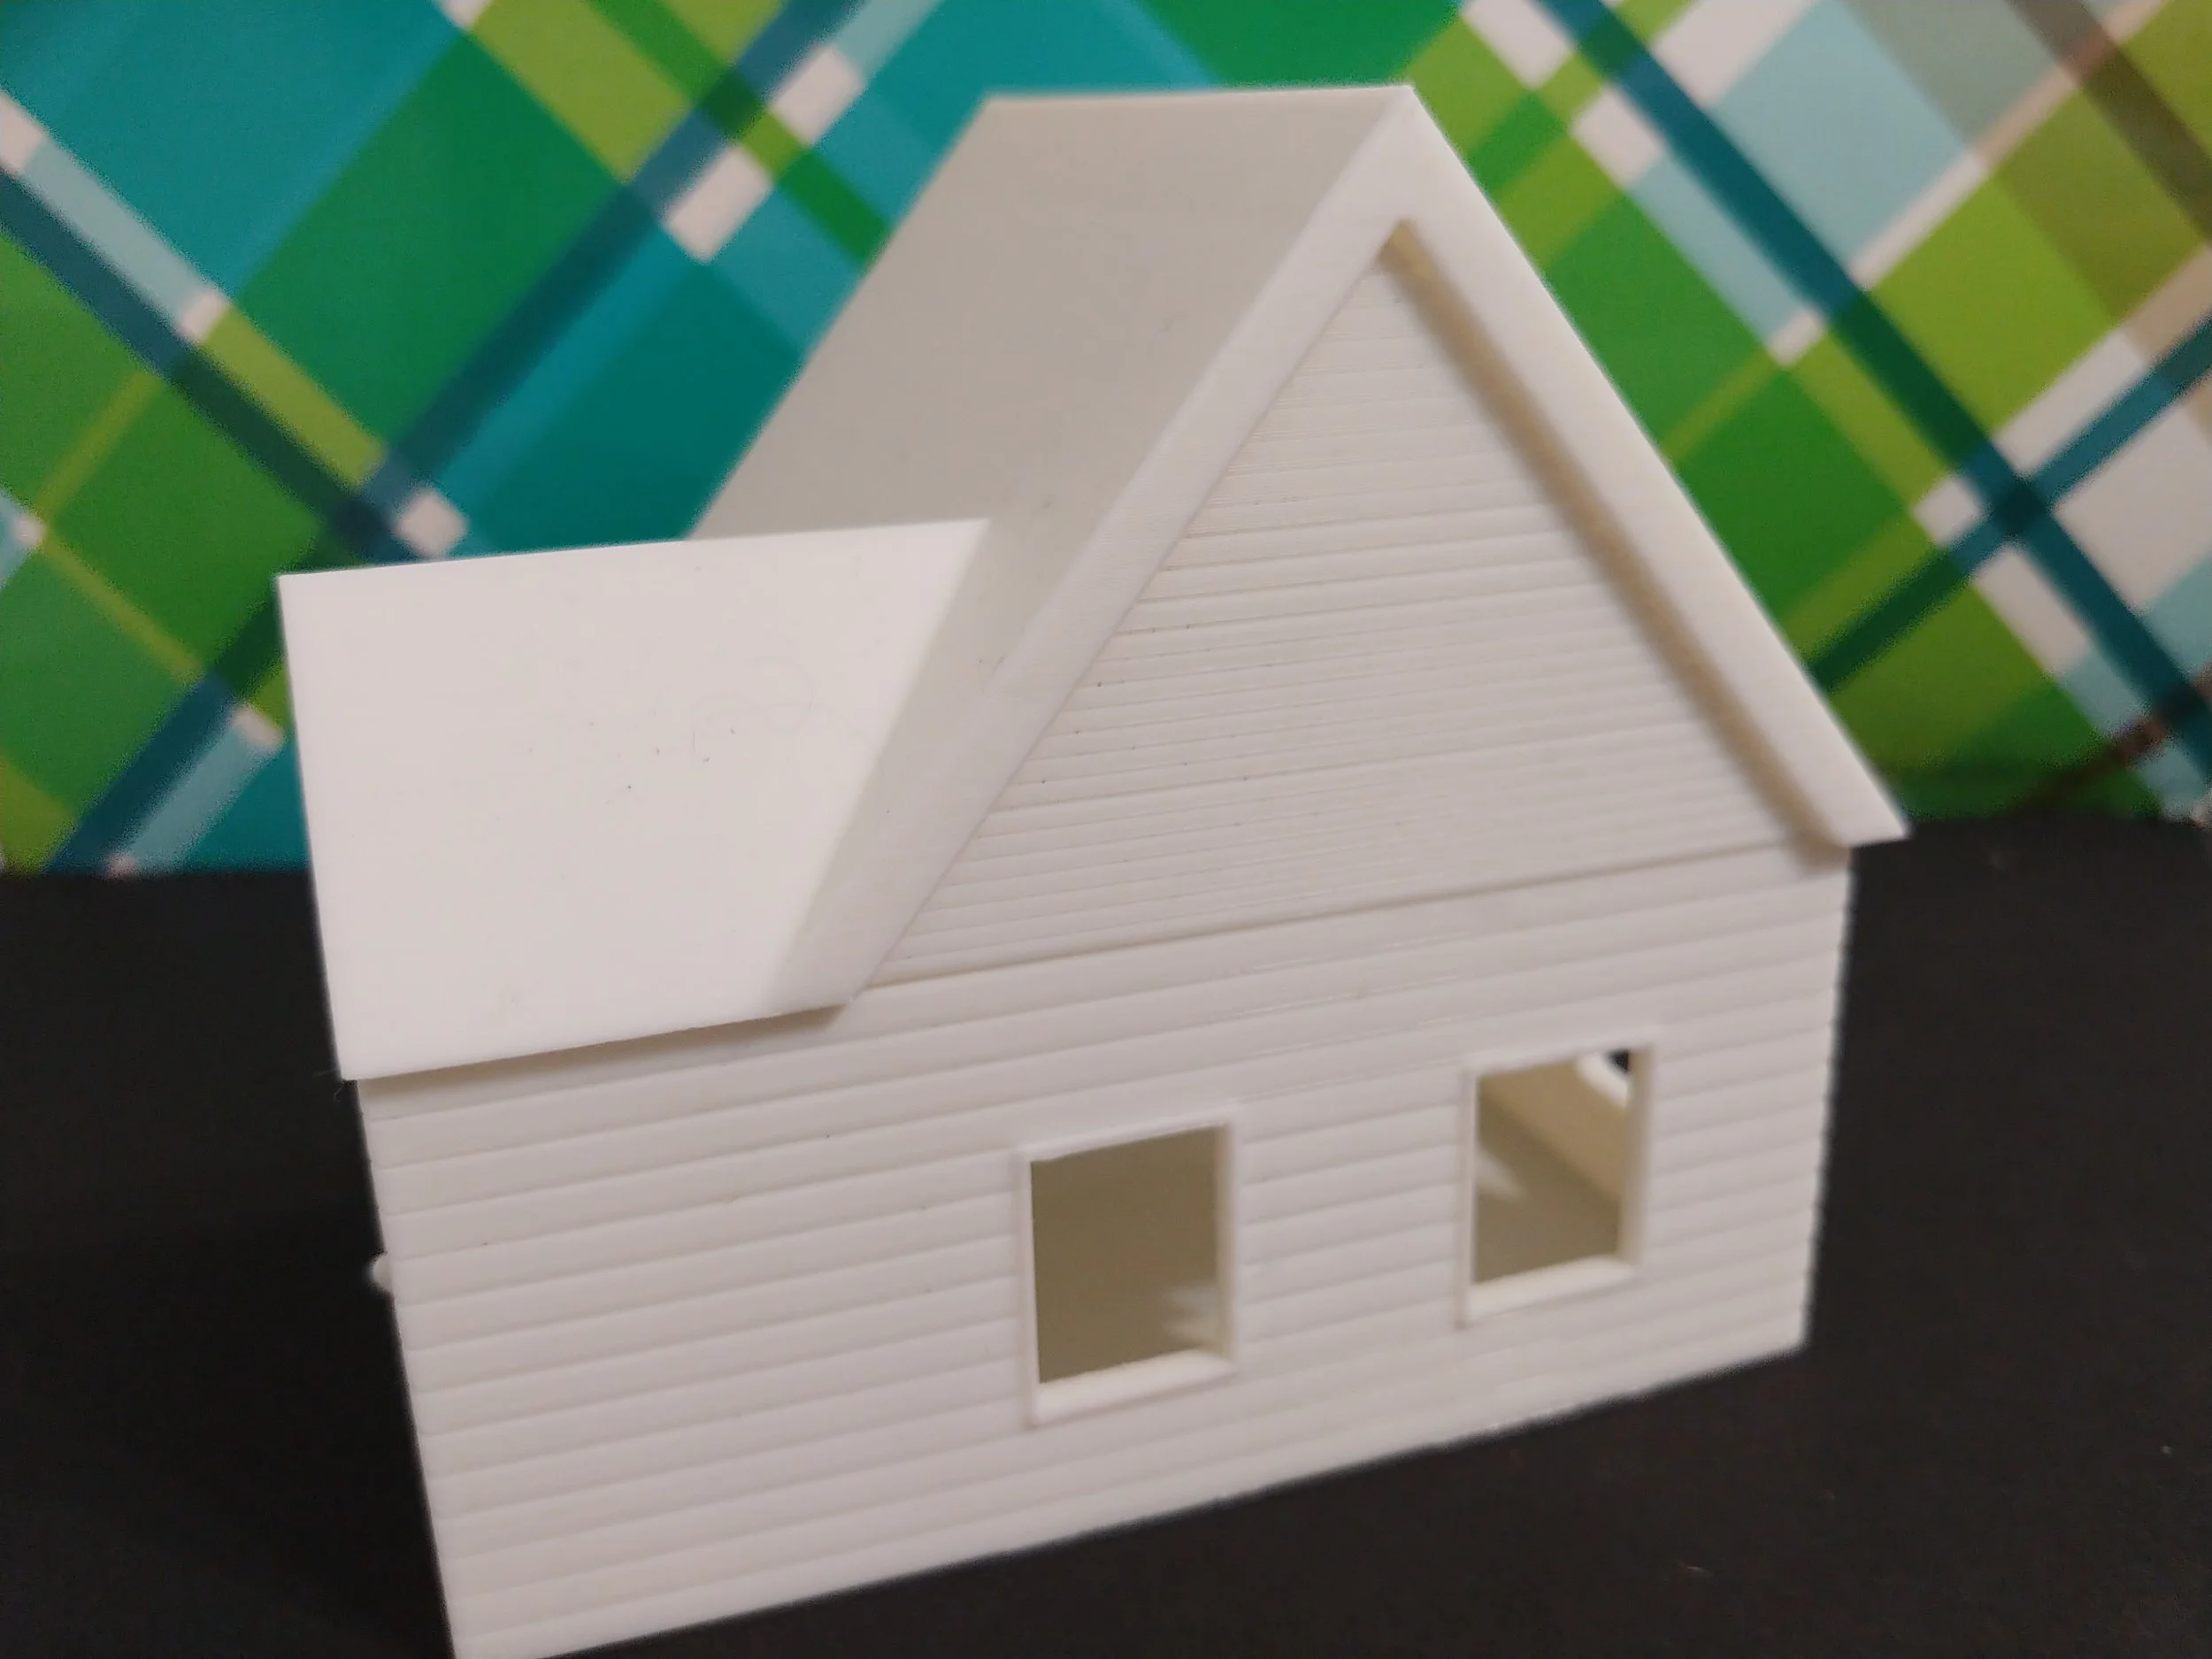
Designing a Roof and Gables for a 3D Printable TtRPG Blacksmithy (Part 3)
I am now the proud owner of a 3D-printed Colonial-style smithy that I researched and designed myself. While the smithy needs equipment, the building is now printed and ready to paint!
Designing Floors, Walls, Windows, and Doors for a 3D Printable TtRPG Blacksmithy (Part 2)
I now have an extremely cute 3D-printed model of a Colonial-style smithy. It could use sanding in a couple of spots, but overall it came out nicely. Now on to the roof!
Designing a 3D Printable Blacksmithy for a TTRPG (Part 1)
The research and planning stage for the Colonial-inspired 3D-printable smithy for my TtRPG was done, the layout and lighting appropriate. With that in mind, it’s time to put the idea to work. In the next post we’ll explore turning the plan into an actual model.
How to Create a Technical Drawing for 3D Printing Projects
Having technical drawings made the work SO much easier, goodness. It took far more time initially, but I was able to anticipate most potential problems before they saw the light of day. I realize mine are baby steps, but I feel really good about this. Creating a technical drawing for each of the 3D printed parts helped me avoid some of the earlier problems.
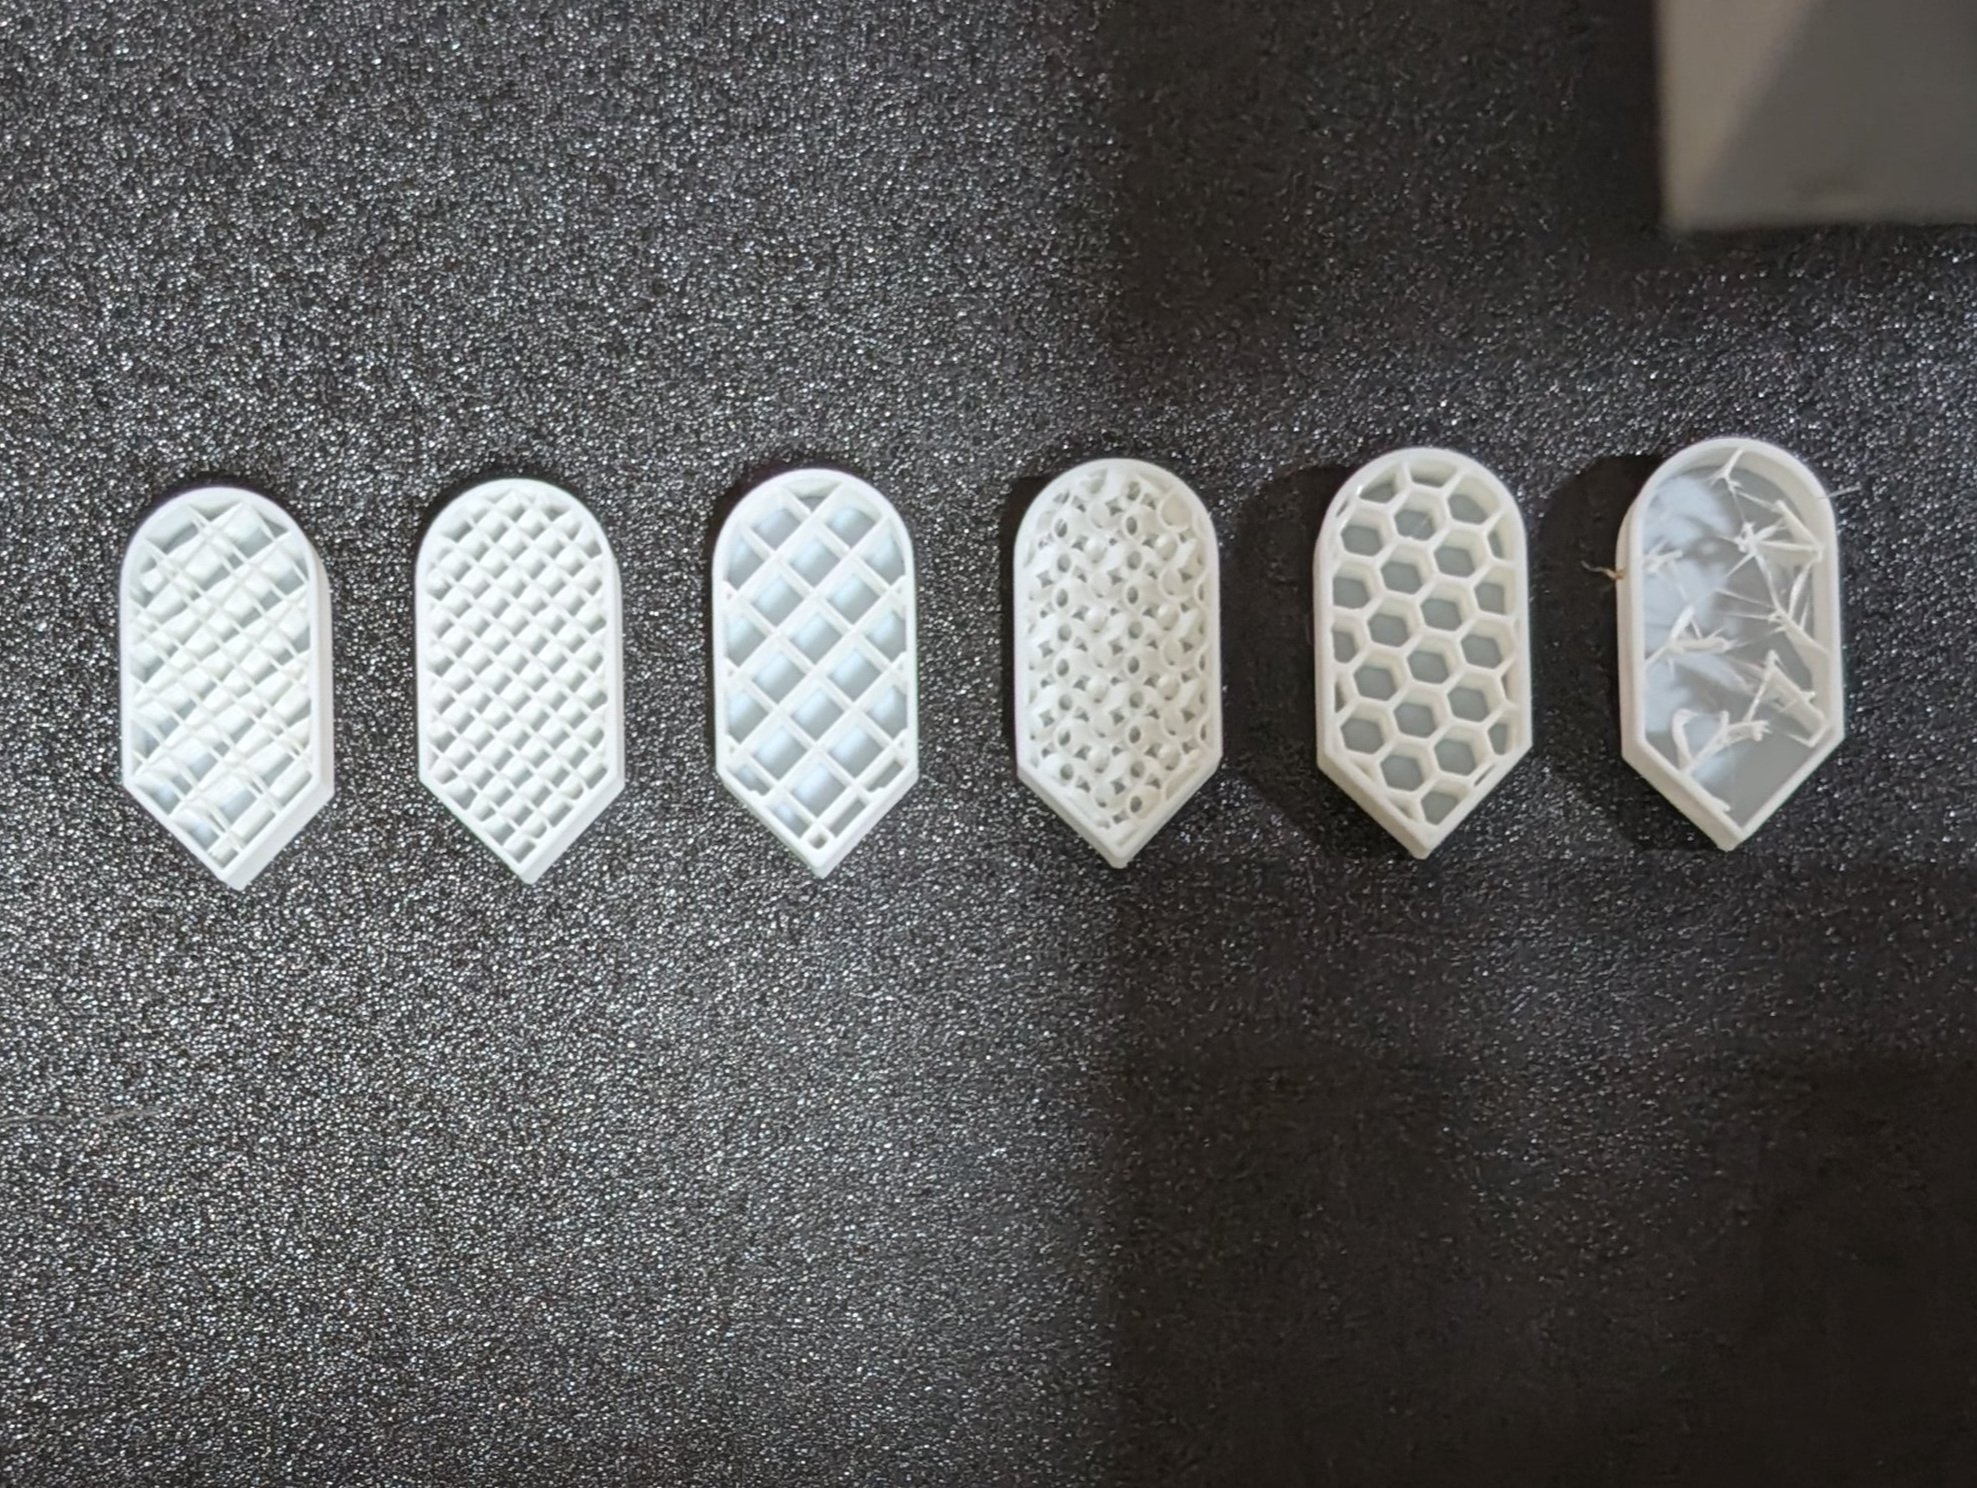
Experimenting with 3D Printing Infill Patterns!
How many types of patterns are there? The Bambu Wiki lists thirteen. Thirteen! I had no idea! What are the thirteen different types used for, specifically? And what do they look like? Not only do I want to see examples of how the patterns look, but I wonder how the different patterns handle curves and corners. I lined up six identical shapes, then applied a different infill pattern to each one. In order they are Line, Rectilinear, Grid, Gyroid, Honeycomb, and Lightning patterns. Halfway through the print I’m going to stop it, then share the results.
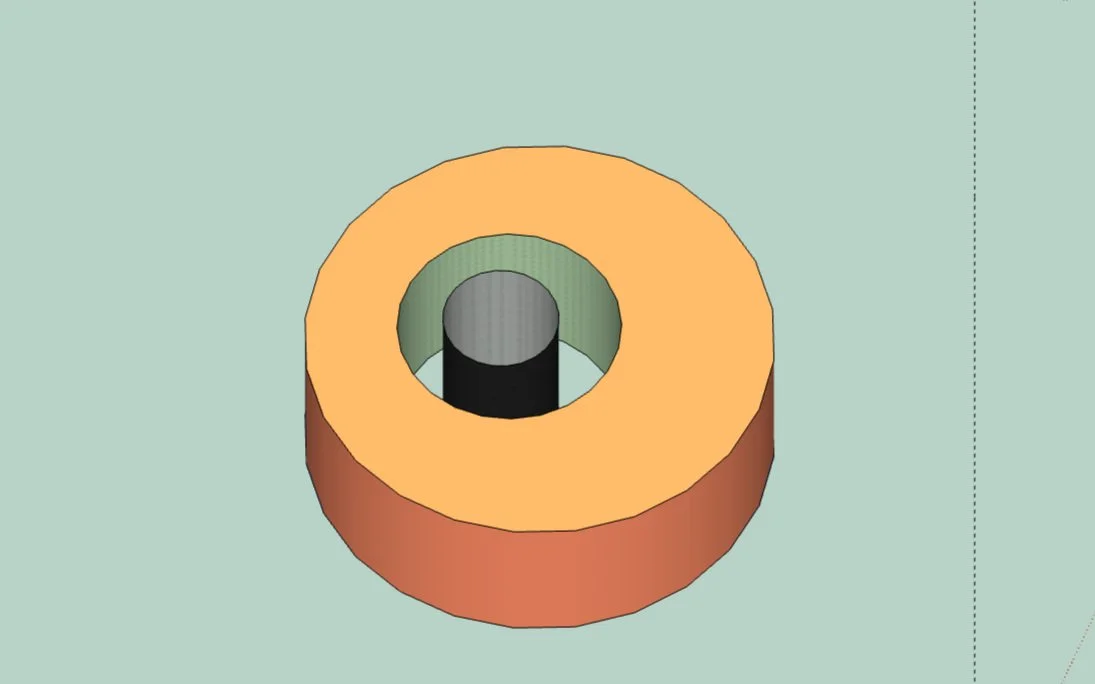
Basic 3D Modeling in SketchUp Free
Undeterred, I set out again. My second attempt succeeded. Hooray! I had to hit that sweet spot between the very bottom and the reflexive bounce-back, but I did it. Now to push a holed cylinder through a cylinder. That working exactly as expected, I moved on to more interesting shapes, pushing and prodding my way through the ‘verse.
3D Printing Supports: Threshhold Angle and Build Plate Only Settings! (Part 2)
“No matter the angle, exceeding the threshold without supports resulted in an impossible situation.”
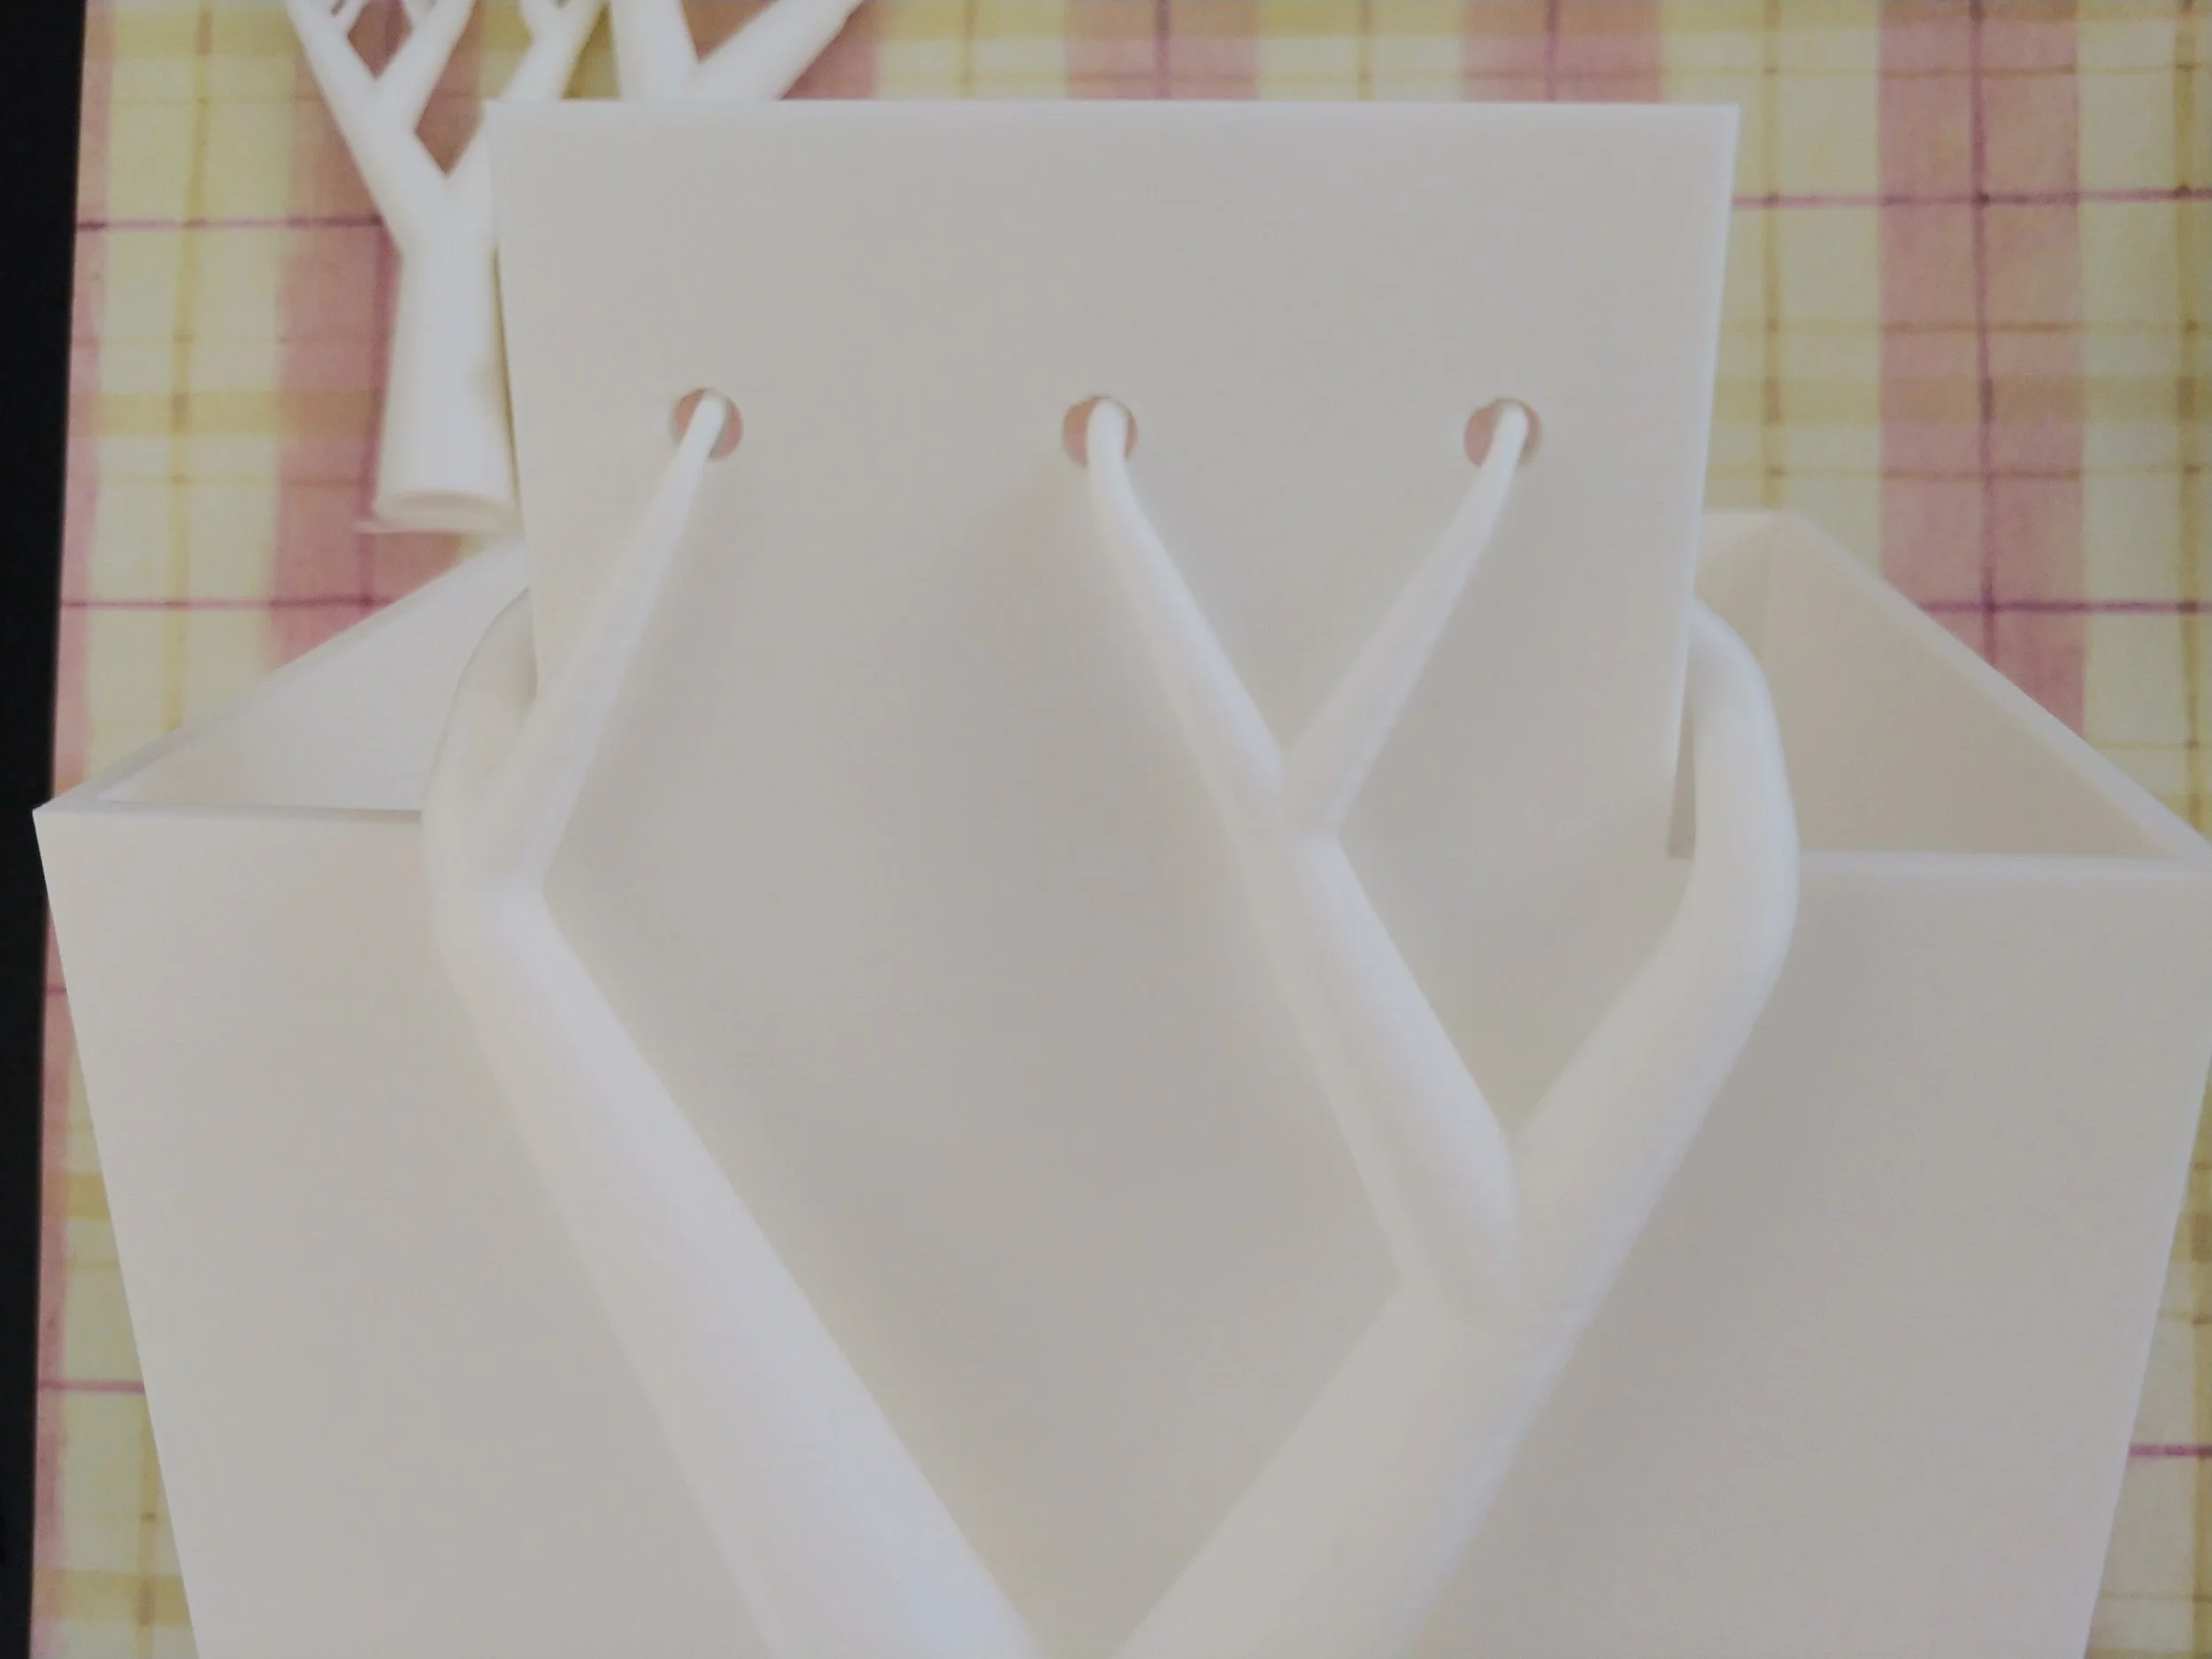
3D Printing Supports, Normal vs Tree! (Part 1)
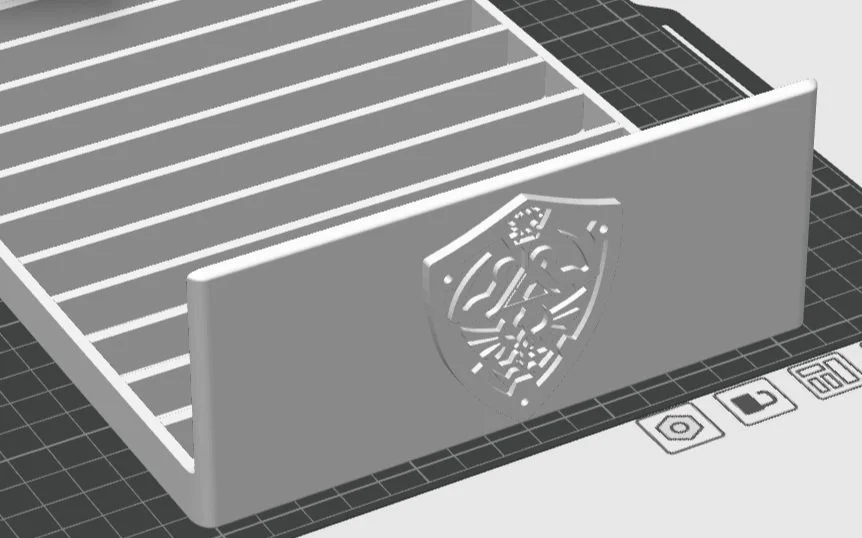
Since I opted for lettering on the model, I wanted supports suitable for a more detailed print. I’ve found tree supports to be far better at preserving detail than the default blocky ones. The tree supports are often easier to remove too, probably because less of their surface touches the print. I ended up selecting the tree(auto) option for Type and default for Style.

Importing STL Files into Tinkercad for Mash-Ups and Remixes in Tinkercad
With my newly acquired knowledge, downloading a font was a snap. I created a folder just for fancy fonts and unzipped it into that. From there, it was super easy to import select letters and add them to the design. Adding the font was as simple as stringing the letters together and aligning them horizontally, combining them into a single long shape, narrowing it to fit the box, shrinking it so that it had a nice look, flattening it so that the text protruded only 2 mm, then rotating it and sticking it on. While aligning the text was slightly time-consuming, the rest of the steps were done in only slightly more time than it took to type them.
My Starting Library for Learning 3D Printing and Tinkercad: Five Reviews
I enjoyed this book immensely. It made the learning process fun, and I could see the results of my lessons in real time. I did most of the work in the book, save for converting real-world models. When I get to that bit, I’ll write an article on it :)

3D-Printed Children’s Toys: Safety Considerations Every Maker Should Know
I went home and immediately made the necessary changes to make this set safe for smaller children. I made the ends even rounder, ensuring that they couldn’t accidentally scratch someone. I also angled the spatula, then created a ladle for left-handed people.

PLA, PETG, and ABS: Which filament type do you need for your 3D Print?
A pause while I considered this new information. Filament quality can be different? The rolls look basically the same to me, but for the color. Clearly I was missing some important knowledge.
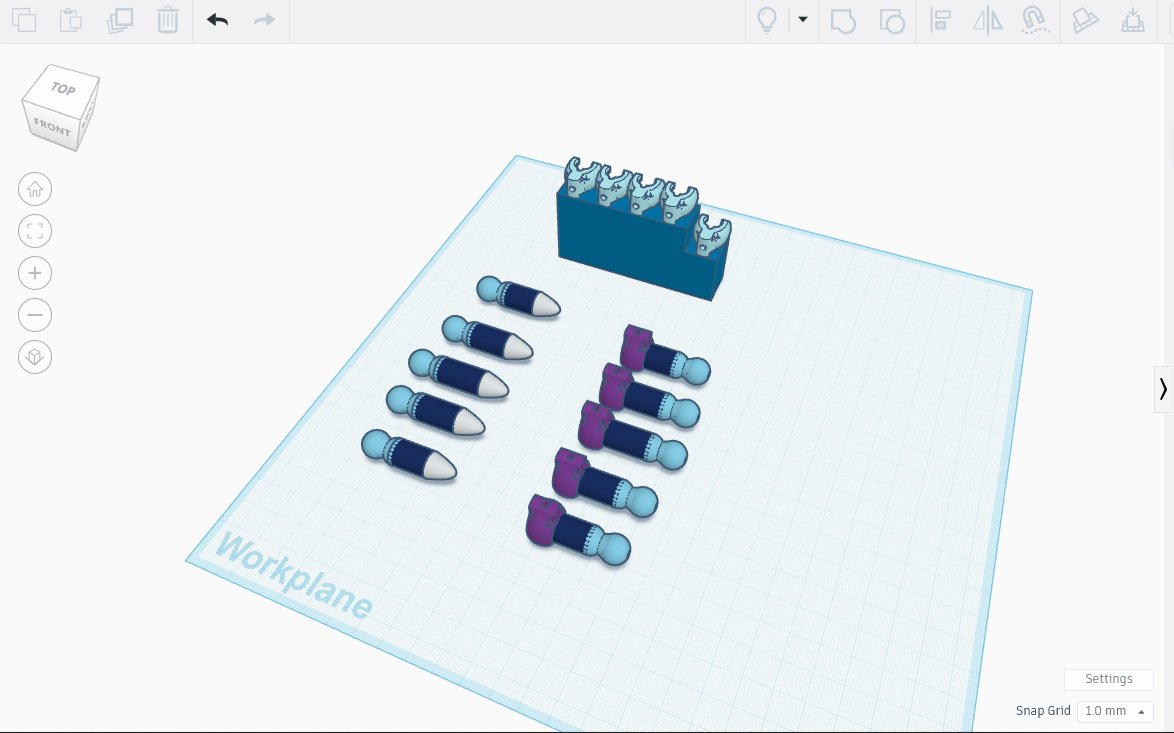
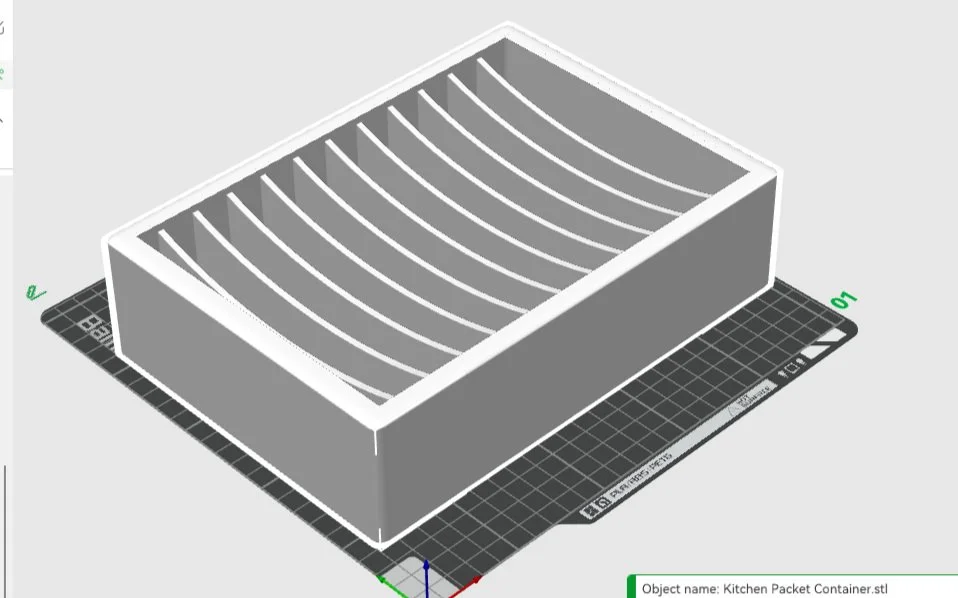
Reworking A 3D Printed Packet Organizer into Game Storage
My imagination on fire, I grabbed some pens and started making some sketches. In no time, I had another person join the brainstorming session, so you can see the results of our ideas.
Making Some Ball and Socket Joints in Tinkercad
Have you ever wanted to design ball and socket joints that resemble human fingers? Neither have I, but it’s the next exercise in a book I’m reading. Specifically I’ll be creating 3D-printed movable phalanges, or finger bones, by printing a mostly-rectangular ‘palm’, some socket ‘knuckles’, ball joints on fingers, and some fingertips. The sockets will perform a similar function to ligaments in the human body, allowing the fingers to move. Neat, and also creepy. But neat.
Troubleshooting & Tips: Why does my 3D Print have wrinkles in it?
Have you gone to print something really cool only to find that mysterious wrinkles had appeared? Unless your really cool 3D print needed a molten slag effect, those wrinkles and layer defects probably ruined it. But why? What are they? And how can you not have this happen again?
Designing a 3D-Printed Kitchen Organizer (for Food Packets)
The good news: the print was perfect! The bad news: the scaffolding was the absolute worst. The good news again: my toolbox had everything I needed to deal with the unruly scaffolding! It took time and patience, and also a chisel and some sandpaper.
My Toolbox
I went to youtube for help, and discovered a secret that would change my 3D printing life: chisels. I wish I could find that video again - it was made by a carpenter who did 3D printing as a side hobby, and not only was it a good video, but I also suspect he has other great 3D print videos. If I find it again, I’ll link it.