Troubleshooting & Tips: Why does my 3D Print have wrinkles in it?
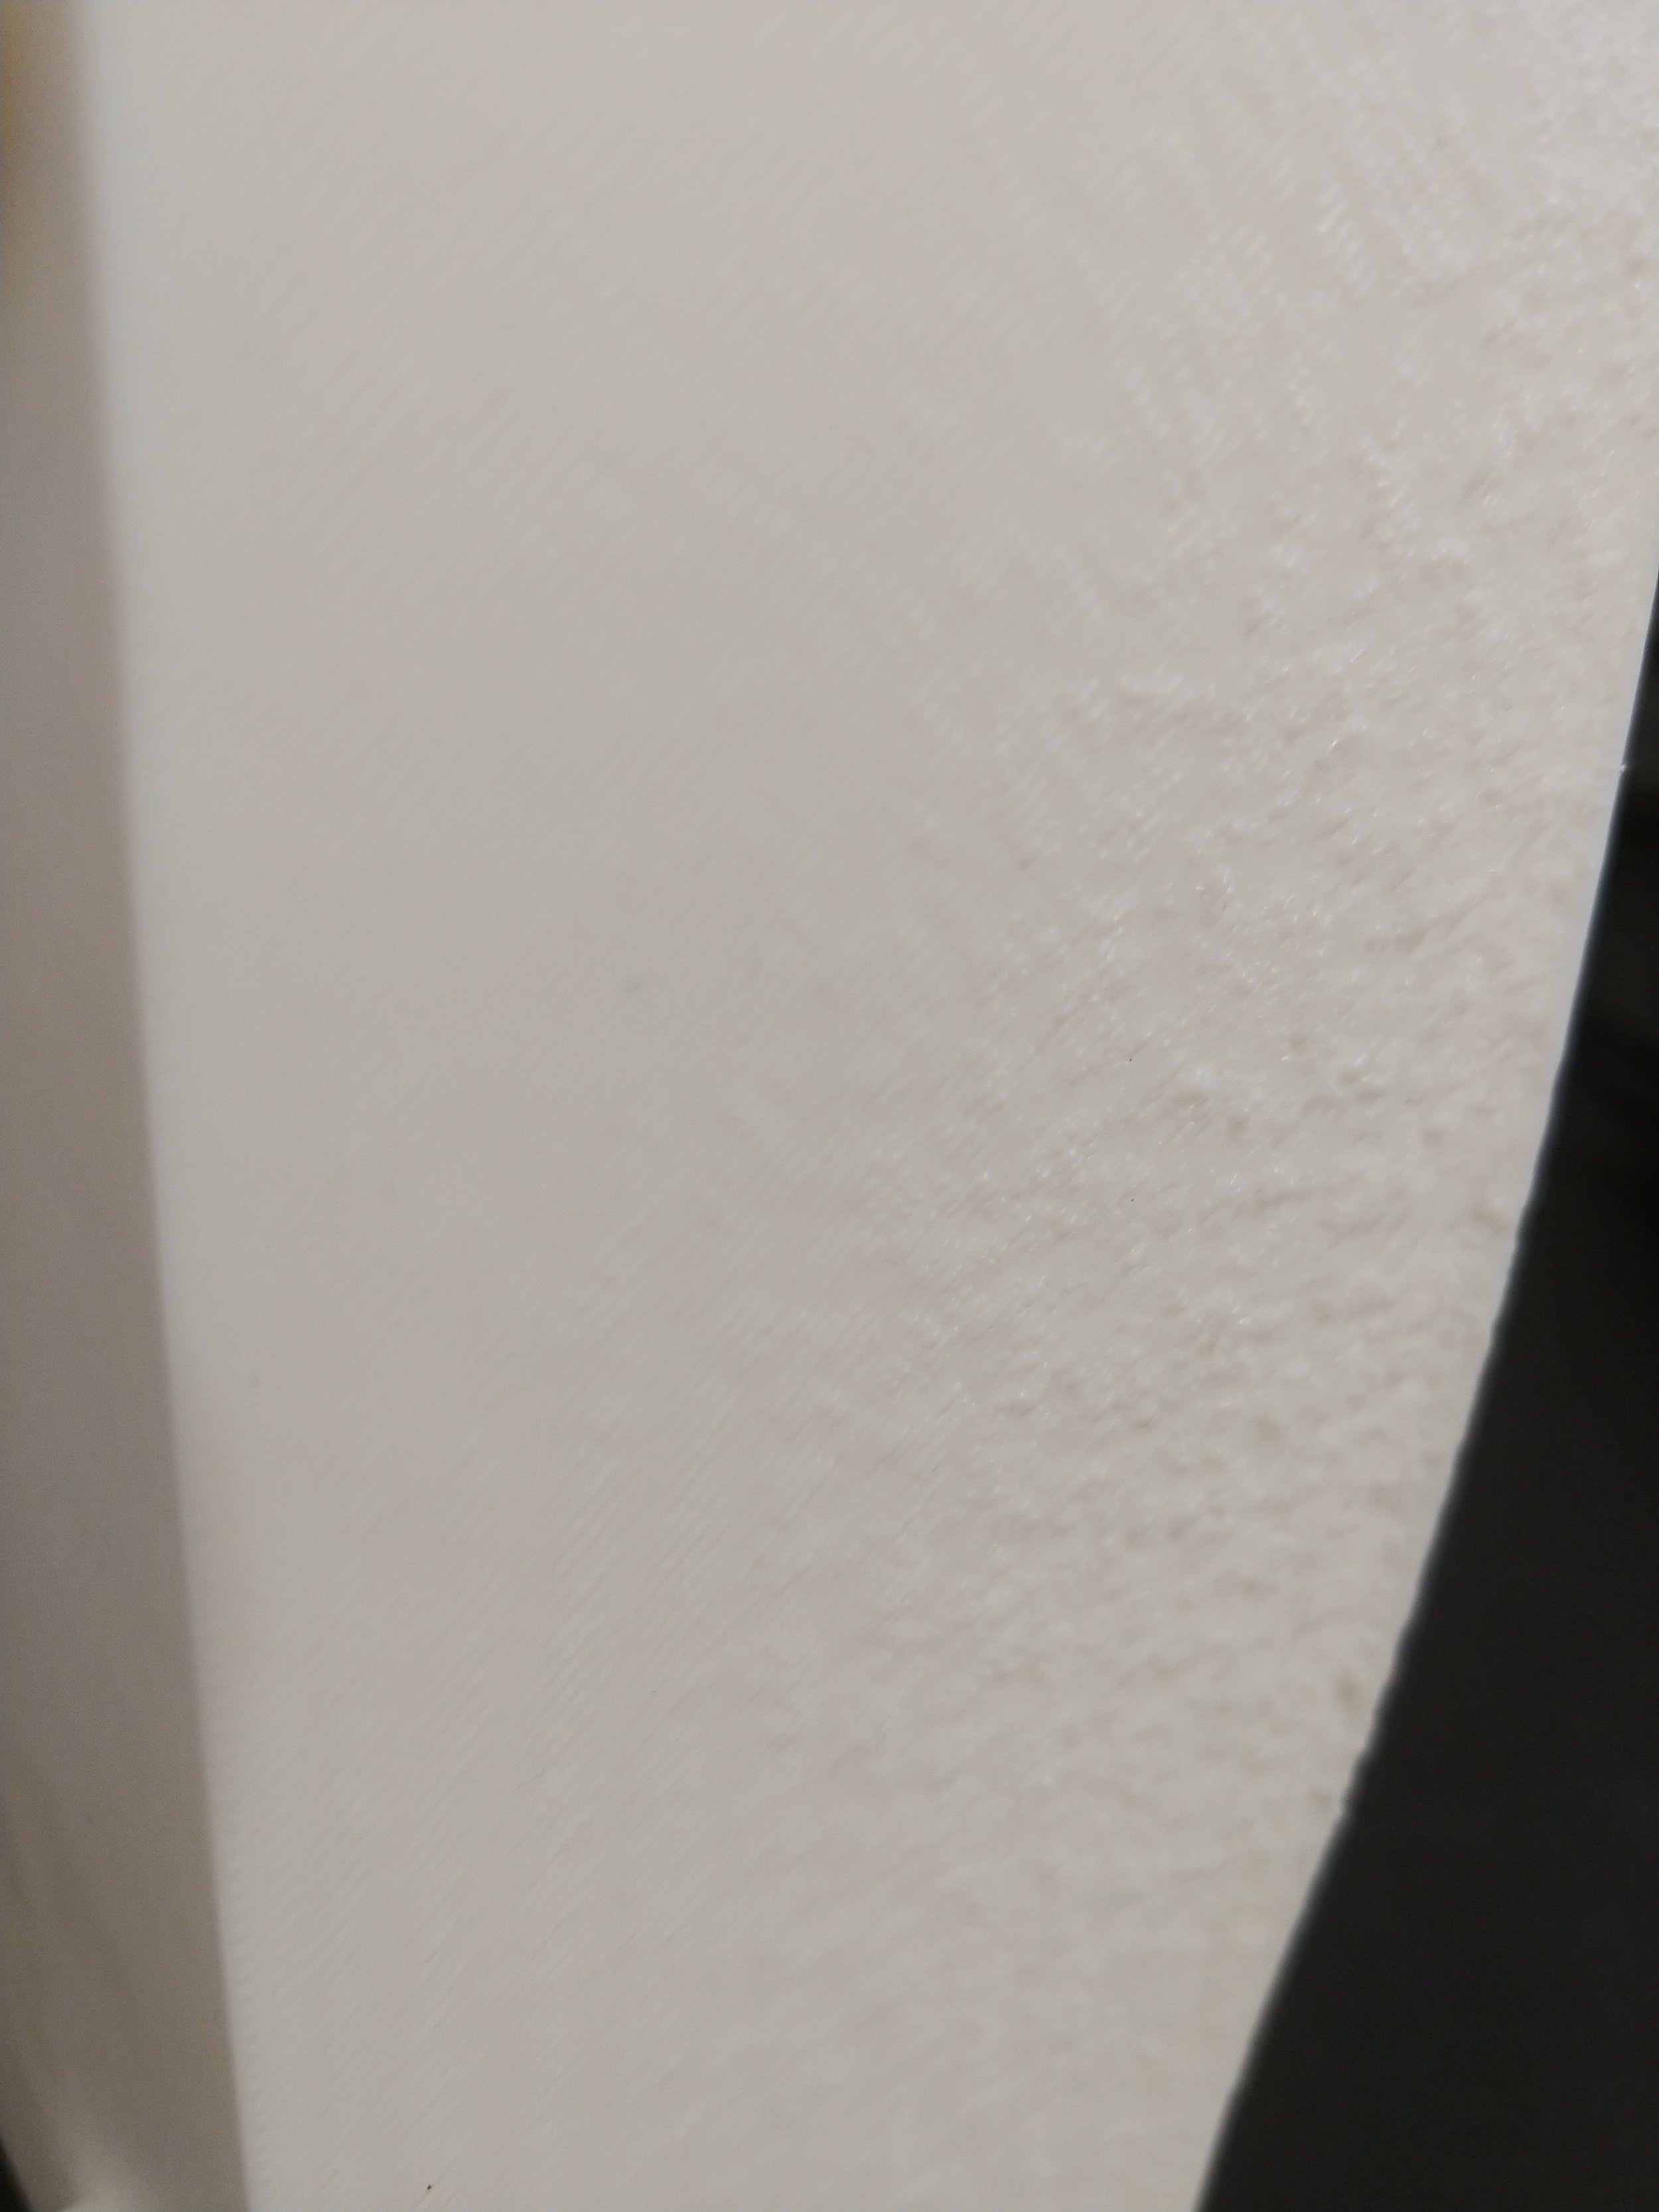
This should be smooth like plastic, not rough like a dried orange.
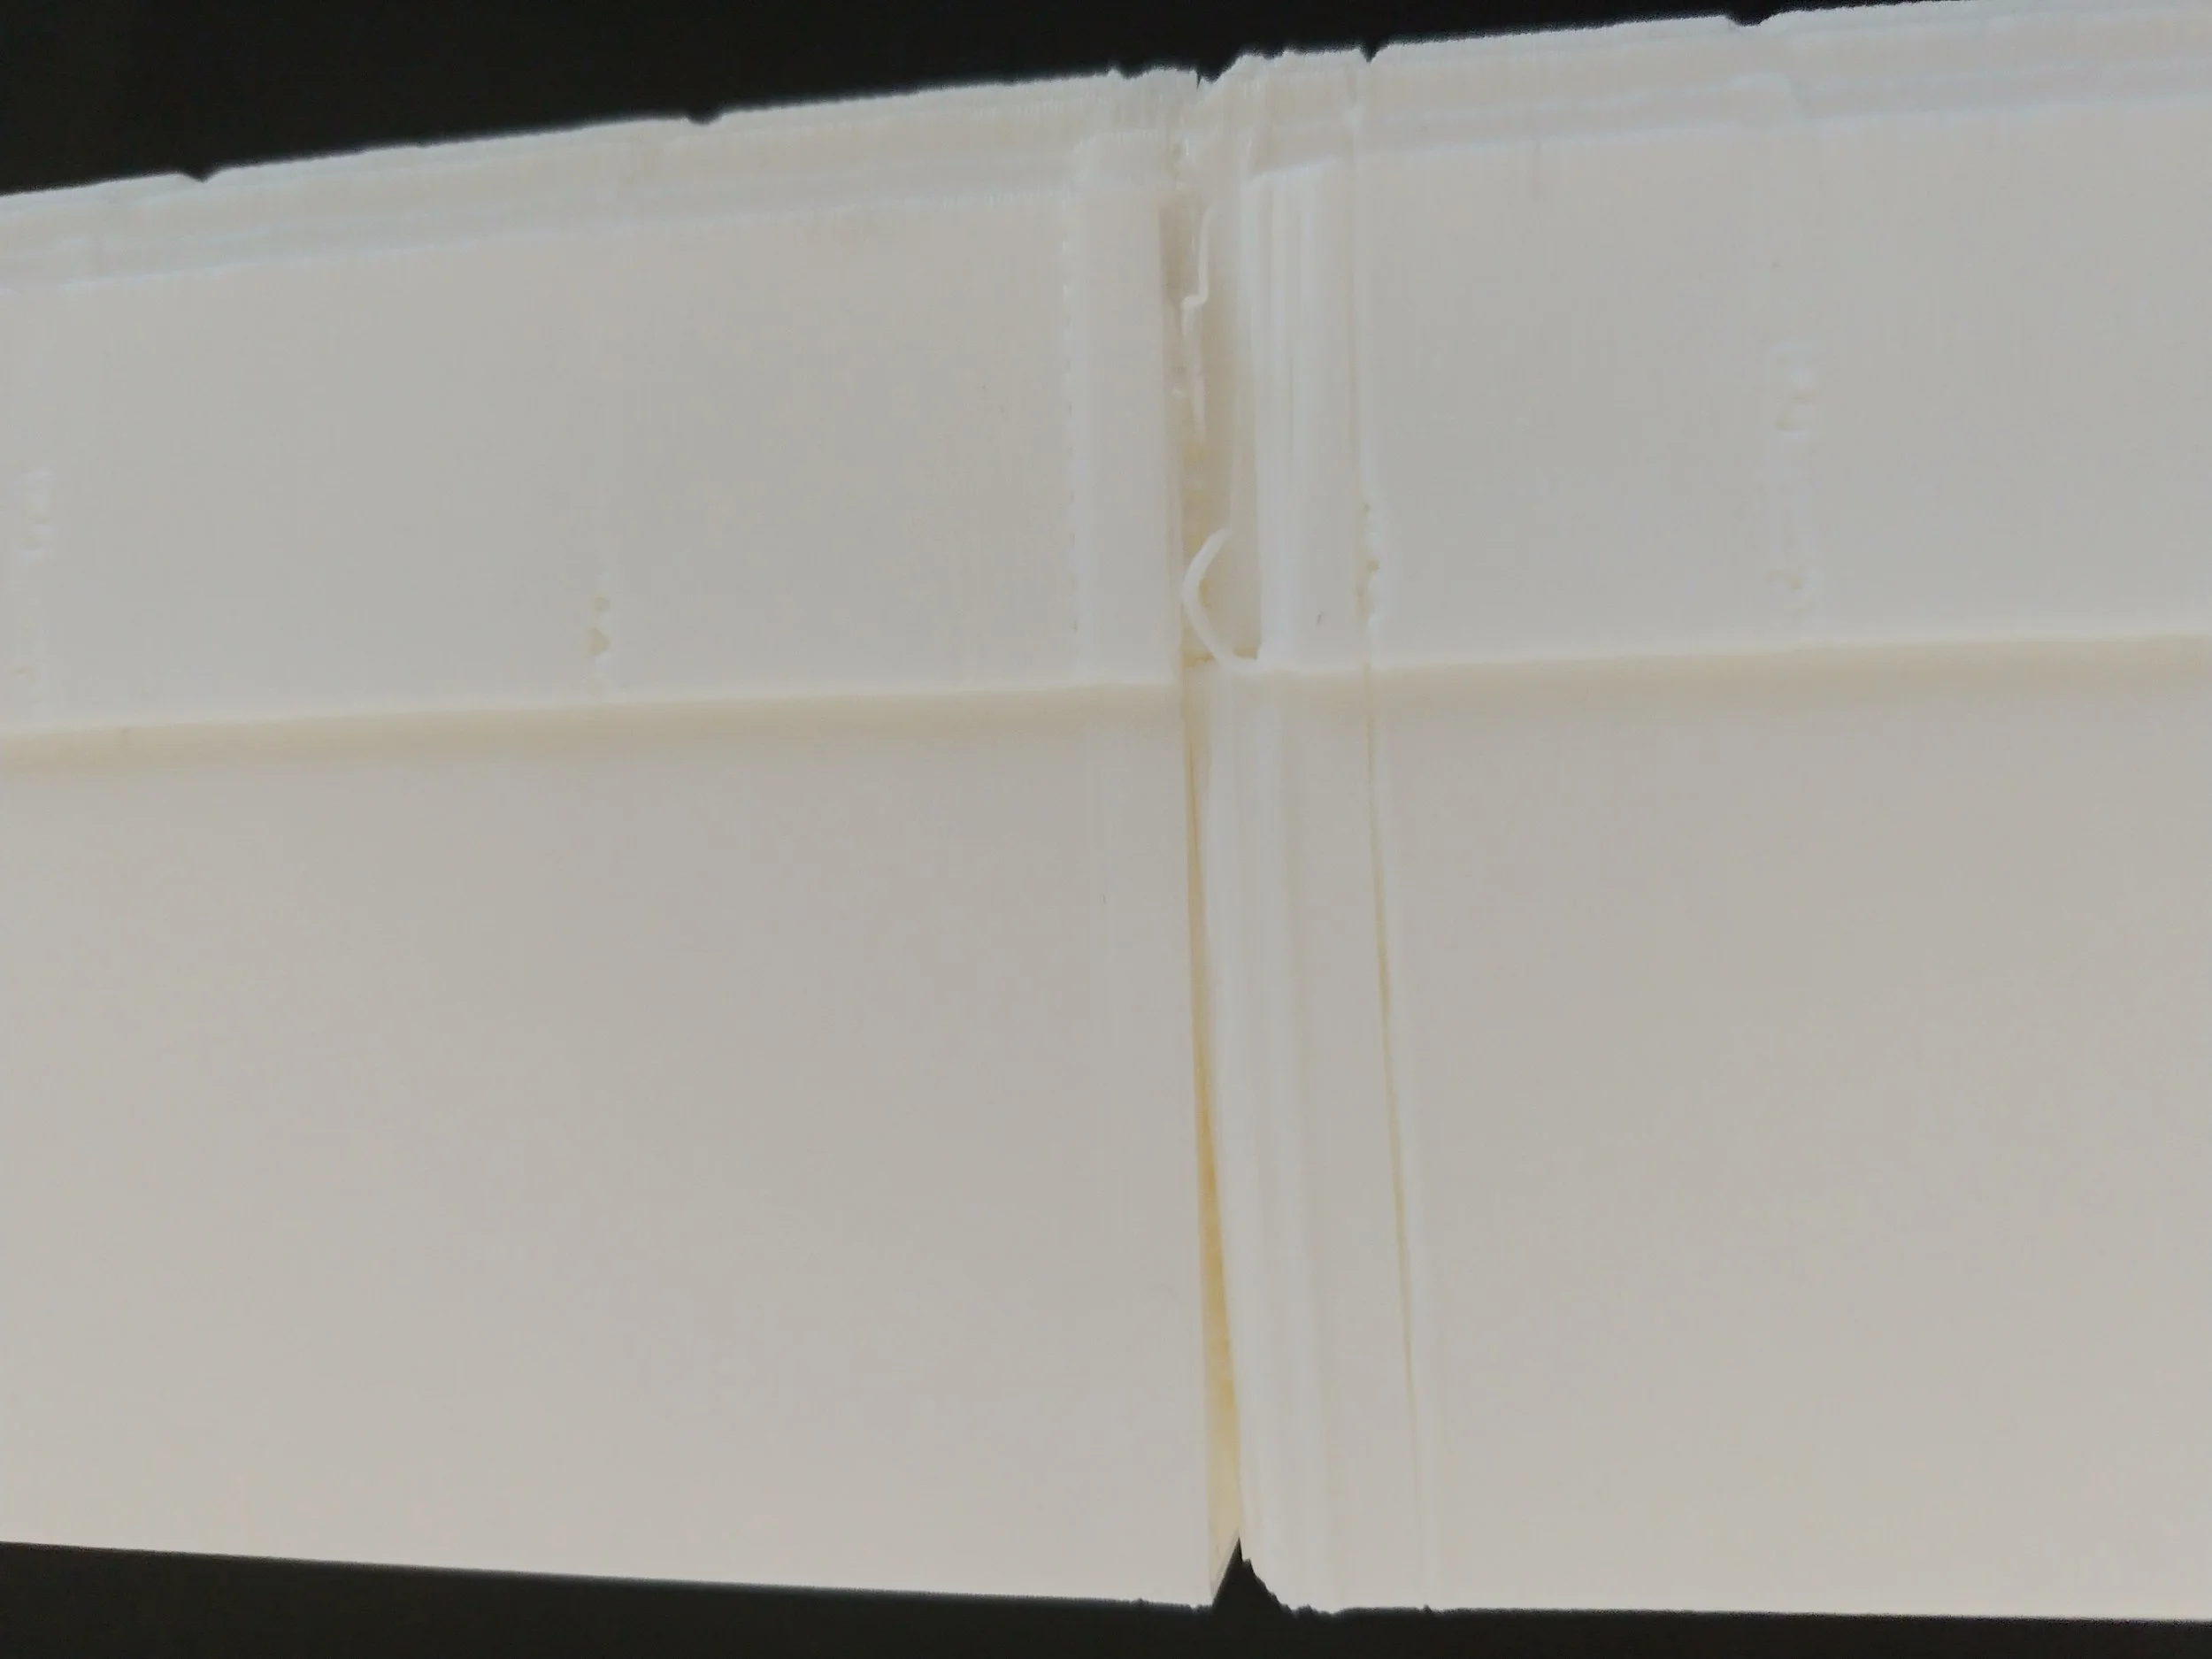
Have you gone to print something really cool only to find that mysterious wrinkles had appeared? Unless your really cool 3D print needed a molten slag effect, those wrinkles and layer defects probably ruined it. But why? What are they? And how can you not have this happen again?
Many of the problems come from either poor adhesion or temperature issues. When the first layer fails to adhere properly, the subsequent layers fail. If the extruder is too hot, the plastic can get dragged around, smeared, or otherwise icky before it has time to solidify. Here are a few common problems, and some possible solutions.
Poor Adhesion
I’ve had this happen several times, especially when I was first learning to use the printer. In my case, I had touched or brushed the printbed ever so slightly, and it ruined the print. The last couple times that happened I wasn’t sure I had brushed it at all, it was so slight a touch.
Any amount of human oil, ANY amount, at all, no matter how small, will interfere with the plastic’s ability to stick to the print bed. The plastic will slip and it will slide, but it will not provide a stable base for the next layer. Hence the choppy wrinkles.
The solution for that problem is to wash the print bed thoroughly. I remove the print bed, then scrub it in the sink using nothing more sophisticated than water, Dawn dish soap, and a non-abrasive sponge. Rinse very thoroughly and dry with a lint-free cloth. Don’t put it back on your printer until it’s dry!
To prevent this problem, wash your printbed regularly, supposedly every few prints. Also never ever ever touch the printbed anywhere but its grippable area. It’s not meant to be touched. Use a plastic scraper, and be gentle!
Poor adhesion can sometimes happen due to the type of object being printed, particularly when it doesn’t have a lot of surface area to interact with the print bed. An example of this problem occurred when I tried printing small balls for a lazy susan. They didn’t stick, they rolled, they blobbed, ending up as three tiny balls of slag and a few piles of string.
A print can sometimes benefit from a brim, or a very thin layer of plastic that gets put down to provide adhesion and support. I solved the lazy susan problem by adding a brim to the balls - the stability it gave them let the print finish properly.
Those problems and solutions came about from personal experience. I checked with google to find out if there might be other reasons for ruined prints, and there were!
Print Speed
If a project is printing too quickly the layers won’t have time to cool before new layers go on top. This can cause wrinkles. A solution isn’t listed, though slowing the print speed or swapping out the filament for one that is more suitable to high speed printing both seem like viable options.
I think the extruder got cleaned after this but I really don’t remember.
Over-Extrusion
When a printer is extruding too much filament at once, it’s said to be over-extruding. If too much filament comes out at once, the filament can spread around a bit before it has time to cool, creating wrinkles and sags.
There are numerous suggestions as to what to do, including lowering the print temperature, adjusting the extrusion multiplier, etc. Honestly at this point I’d check Google’s AI Overview or Reddit for help, because that’s where I’d be going to figure out how to do either of those things.
The Nozzle is Too Close to the Bed
If the nozzle is too close to the bed it can spread the plastic around before it has time to harden, causing it to look wrinkled. The nozzle needs to be adjusted.
For More Troubleshooting
There are other problems too, like the nozzle being too hot or too cold etc, but a quick stroll through reddit suggests that most of the reasons for having a wrinkly print are listed above. This list is certainly not exhaustive - if none of the above helps I’d consider asking Google, Reddit, or a 3D printer community like Creality or Bambu.
Good luck and happy printing :)