Designing a 3D-Printed Kitchen Organizer (for Food Packets)
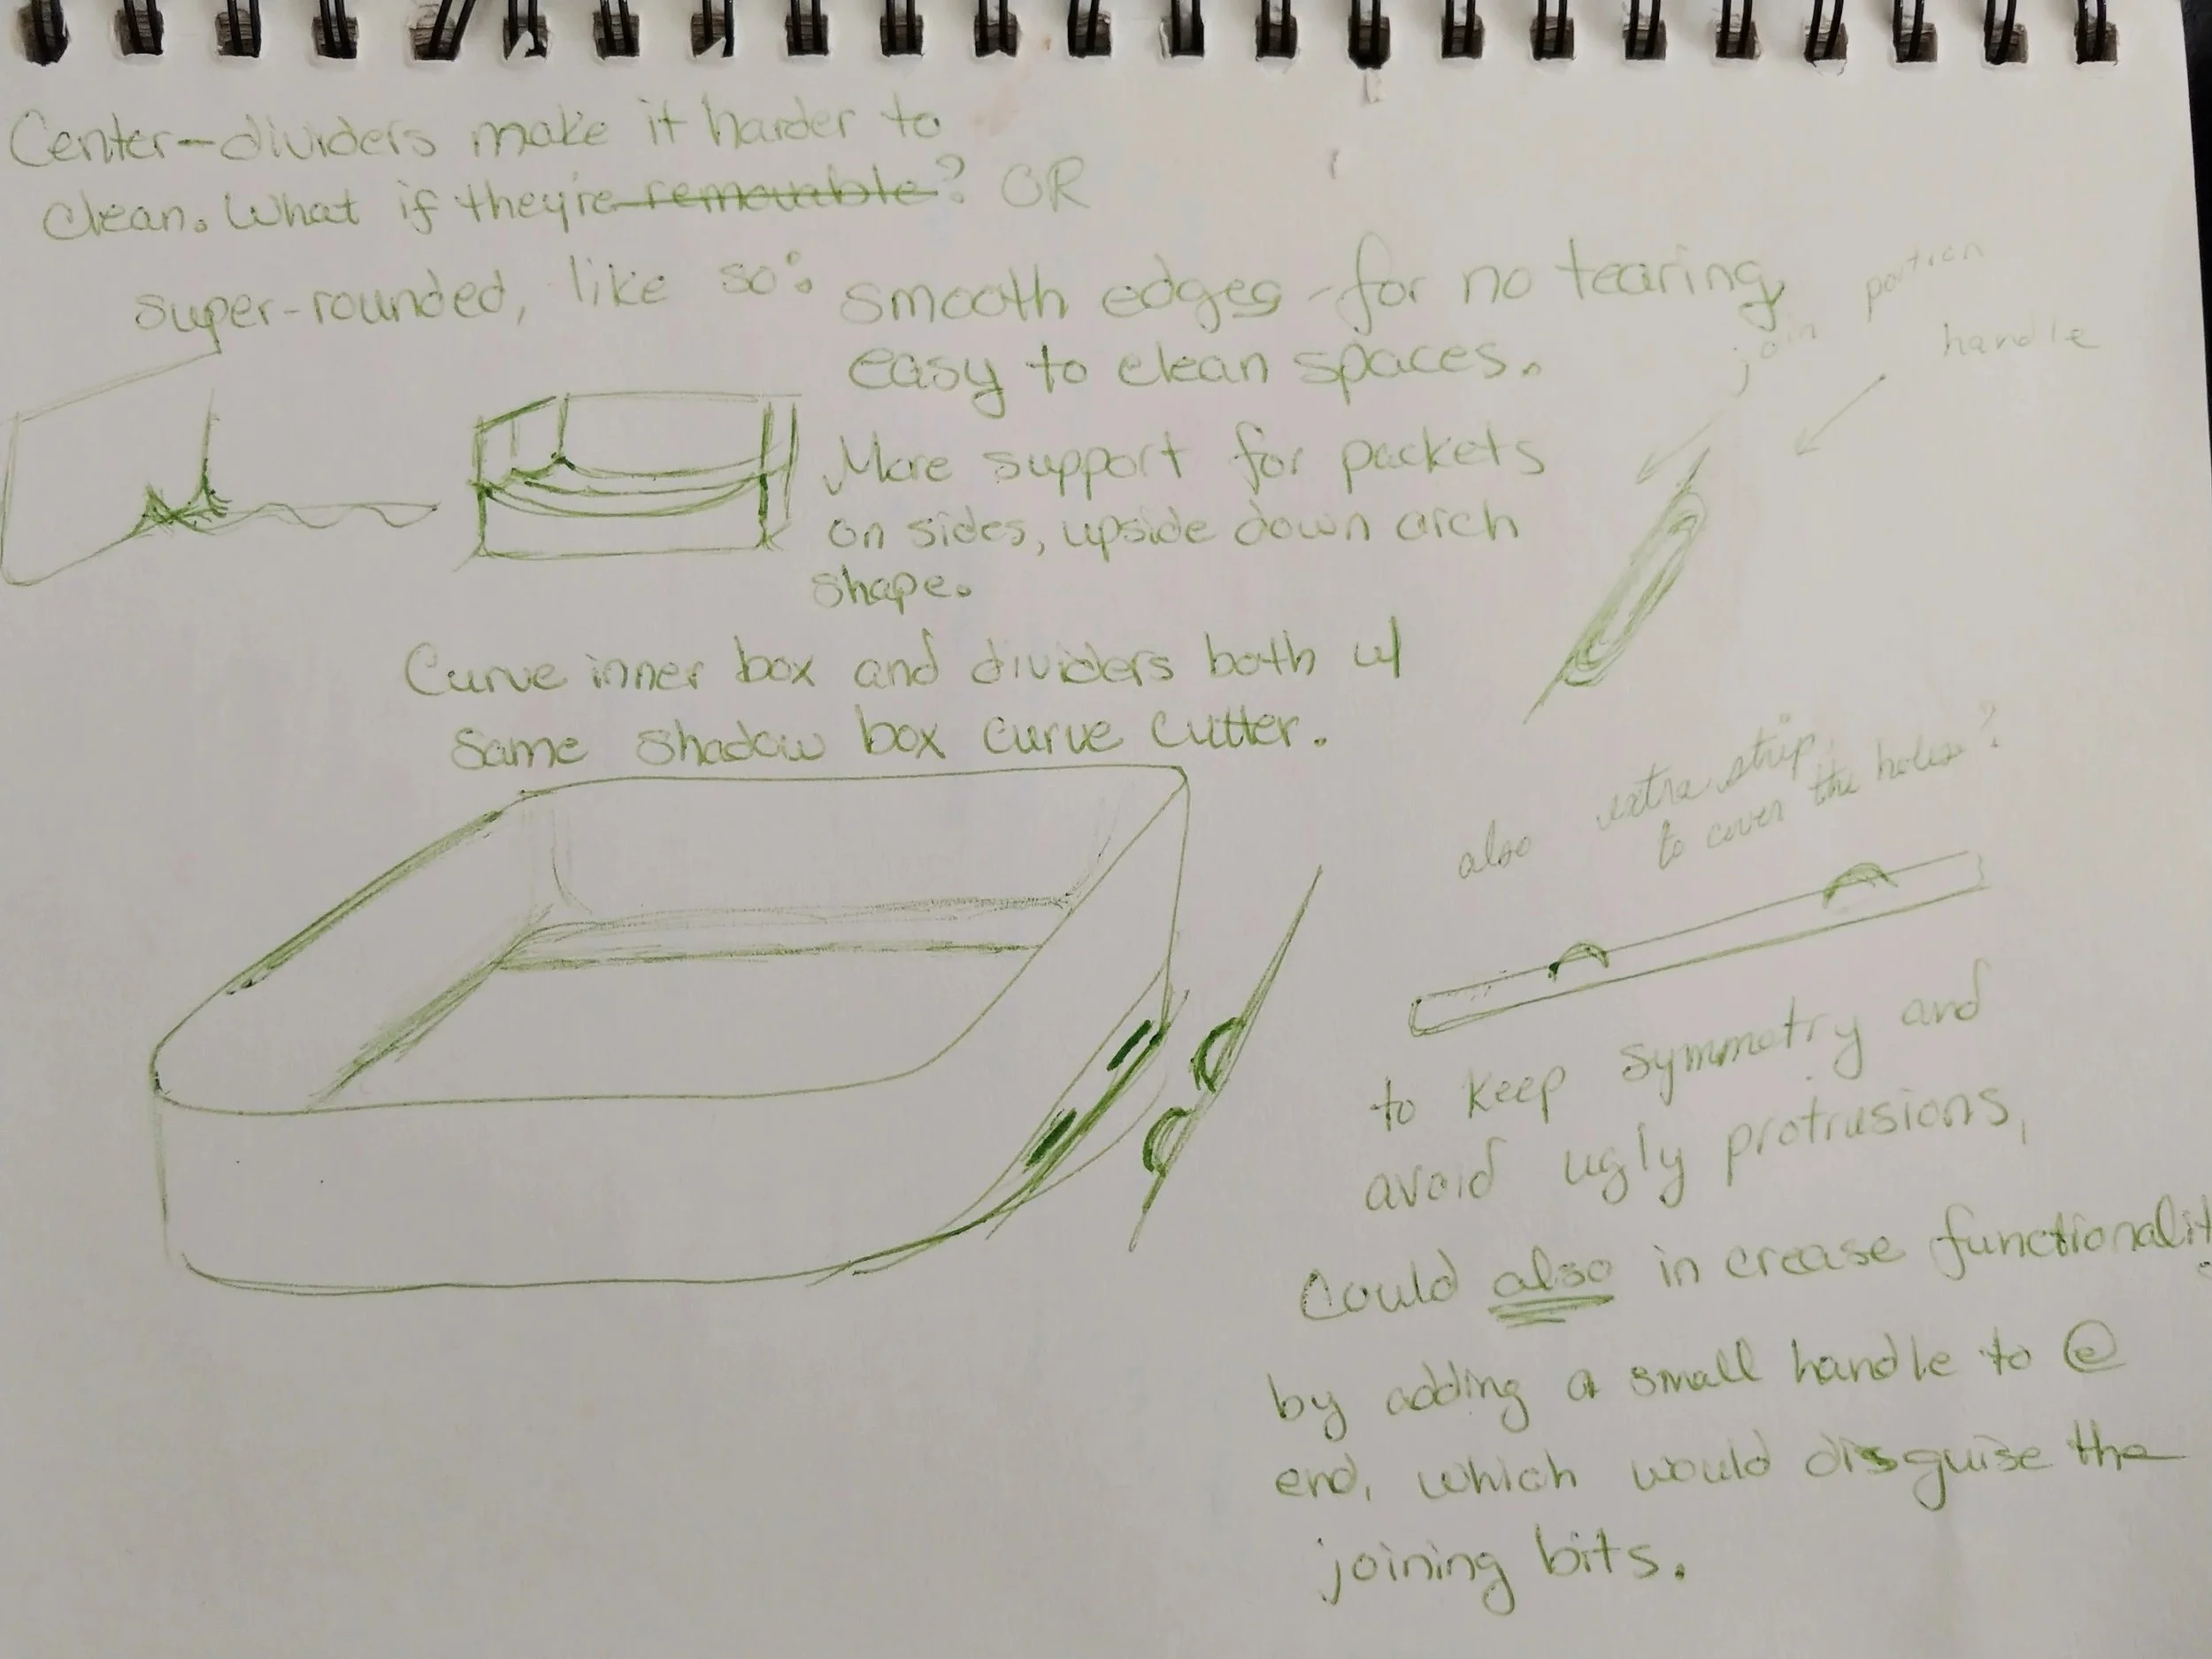
A member of my household requested a 3D-printed container for a specific product. The specifications, aside from size, are that the container be two columns wide and that the product labels be readable. I plan on adding a slightly rounded inside so that it’s easy to wipe clean.
The packets that need homed are 4.5 x 6 inches, with the label on the top left of the long side. To be two columns wide the container will need to be at least a foot wide, and that doesn’t include space for padding.
To make this happen the design will need to be composed of two side-by-side containers, which will be joined together using a mystery joint and some superglue. OR I could join them by adding to the bottoms of each some wide flat slots that could fit some wafers. OR I could just let them sit next to each other. Less fun for me but honestly better design-wise the more that I think on it.
The packet dividers will be smooth, with the curve climbing the sides and dip in the center. This project will have 2 identical containers and a pair of connectors.
Drafting a Design
Before figuring the outside dimensions, I need to know the inner dimensions. These packets are six inches wide, so the inside space needs to be six inches plus an extra quarter inch for padding, so 6.25 inches wide. To get the length, I need to know how much space each packet will take, as the container will be twelve packet-widths long.
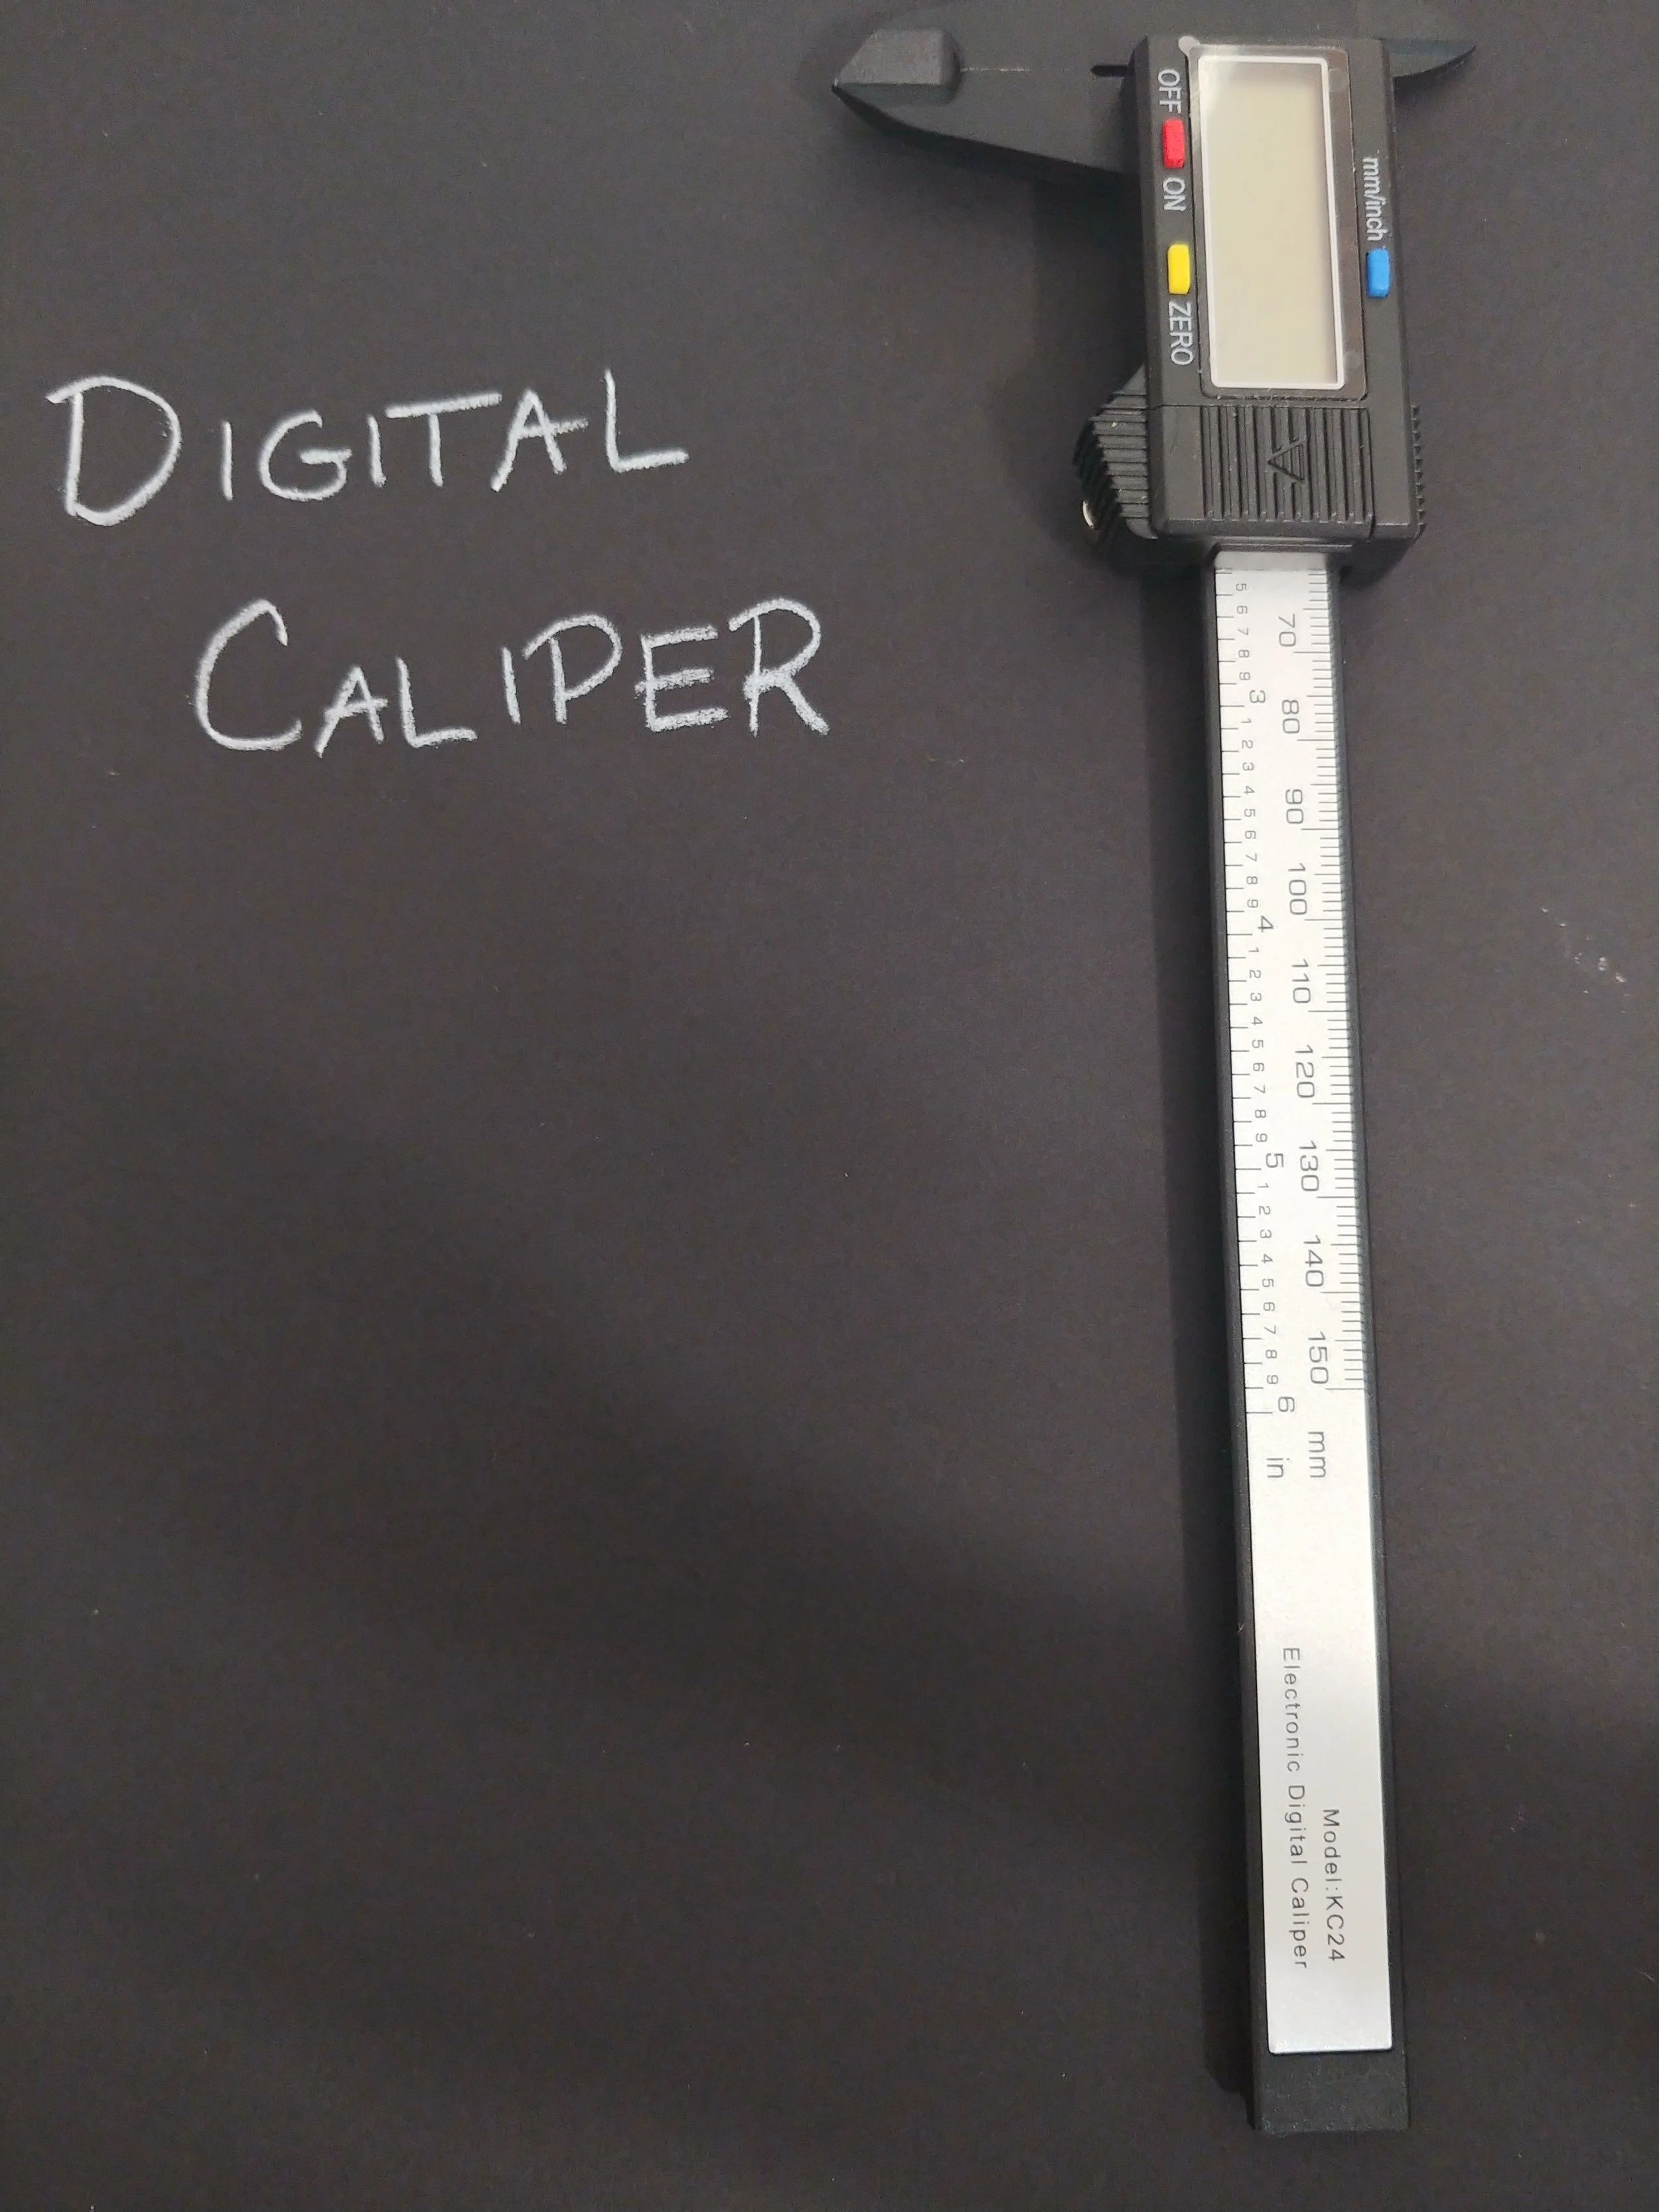
I used the caliper to measure the packet at its thickest spot, without smushing anything, and it came to .55 inches. Each slot needs enough room to accommodate a single packet. Assuming the dividers are an eighth of an inch wide, that means I need 4/8 for the packet and 1/8 for the divider, meaning a total of 5/8 inch per packet. I’ll round up to 6/8, or 3/4, because I want a little bit of wiggle room. Twelve spots 3/4 inches thick totals up to 9 inches total on the inside. Adding in the width of the walls this print is going to be closer to 9.5 inches, pushing my printer to it’s limit.
The height will be a point at which it holds the packets in, but leaves them readable and grabbable - I’m thinking 2.25 inches should do the trick.
The outer walls and base of this container will be a quarter of an inch. That should be thick enough to give it extra strength as well as look aesthetically pleasing. The final print should be 9.5 x 6.75 x 2.5 inches in size, with a 9 x 6.25 x 2.25 inch space on the inside.
I think I have my measurements all in order, now to begin.
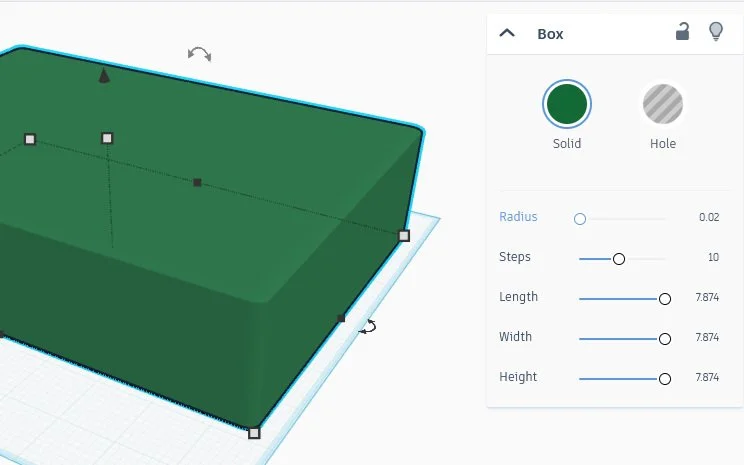
We start with an appropriately sized box, which I’m recoloring to a pleasant shade of green. Clicking on the box displays a tool that lets you change colors, but also lets you change the dimensions of the selected item. In this case I’m going to change the radius, which allows for the rounding of corners. A radius of as little as .1 rounds the corners dramatically. Too much, in fact. I ended up using a fifth of that size, and the corners are rounded nicely.
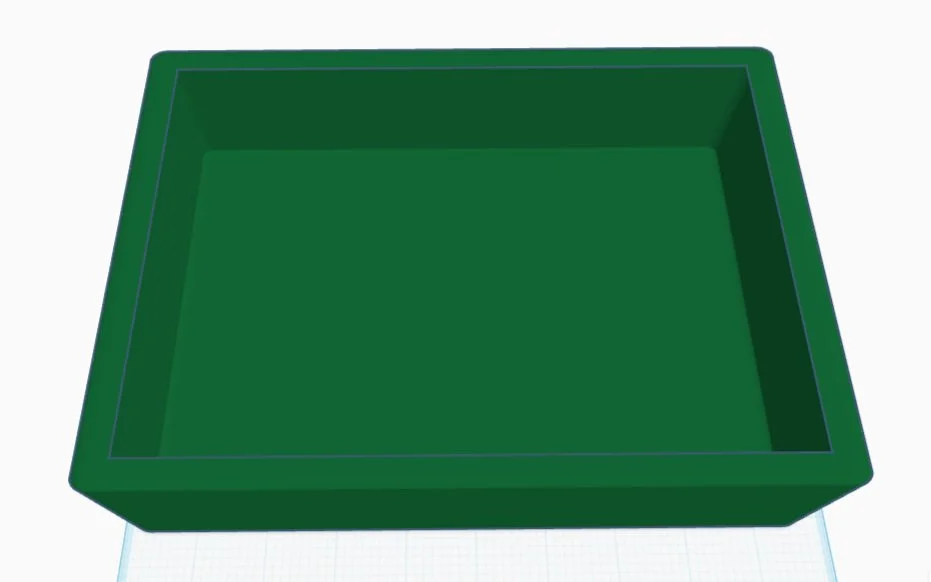
I then created the smaller inner box in a lighter color, rounded its corners, aligned the two boxes in width and length, then aligned them together at the top. I next turned the light green box into a shadowbox, and combined them. Voila, the outside is done except for the joints, which I’ve decided I no longer need. The next step is to make the inside.

The Slats
For this part I’ll make a series of slats, drop them into place, then combine them.
The slat needs to run all the way across - I don’t want it to fall short and I don’t want any pieces sticking out. One 6.35 inches wide, 2.3 inches high, and 1/8 inch thick should do the trick nicely - any excess will blend into the figure. I dropped the panel in for a test, and it was a good fit.
After that I needed to make an arc. The cylinder shape seemed ideal. Unfortunately the change from its original shape to the ten by five stretched one turned it into a clunky polygon. This was no fit arc! Happily that shape has a tool called ‘sides’, which can eliminate the appearance of sharp edges. I slid the dial to 64, it’s highest setting, and was rewarded with a perfectly smooth oval.
I moved the oval down ‘til it bisected the corners of the slat, then turned the oval into a shadow. Combining the two made the perfect shape. Now to make a bunch of copies, with 5/8 inch space between them. The grid marks each inch into eighths, so there need to be five squares between each panel.


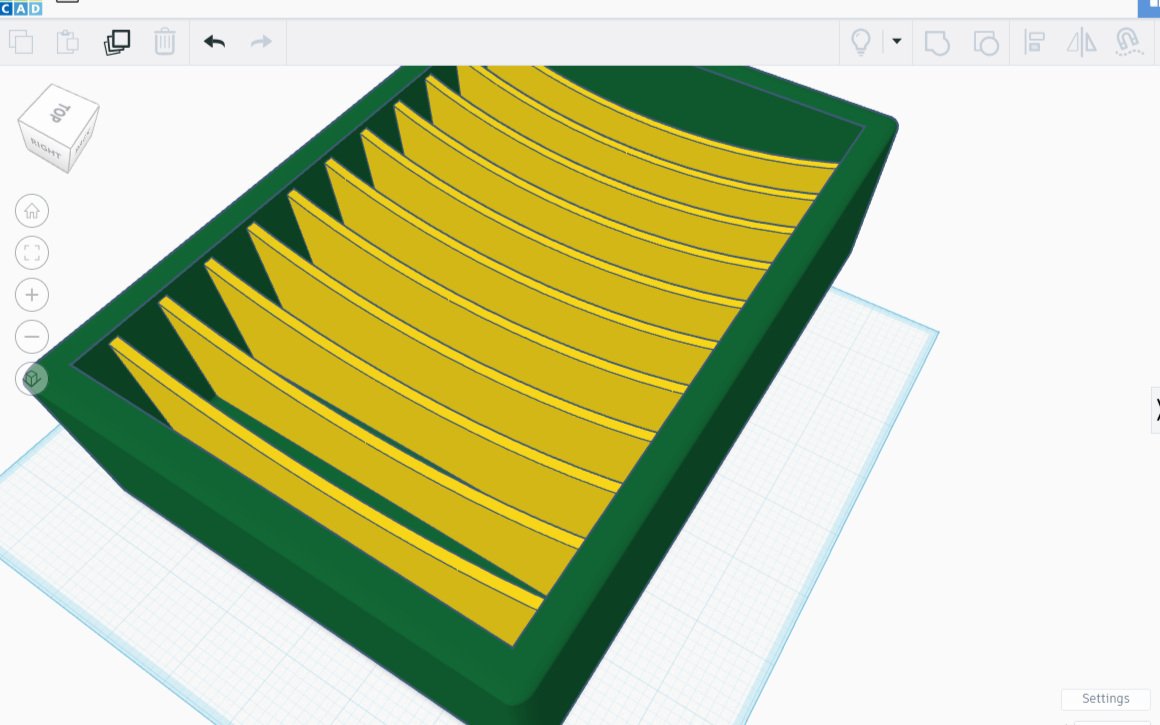
The next step is to duplicate the pair of slats, then combine them, until there are eleven total. After that, the whole group gets combined, then dropped into the green box that we have prepared. A couple alignments help get it adjusted so that its perfectly centered, then the two pieces are combined one final time, resulting in the desired container.
I forgot to lift the slats up by 1/8 inch, so they are protruding from the bottom, but I am keeping them that way. I had considered feet originally, but didn’t like the looks of them - these look amazing, like I did it this way on purpose.
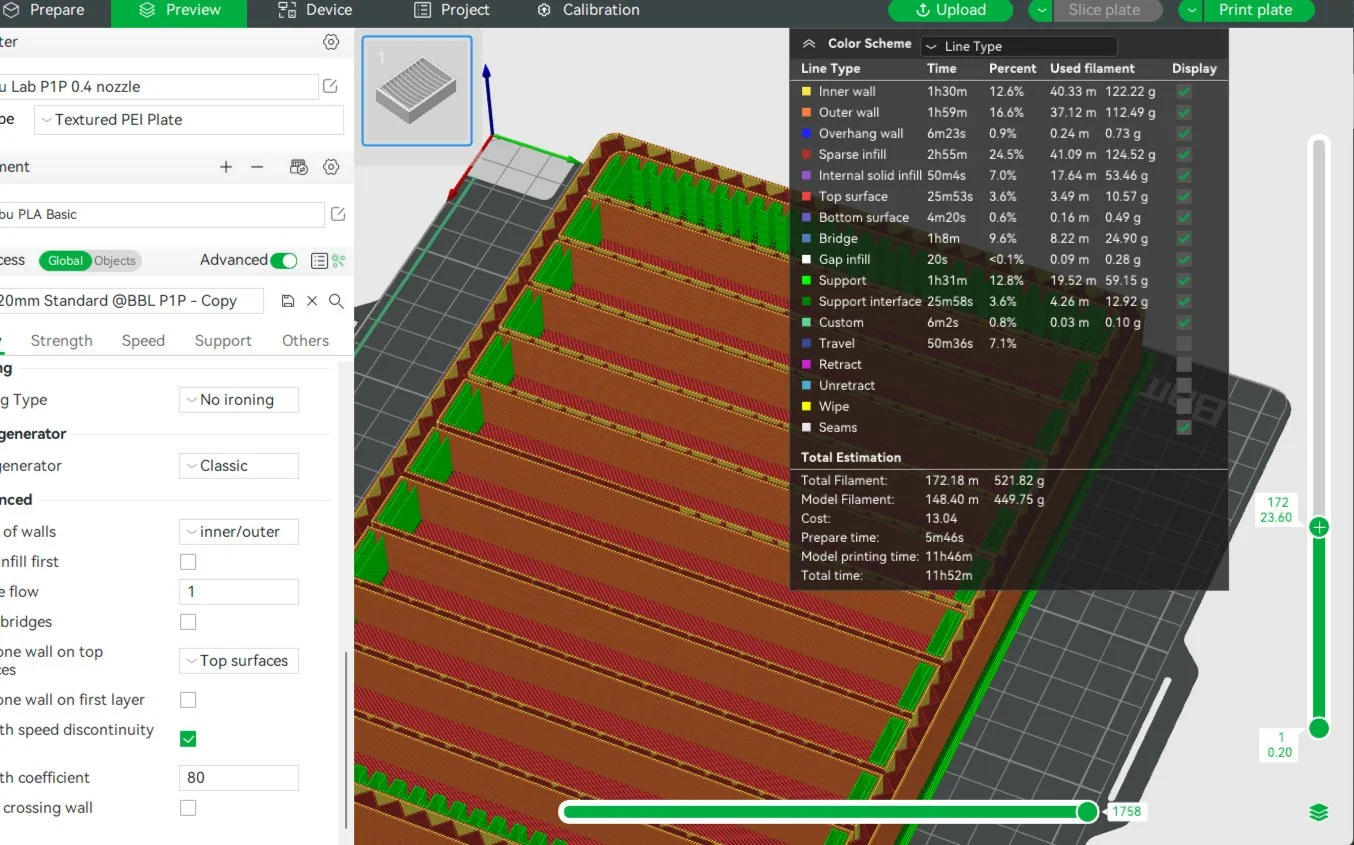
I opted to print the model oriented this way instead of on it’s side, trading some amount of structural strength to save on filament cost. As it stands, this piece will cost $13 on average, without accounting for all the filament that would be used as supports were I to properly orient it. As this filament was picked up on a tremendous sale, the print will cost more like $7 instead, and I still don’t want to spring for the extra support cost.
The supports, shown in bright green on the printbed model, looked like they might be too thick. I peeled the layers down one by one in the software, checking for discrepancies, but I didn’t find any extra spaces. It looks like the layers are there to support the curving sides. Time for a test print.


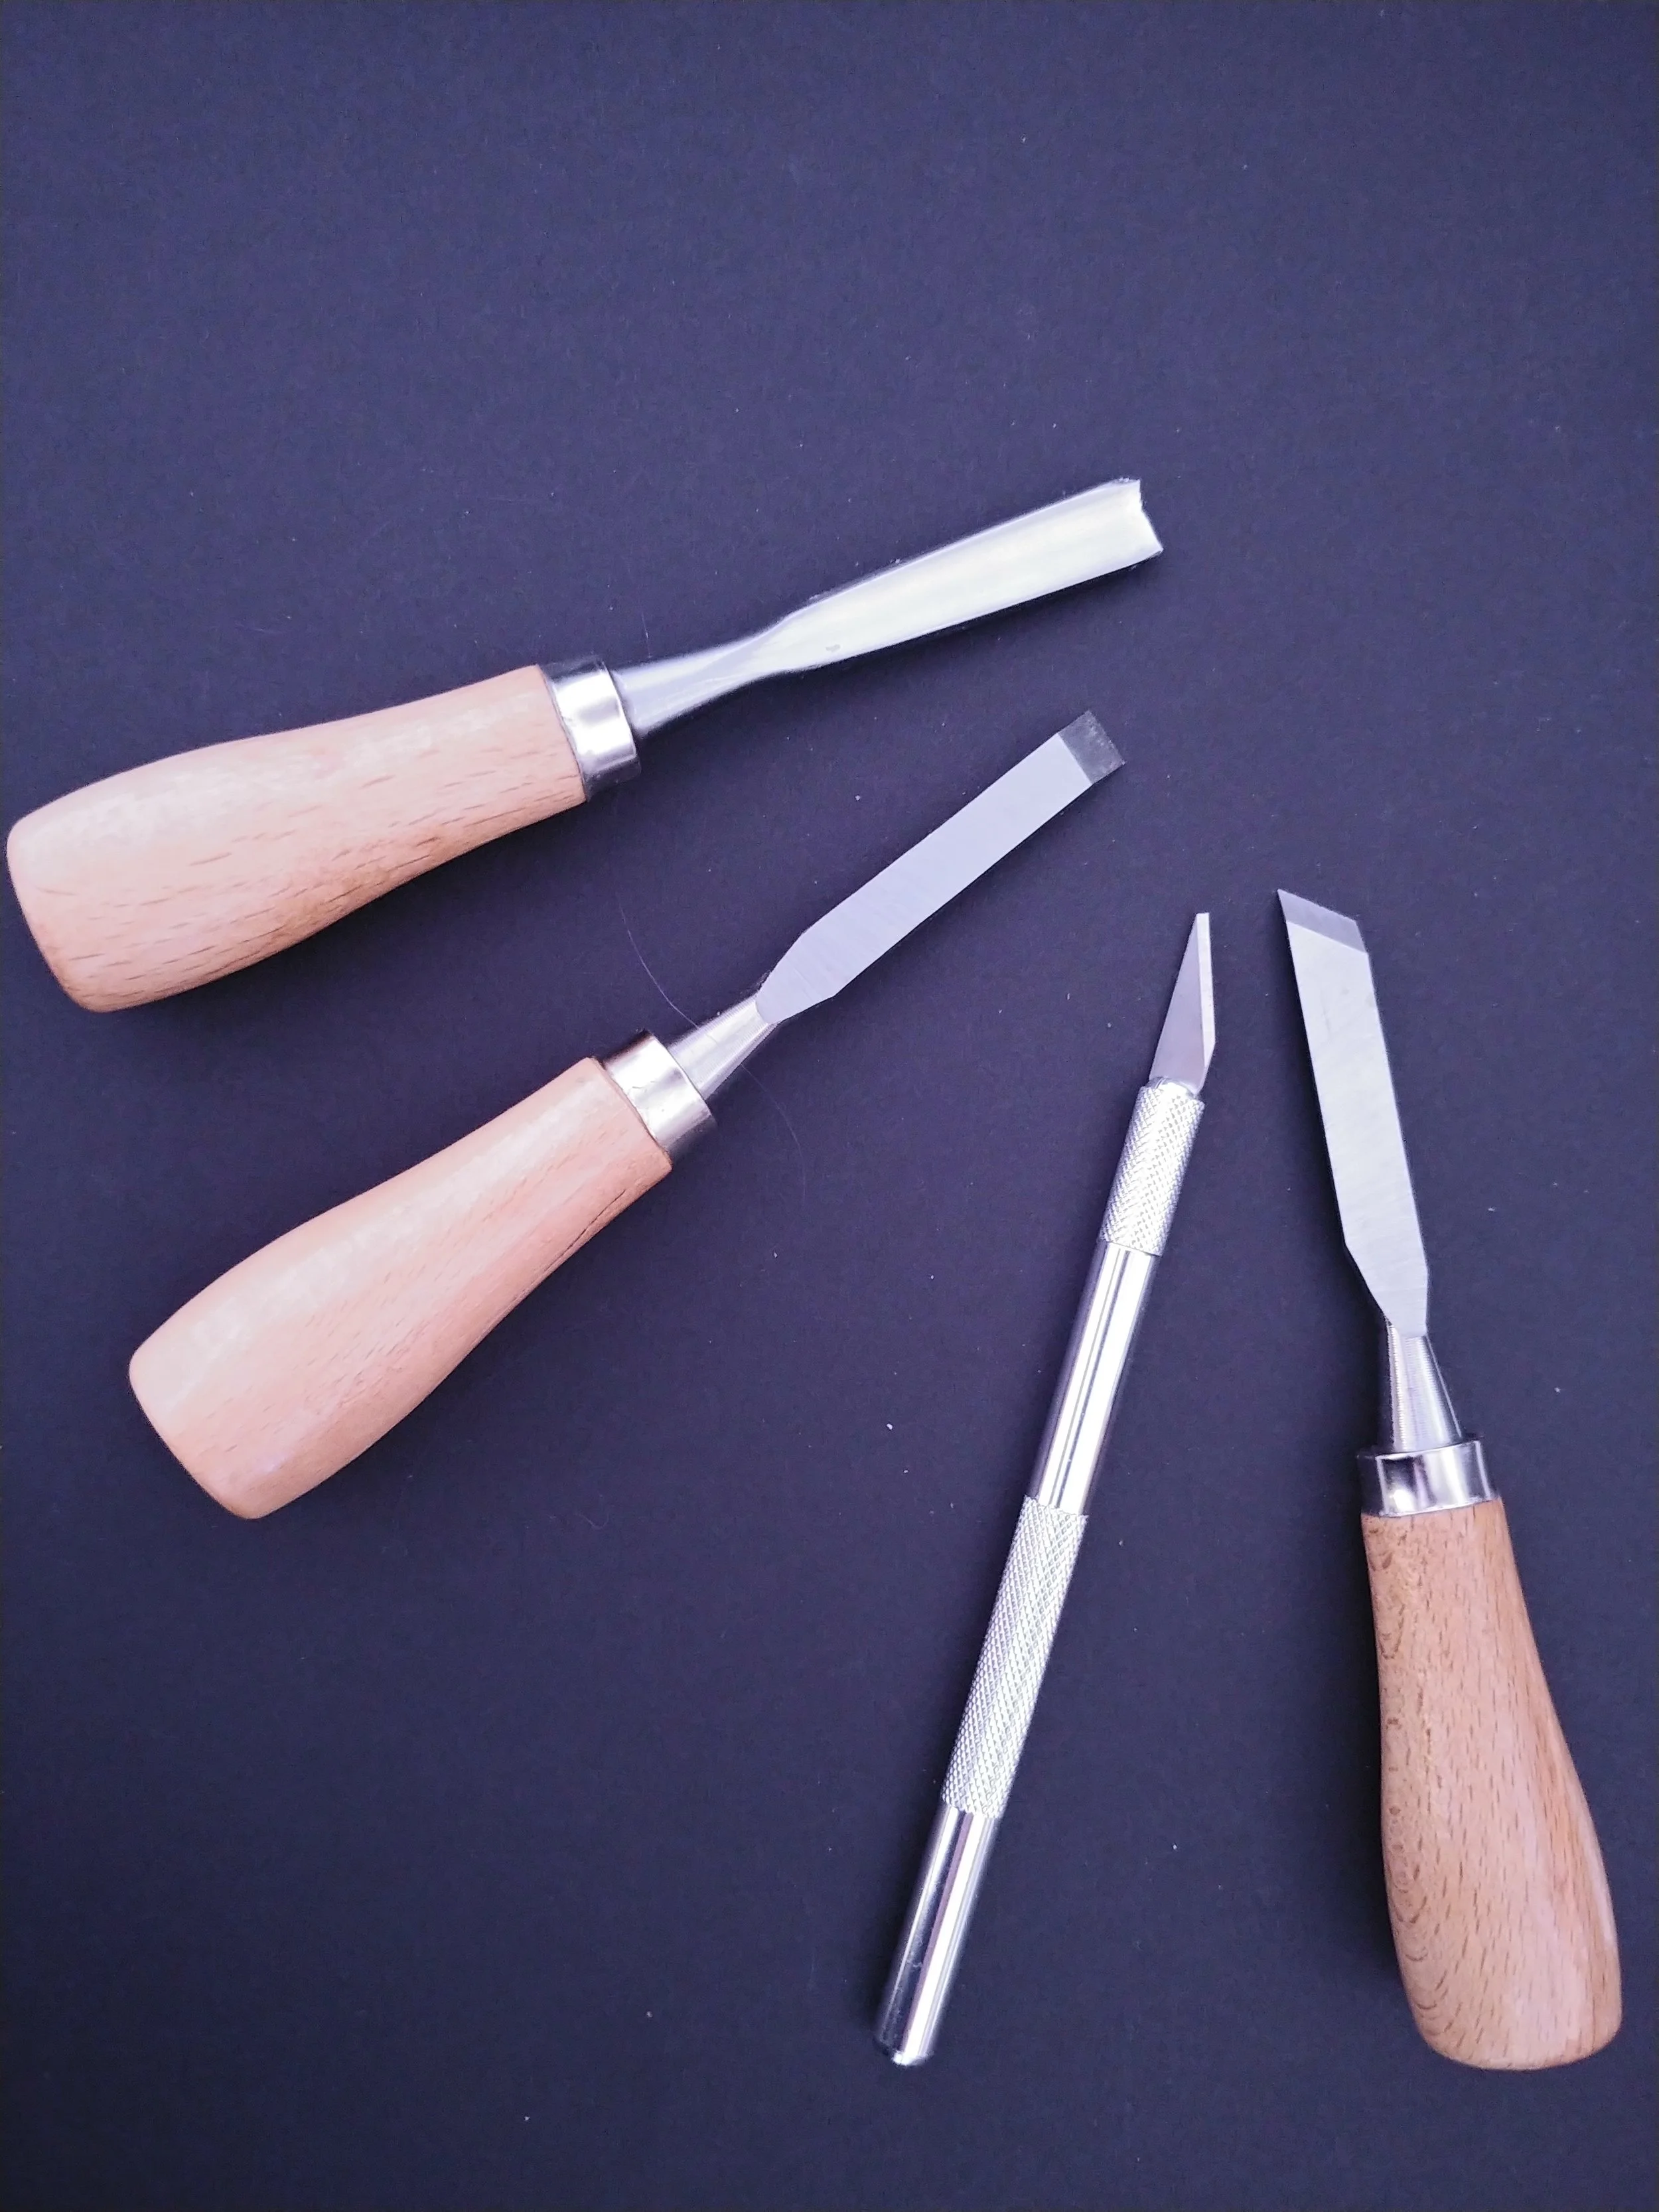
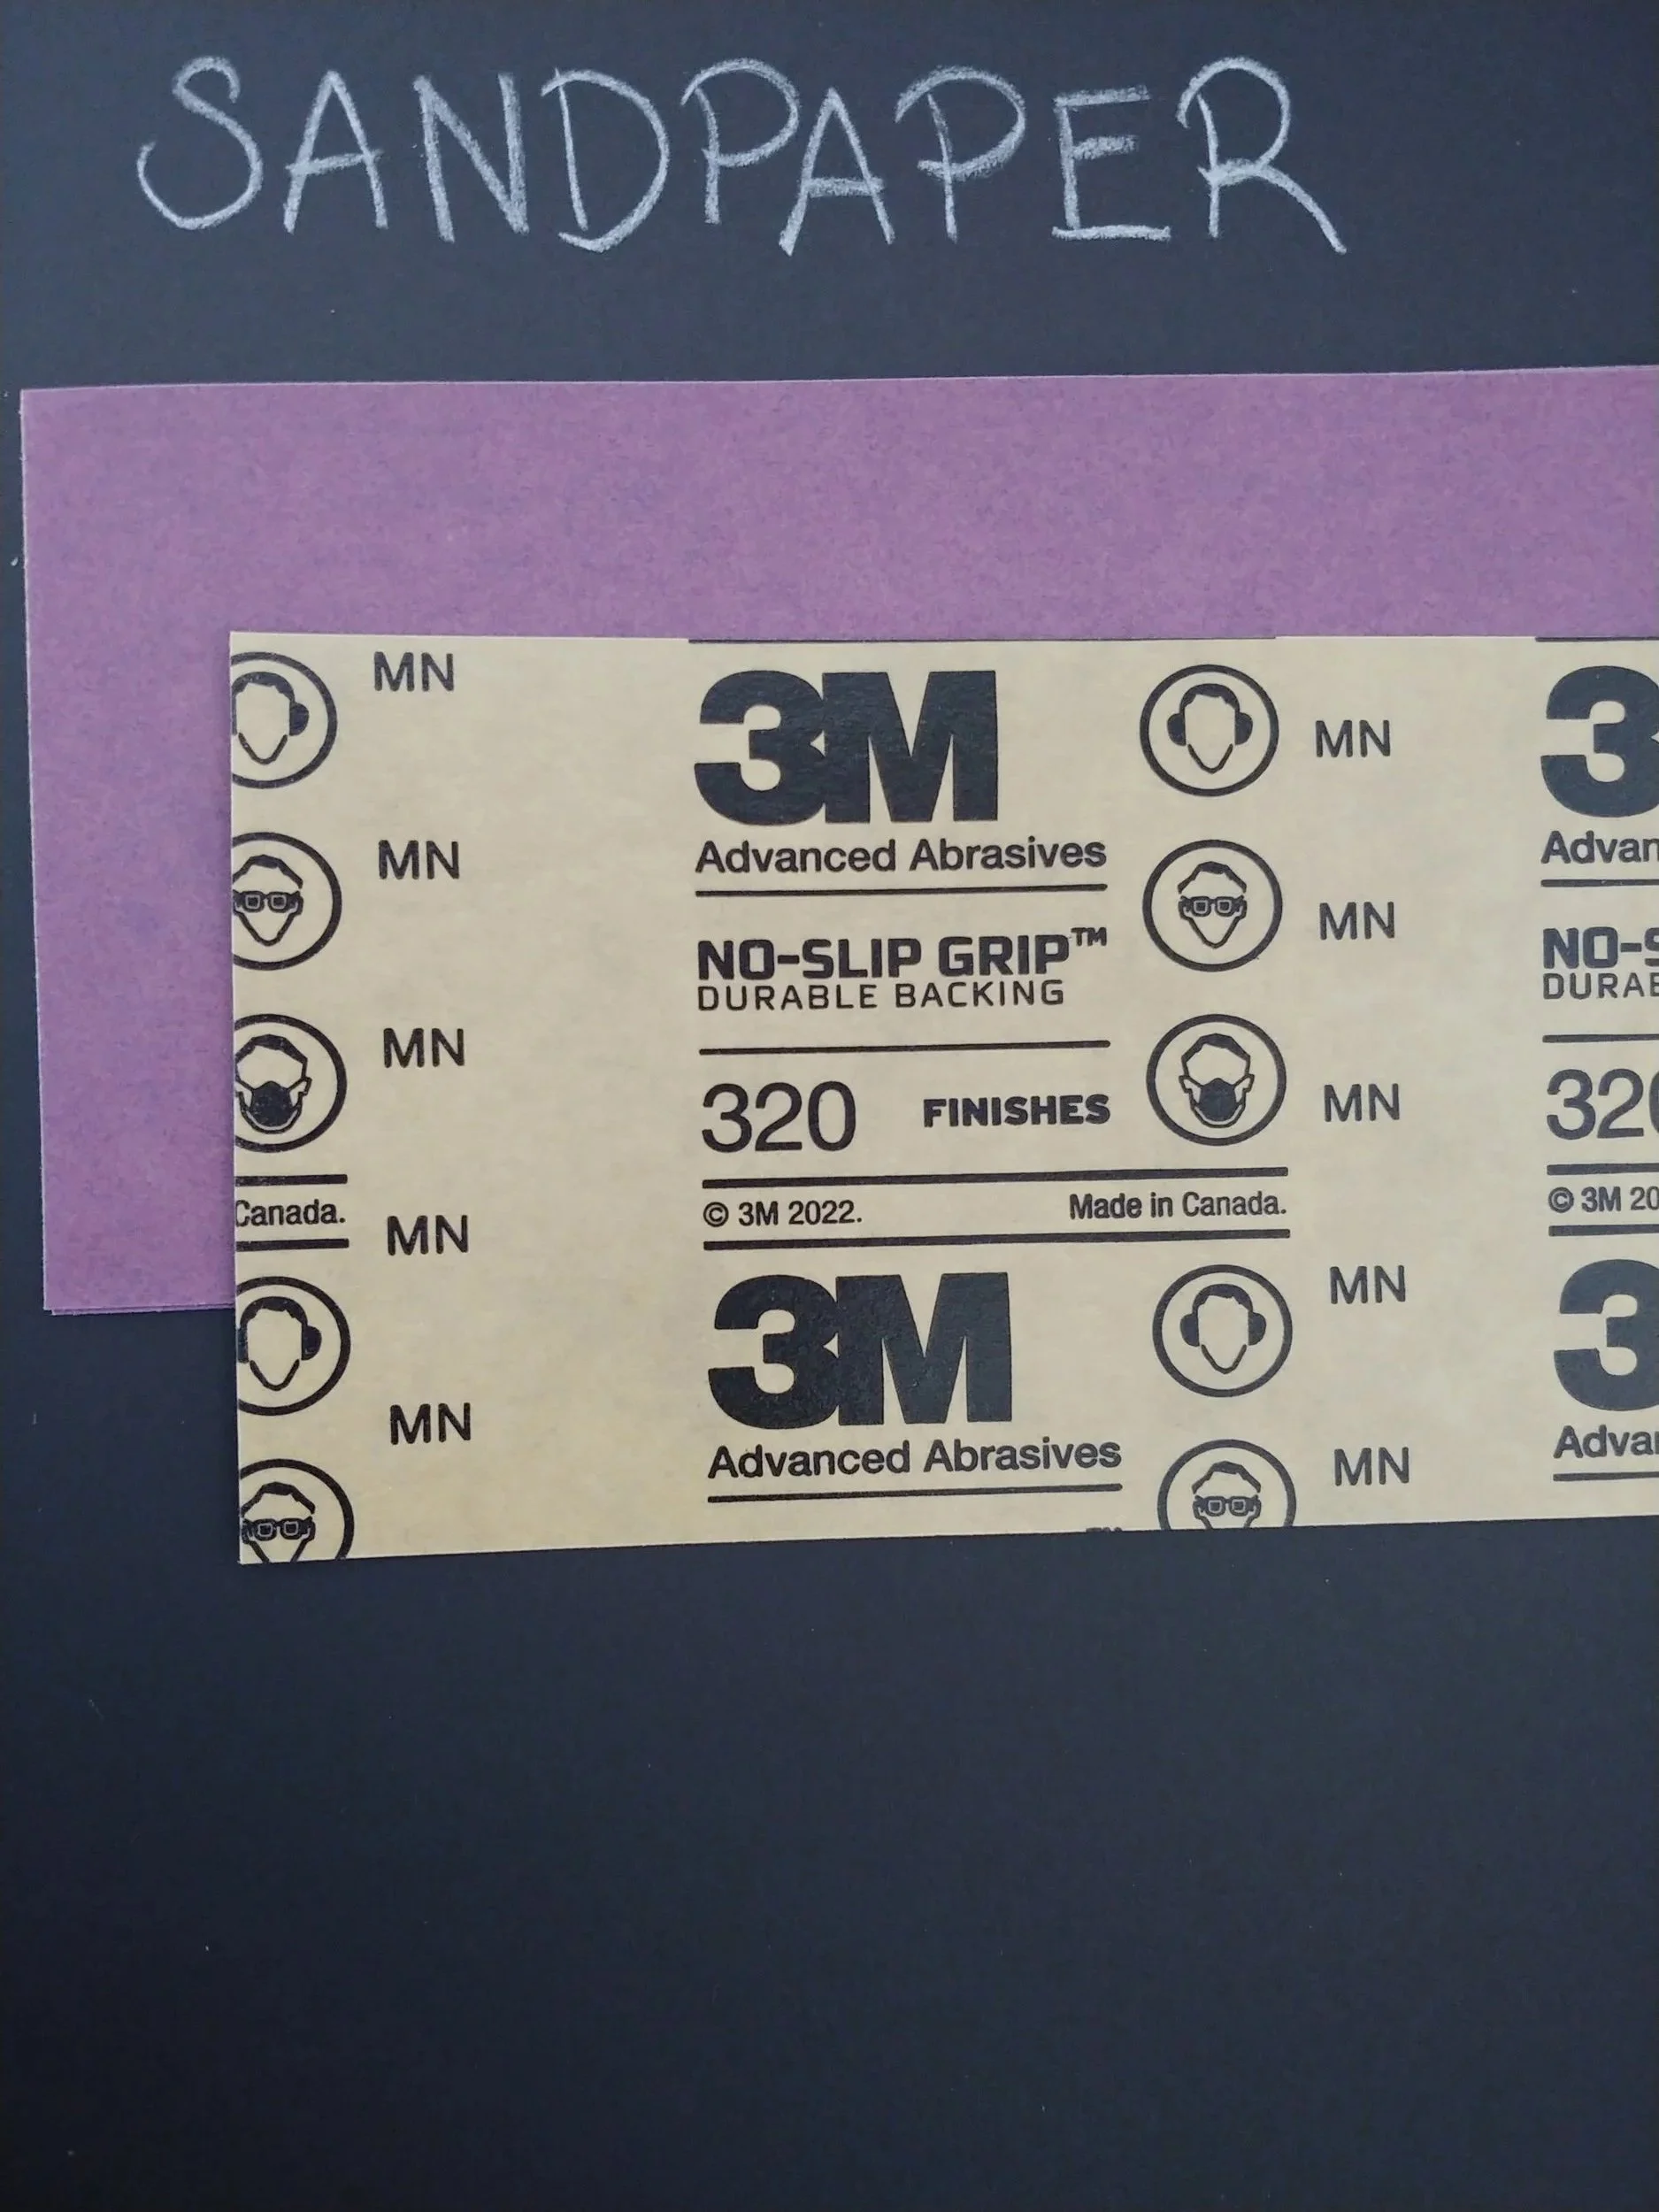
The good news: the print was perfect! The bad news: the scaffolding was the absolute worst. The good news again: my toolbox had everything I needed to deal with the unruly scaffolding! It took time and patience, and also a chisel and some sandpaper.
The bottom layer peeled off with ease, but I had to ease a flat chisel between the scaffolding and the container. I used the smallest chisel - despite my care it left a tiny dent where the chisel went in. I was able to buff that out with sandpaper.
I also needed to chisel to trim the edges. I used it to shave the more stubborn bits, and to clip off nubs. I then sandpapered the whole thing. It’s done, it’s ready, it’s beautiful. I’ll print the second one using a different type of support, hopefully it will be less hostile. Regardless, the final product is gorgeous, and the person I made it for is extremely pleased. Missions accomplished.