Experimenting with 3D Printing Infill Patterns!
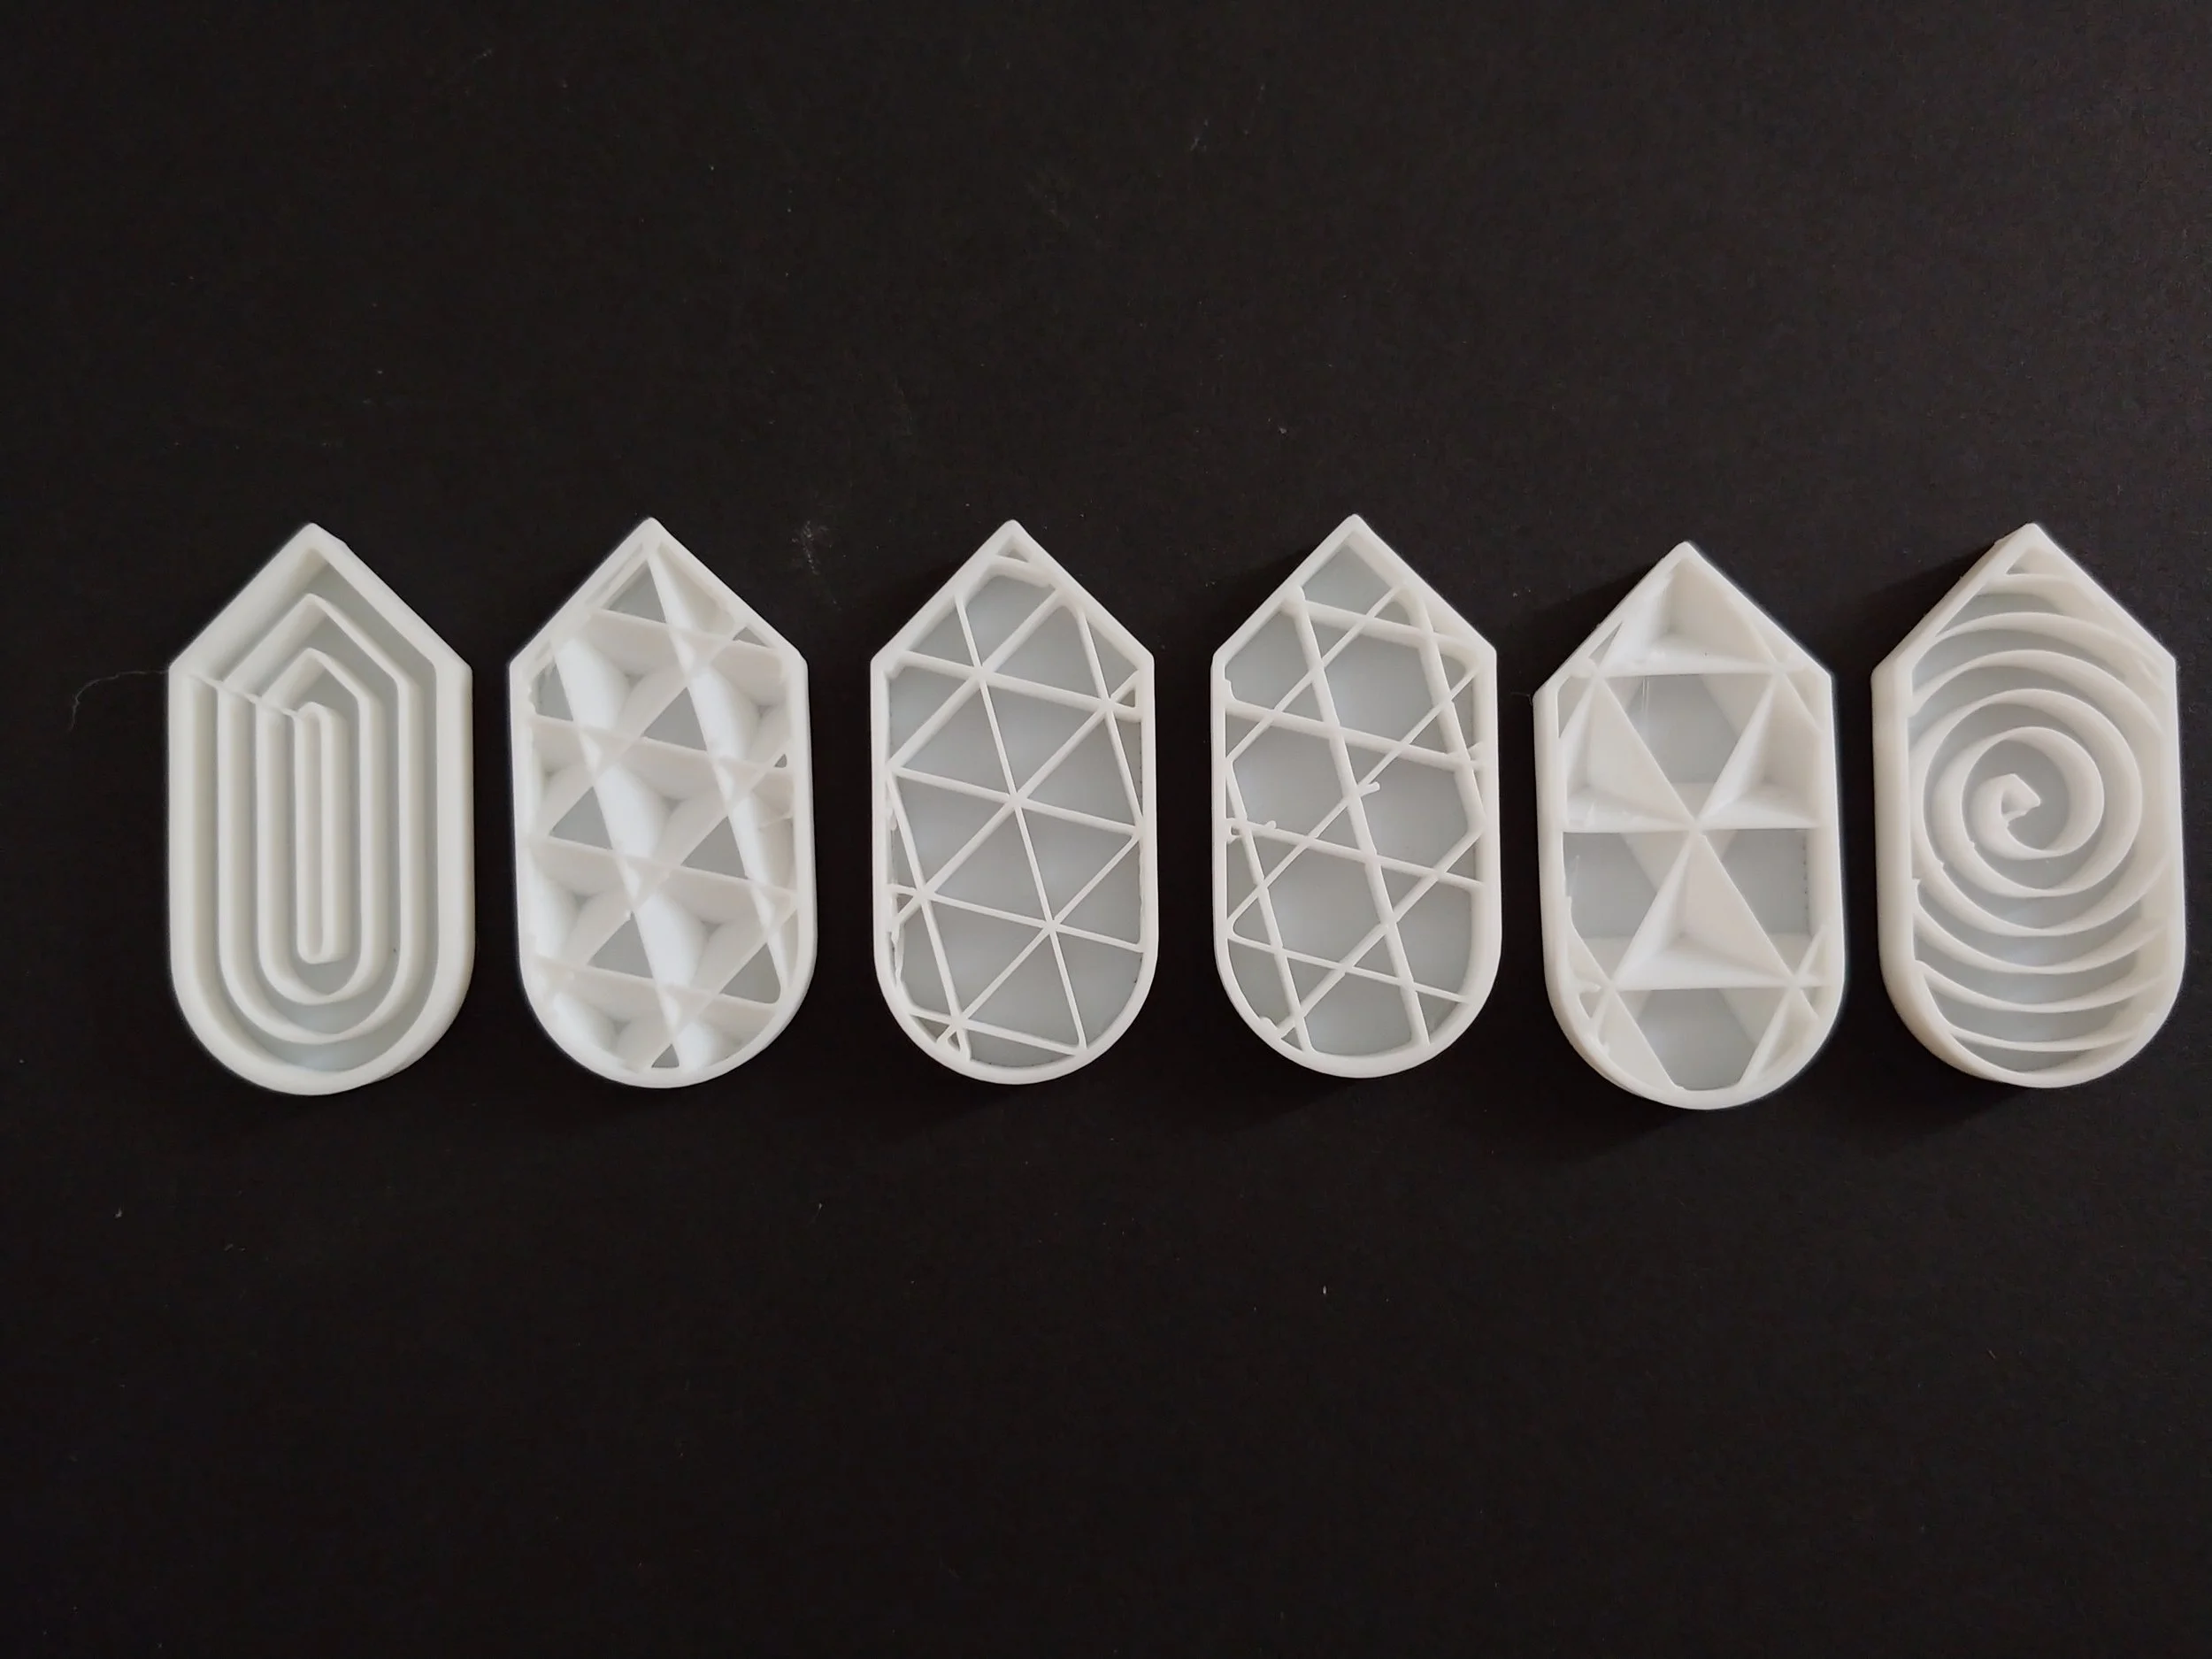
Six types of infill: Line, Rectilinear, Grid, Gyroid, Honeycomb, and Lightning
Infill is the name for the layers of filament that fill in the model.
When I went to print my toolbox I looked at a couple of different infill options. While all of the infill patterns have space in between the layers, the shape of the layers differ significantly. One of them was striking because that particular type (gyroid) took nearly 40% longer to print than the default (rectilinear). Despite that, the gyroid used slightly less filament, translating to a lower print cost.
Some patterns are better for providing strength and durability, some print faster, some offer more precision, while still other patterns provide better heat resistance, or even an improved ability to float. The type of pattern needed for a model depends on the needs of the model.
While gyroid was recommended because it’s strong and doesn’t use a lot of filament, there were so many other options. I was curious. Luckily for me the Bambu Wiki Lab had some answers.
How many types of patterns are there? The Bambu Wiki lists thirteen. Thirteen! I had no idea! What are the thirteen different types used for, specifically? And what do they look like?
Not only do I want to see examples of how the patterns look, but I wonder how the different patterns handle curves and corners.
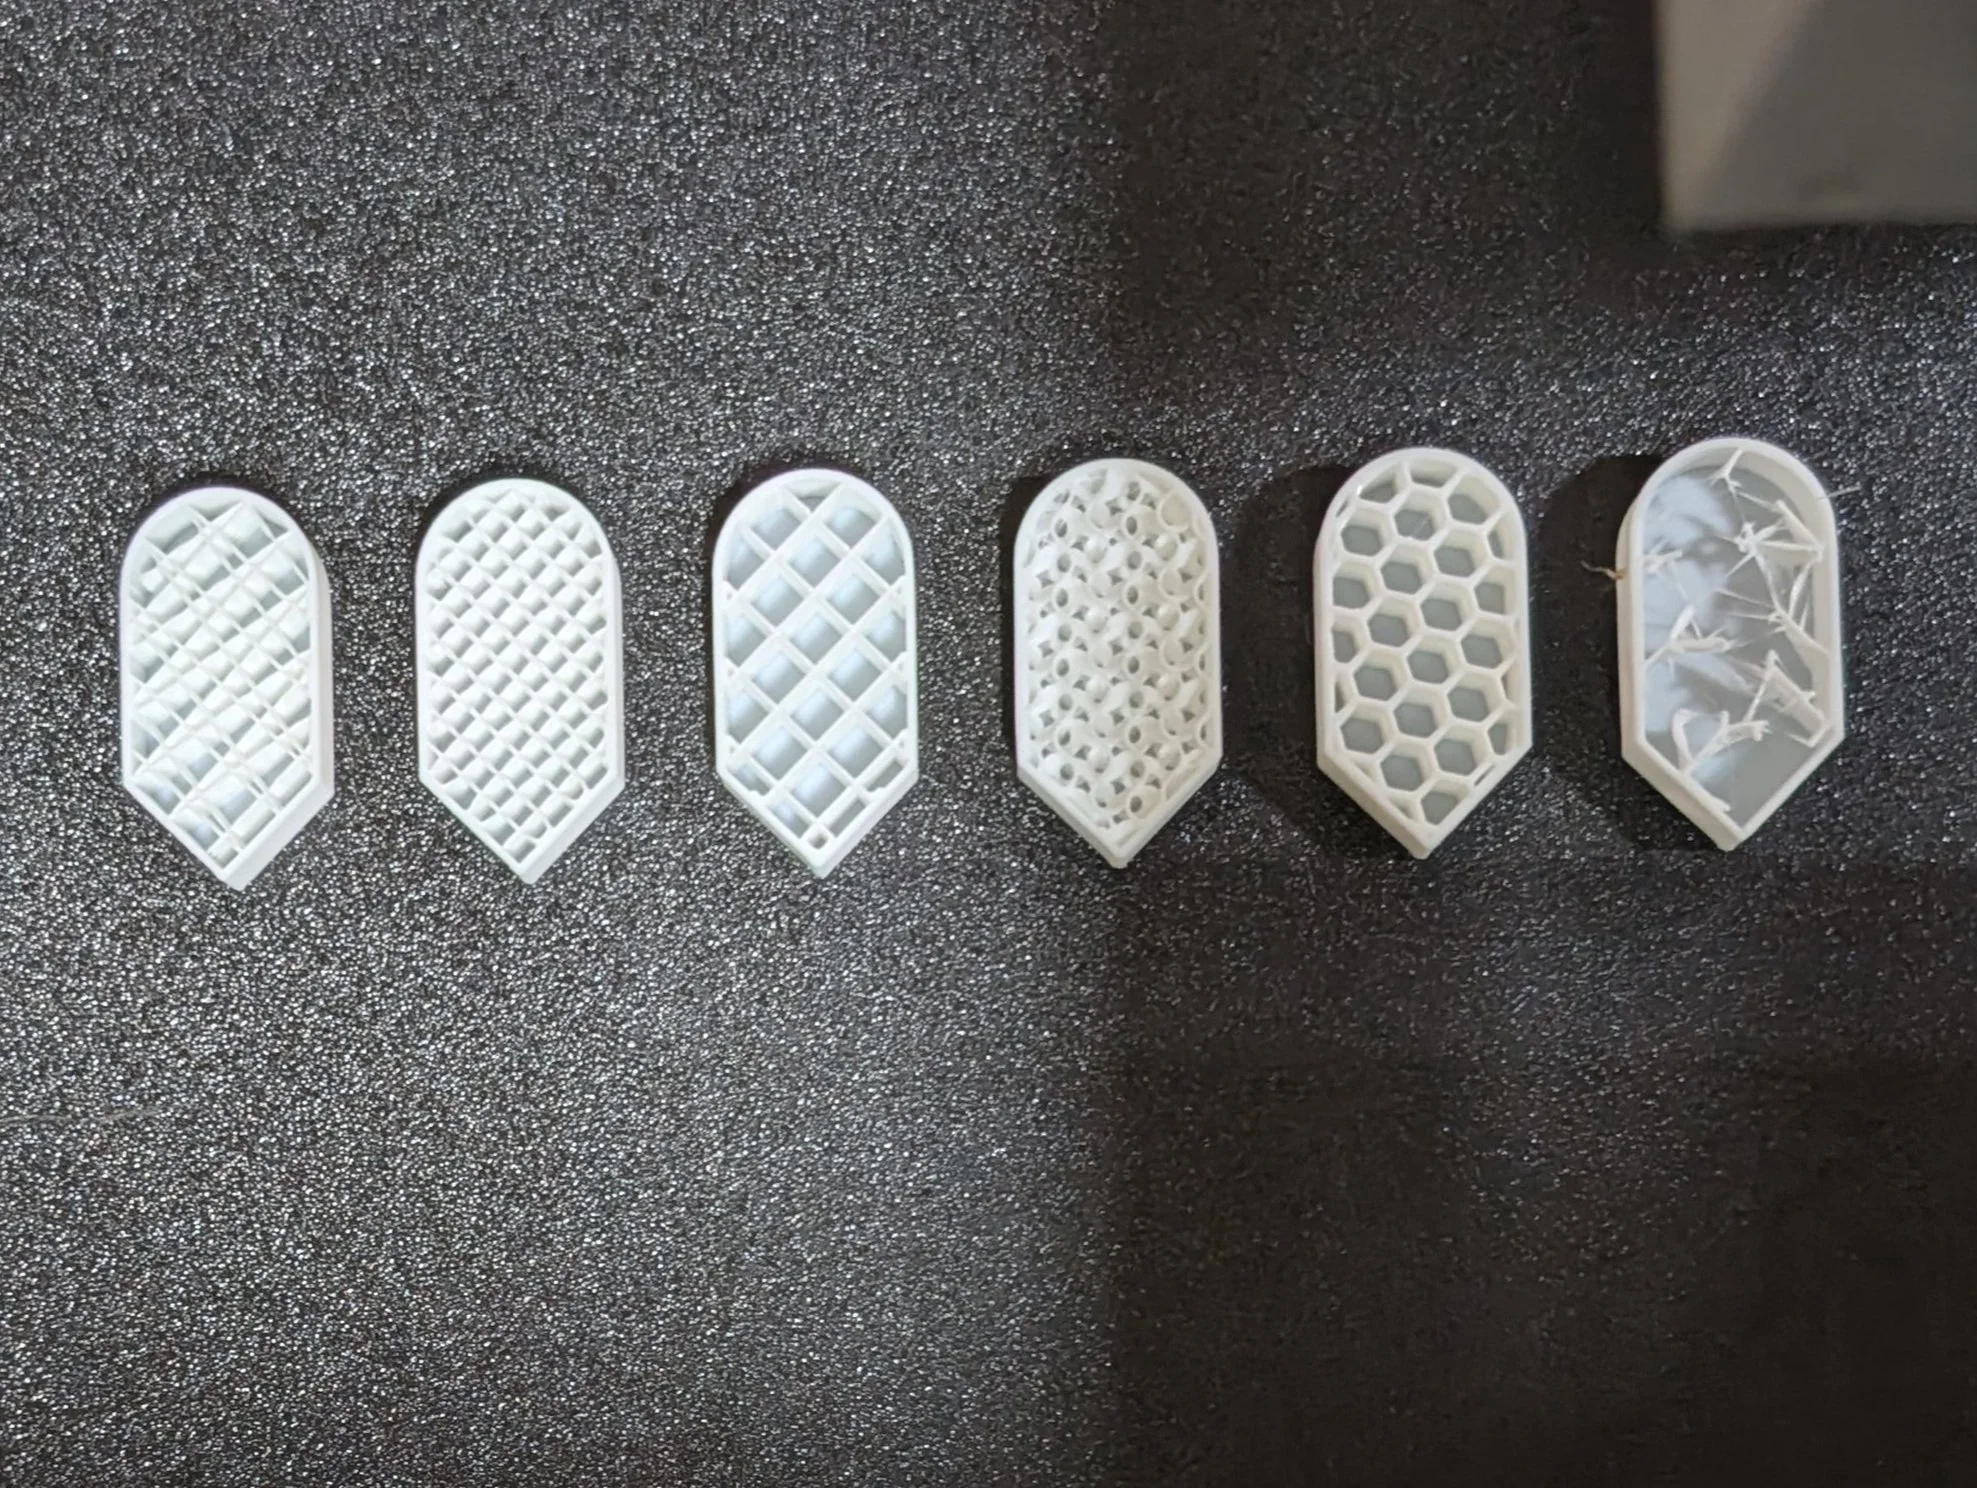
I lined up six identical shapes, then applied a different infill pattern to each one. In order they are Line, Rectilinear, Grid, Gyroid, Honeycomb, and Lightning patterns. Halfway through the print I’m going to stop it, then share the results.
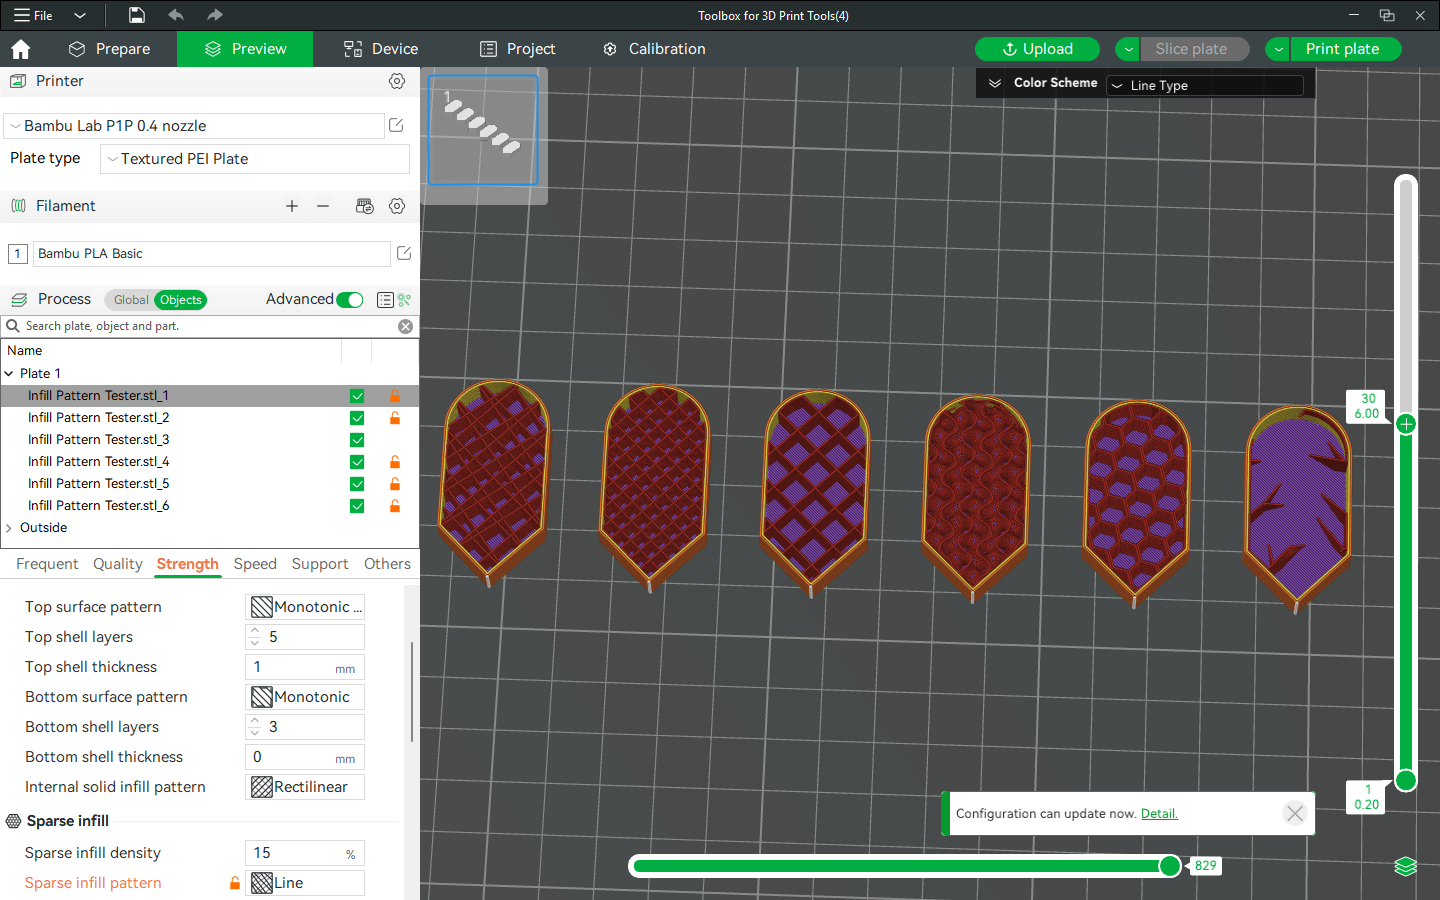
Checking the Objects oval (green, to the right of Process) lets the user apply different settings to each object. To apply the different settings, check the box next to the object(s) that you want to modify, then make the changes.
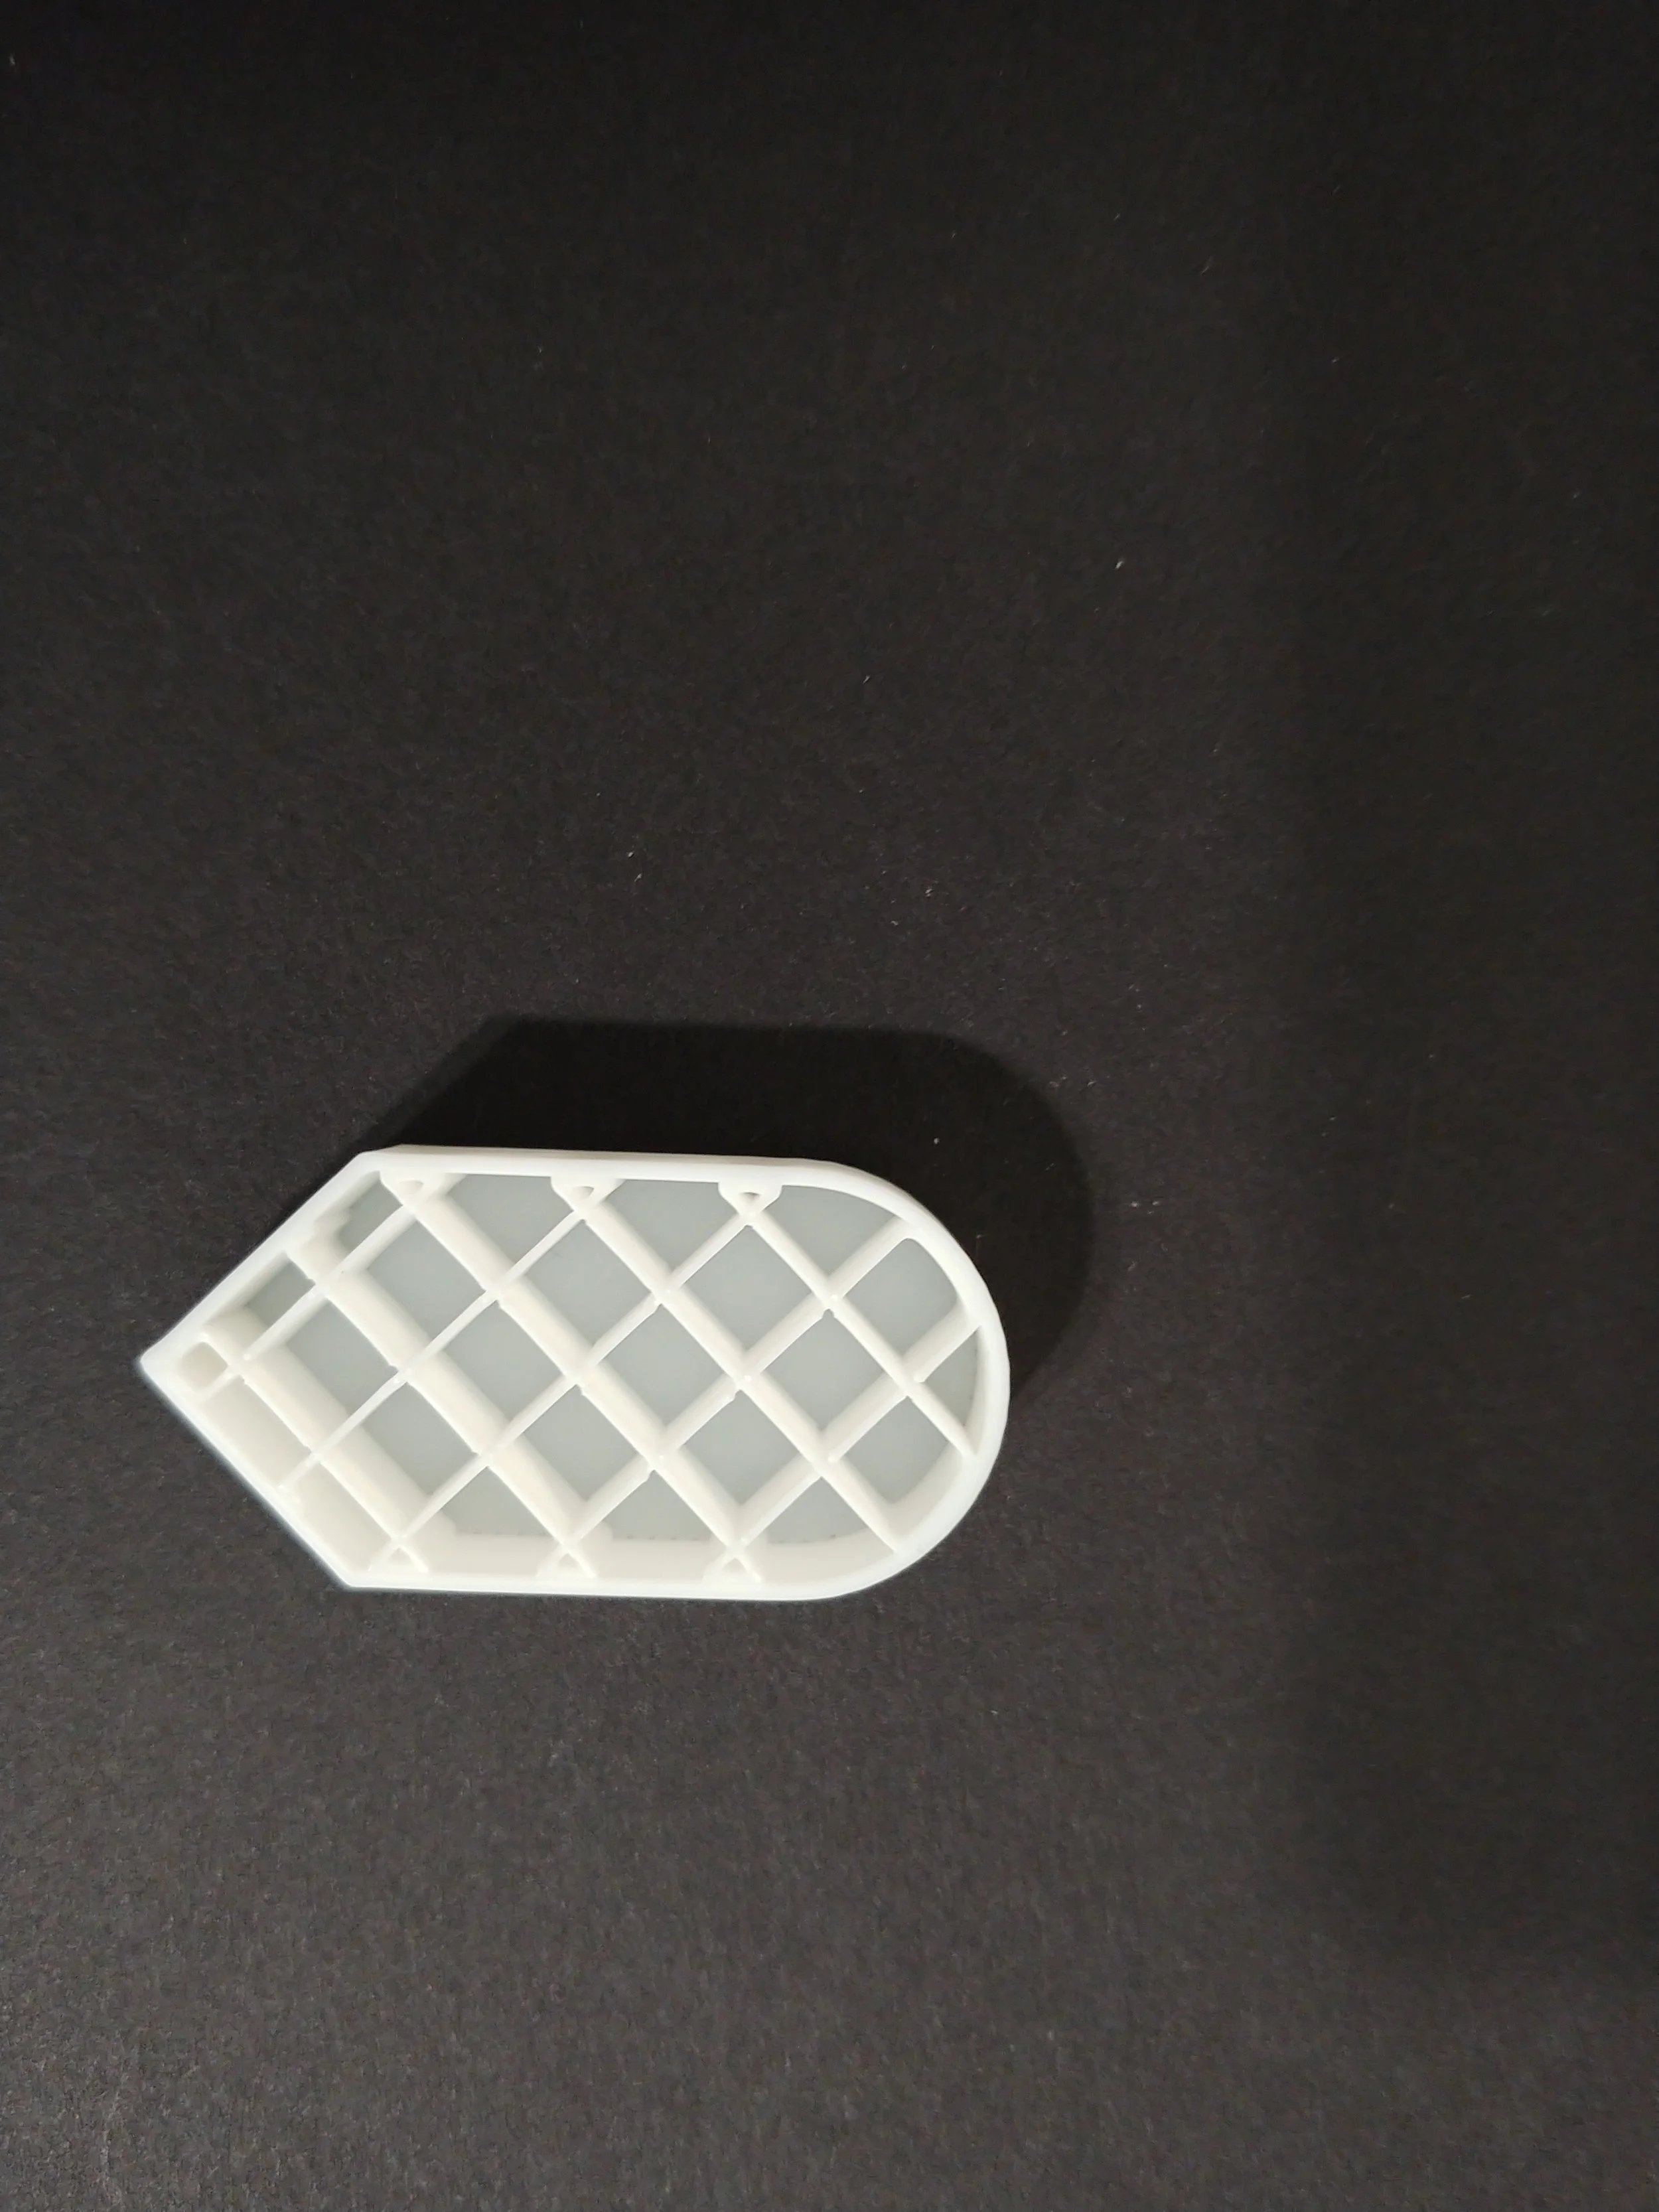
The first pattern, line, looks to me like opposing zig-zags that form a grid-like structure. Because of the way the filament is laid down, this type of infill uses less filament and has a faster print time according to the Bambu wiki.
Slicing the model shows that a single piece will use 3.17g of filament, and will take 8 minutes 21 seconds to print.
The rectilinear infill pattern uses 3.23g of filament, according to my slicer, which is slightly less than the rectilinear pattern, though they both share a print time of 8 minutes and 21 seconds. This one is similiar to the line in structure.

Rectilinear vs Line
The grid type is supposed to be the simplest and fastest, being nothing more than lines that intersect in a grid. It has a drawback in that this type of infill is prone to errors due to potential buildup of materials where the lines intersect.
If a model has plastic piling up higher than the nozzle that could make the nozzle bump it, or maybe even jam.
At 3.25g of filament and the same 8 minute 21 second print time as the prior two, this option is looking increasingly unattractive.
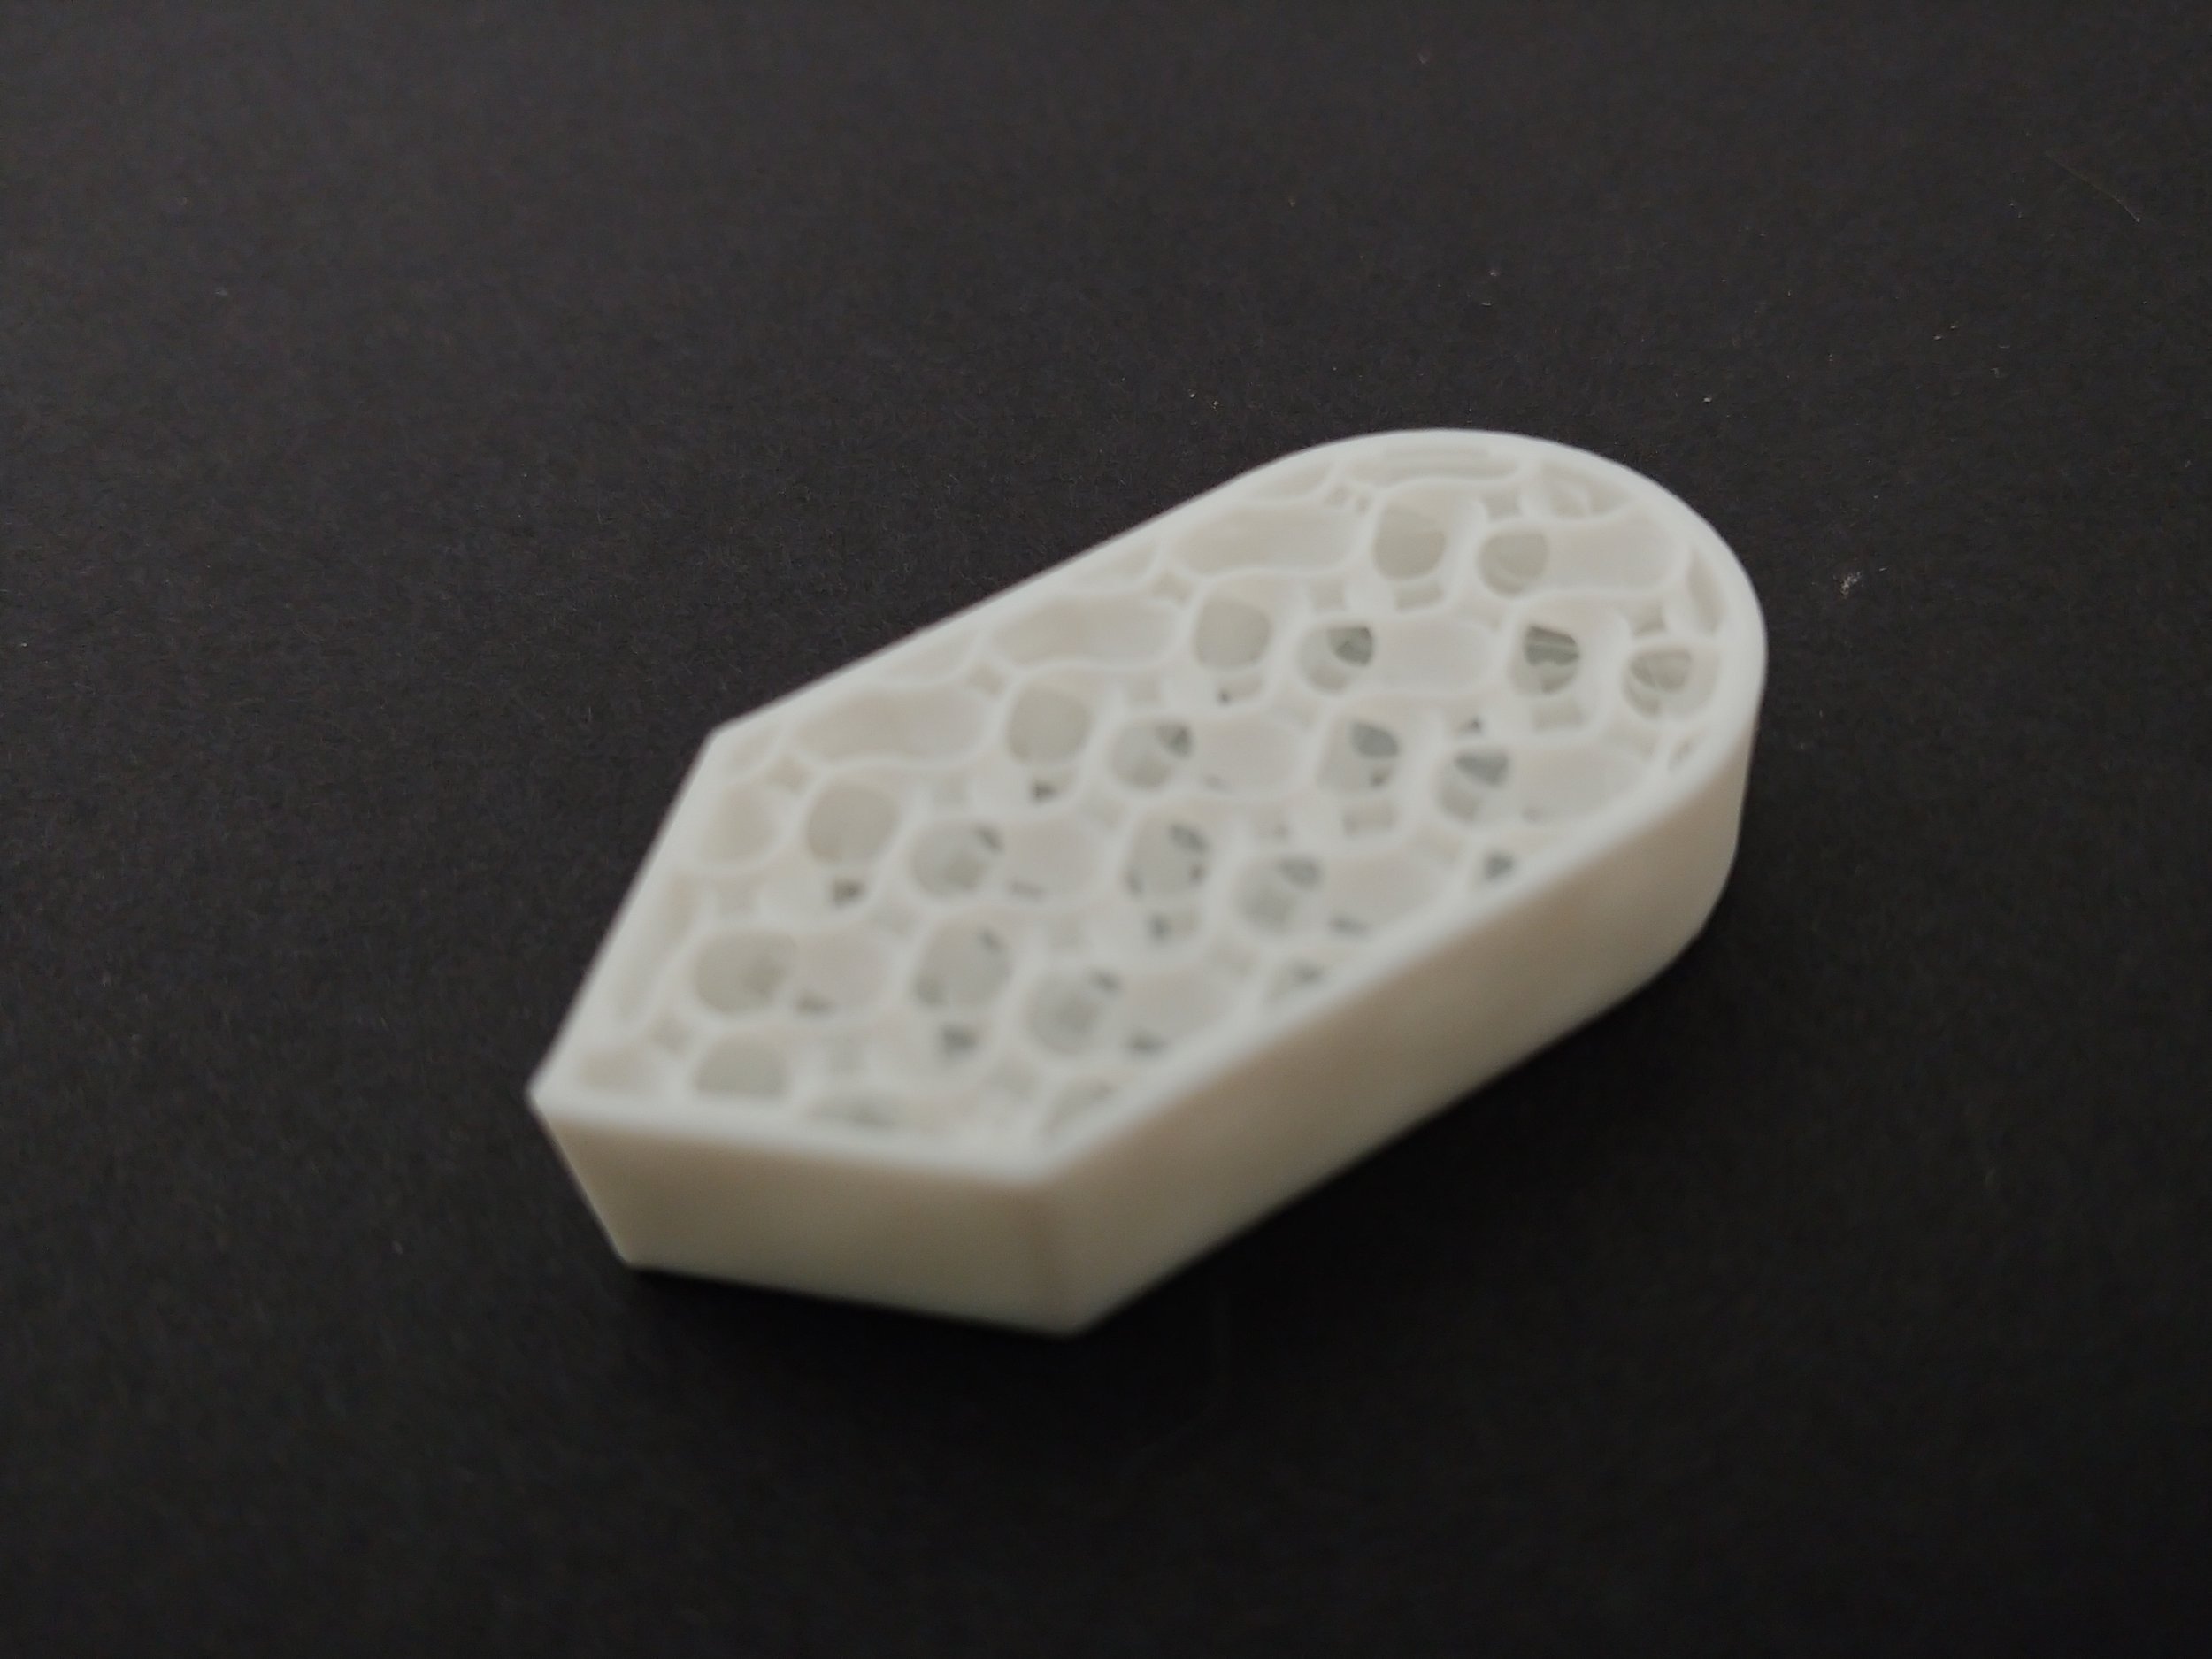
Gyroid was recommended to me as a particularly sturdy option. It uses 3.24g of filament, and takes 8 minutes 27 seconds to print the same shape. Supposedly it has fast printing speeds, but the (admittedly few) things I’ve tested out have taken from a little bit longer to forty percent longer using this type of infill. It did use slightly less filament than the faster alternative, however, and ended up looking significantly sturdier.
If you need a high-strength lightweight infill, and don’t mind a longer print time, Honeycomb might be a good option for you. The shape takes an entire 3.54g of filament, roughly ten percent more than the other infill options. The time to print the shape with this infill pattern is 8 minutes 46 seconds.
Lightning style has very little infill, and what it does have comes in the form of lightning-like forks that branch out near the top of the shape, providing the barest support to the topmost layer.
This pattern uses only 2.6g of filament, though takes 8 minutes 27 seconds to print. It does not have a lot of strength, though it’s paucity of filament make it a nice option for certain models.


Of the six types above, line sounds nice for general purpose printing, while gyroid seems a solid choice for a sturdy print that won’t gobble filament. Honeycomb looks like a great option for a strong print that’s also lightweight and airy, although it will eat a lot of filament.
I’m not a fan of grid only because unclogging a nozzle can take between minutes and hours. That is not a risk I’m willing to take. Rectilinear is line 2.0, though I suspect line is sturdier. Lightning is for specialized use, though I have no doubt I’ll be using it in some of my models!
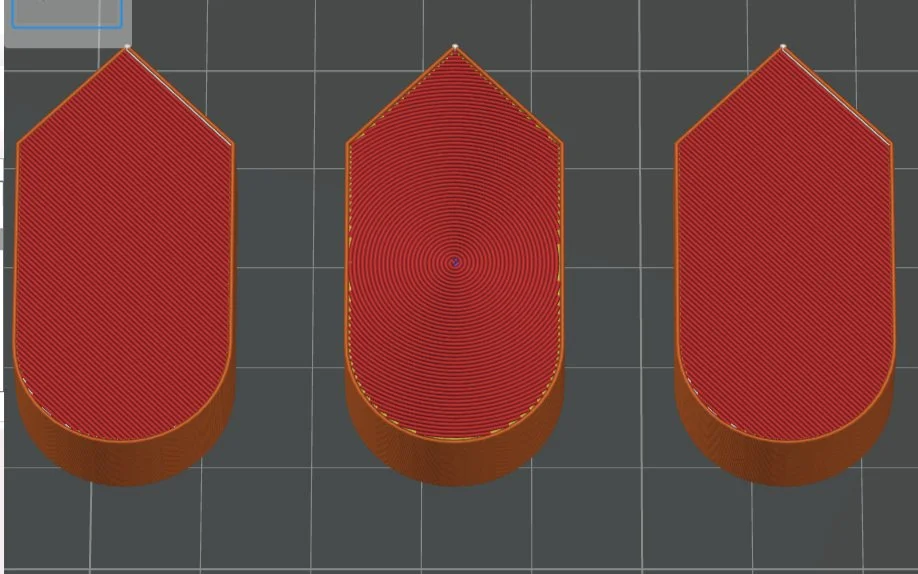
Concentric, Cubic, Triangle, Tri-Hexagon, Adaptive Cubic, and Archimedian Chord infill patterns
Here are six more types. The (numbers) listed after each type represent how many grams of filament it takes to print that pattern, and how long it will take in minutes and seconds, to print the size and shape above.
Concentric establishes concentric rings that have some space apart. This pattern is listed as a potential top surface pattern, a pattern design to be used as the top layer of a design. (3.35 8.23)
The cubic pattern can apparently increase an object’s buoyancy or help insulate heat due to the numerous air pockets in this design. (3.23 8.23)
Both the triangle and the tri-hexagon have something called ‘shear resistance’, or ability to withstand forces that act parallel to the object’s surface and ‘shear’ or slide. (definition paraphrased from AI overview). (3.22 8.24 / 3.24 8.23)
Adaptive Cubic isn’t currently listed in the wiki. Again with the AI Overview answering my questions, amazing! Apparently it’s cubic, but with a twist: the pattern changes density based on how far from the outer wall any point on it is. The closer to the center, the more sparse the infill, while the points nearest the outer edges are the most dense. It uses significantly less infill than it’s non-adaptive counterpart. (3.02 8.21)
Archimedian Chord, with it’s incredible spirals, finishes the set. It’s also listed as a top surface pattern. An outerfill pattern, if I were to invent a proper descriptive word. Or maybe topfill. Ha ha. (3.25 8.23)

The last five, plus an old friend.
3D Honeycomb, CrossHatch, Support Cubic, Octogram Spiral, Hilbert Curve, Rectilinear again (support for the Archimedean Chord top surface).
And now for the last of them. It certainly looked like there would be only one more (thirteen), but I included the top surface patterns so as to include a taste of them all!
3D Honeycomb, CrossHatch, and Support Cubic have one thing in common: none of them are listed in the bambu wiki lab at present. They seem to be relatively new. The Honeycomb looks strong, the Crosshatch looks a lot like Line to my untrained eye, and Support Cubic looks like a lot like Cubic.
Octogram Spiral and Hilbert Curve are top surface patterns, like Archimedean Chord, Concentric, Monotonic Line, and Aligned Rectilinear.
Archimedean Chord Surface Layer between the default Monotonic Line surfaces.
It was an awesome feeling to be able to sort through the printed patterns and identify them on sight. I kept the printed samples, labeling them for later use.
I compared strength, print time, and filament usage of a number of 3D printed infill patterns on my Bambu. The next thing to do is to text tolerances and such on these, though that’s outside the scope of this article.