3D Printing Supports: Threshhold Angle and Build Plate Only Settings! (Part 2)
In Part 1 we looked at normal supports vs tree supports. Picking up from there, I want to experiment with some of the other settings on this single tab. Let’s explore them together!
Experimenting with the Threshold Angle
The next item on the list is threshold angle. This represents the angle at which the software will generate supports. A typical 3D printer can print things with slight overhangs, so long as the angle isn’t too steep - the layers underneath can provide sufficient support to a point. Past that point though, disaster!
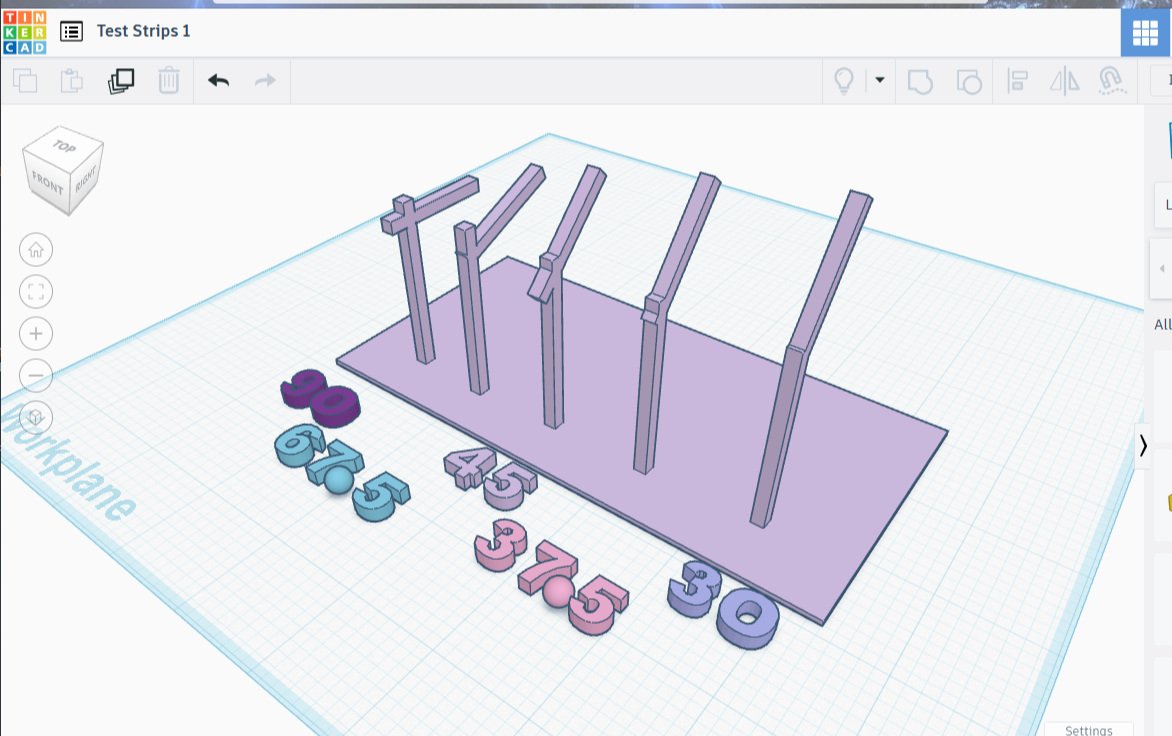
To find out exactly how disastrous it could be, I created a test board with five short slender poles, each with a differently angled post protruding: 90°, 67.5°, 45°, 37.5°, and 30°. I made the platform extra-wide to account for messy plastic overflow.
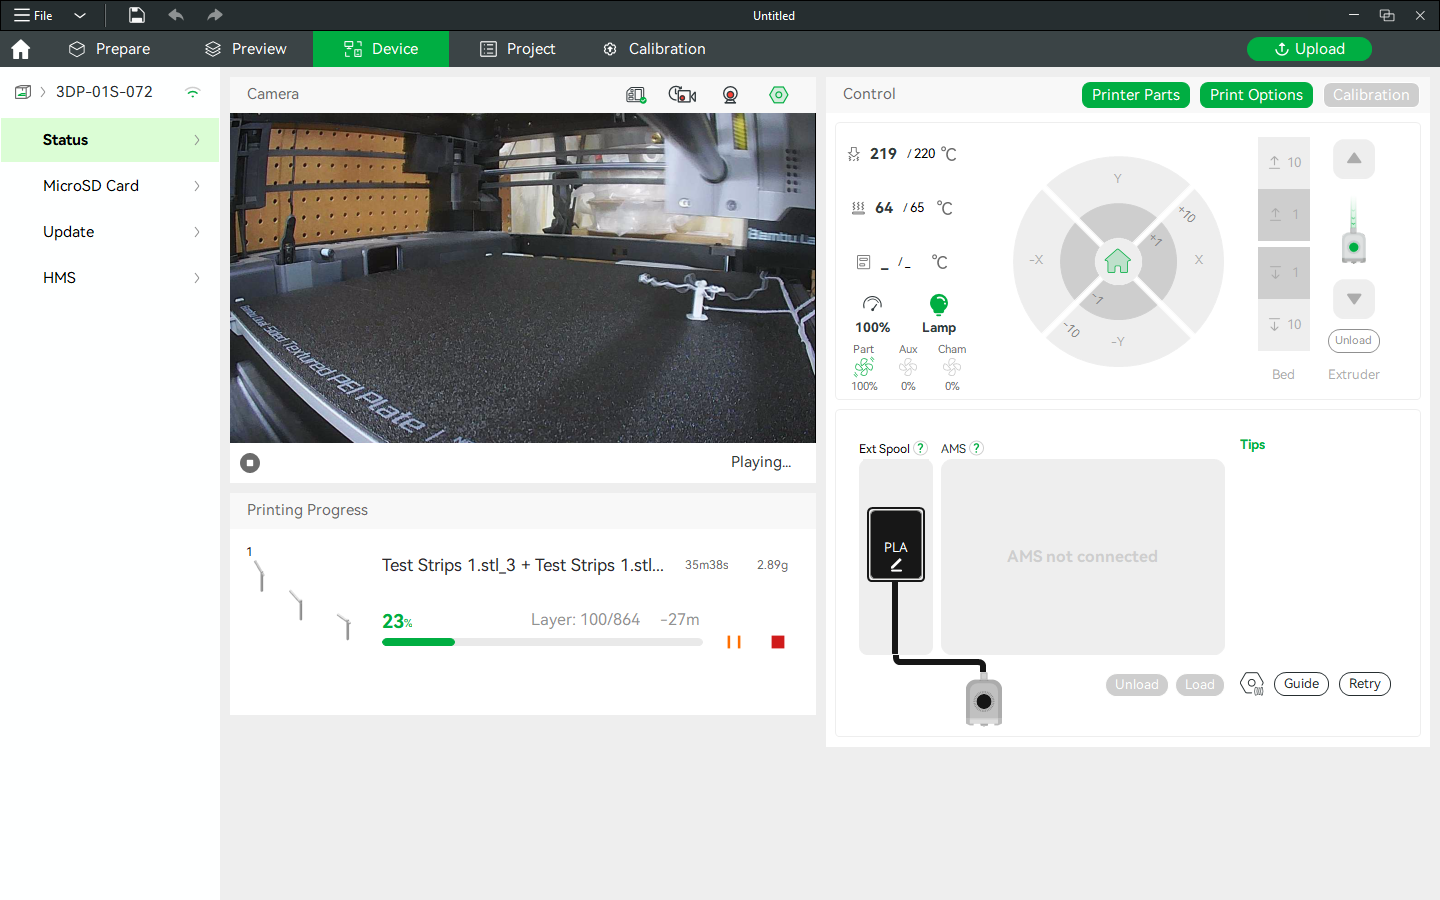
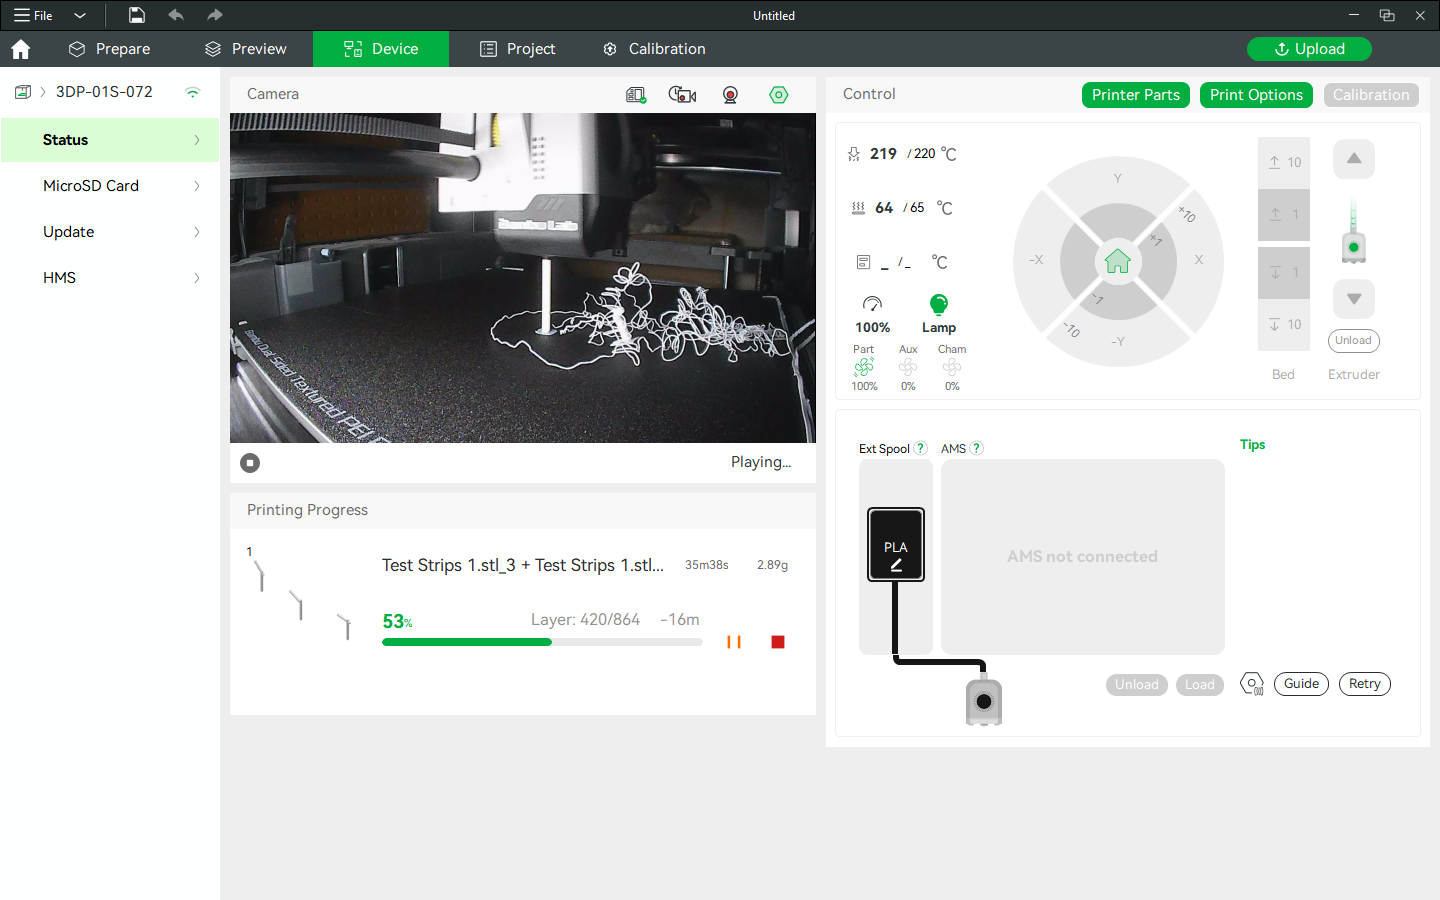
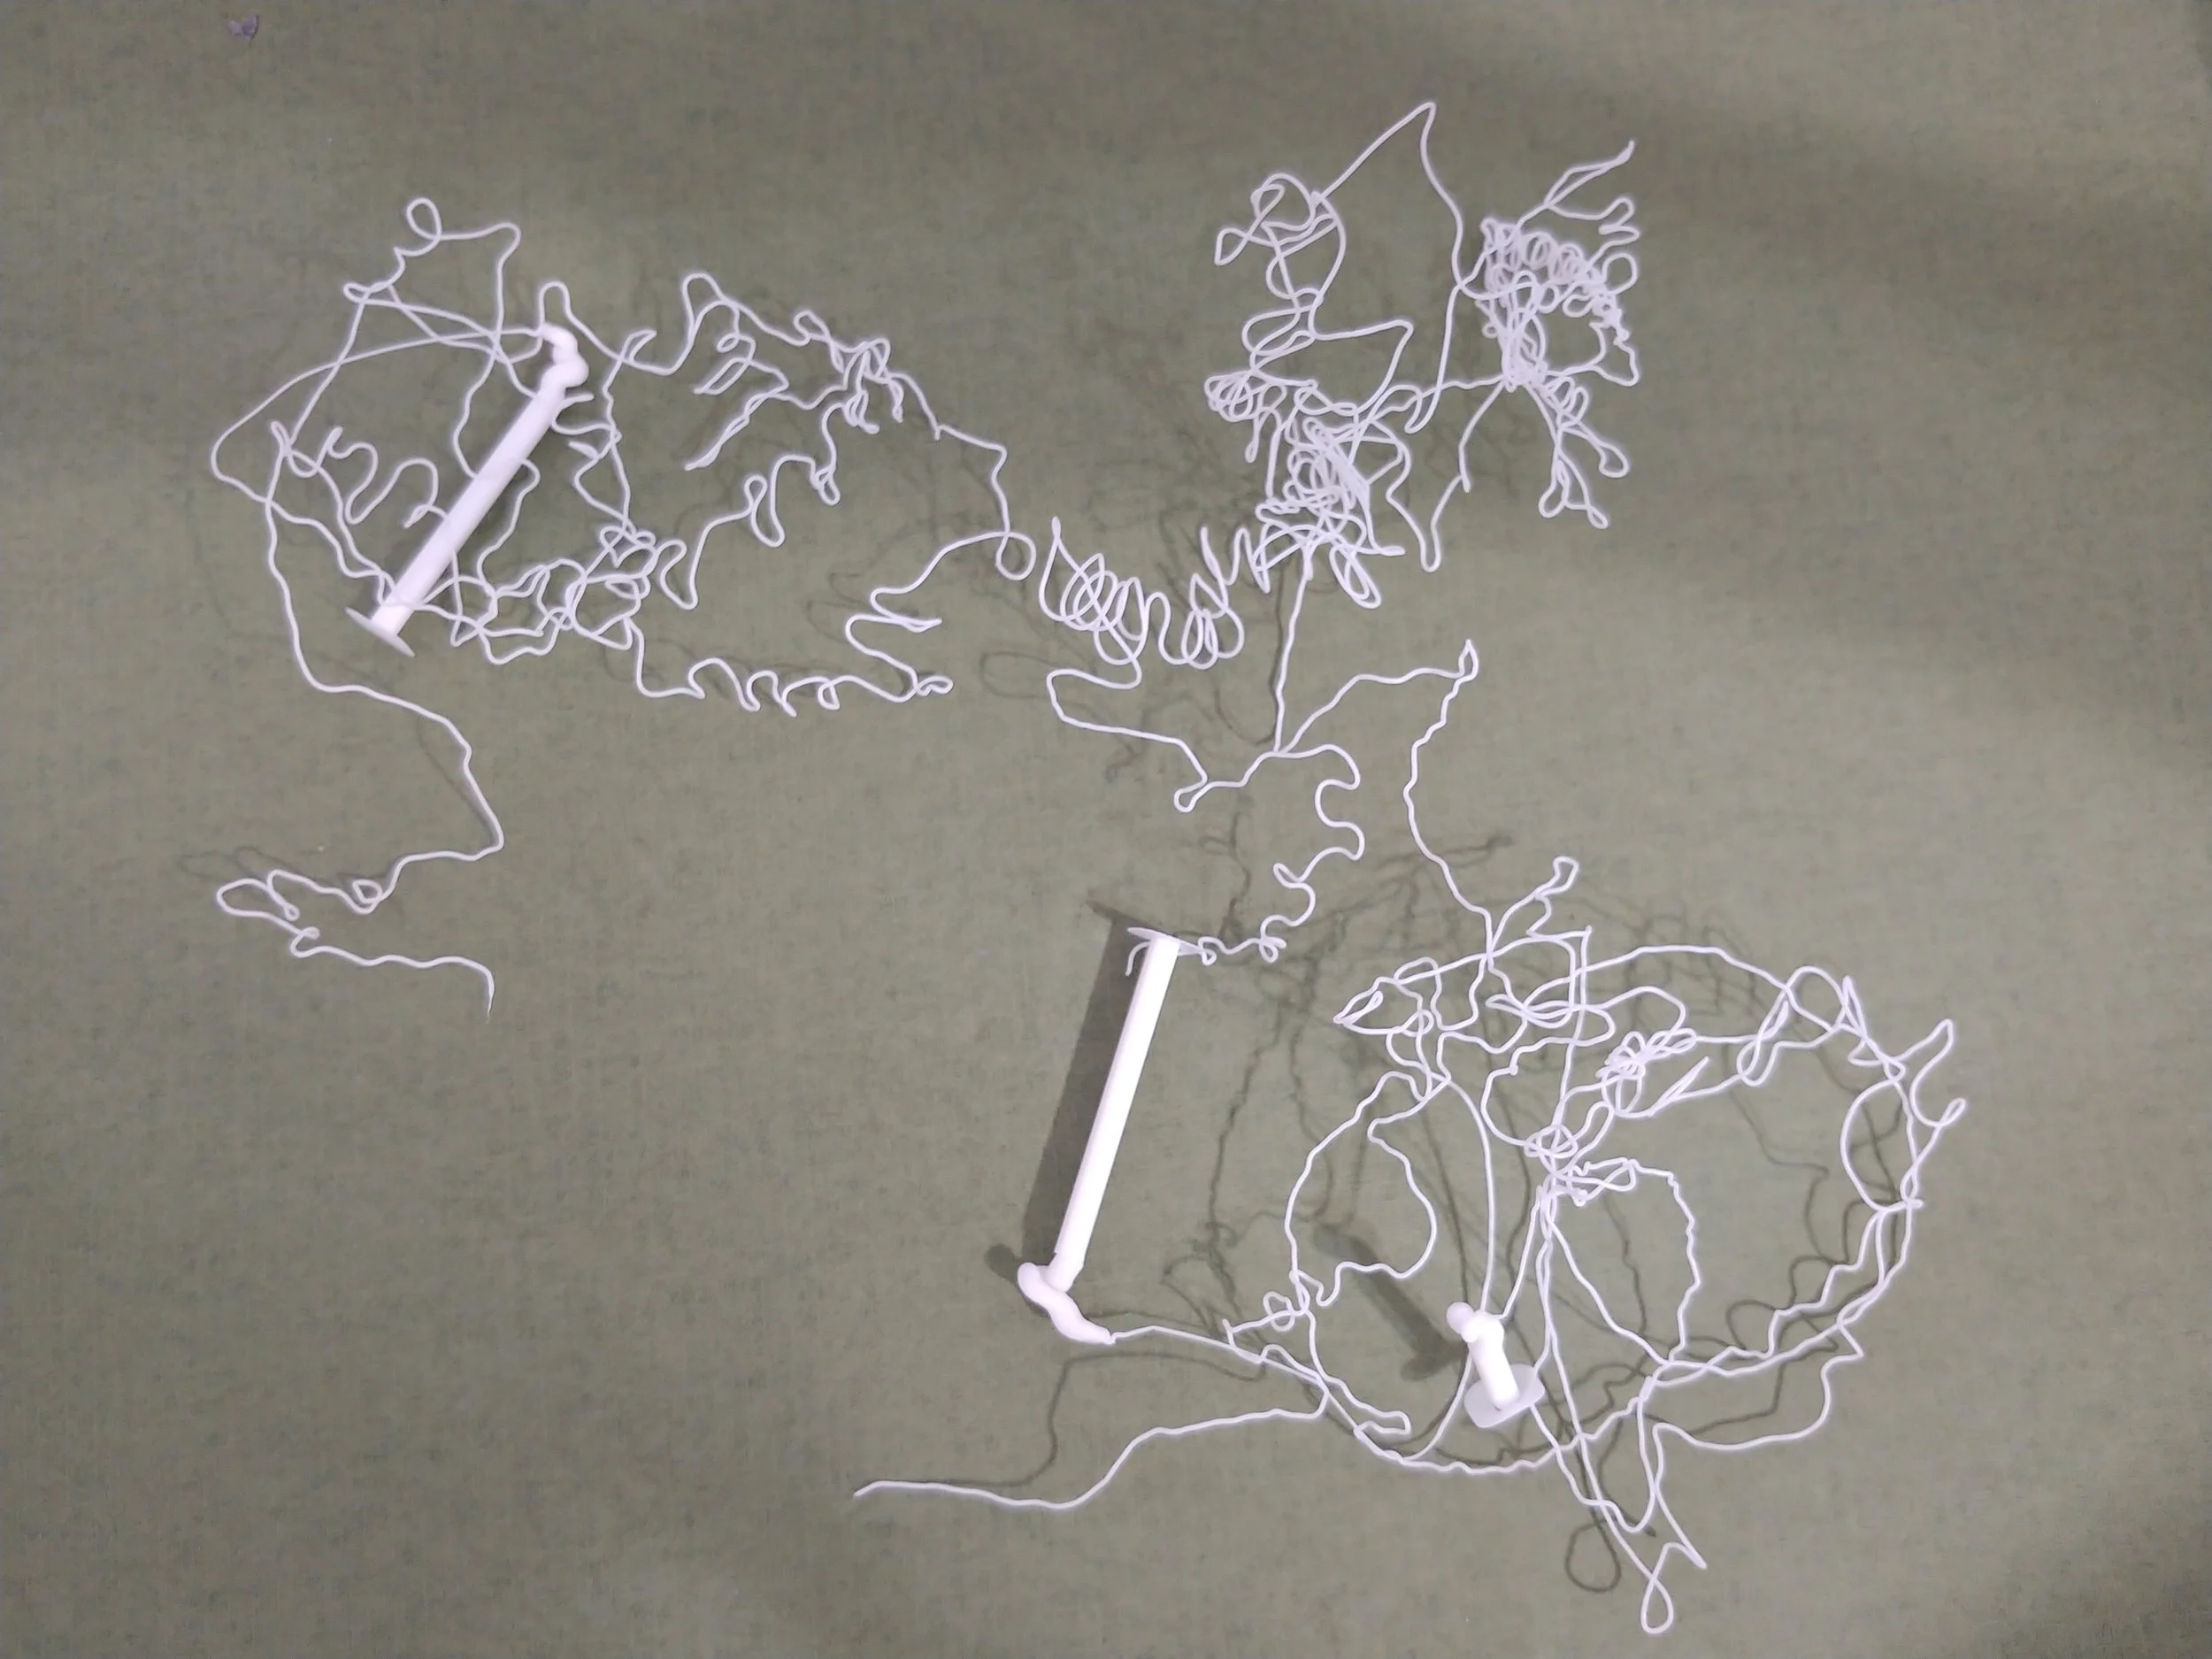
It looked great, until print time. Printing layer by layer caused a complete mess - by the end the extruded plastic couldn’t even make it from one tower to the next without dragging plastic and sometimes part of the print. I’m dubious that printing them sequentially instead of layer by layer will help, but I’m willing to try.
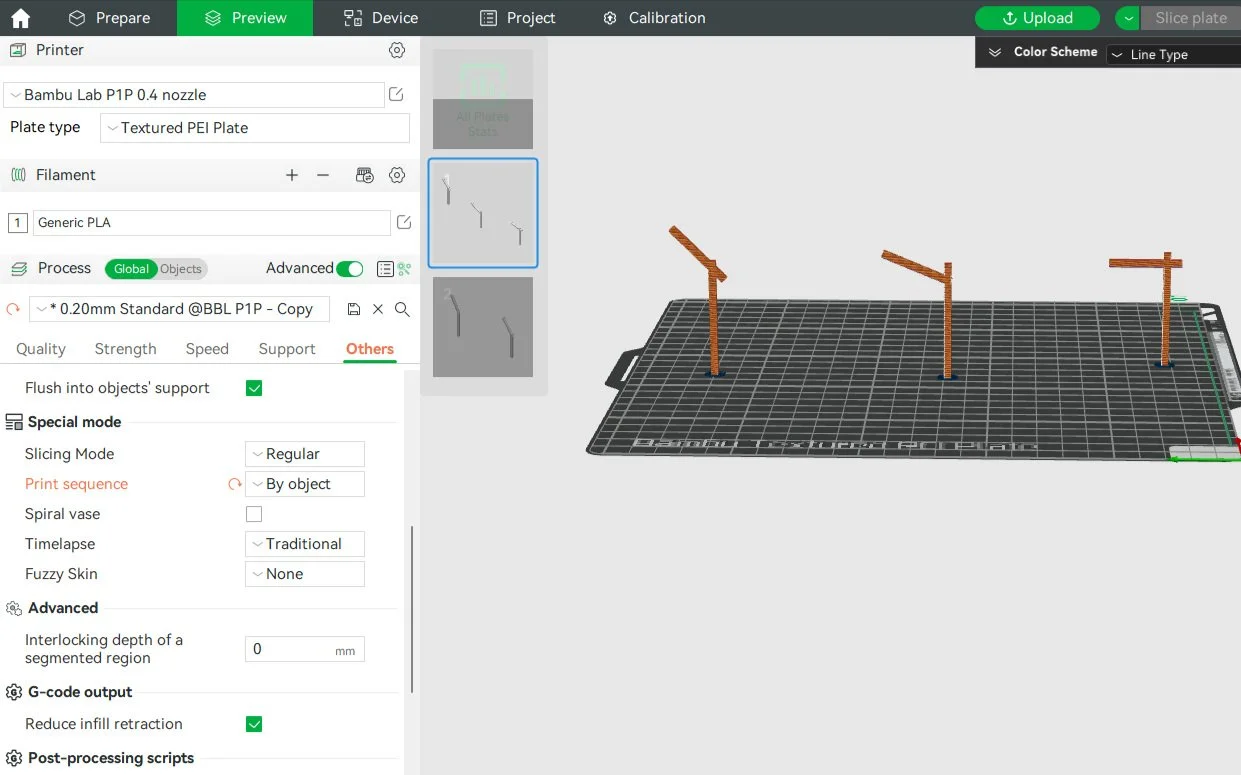
I went to the ‘Others’ tab on the software, where I found in the Special Mode category the ‘Print Sequence’ option. The default choice was ‘By layer’, but I switched it to ‘By object’. The printer complained at me most grievously, but we finally came to an accord: it would continue to issue warnings, but it would still print the objects if I limited them to no more than three on one board.

Experiment Results
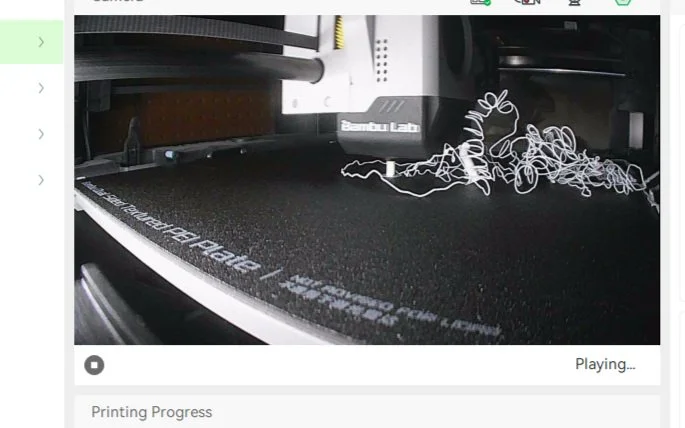
The 90 degree angle did the worst, absolutely and unquestionably. The printer dropped the ball on this one nearly right away - the mess was so awful that I was considering putting the project out of it’s mystery.
I’m glad I waited, as the next angle, 67.5 degrees, started out rather well. I watched in morbid fascination as the tiny tower was built: every moment could be it’s last. Where the printer should have been extruding at an upward angle, it only had air and the model below it, causing the melted plastic to stick on the pole end like wax dripping down a candle.
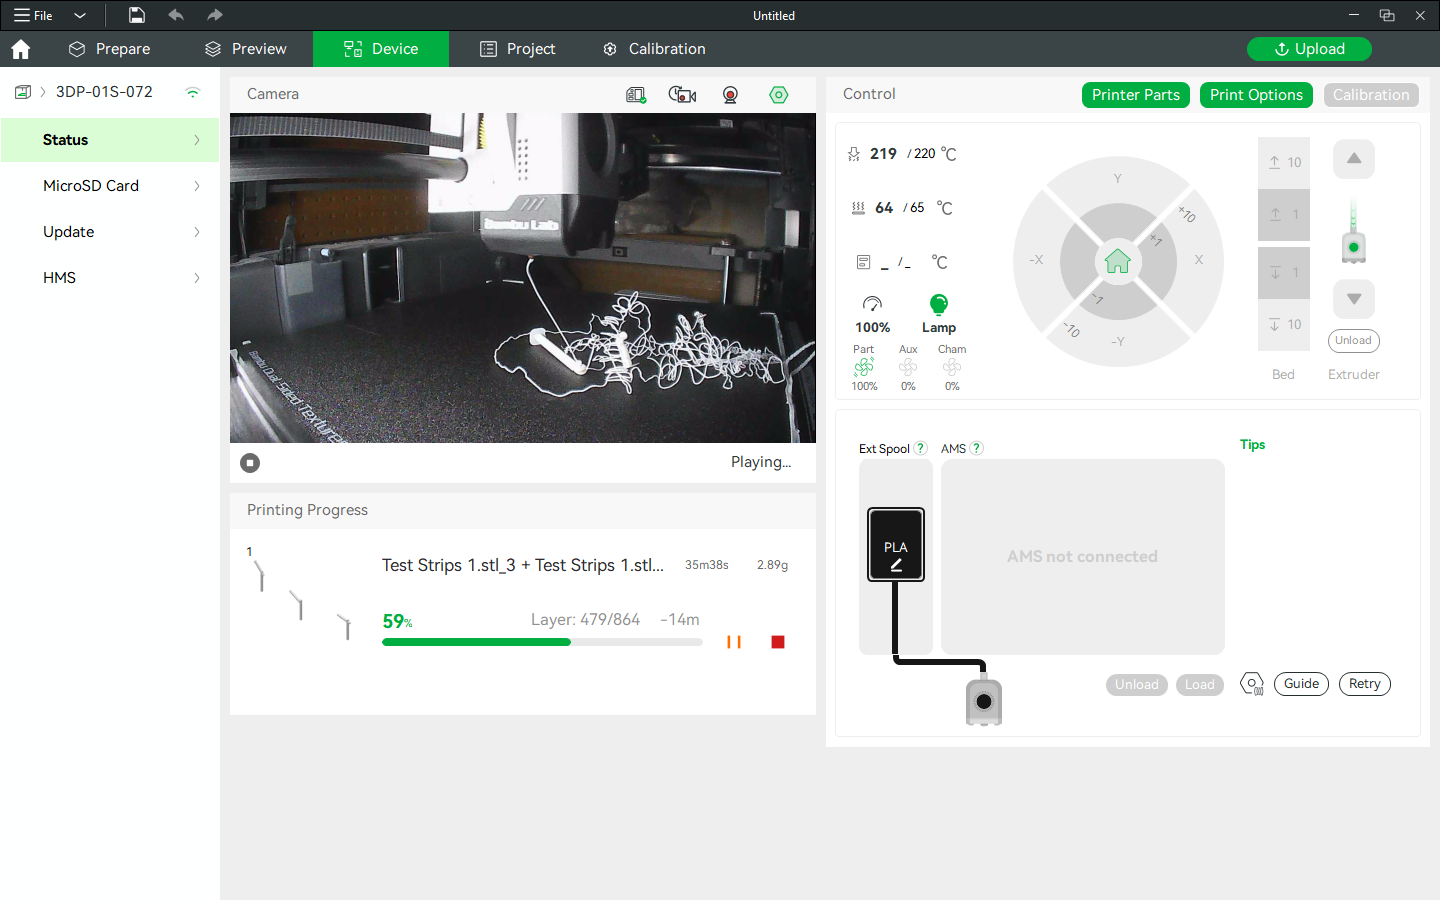
Consequently the tower acquired a concerning blob of melted plastic on the top end, and every pass of the extruder caused the tower to wobble with it. Eventually this tower too fell, only to be covered like silly string with all that unsupported filament.
The third tower built well, which was astounding considering the near-obstacle course of spaghetti-like filament all over the board. This last tower was the smoothest angle, being only 30 degrees. Alas, it too fell, only to be subsequently covered in filament. The end result wasn’t as disastrous as the others, but it was still catastrophic.
No matter the angle, exceeding the threshold without supports resulted in an impossible situation.
Build Plate Experiment
Using On Build Plate Only means that supports are generated only on the build plate, not on other parts of the model. Supports are sometimes generated on a model in order to uphold other parts of the model. This setting keeps that from happening.
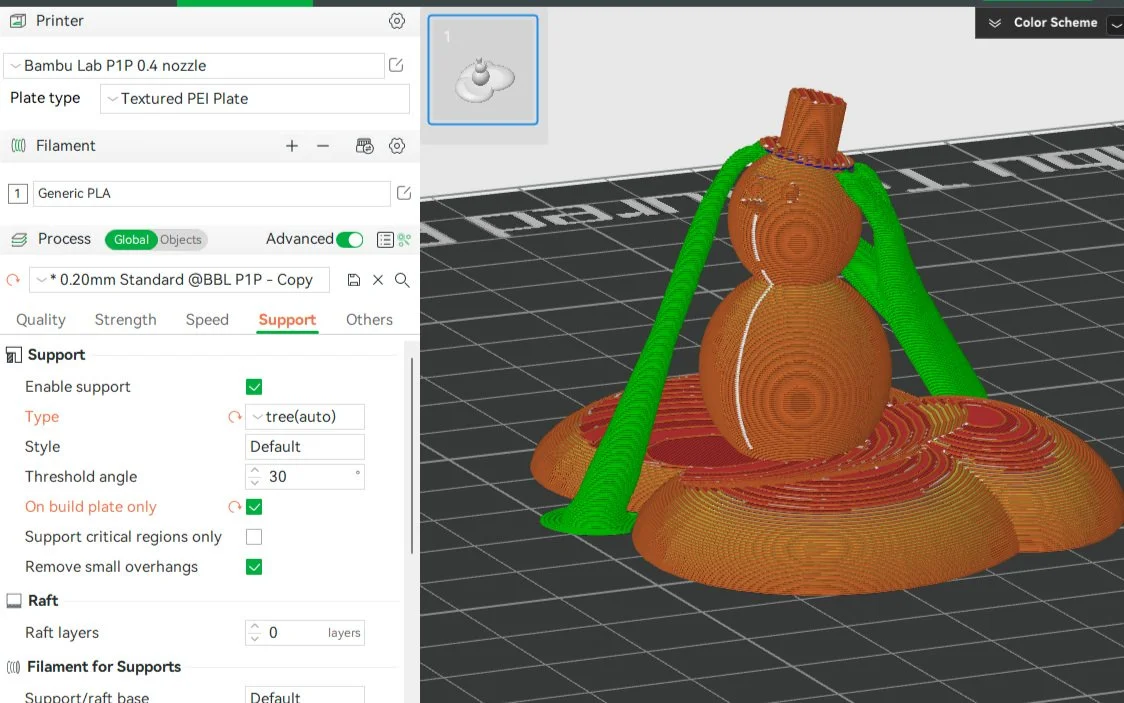
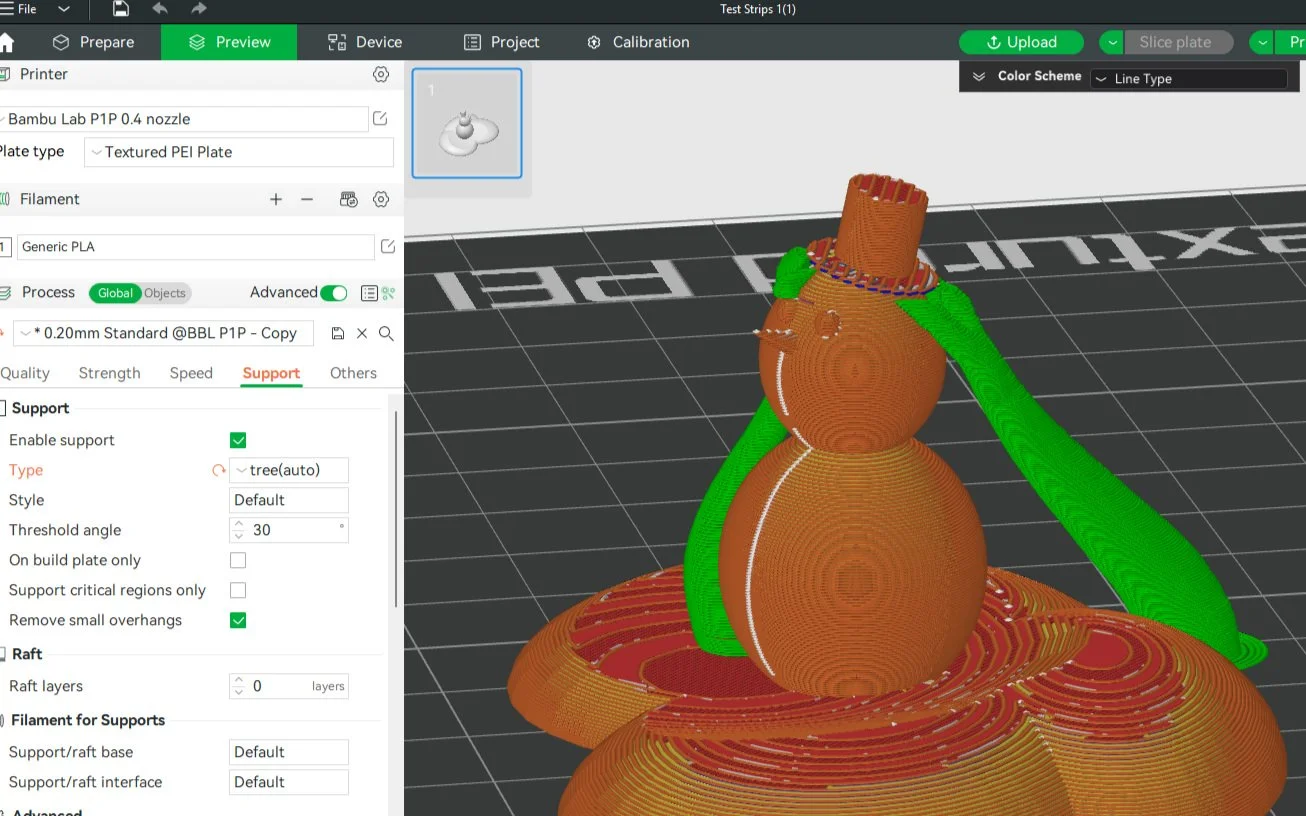
To show this setting in action, I made a quick model of a snowman and put him on some snowy ground, sliced a print with the On Build Plate Only checked, then sliced a print with it unchecked.
The first example shows what happens using On Build Plate Only. Notice how the supports are grounded only on the plate.
In the second example one of the supports springs up from the model itself, instead of coming from the plate. In both examples the supports hold up the snowman’s head.
We learned some stuff
Testing Bambu printer supports showed which angles fail, how Build Plate Only works, and that tree supports remove cleanly.
There are more settings
The other two settings in the Support section are Support Critical Regions only and Remove Small Overhangs. The first prints supports only if absolutely essential, and the second cleans up protruding bits for a smoother finish.
That’s all for supports at present.
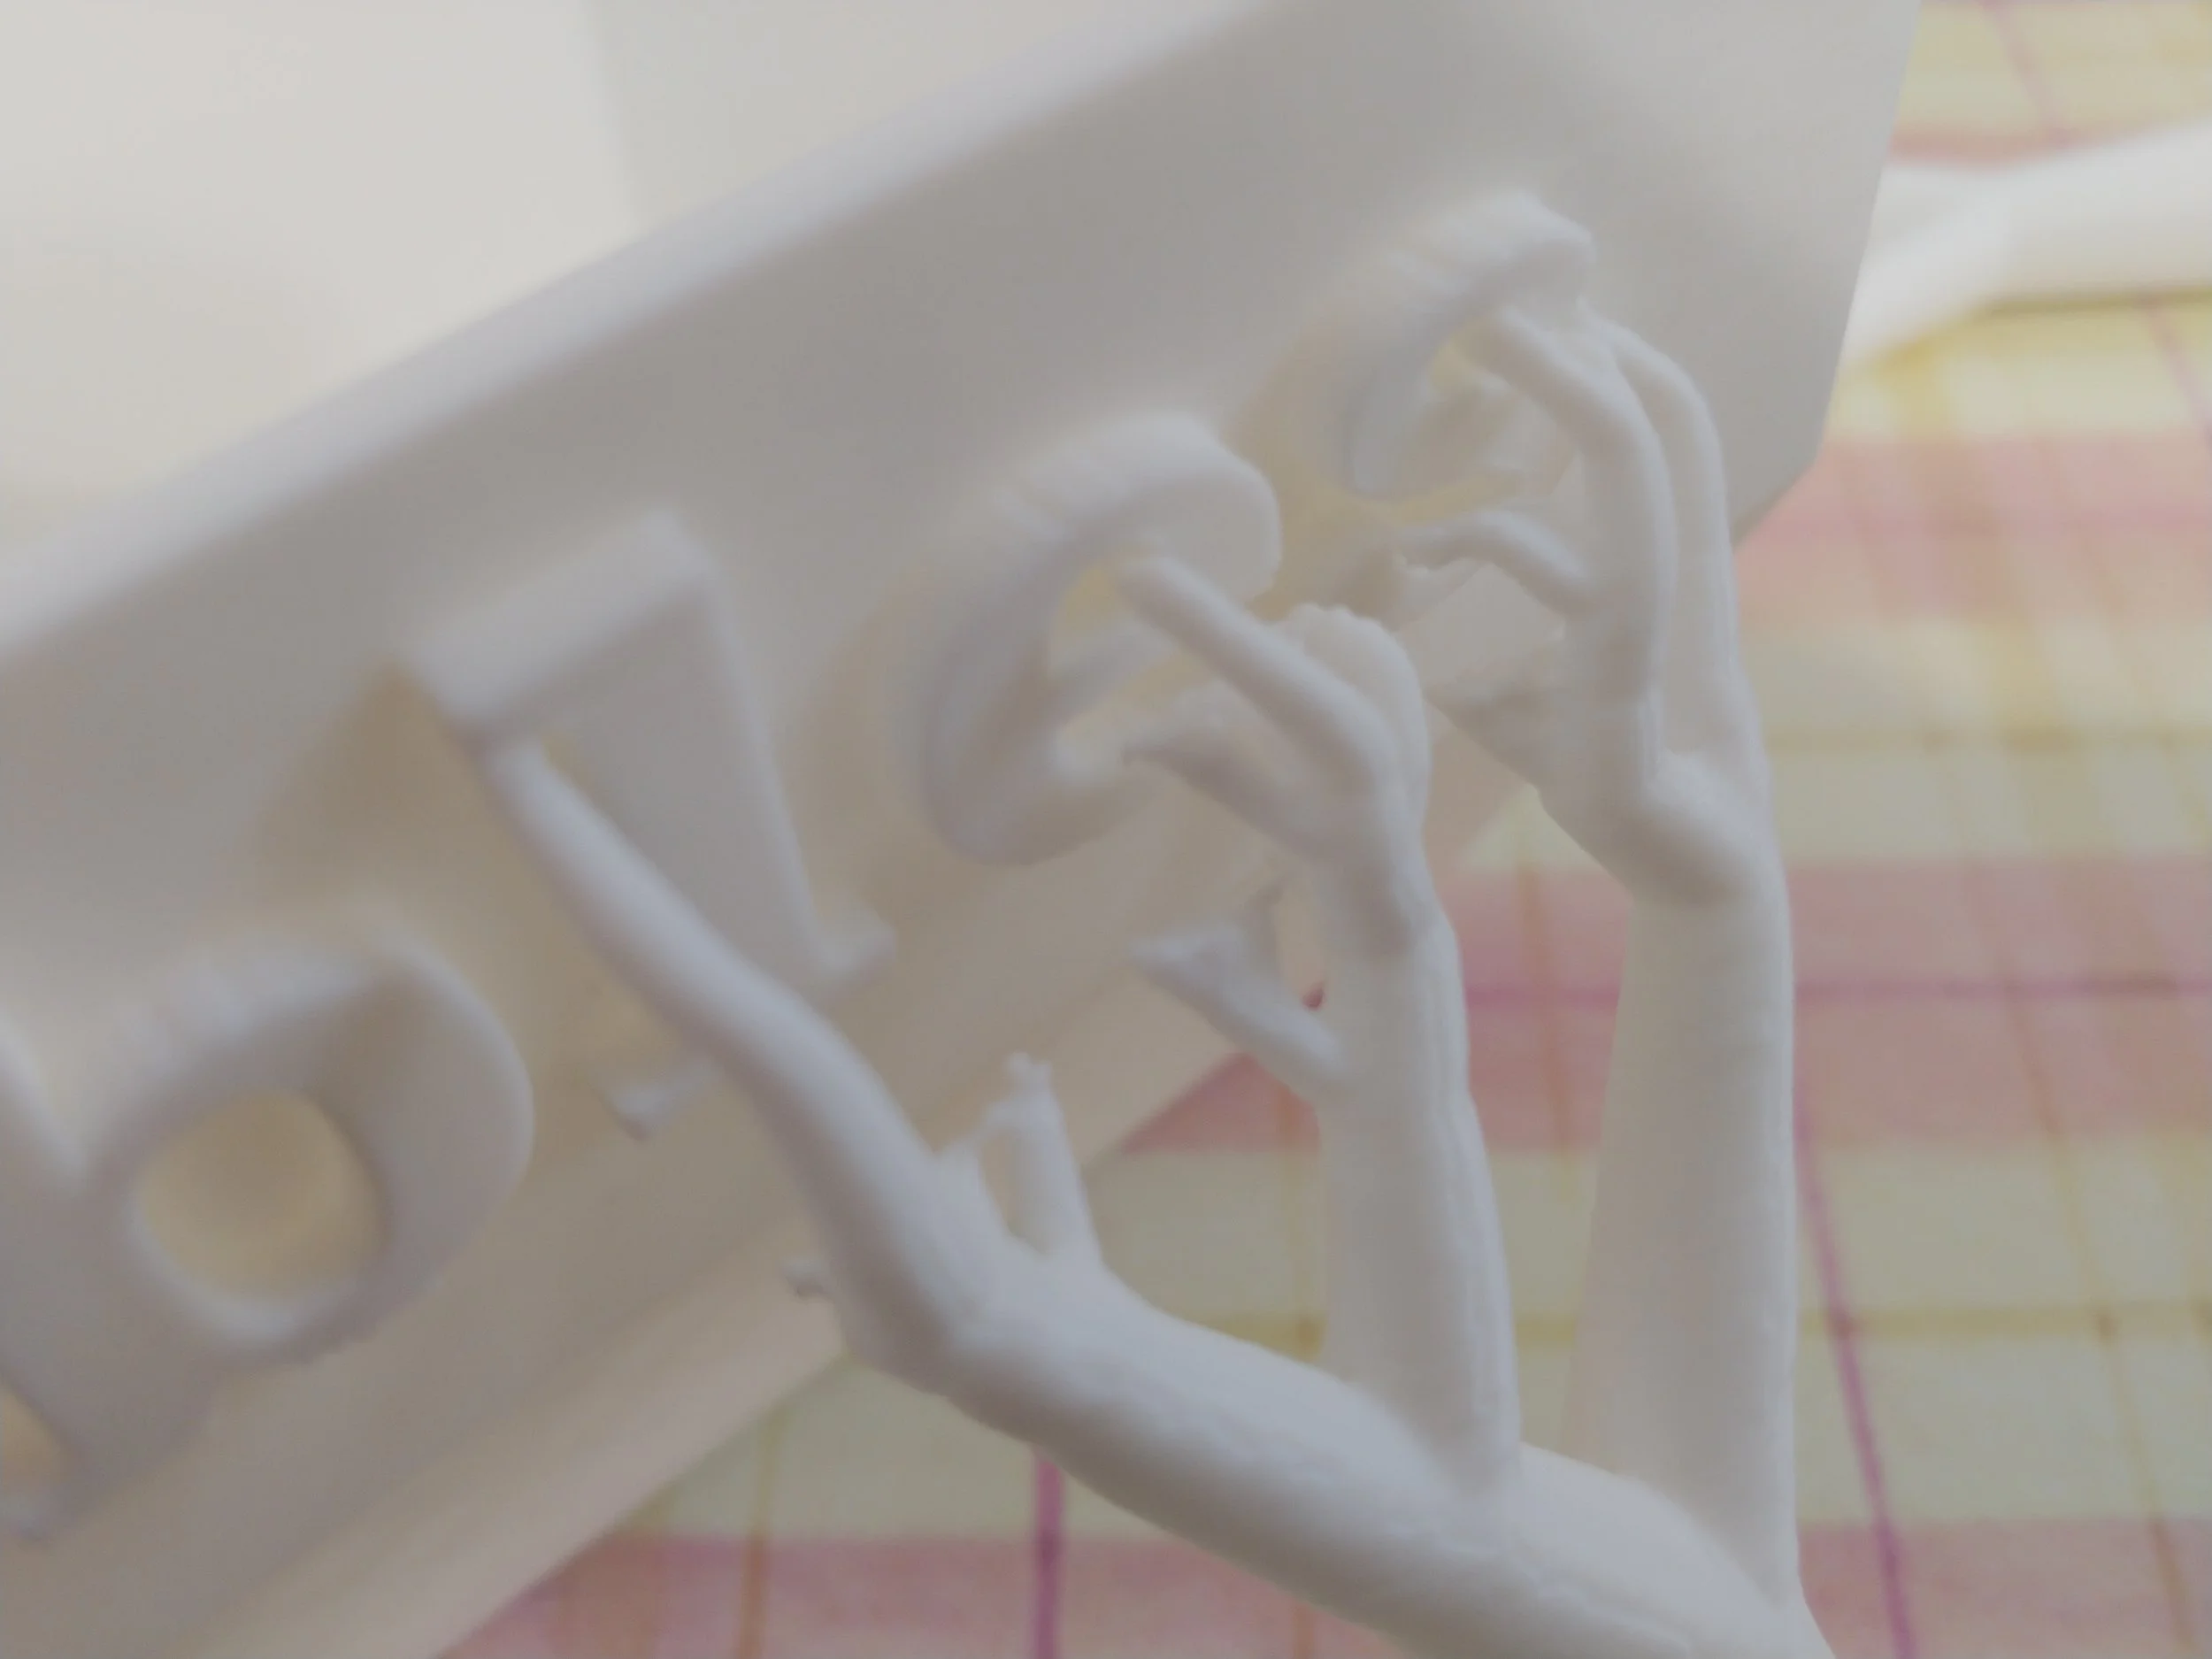
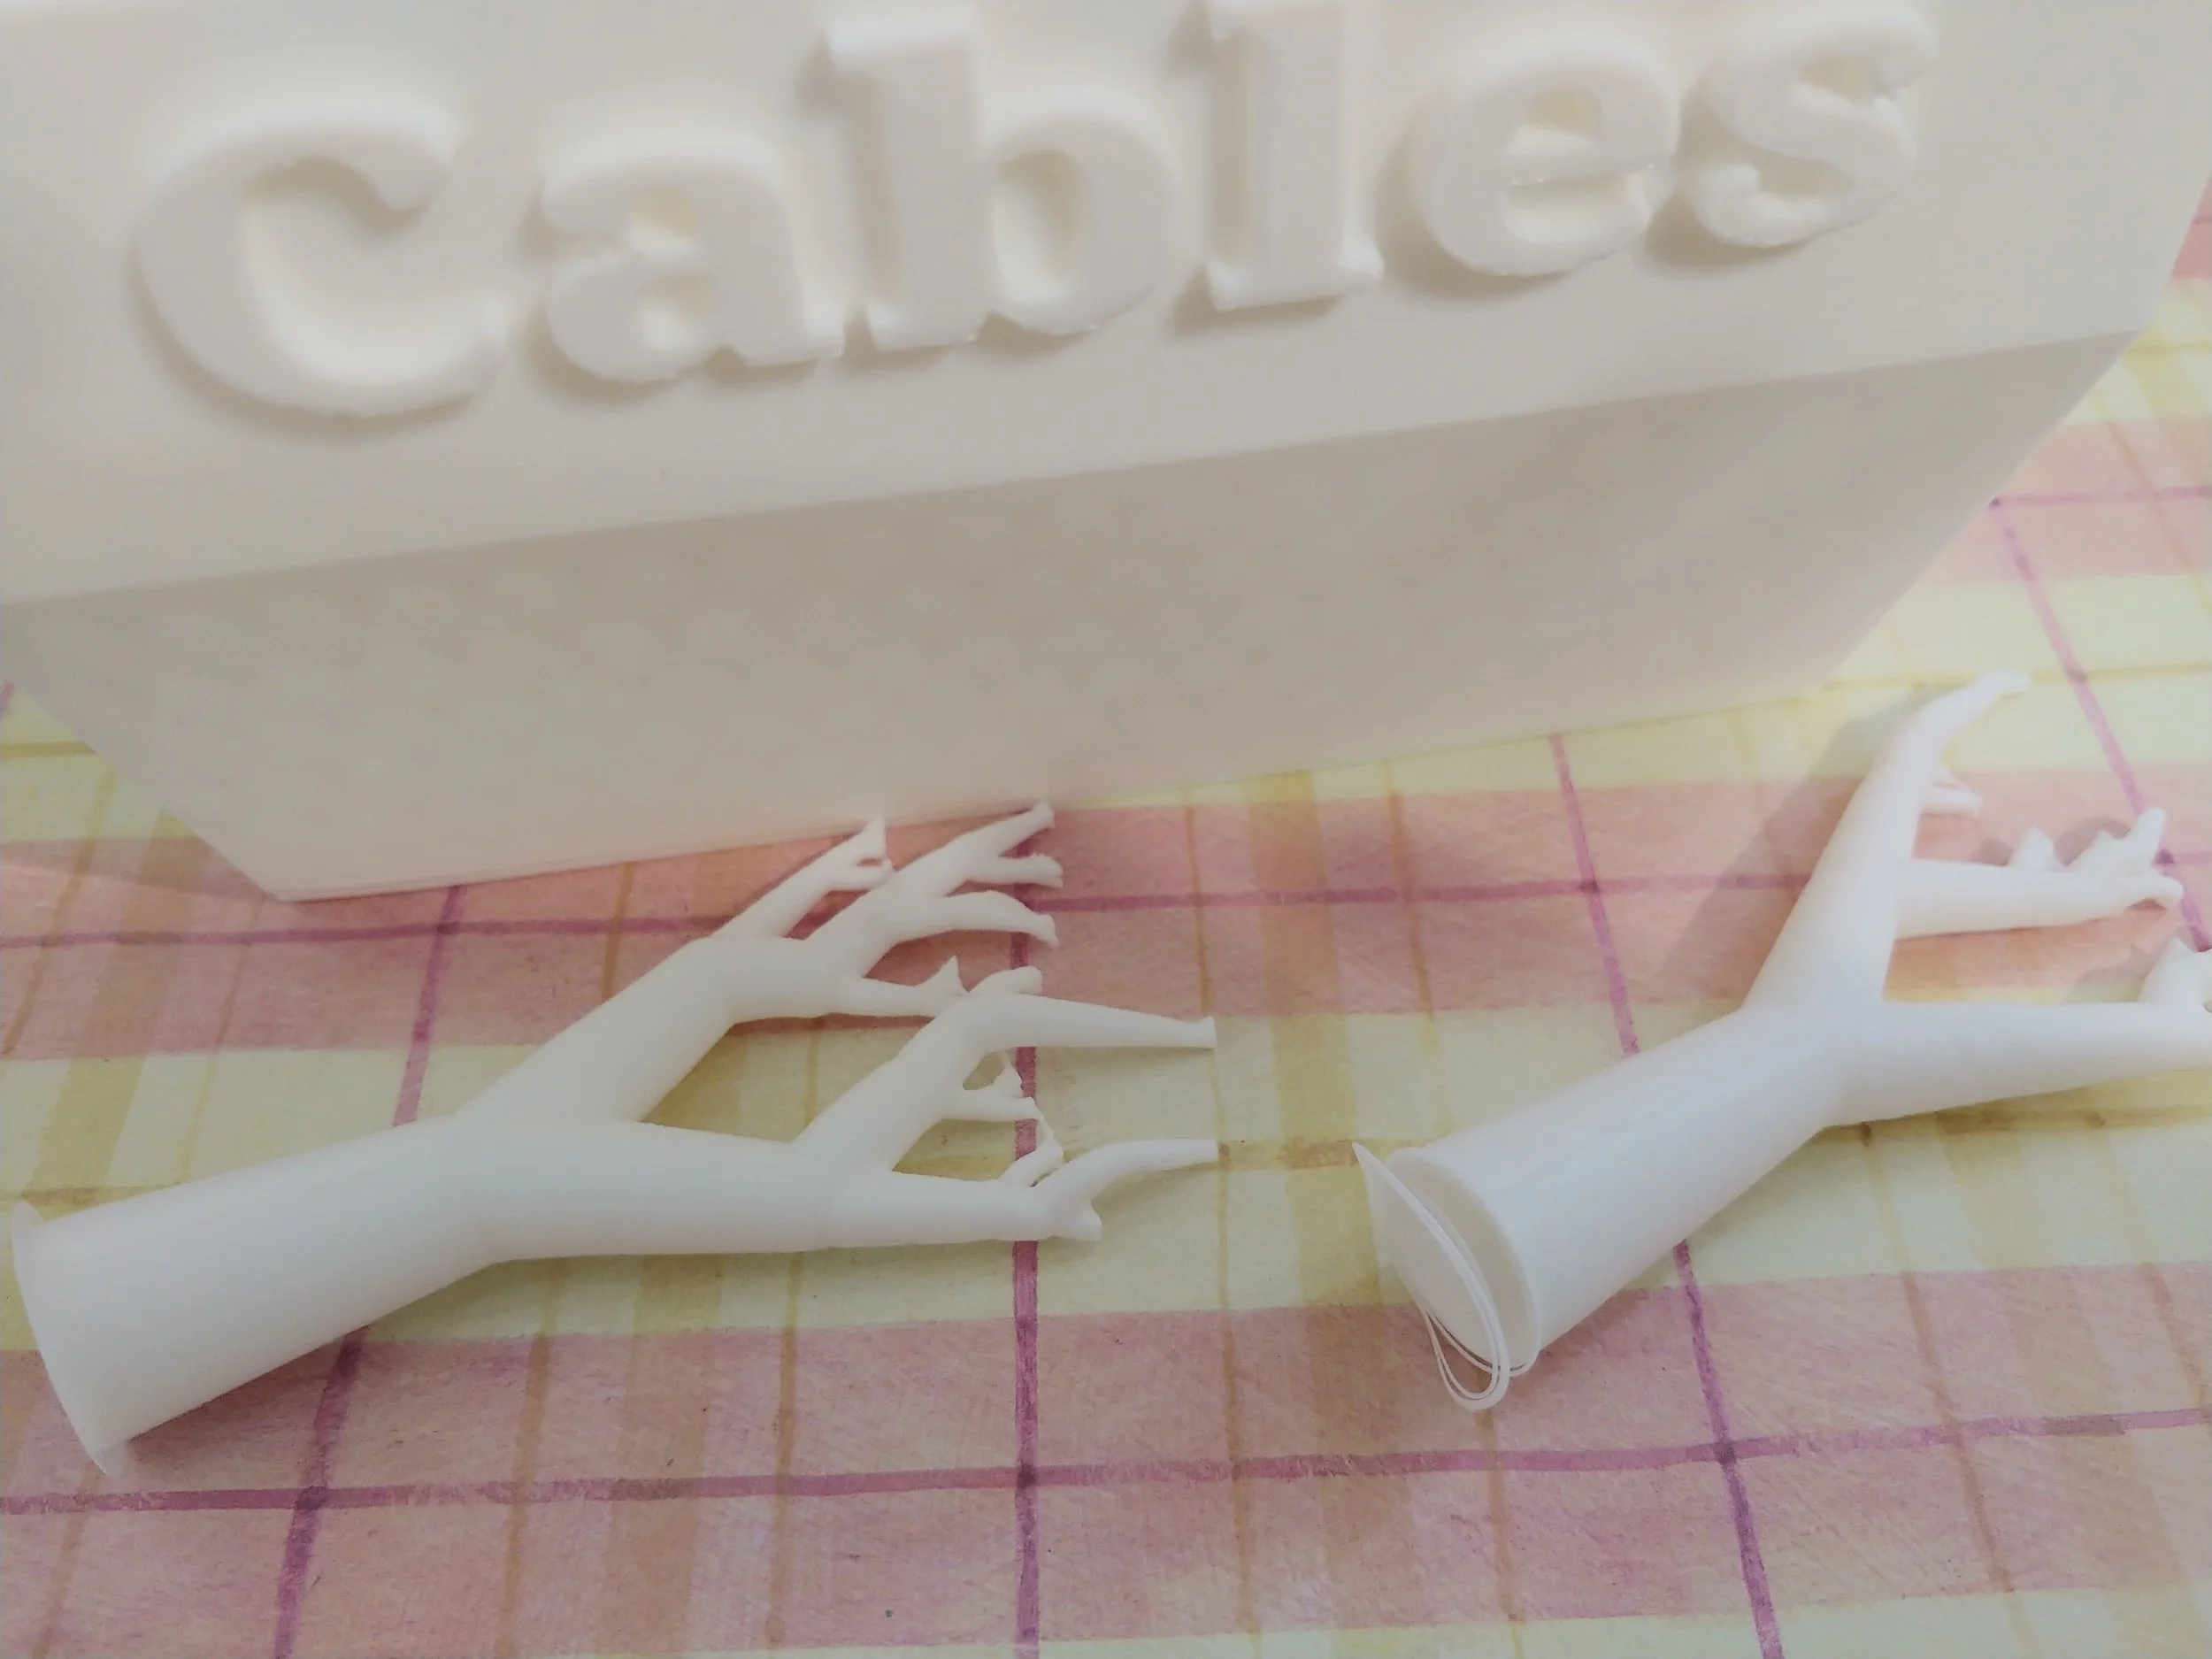
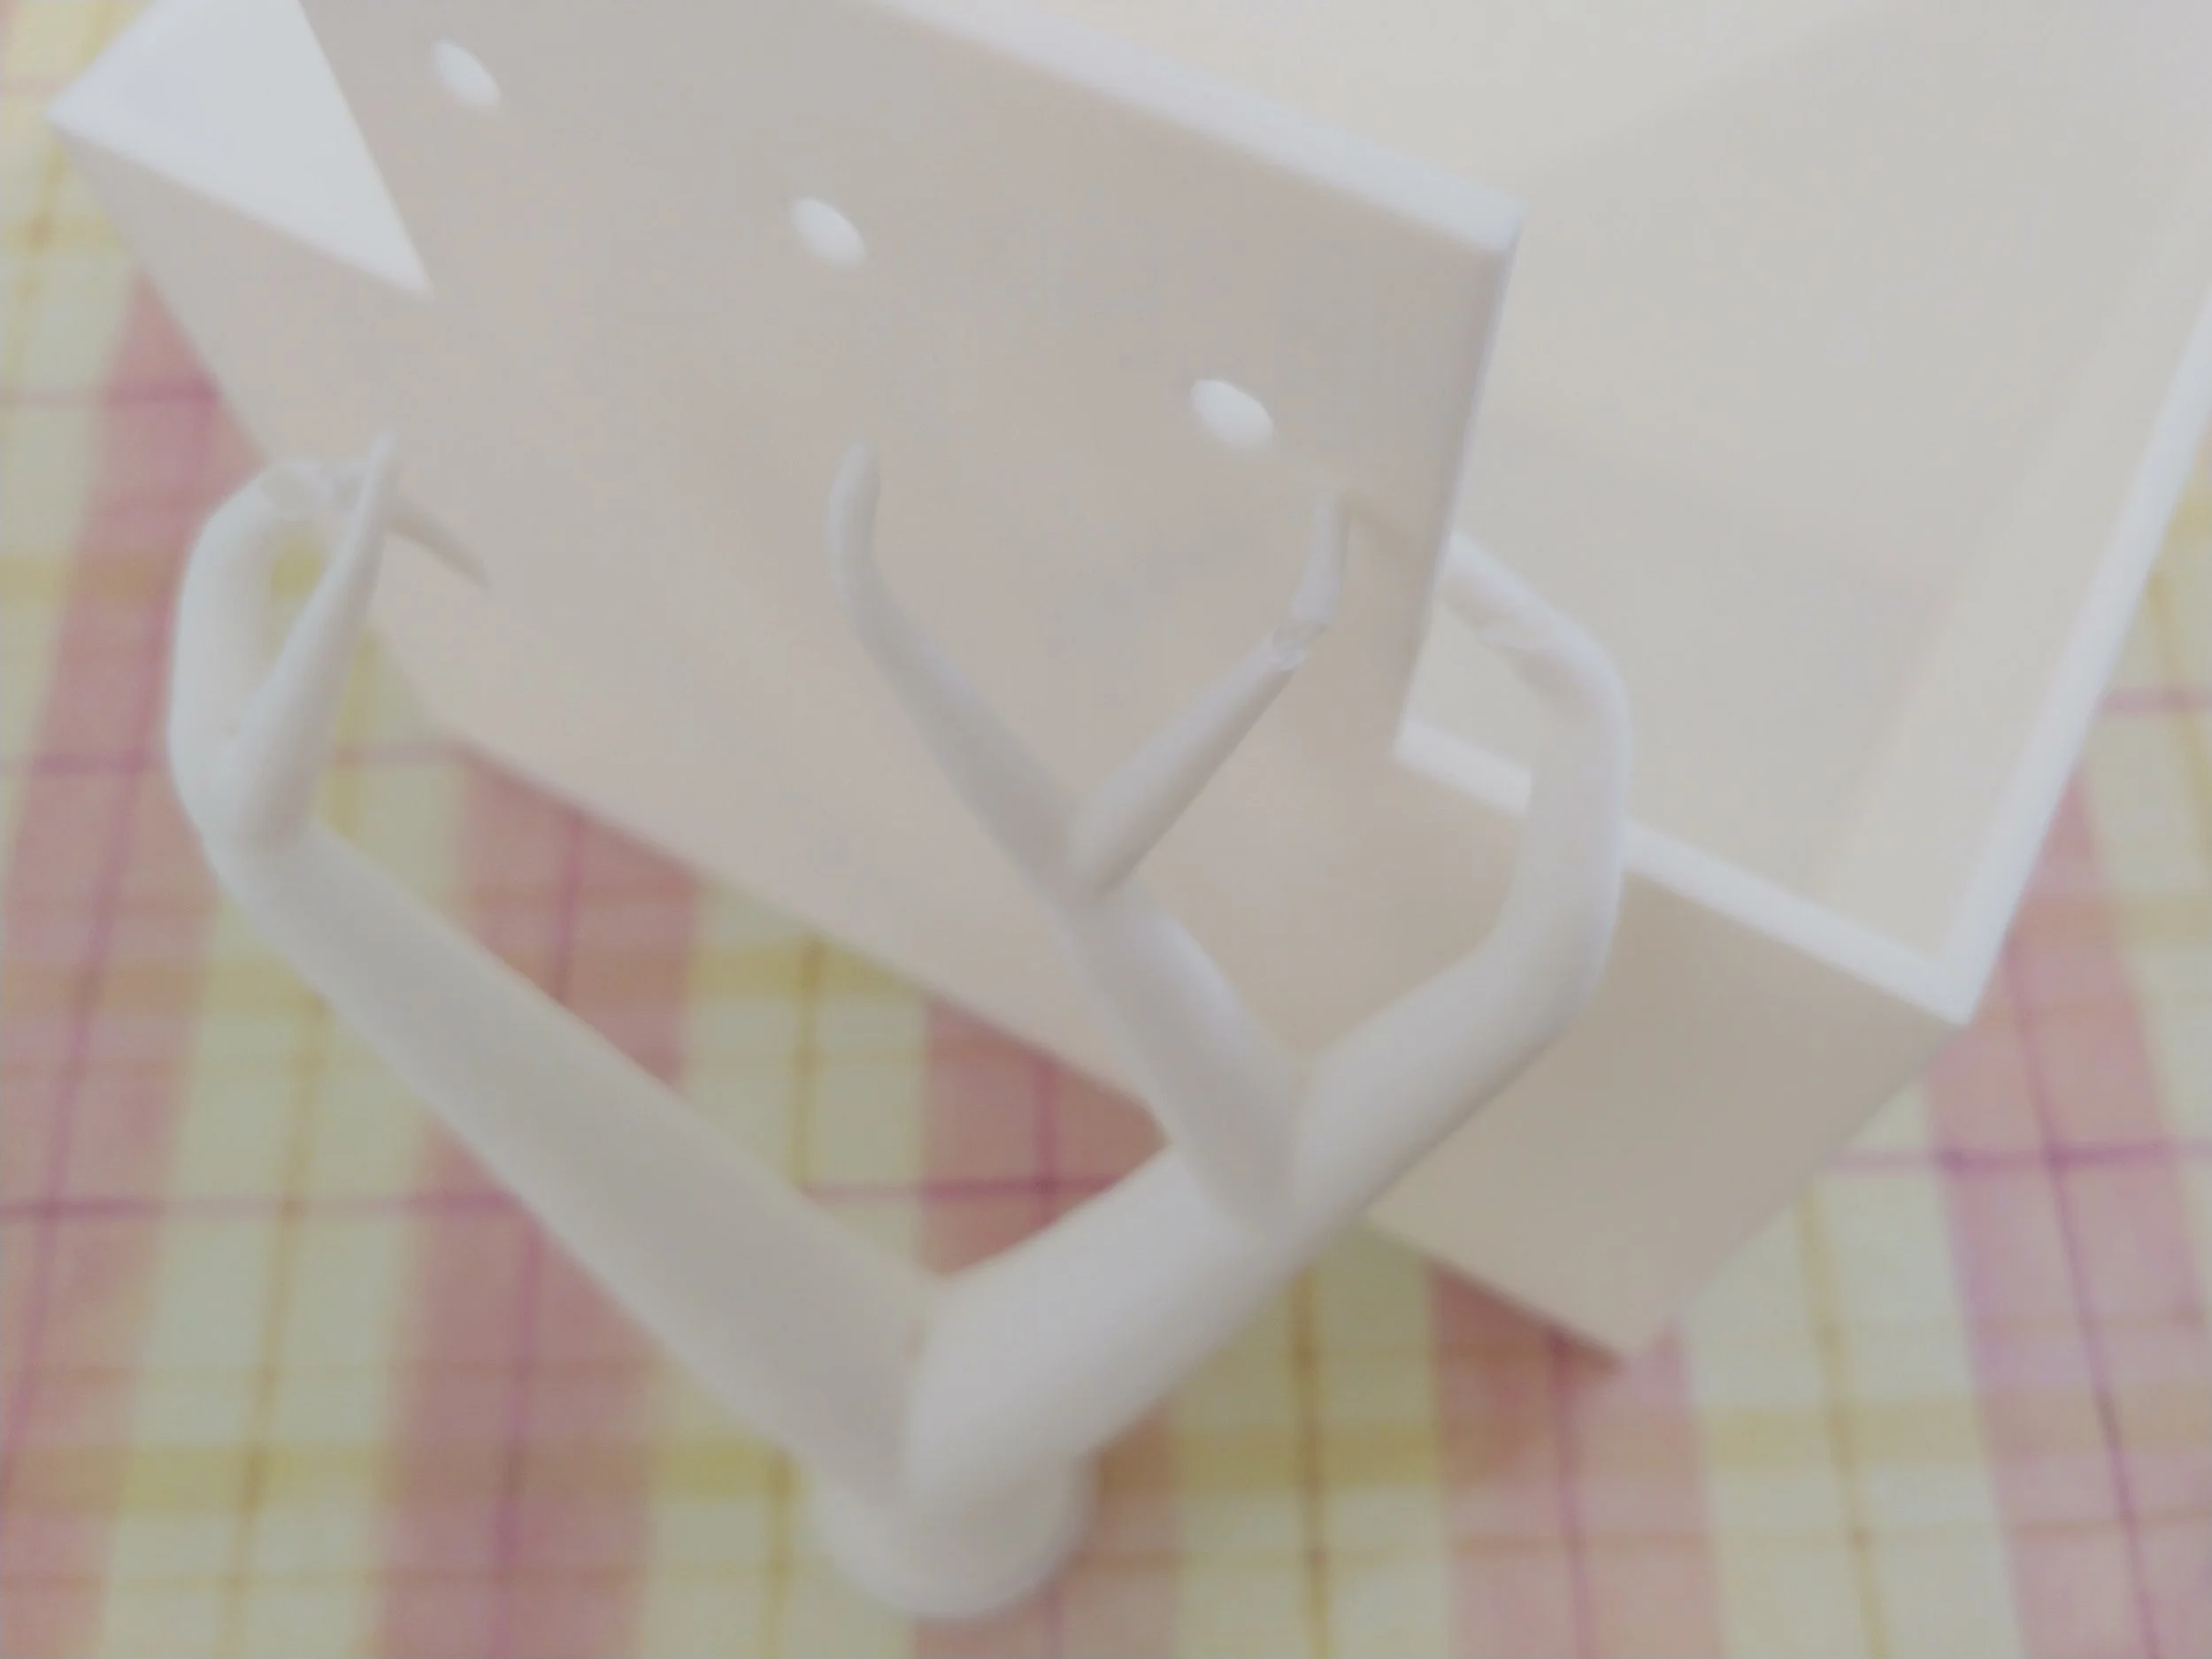
While writing about experiments, the hanging box from Part 1 finished printing. It was even easier to remove the supports than I expected. The supports snapped off the model without leaving any scarring on the bin’s surface. The text was clear and smooth, no sanding required!
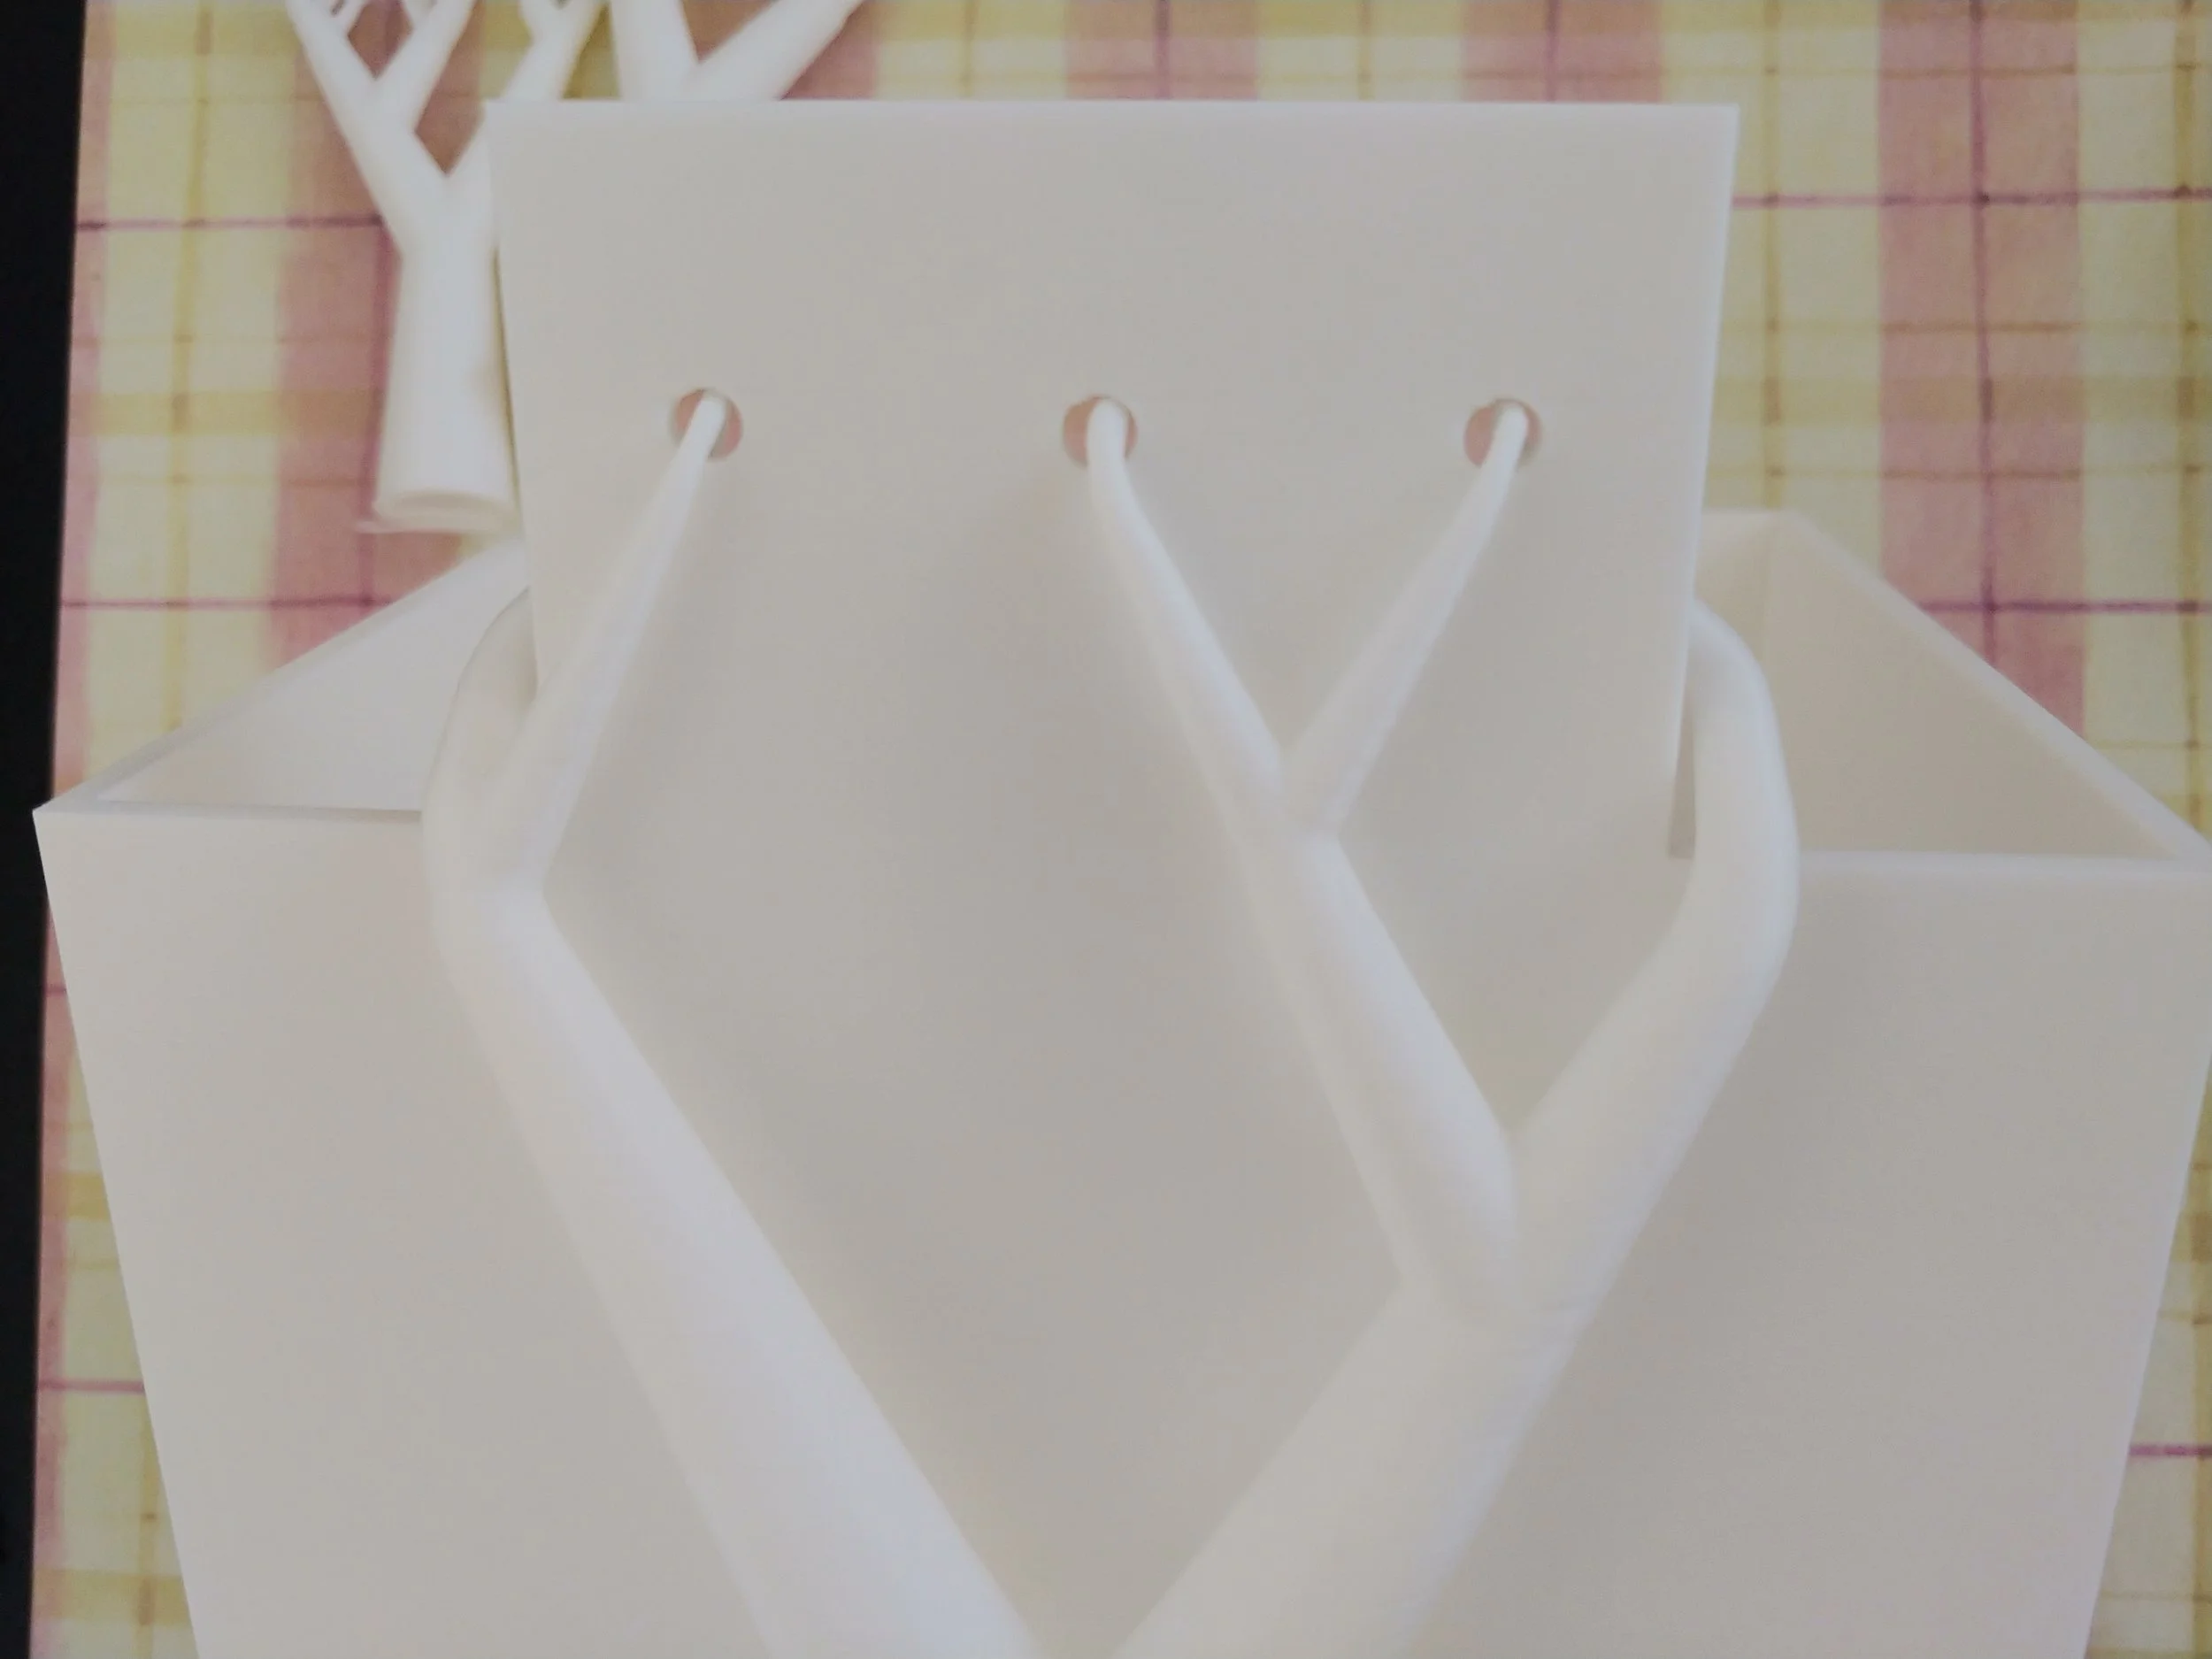
Removing the branches from the back was a bit trickier: I first gently snapped the piece that was threaded through the holes, then pulled the pieces away from the model, taking care not to scratch the model with the tree end. After that the rest came off easily, and I had a beautiful hangable bin in which to store 3D printing parts.
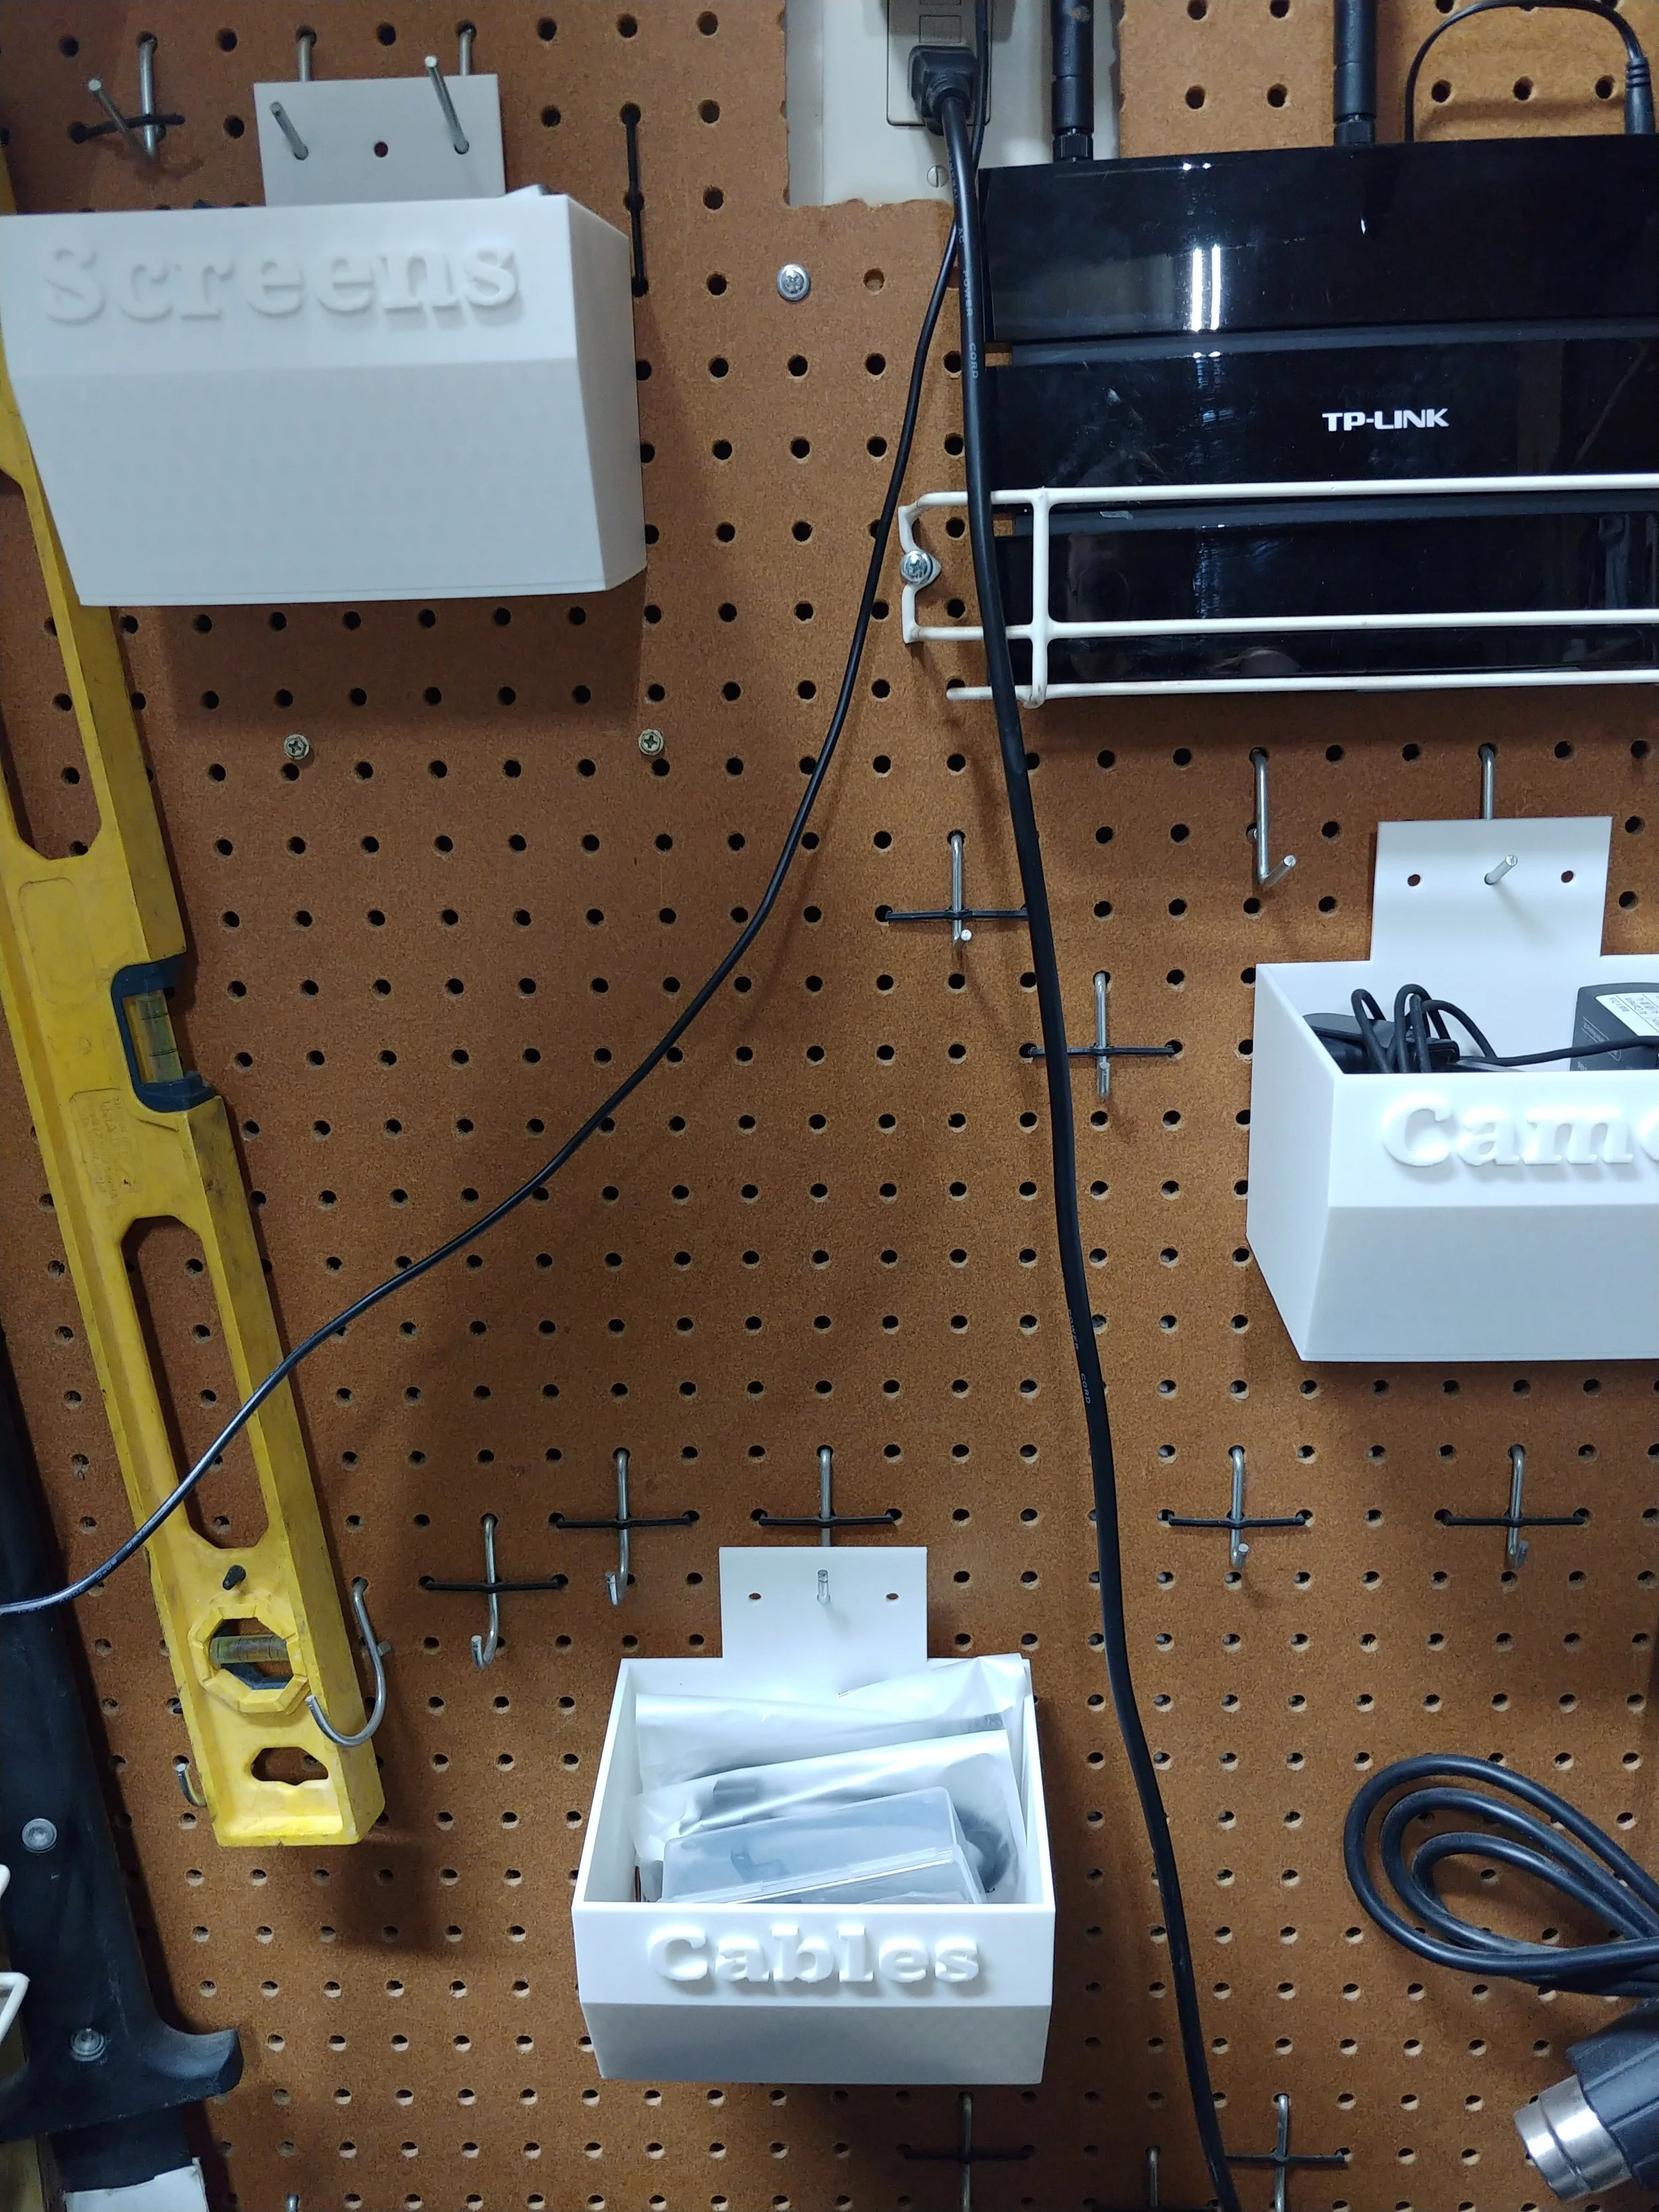
Pegboard Bins for 3D Printer Parts