3D-Printed Wedding Flowers (Part 2)
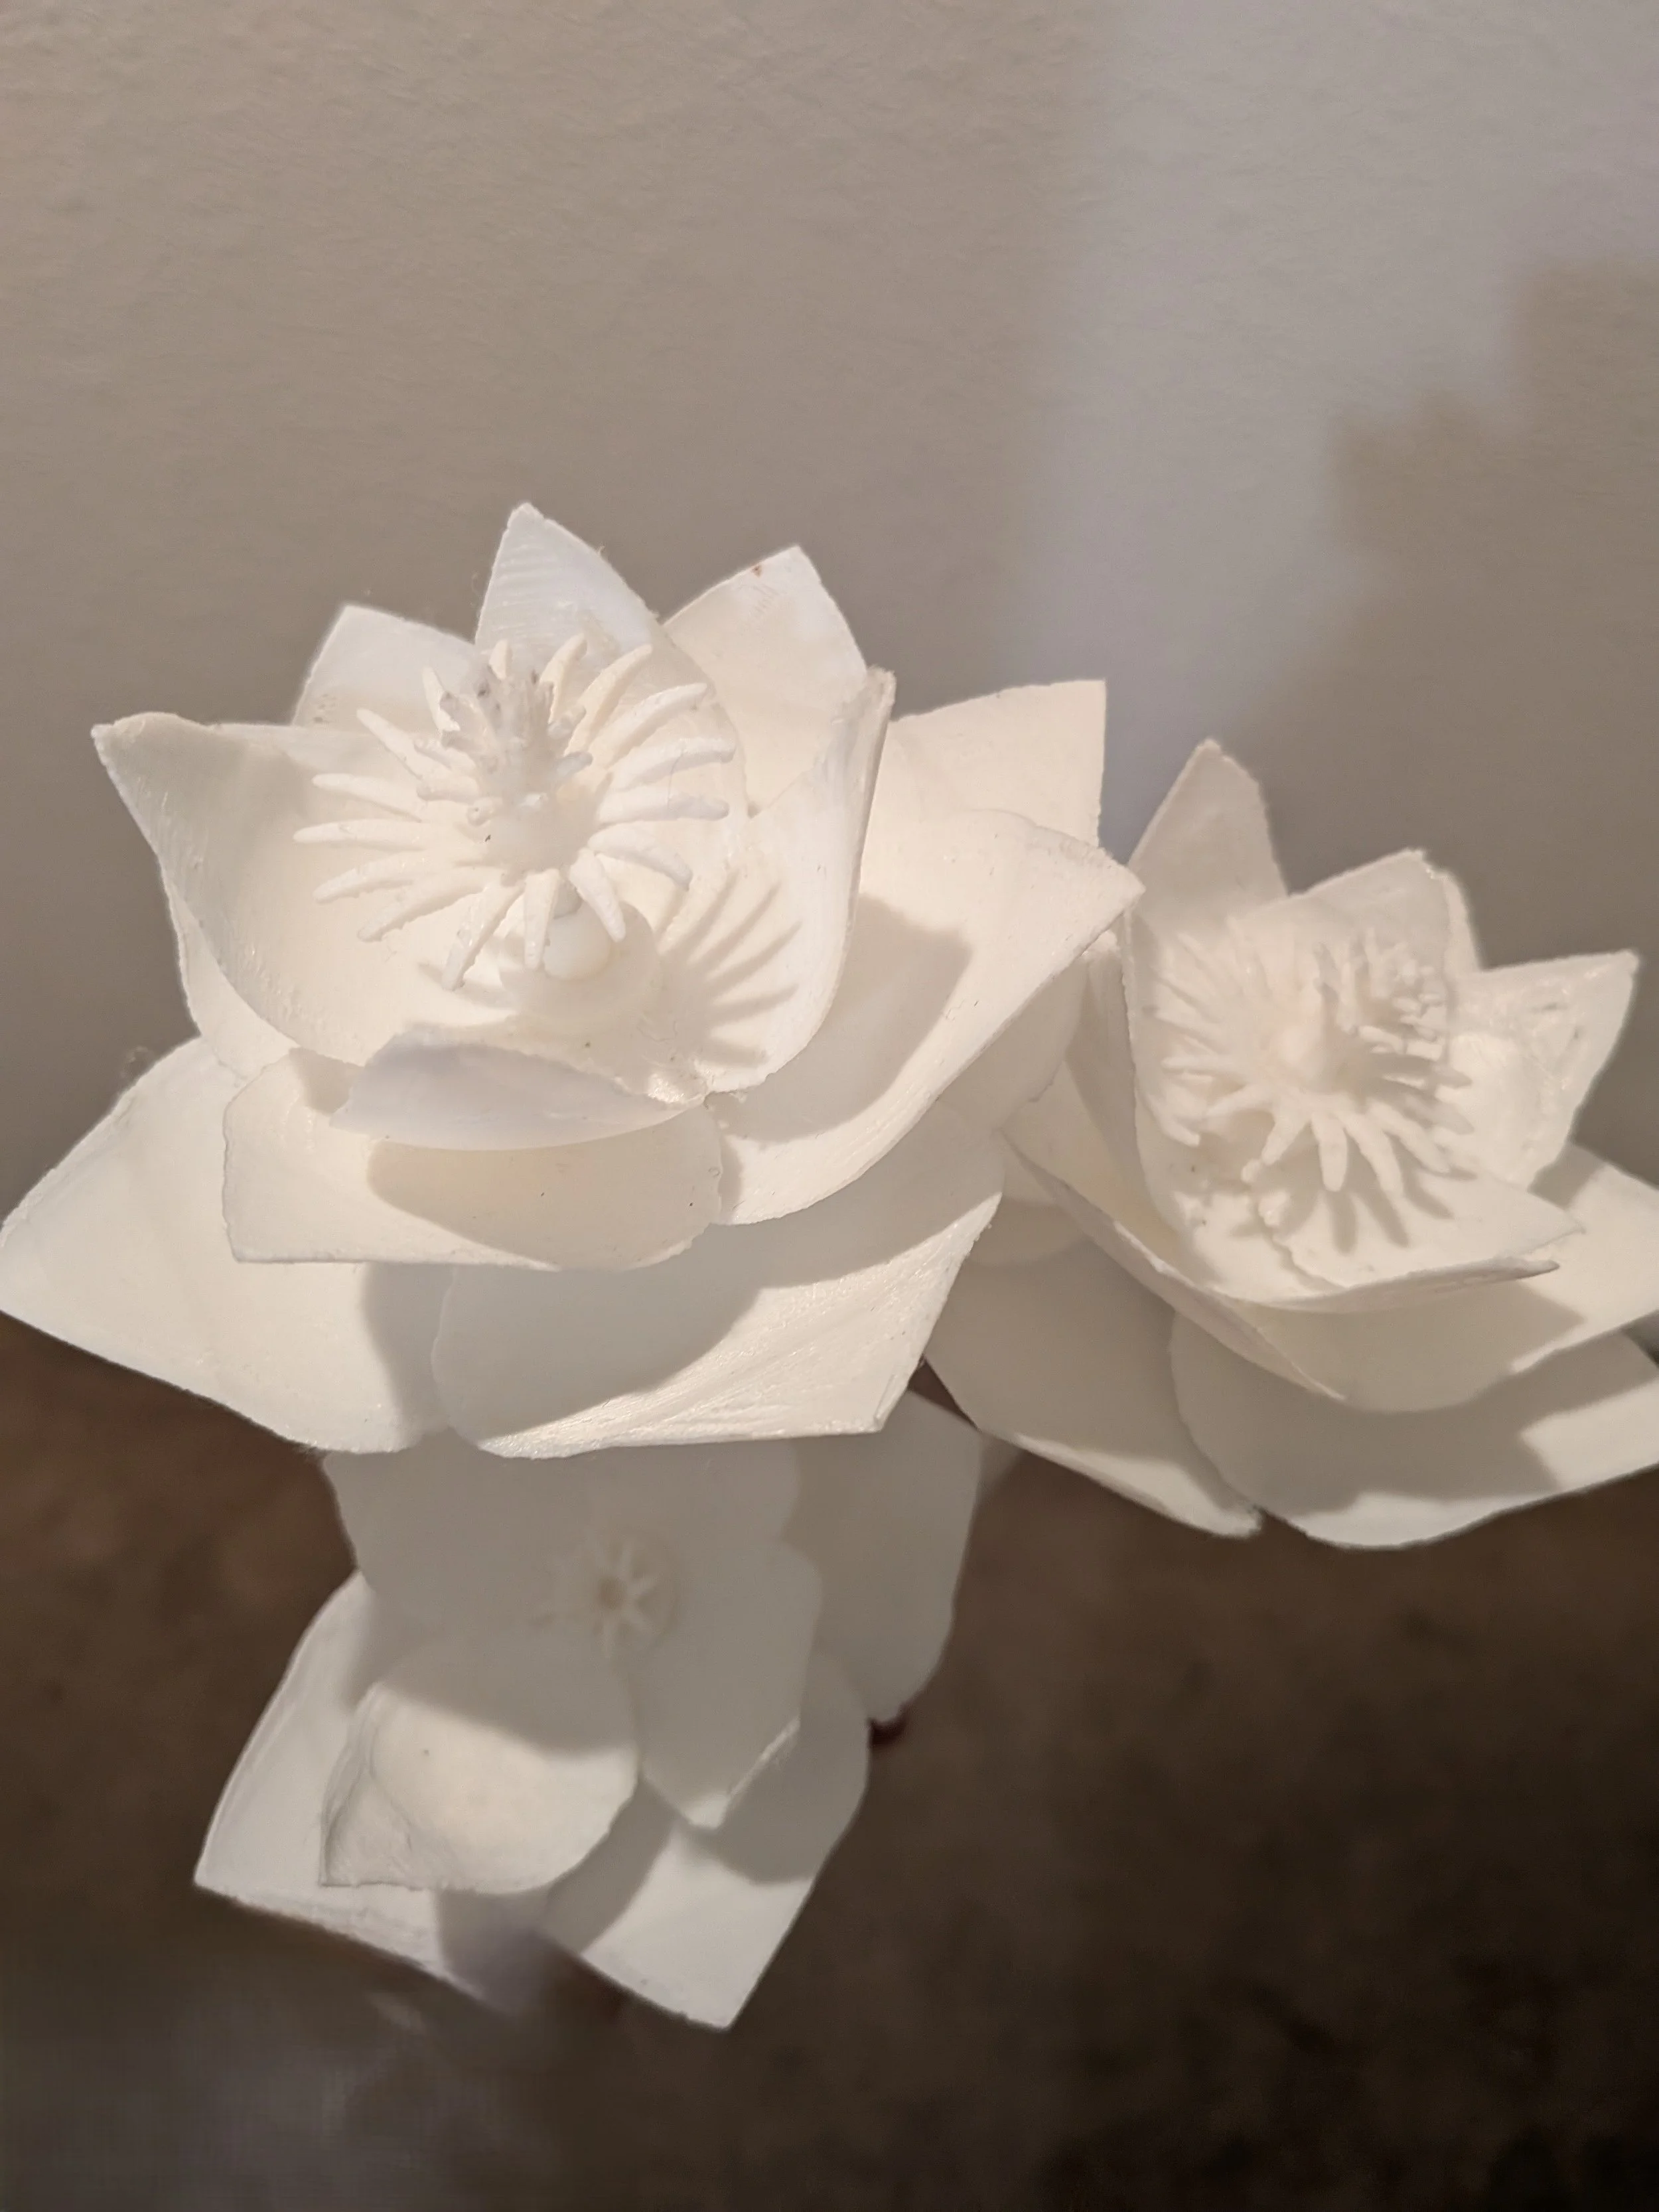
Three assertive magnolias in need of paint.
New Plan!
I made a new draft, one that my printer could handle more easily. I broke the crown down into more manageable pieces, enlarging them so that they could have actual spiky bits. I used the same technique to make the leaves, designing them from scratch since the original was exceedingly resistant to enlargement.
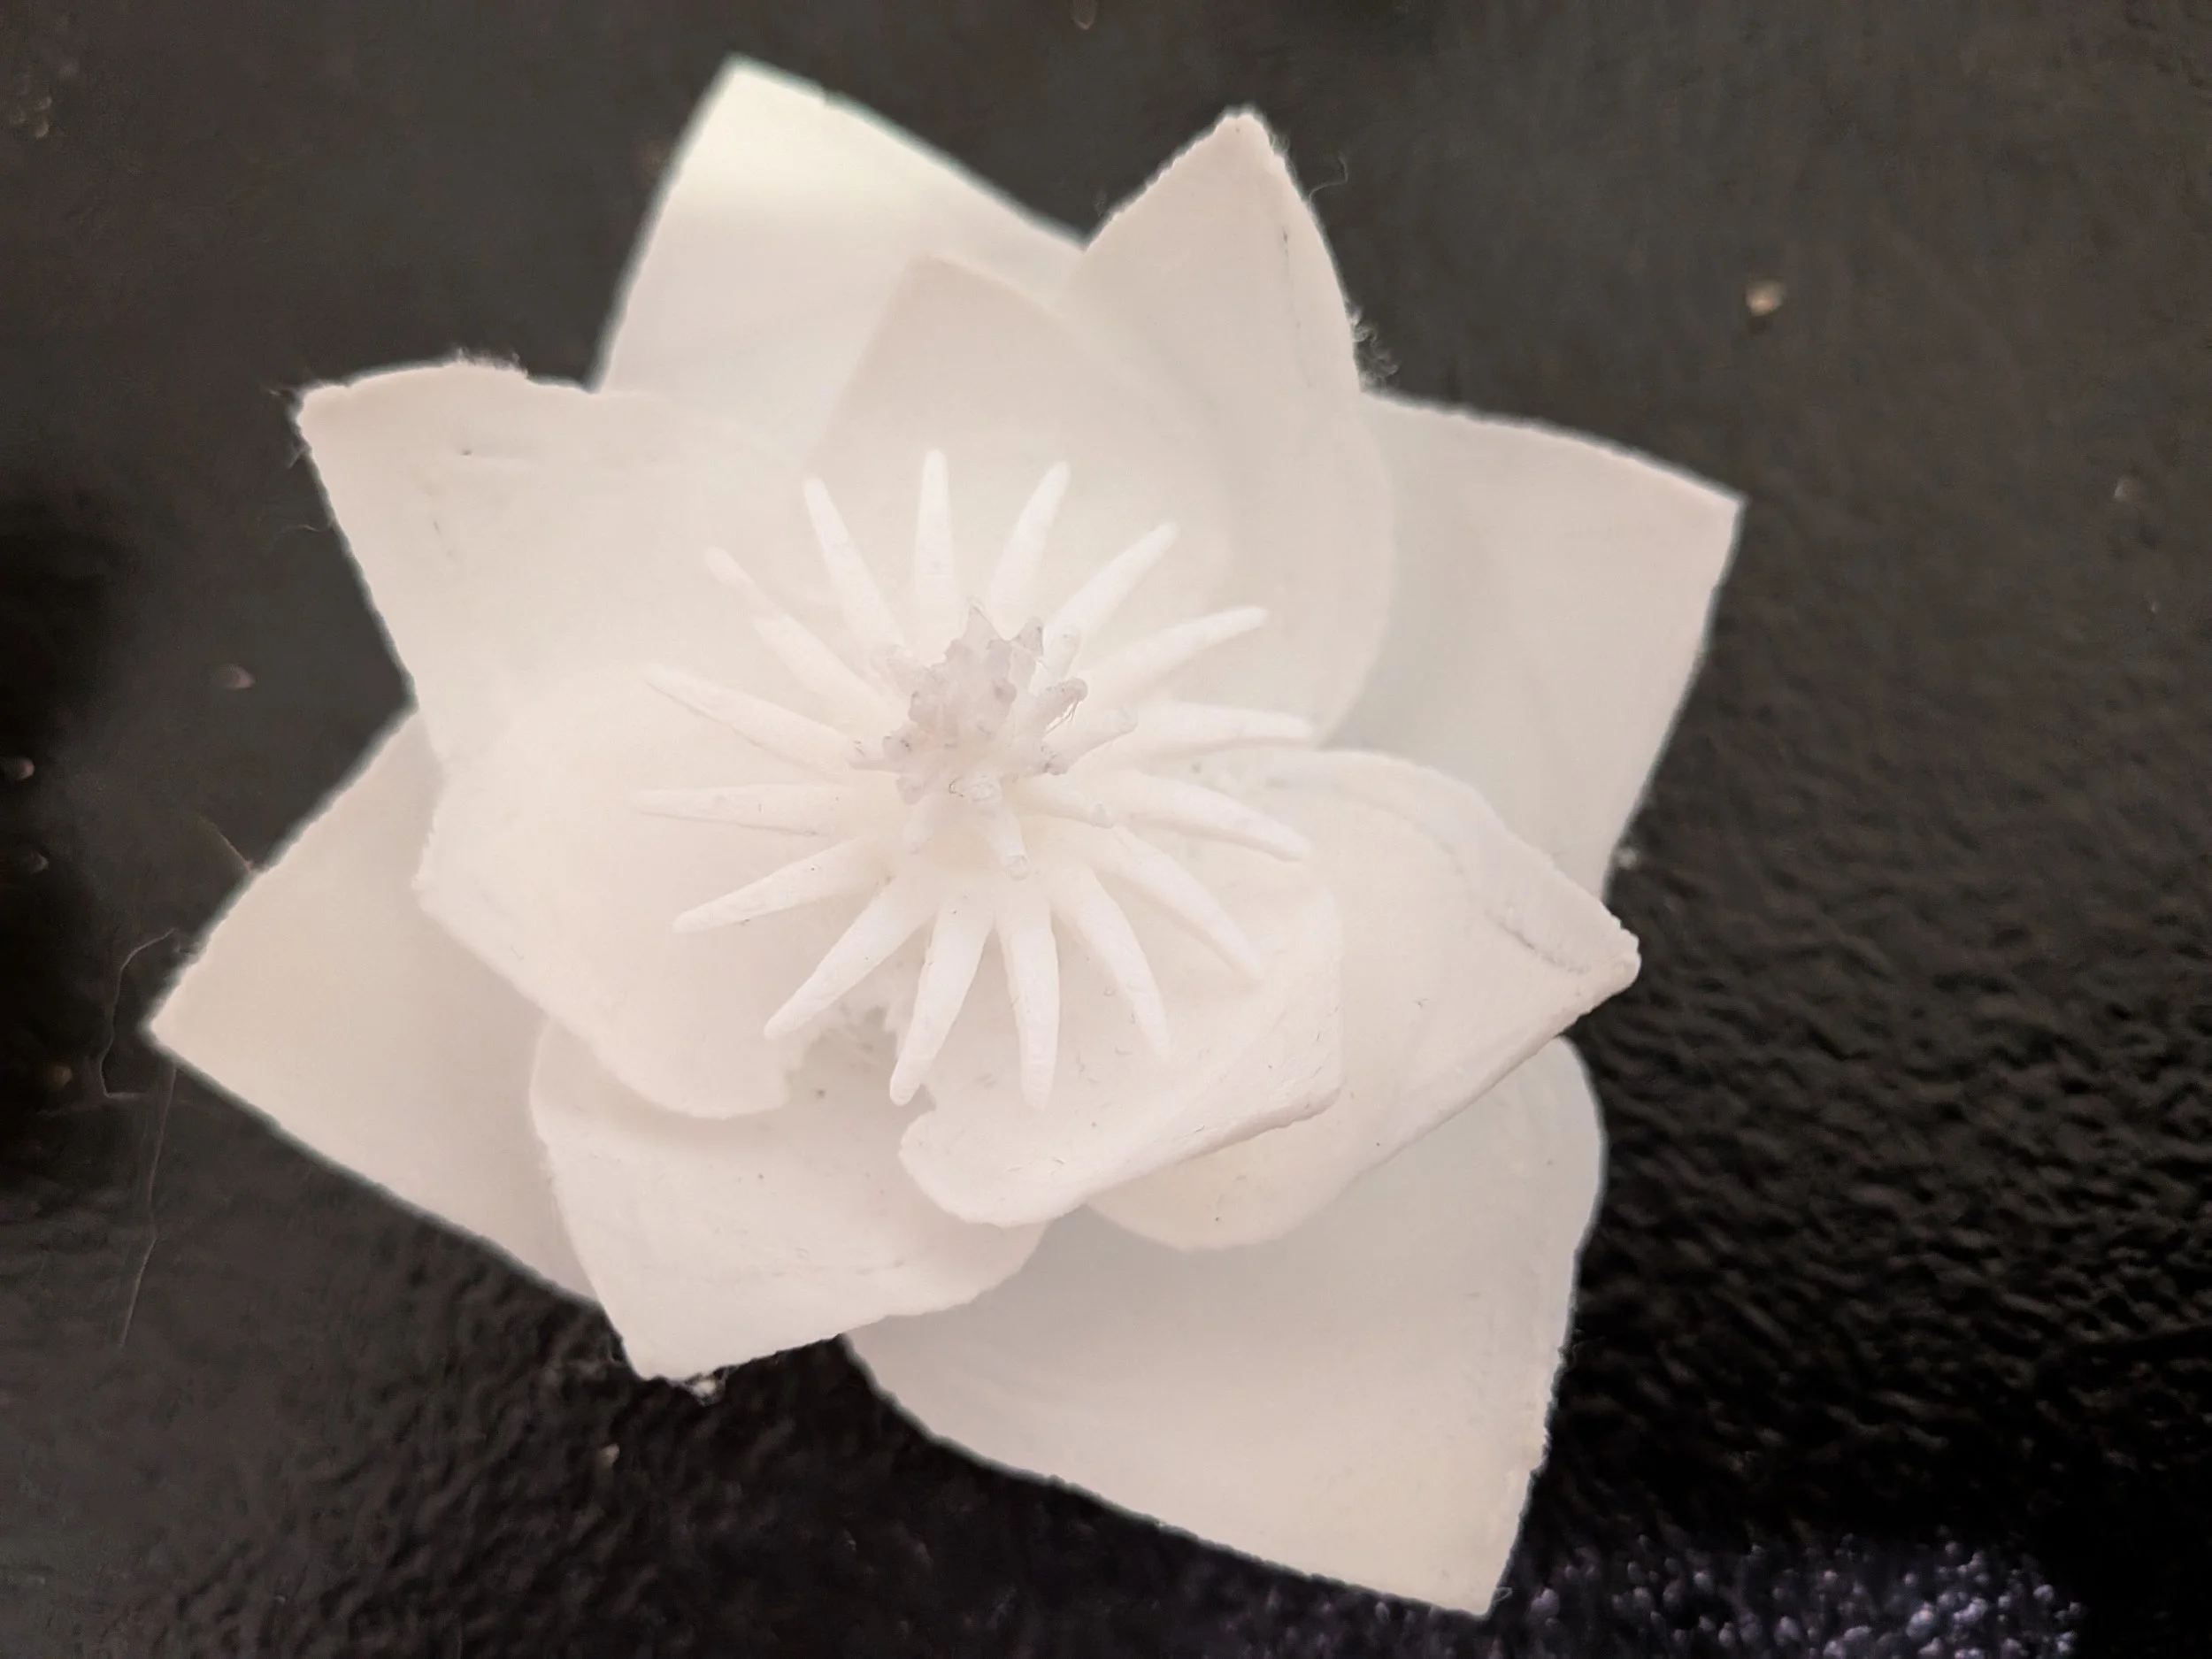
I also planned to stack the tepals, staircase style, around each ring. I made each of the flowers slightly different. Two had three rings of tepals, while the smallest flower had only two rings. I even colored them differently, so that I could tell them apart while building. One was pink, one teal, and one yellow, to match the wedding.
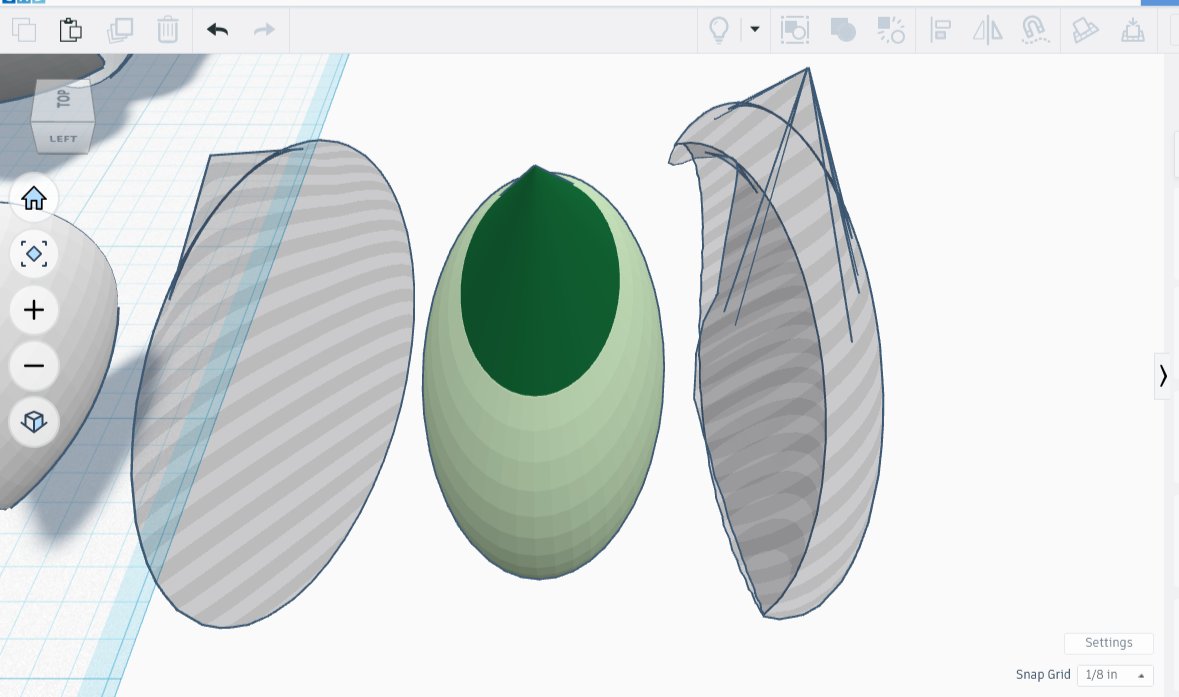

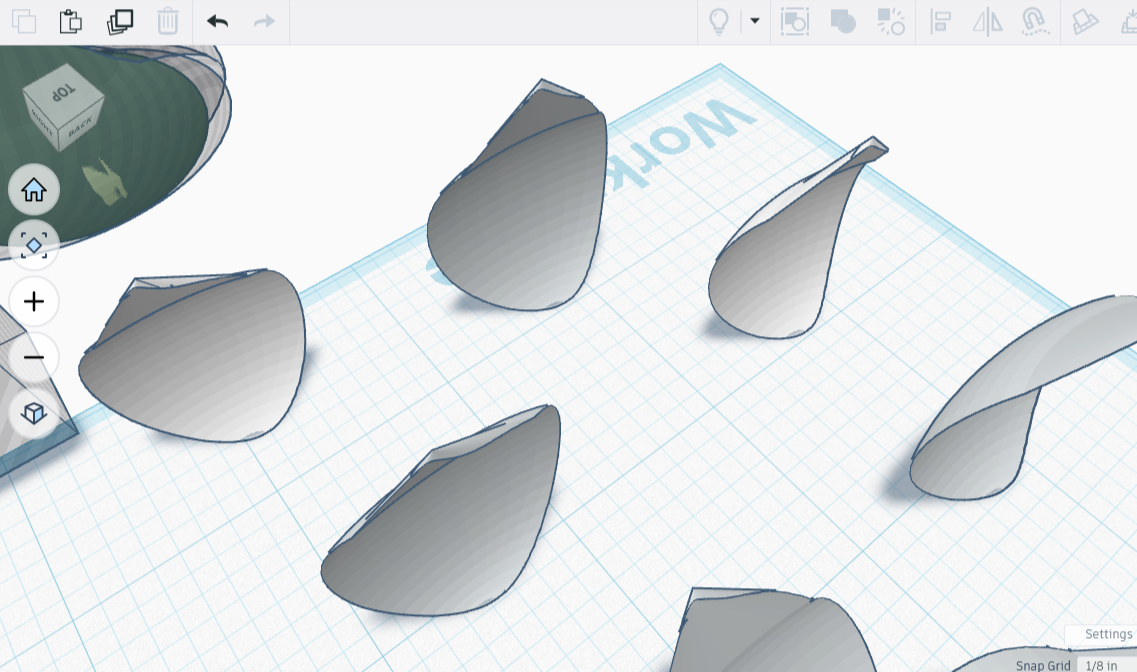
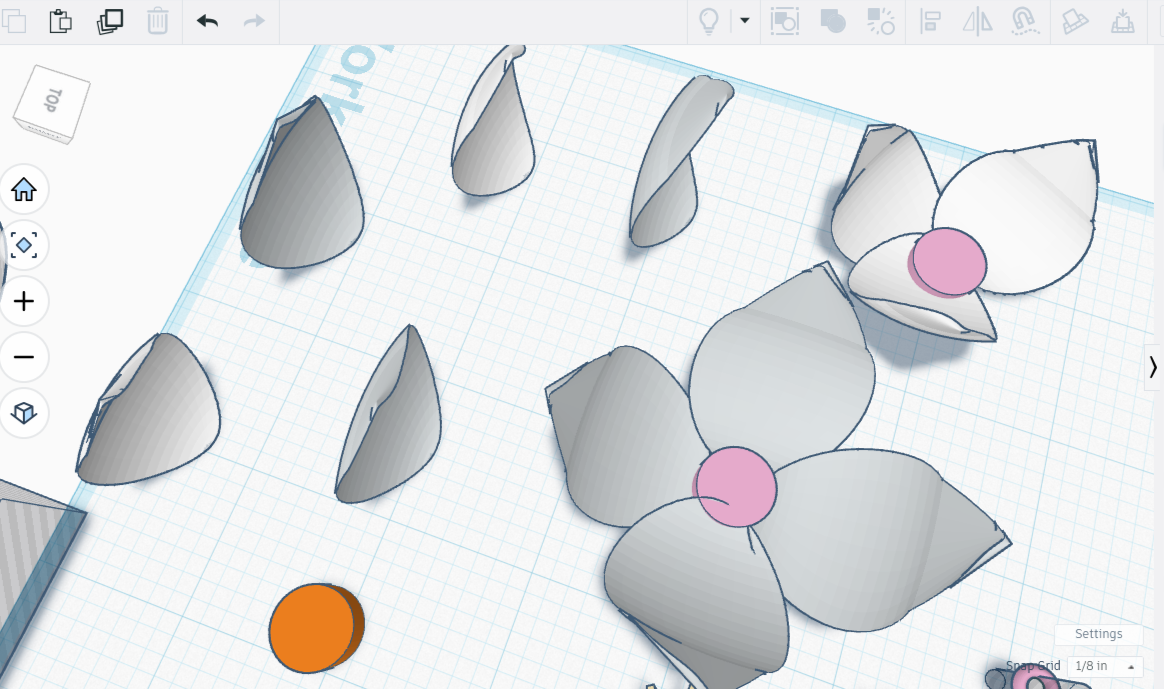
To create the tepals, I conjured up a sphere, topped it with a cone, and stretched it wide. I then created a shadow clone and used it to hollow out one side, then made another shadow to remove enough of the other side that I ended up with a clumsy cupped petal. After that, I made a few copies and stretched each one slightly so that they were all different. Lastly, I attached them to the center of the flower.
After the tepals were all finished, I planned to stack the sets on top of each other, then run a pole-shaped eraser through their centers, creating space to insert the stem.
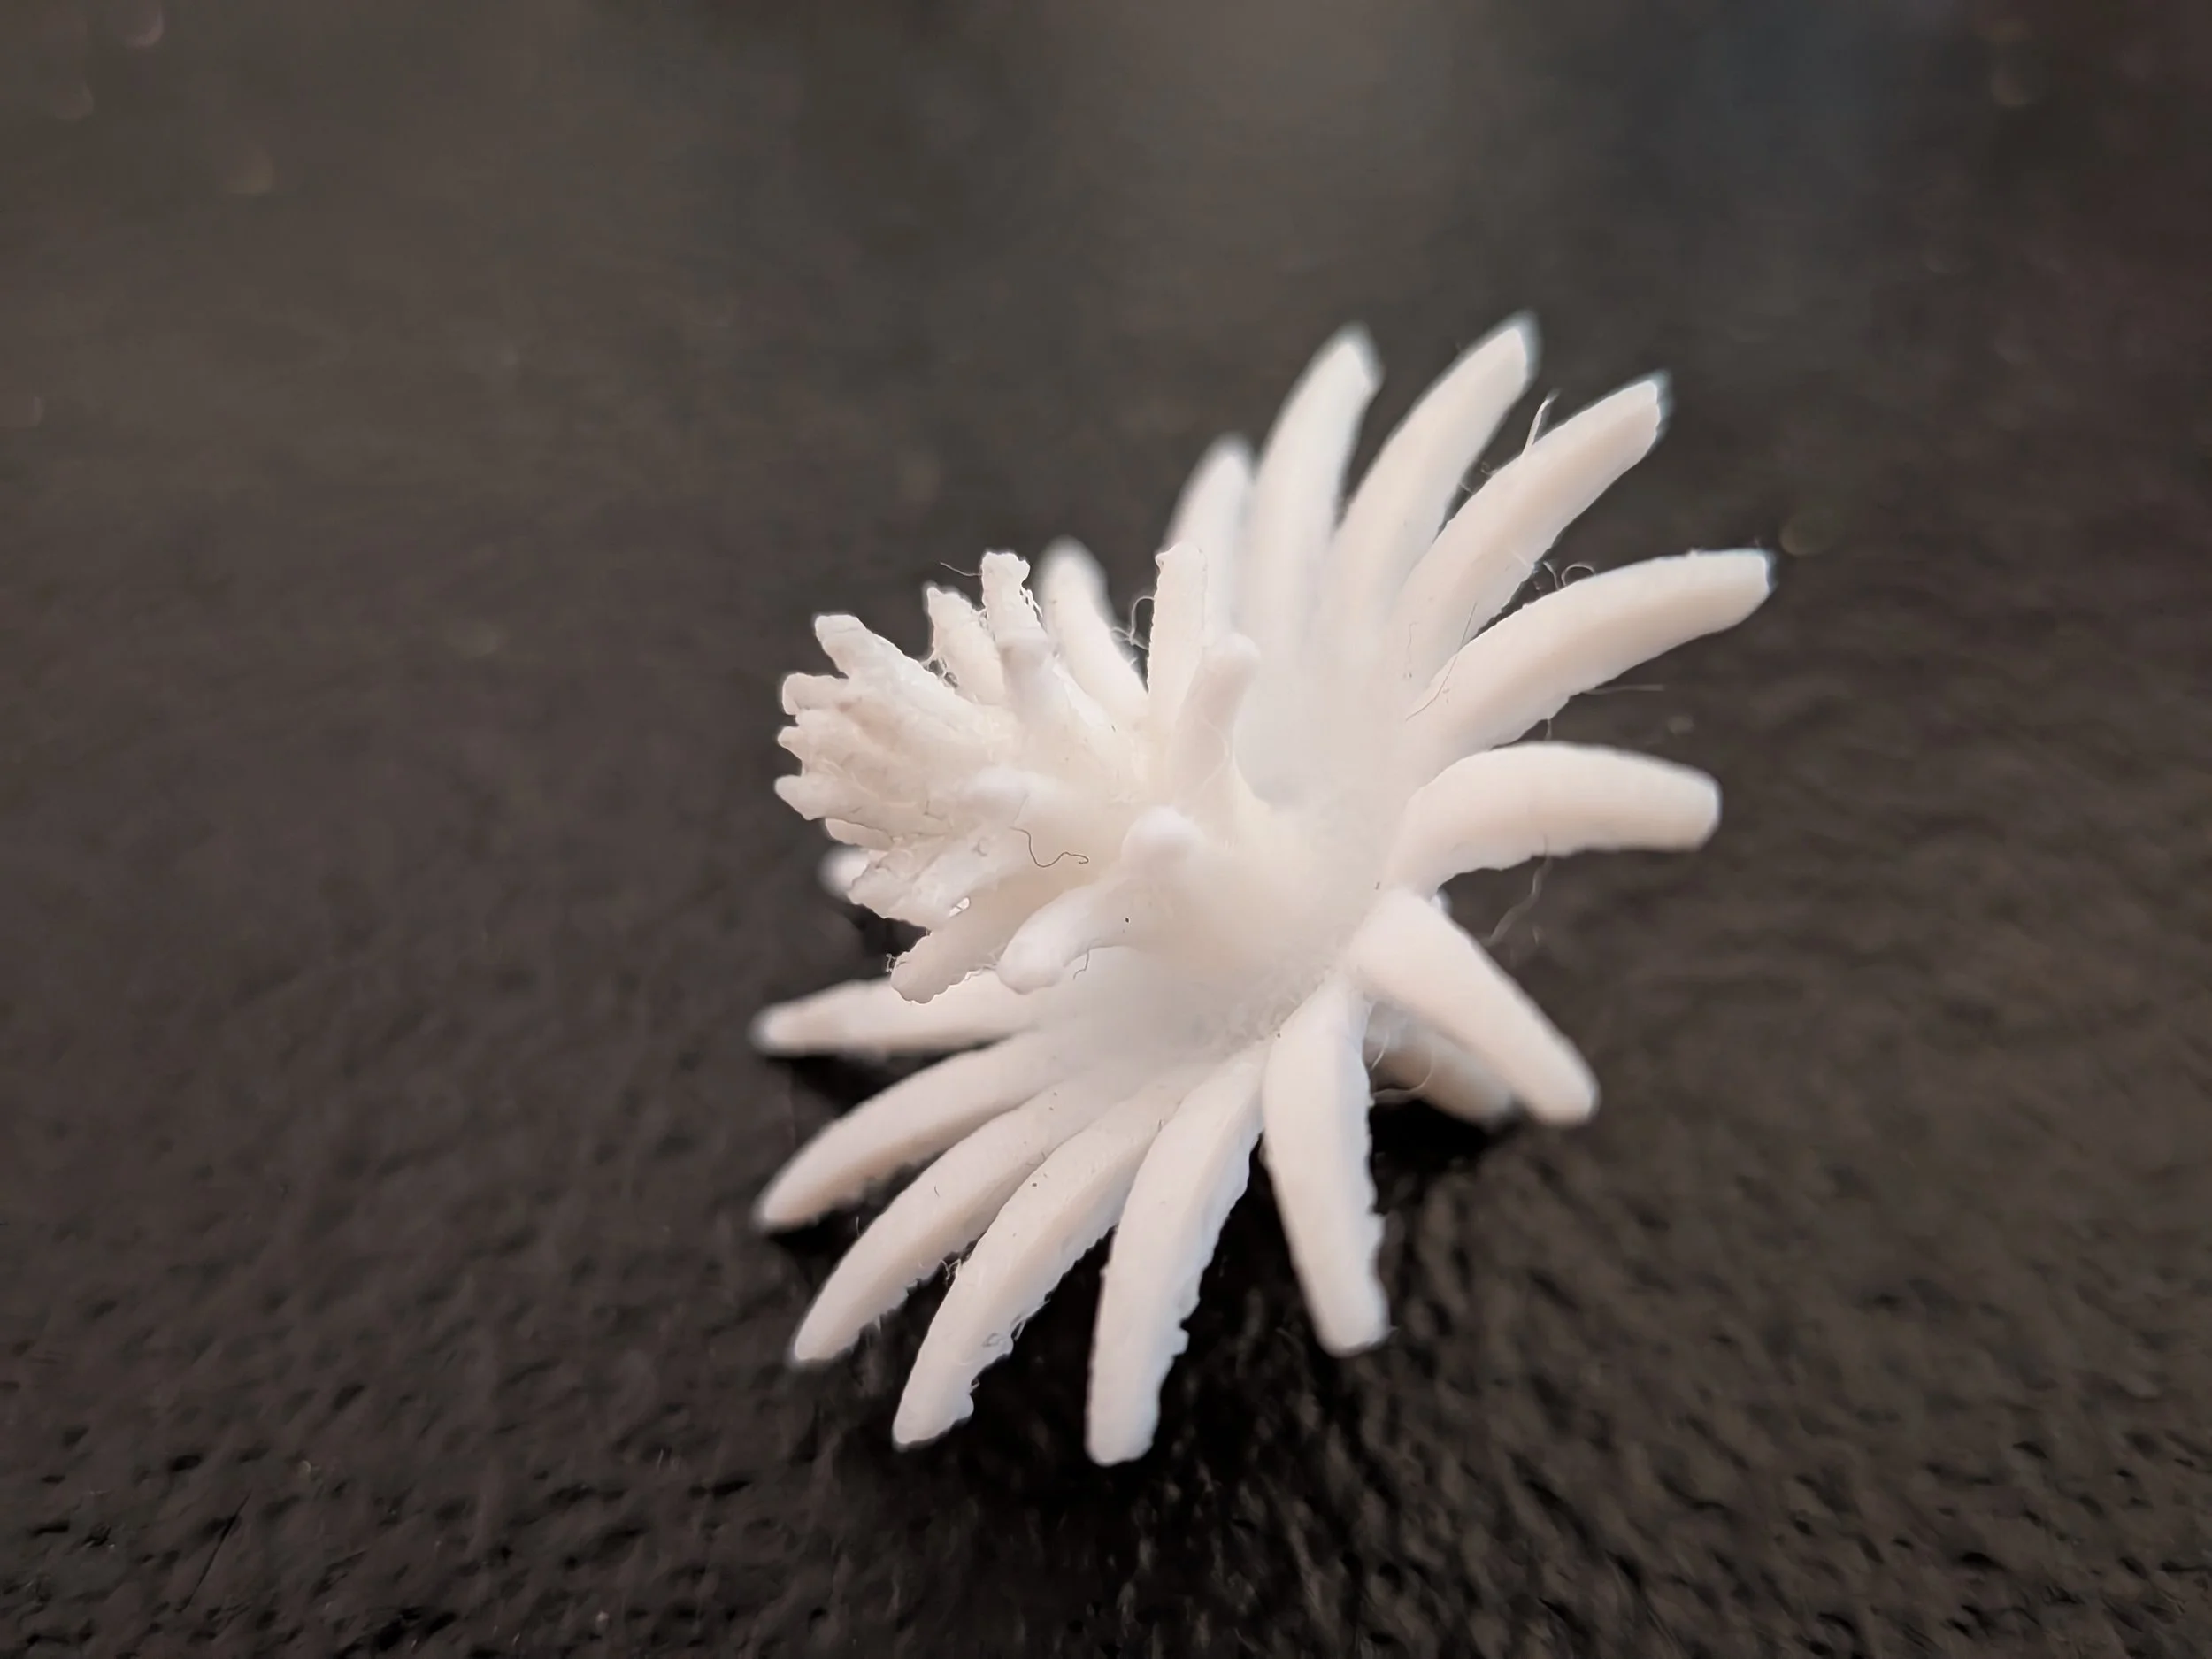
The centers of these kinds of flowers can look wildly different, but my favorite one had a centerpiece with such tightly clustered bits that it looked like an especially busy pinecone topping a crown. So lovely!
I started by creating an arc shape for one of the points of the crown, then mirrored the arc. Voila, a pair of arcs facing one another, perfect! I then copied it, rotated my set, copied the new set, rotated again, repeating the process until I formed a ring of arcs. I made successively smaller rings and combined them on top of one another. It was a complete print failure, as mentioned above.
I decided that the problem wasn’t the crown, as my printer can normally handle that kind of detail . It was just overly complex. At least, this was the theory. Time to test the theory!


I made another crown, exactly like the first, only this time I decided to add the pieces to a ring shape, with a plan to make the next three pieces nestable, then print them separately instead of as one solid piece.
After creating the ringed crown I went on to make two more crowns, each smaller than the other, then a very small crown with a spike in the center. With some glue and luck, they would stack together, forming something like that beautiful pinecone in a crown.
It’s ixnay on the eaveslay. The flowers are going to be in a bouquet of other largely leafless flowers, so they will fit better without them. Having less parts that could break off is a plus. The rest being done, it was time for print.
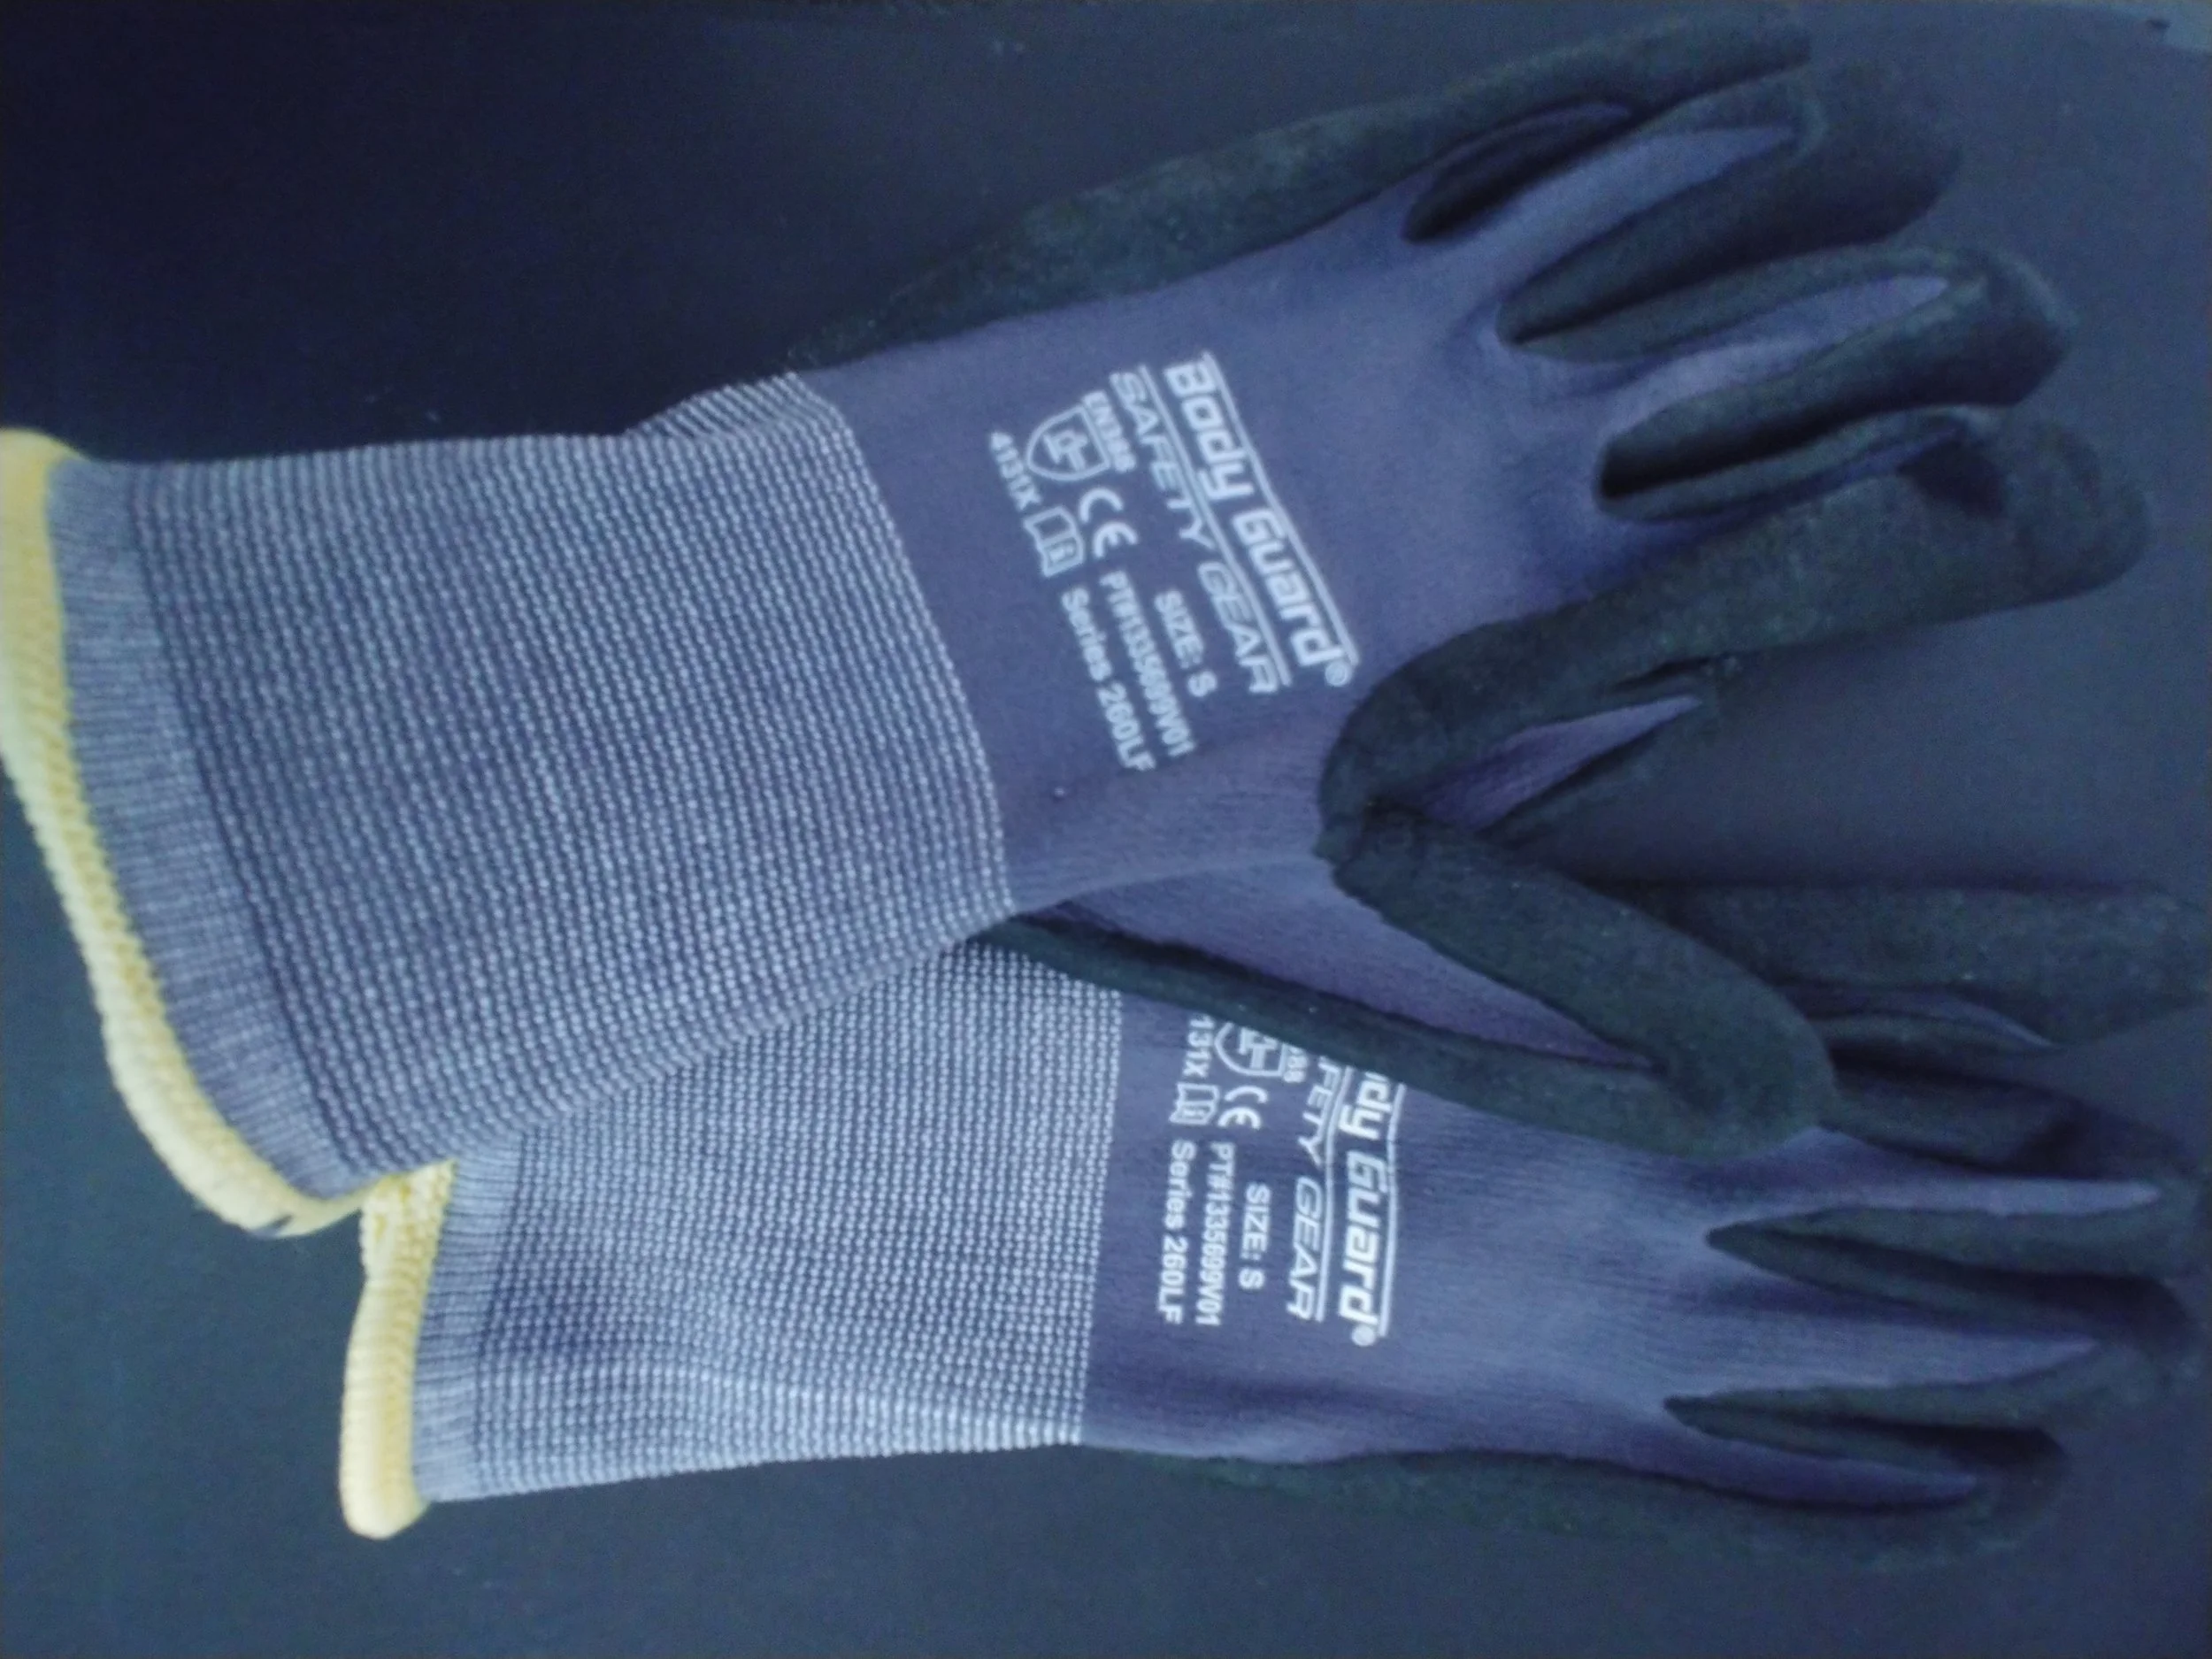
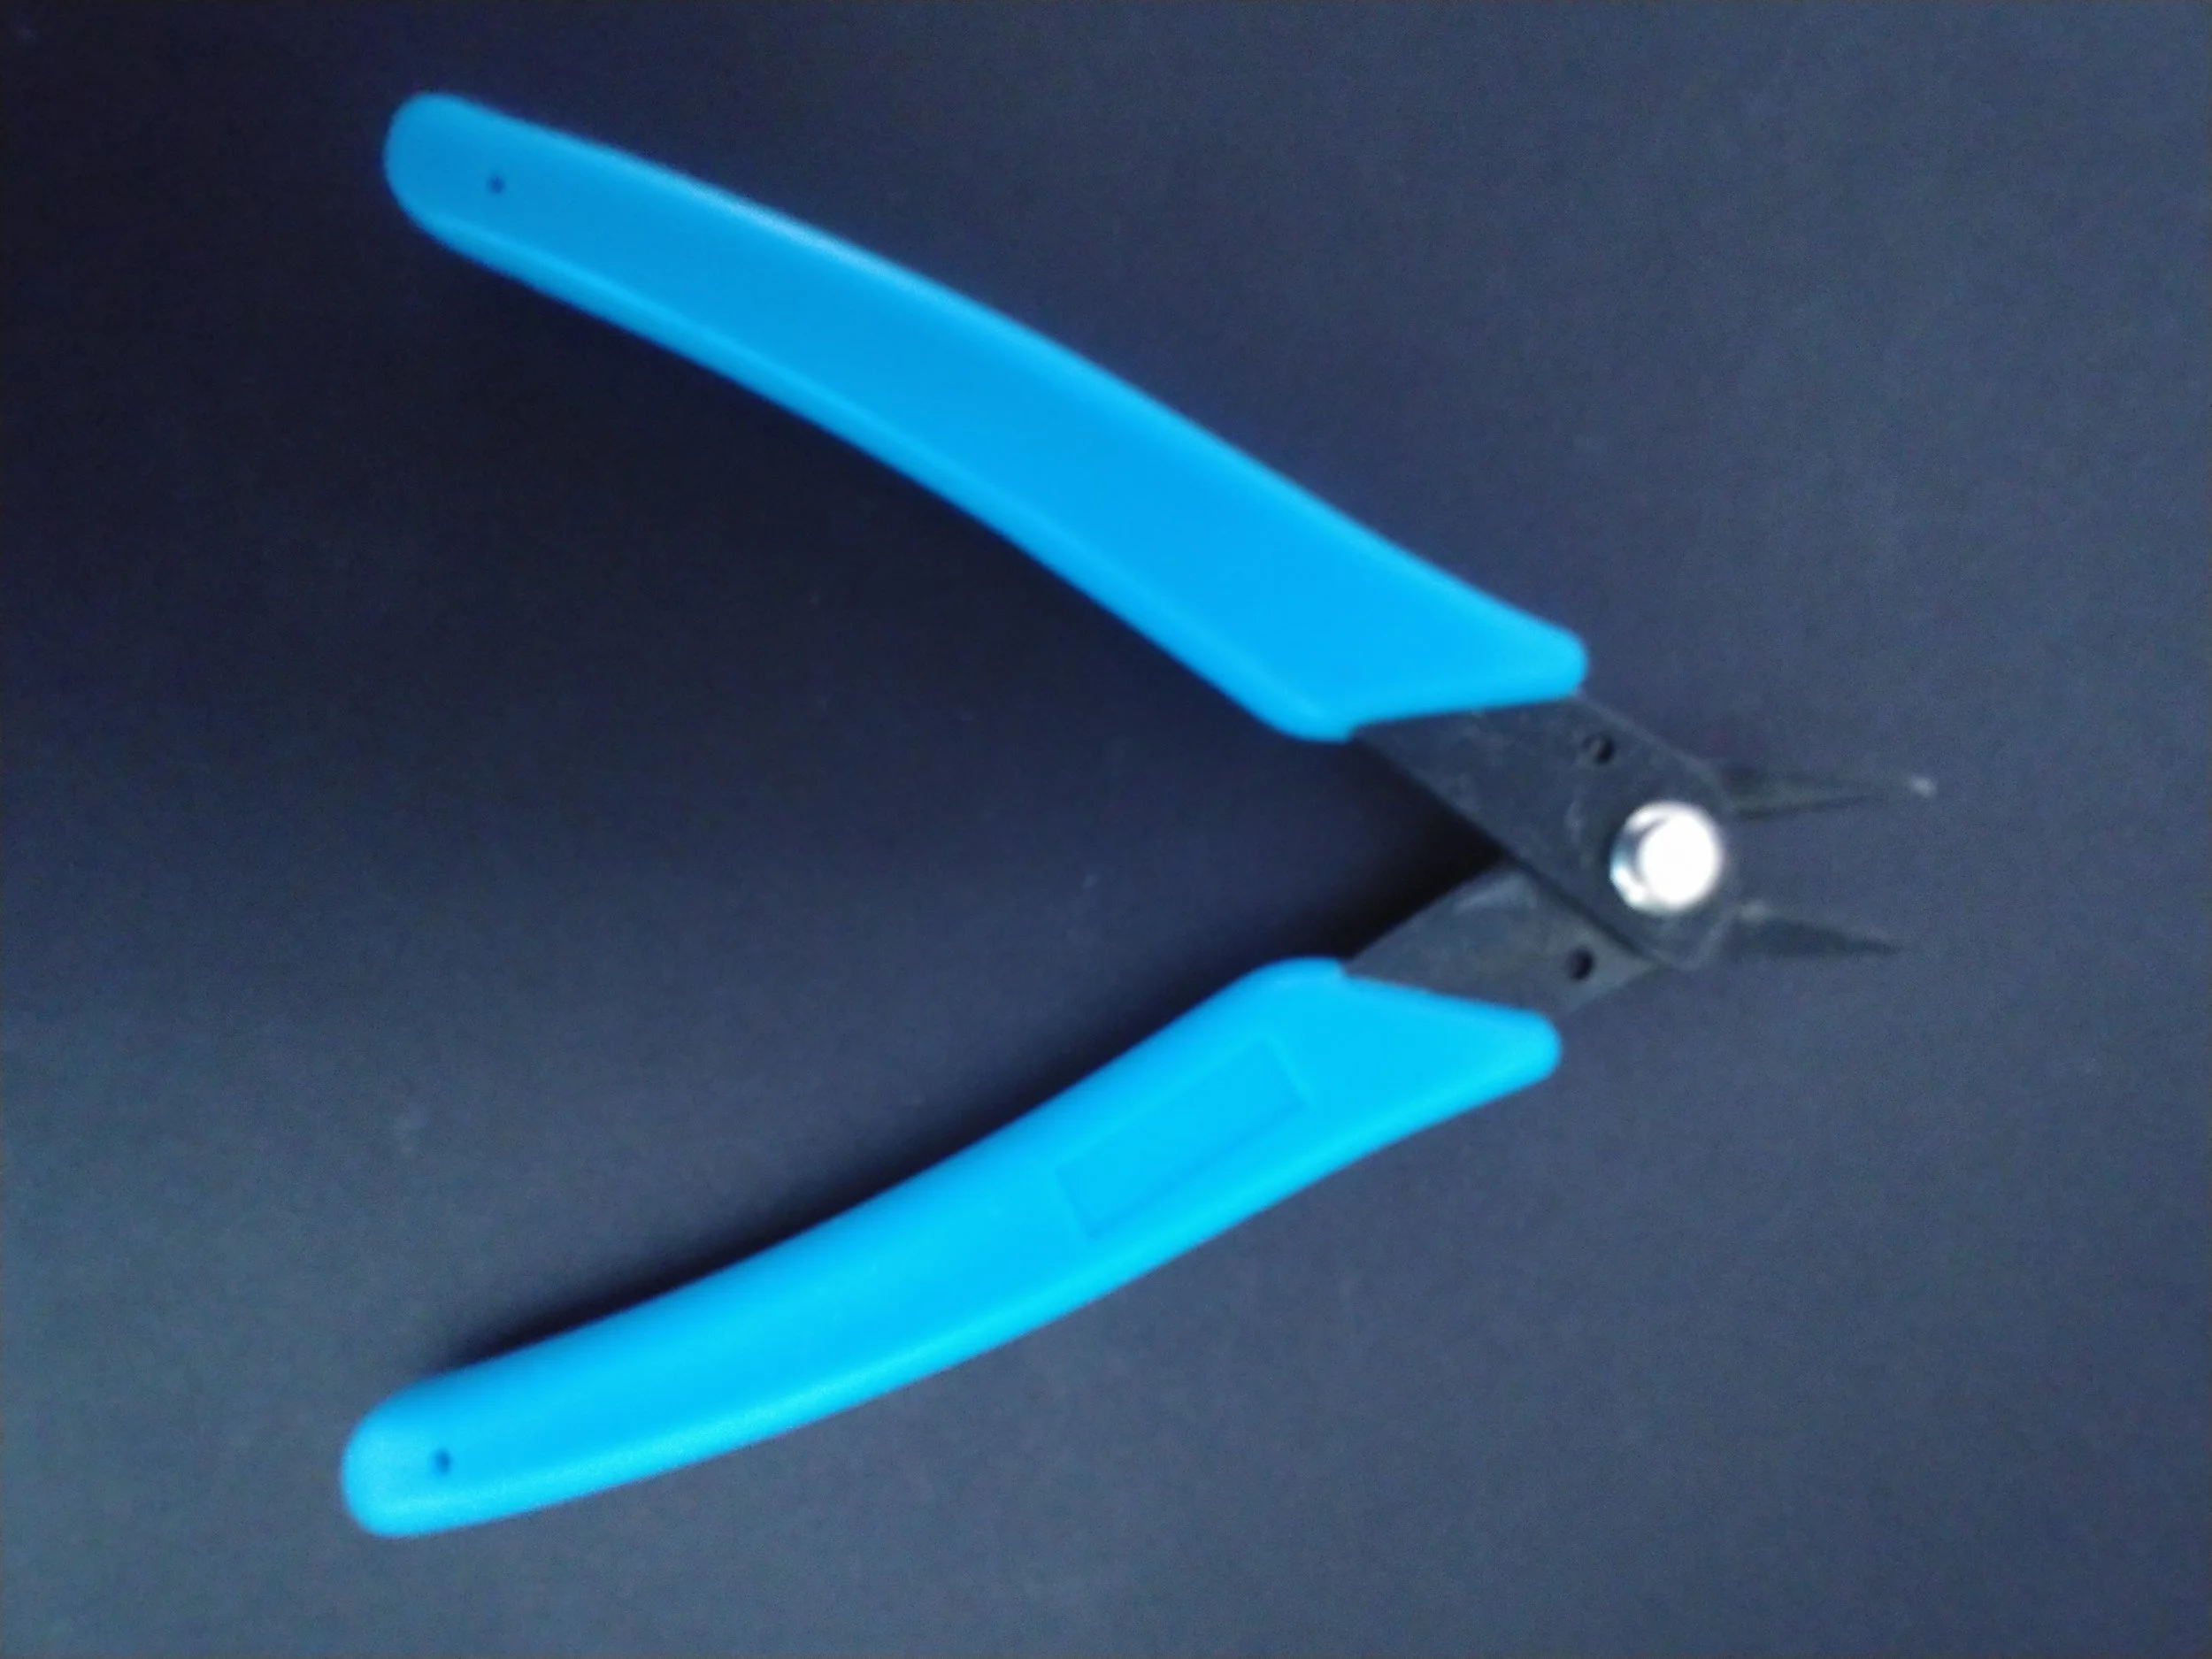

The pieces came out nicely. I thought I would write another article on finishing techniques, but beyond a little sanding and some fluff removal, the pieces were outstanding and hardly needed any work. I put on some gloves, clipped off supports and fluff, realized I had no need for my chisels, lightly sanded the edges, and glued it all together.
The Painting
They got a good dose of primer, were left to dry for a day, got another dose and another day to dry, followed by two more days of careful painting (and drying). After that, the flowers got a hefty dose of clear coating, and they were ready to go.
The entire process, while painful sometimes, was a wonderful learning experience. This is one of the more complex pieces I’ve created, and I was very happy with the outcome. Though maybe not as happy as the bride. :)
A Bridal Bouquet with 3D Printed Magnolia Accents