Reworking A Piece of a Finished Design
Bar Soap Storage, Original Design
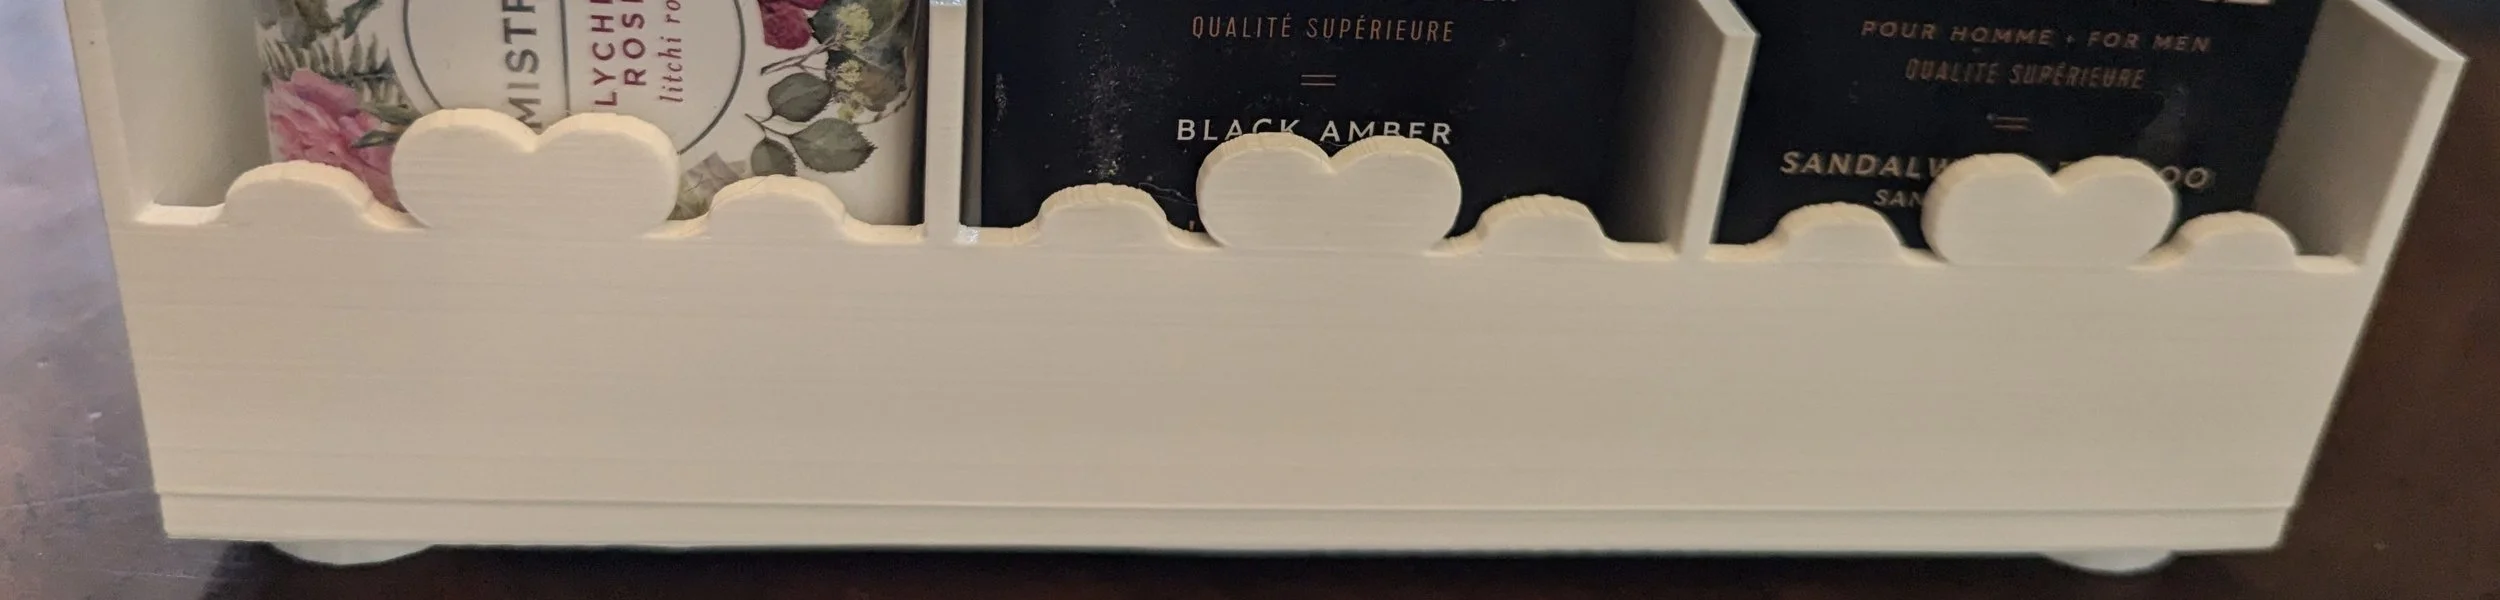
This stackable piece is great, though those edges could use some work.
I designed a storage solution to hold extra bar soap. The decorative container has feet that not only keep it off the surface, but can also fit into other storage containers I made, creating stackable under-the-counter space. It’s absolutely wonderful, so nice that I am ready to share it with the world. Except for one thing - the panels have sharp ends on the front. I should do something about that before sharing.
I can fix those ends in Tinkercad if I create a rounding tool, but the heart design still has imperfections that are more glaring every time I look at it, and those also need addressed.
It’s not as easy as taking a single piece off, changing it, then putting it back together. Oh no. When pieces are unjoined then rejoined without care and planning, it is entirely possible to ruin the model, even without making any adjustments to it.
I’m going to carefully deconstruct the soap bar holder in Tinkercad, realign the pieces that make up the heart motif, then reassemble it and round the edges, preserving the size and shape, filling and smoothing imperfections, and keeping the feet in place and stackable.
The first step involves taking the model apart while preserving critical components, which means I need to identify what those critical components are. In this case the dimensions are non-negotiable — my printer can’t handle anything larger than this container, yet if it’s smaller even by an eighth of an inch the container won’t be able to hold my favorite soaps. The feet are perfectly sized and positioned to fit into the spaces on top of their companion box, and it’s vital that I keep them that way. The hearts are part of the decor, so they are staying too. I will however rework them a bit, as there are crease lines present.
Preserving Critical Components
No changes to the container dimensions.
Keep the heart motif.
No changes to the feet.
Now that I have an idea of what things I can change and what should remain untouched, I’m ready to take the model apart. I separated the feet from the rest, grouped them, then moved them out of the way to preserve them. My software still displayed the model on its side because last time I had this open I left it print-ready. I turned the model ninety degrees, so the base was flush with the workplane. It makes calculations simpler and it’s easier for me to visualize when it’s right side up. This box is made of three identical boxes merged together - I broke the container into three identical boxes, then threw two of them out, leaving only a single box to work with.
It’s time to do some things.


Repairing the Decorative Front
I’m going to start with the decorative front piece. Visible seams on the model generally mean that something isn’t aligned properly, and I could see quite a few of them. In order to isolate this part so that I can work on it I’m going to do a single ungrouping, then move the box away from the shape. With that done, it’s time to do a little troubleshooting.
I ungrouped the newly revealed shape once, twice, then a third time, which was a disaster. Luckily there was an undo button, which I used. Back to the second ungrouping: it revealed a long wavy shape that ran across the front of the box, the waves topping a pair of round disks flanking a giant red heart. I had originally created the wave shape by linking a series of arcs end to end - with the ungrouping, the separate arcs were visible, as were the rest of the parts that the shape had been made up of.
The problem with this shape is that some parts of it protrude very slightly, showing up as a crease or stray blue line in the software. A click on the problem areas showed that while most were .25 inches thick, some were off by a tenth of an inch. I adjusted them all to be the same thickness, then aligned them. Then unaligned them because the areas where the arcs joined still showed blue crease lines. They weren’t a perfect match, a flaw that had previously gone unnoticed. I lowered the arcs by the smallest increment, then tried aligning them again. Success, no more protrusions!
I grouped the shapes together again, then positioned them on the box front, only to discover two new problems. The first: the shape was a bit too long, by the barest fraction. It always had been, but I corrected for it before with a shadowbox. That same shadowbox wouldn’t line up again perfectly for anything, ugh. I finally dispensed with it altogether and shortened the shape length by the barest fraction.
The second problem existed with the original box, so it’s not exactly new. There are tiny holes on either side of the two circles where the arcs rise up from the box. While nearly imperceptible, they were annoying. If I lower the arc by any amount the wave gets lost to the flatness of the box top, so that isn’t an acceptable solution. I decided to try stretching the shape vertically by an eighth of an inch, making it a fraction taller, and the resulting piece fit snugly without leaving any gaps.
The heart design repaired and replaced, it was ready to be merged back with the box.


Creating a Rounding Tool
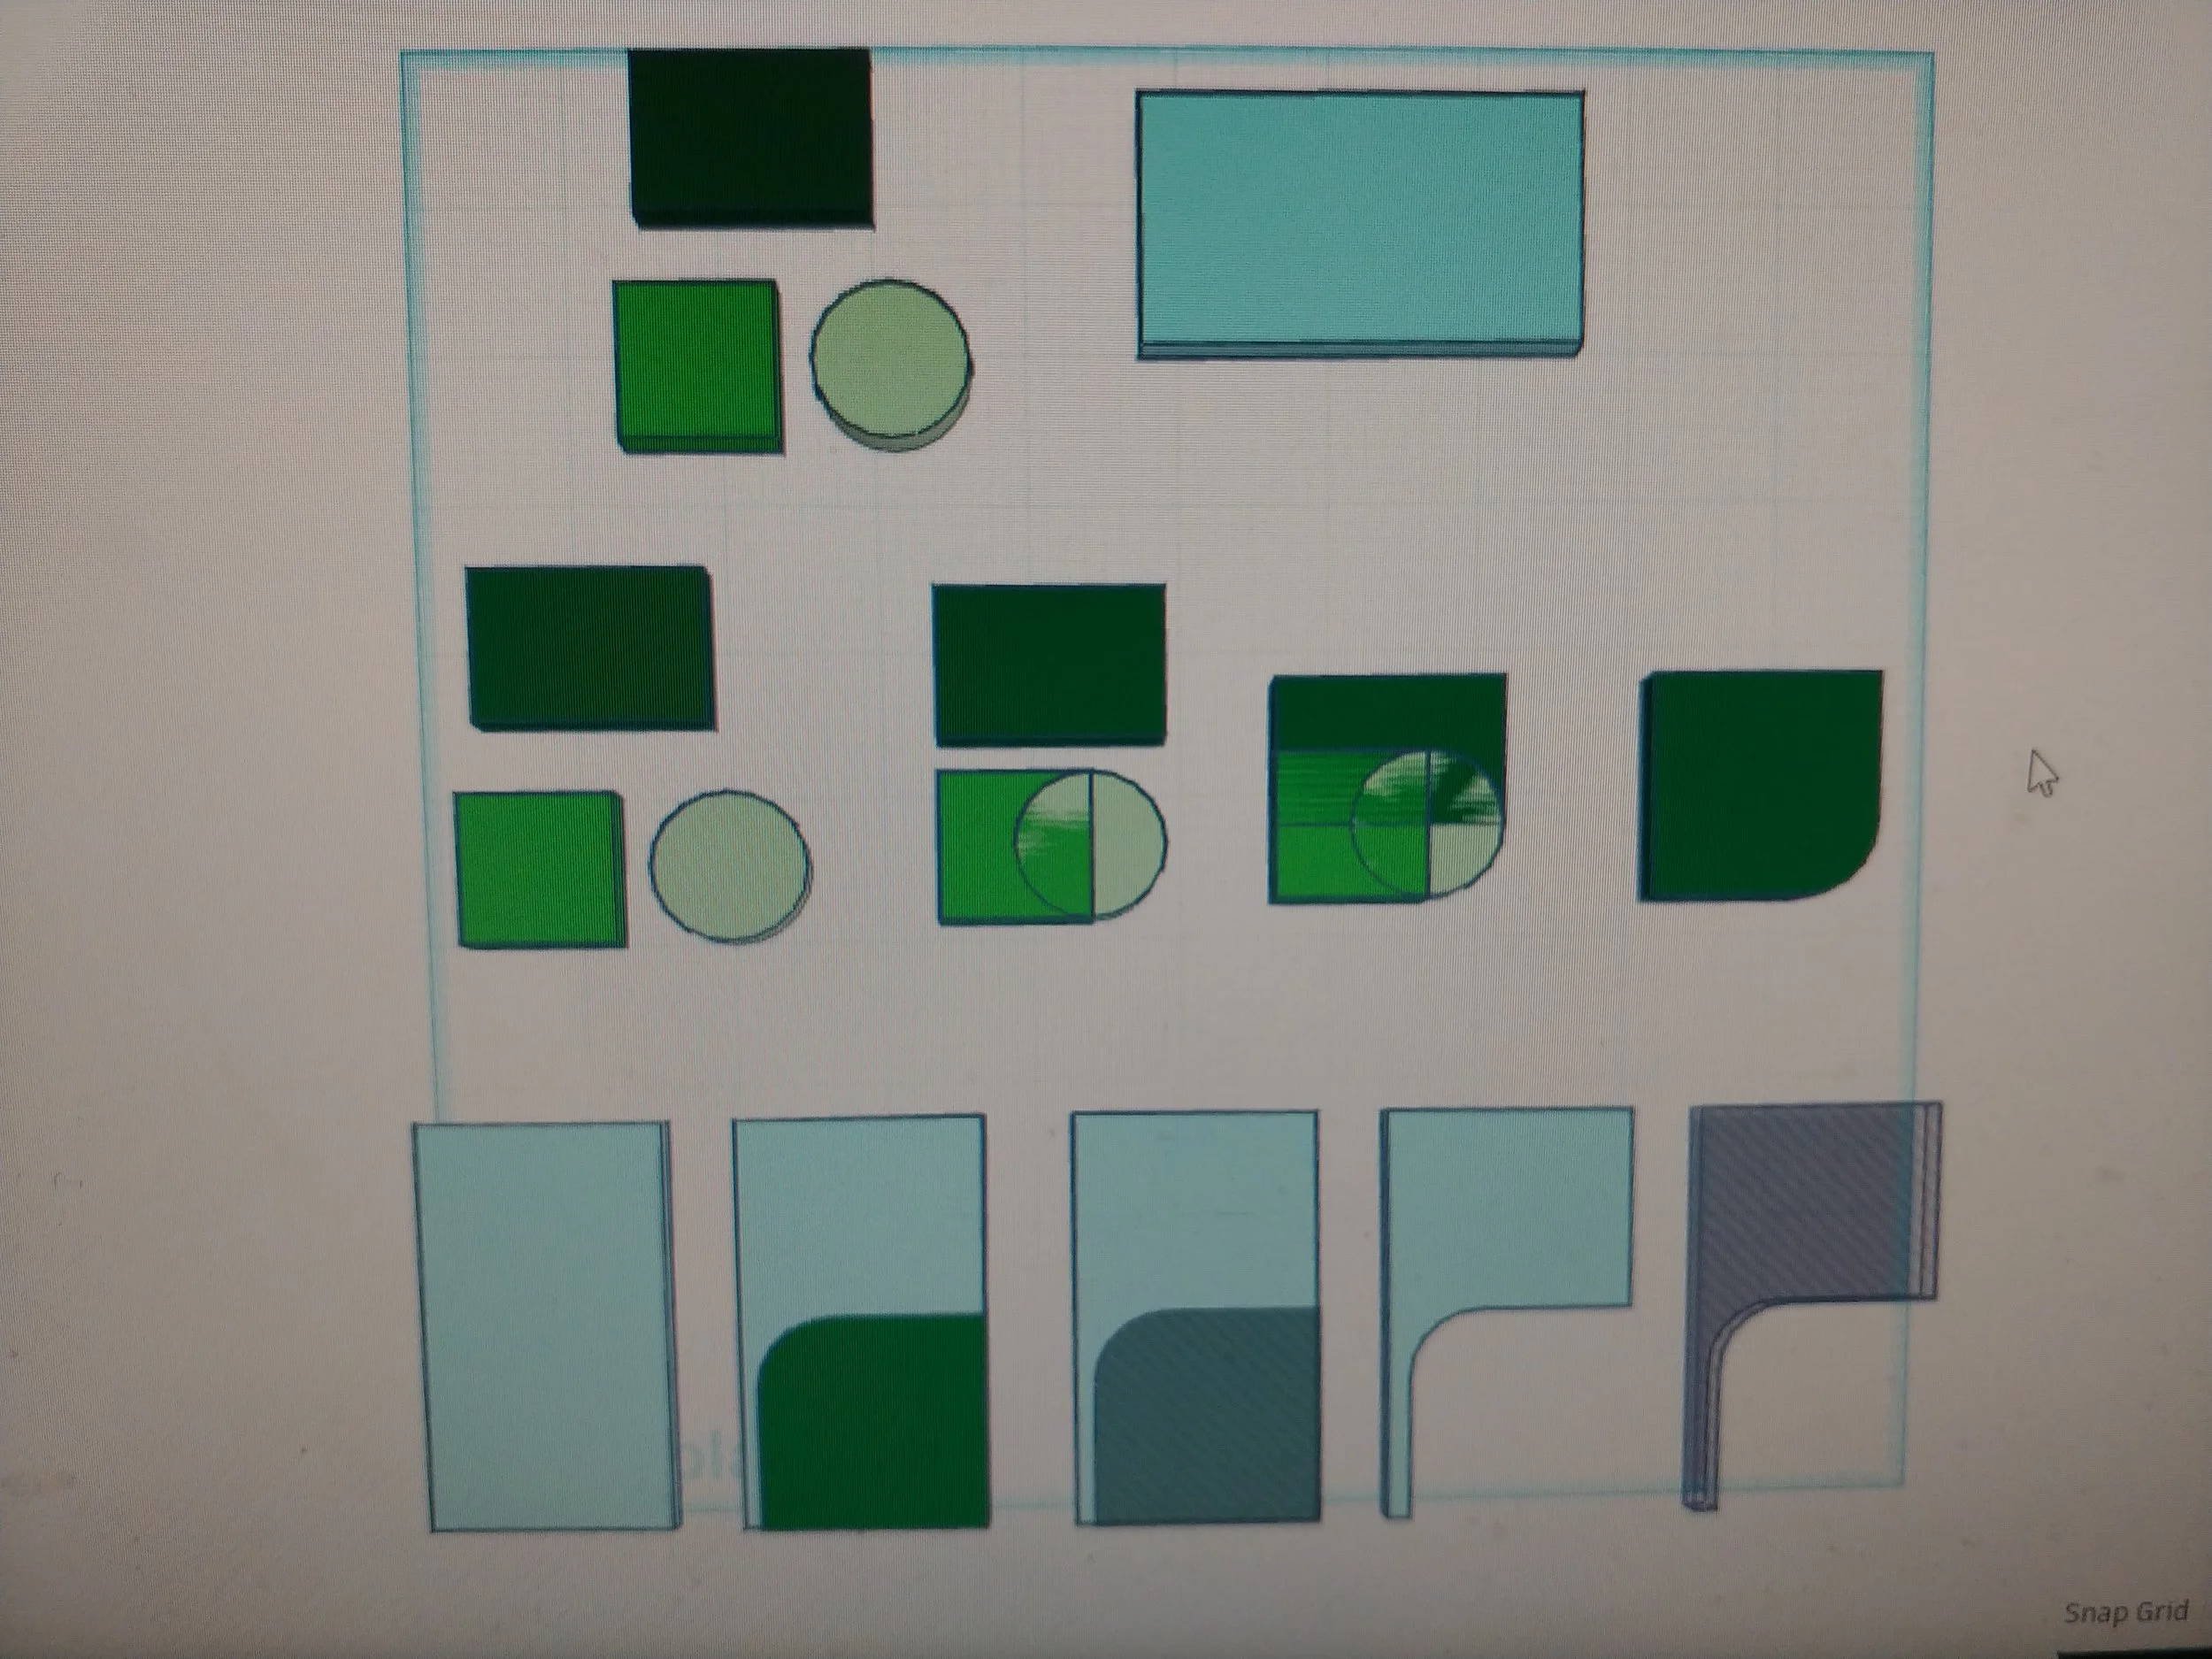
Now that the front is back on I’m ready to tackle what is hopefully the easy part: rounding the front facing corners. To do that I first need to make a curved eraser shape, then apply the eraser to the appropriate places.
I started by drafting a demarcation line - everything beyond that line needs to be removed. I tested a one inch circle to see how its arc looked as such a line, and I think it will look great.
I moved the circle to the workspace, then added the three rectangles that I needed to complete the erasing tool.
Moving the two smaller rectangles so that they covered three quarters of the circle left a square shape with one rounded corner. This is exactly how I envision the edges looking, so I merged them together.
The last rectangle is going to be the actual piece that I add to the edges. I aligned the corner of this rectangle with the square I created the step prior, turned the smaller square into a shadowbox, and merged the two together. Turning this new shape into a shadowbox left me with the perfect tool for making round corners.
I will probably use this tool again, so I added it to my library.


I applied the tool to the edges and it worked perfectly, almost like it was made for it! I then made two copies of the newly improved box, overlapped their sides, and merged them. I centered the ensemble on top of the feet that had been set aside, aligned the two pieces, then combined them into one. It looks like the rework was successful, though it will take a print to be certain.
I tilted the piece on its side, exported the STL file, and set up the print.


While a mystery line appeared on the front and needs to be filed down, the remodel was overall a success. The edges are cleaner, the surfaces even, and the important bits intact.