Magnetic Stylus Holder for an Amazon Kindle Scribe
A custom stylus holder ready for print.
The owner of this Amazon Kindle Scribe asked for a custom stylus holder, as they prefer their phone stylus to the one that came with the Scribe. The problem is that their chosen stylus is easy to lose. The owner would like a custom stylus holder with a magnetic attachment on the side of the Kindle. They also preferred the design to be non-obtrusive, though that’s not as important a priority as the holder being strong and sturdy.
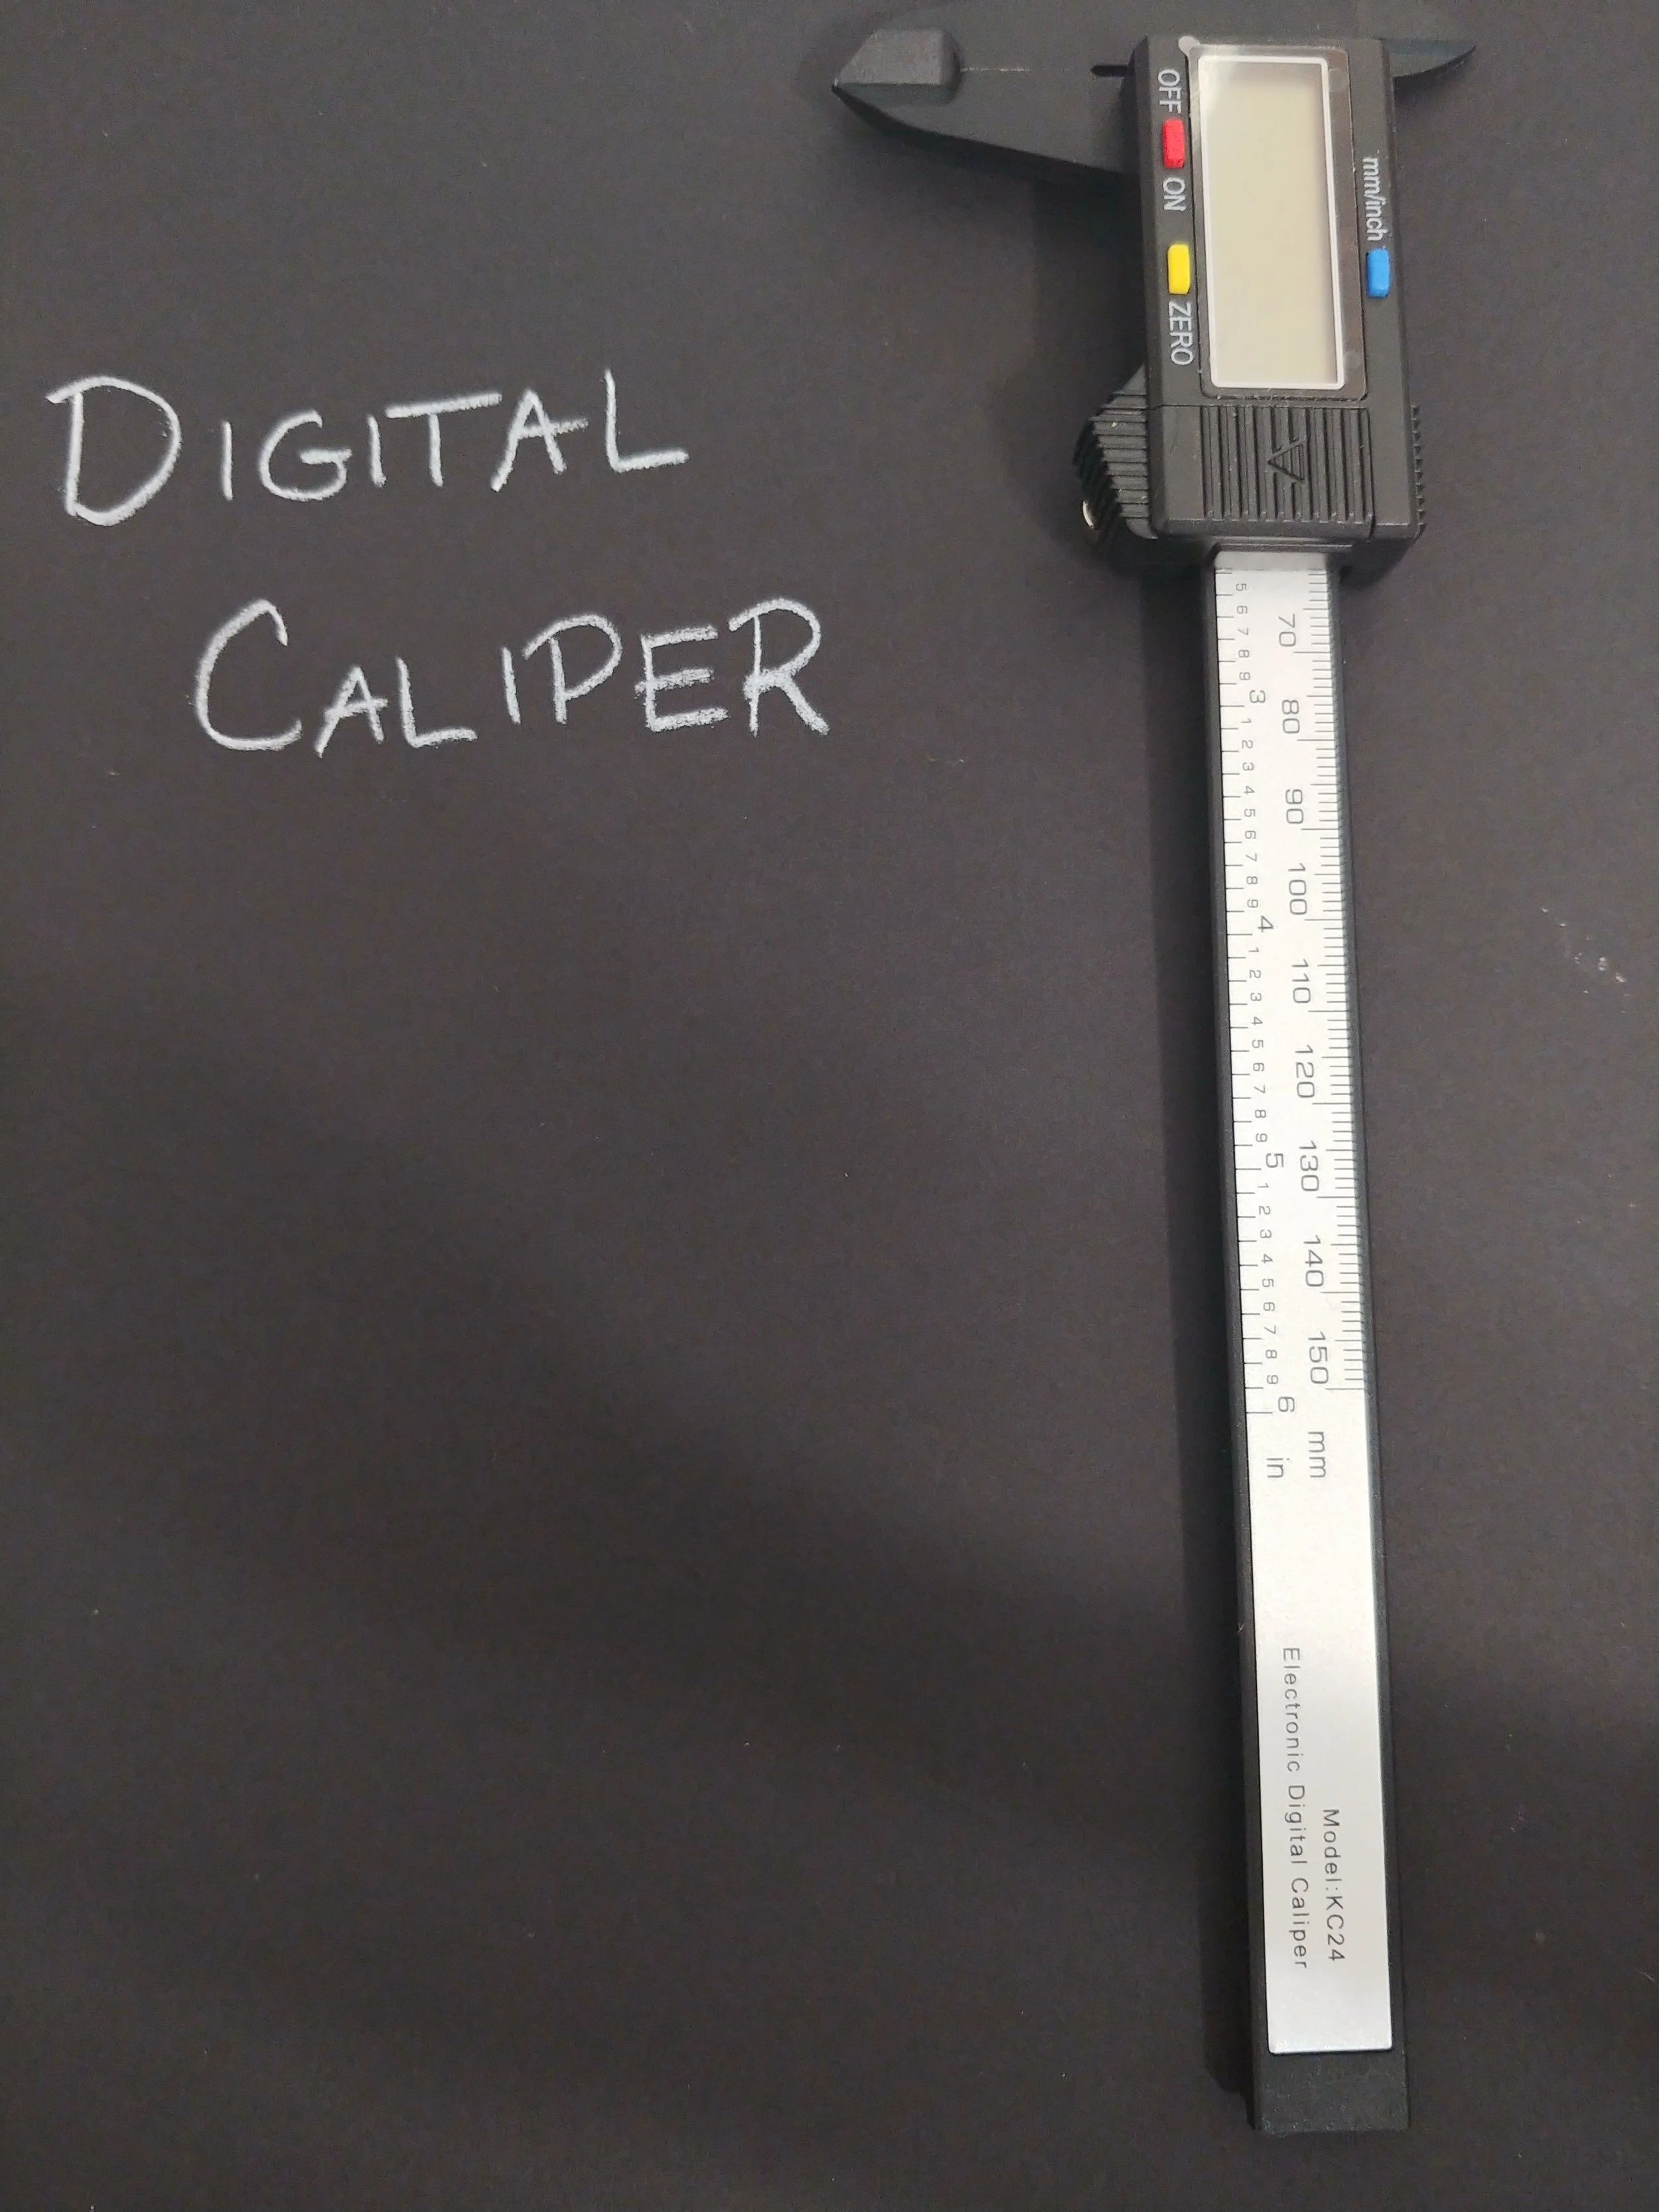
I made sketches of what a solution could look like. My sketches often include notes and annotations, a think-as-you-go process. In this case, I decided clamps would be elegant, simple, and easiest to use. A side bar deep enough to hold a pair of protruding magnets would be perfect. The magnets are the same width as the Kindle, so the bar will have to be a little bit wider. Also, I don’t necessarily trust the clamps to keep the stylus from sliding. A cap at both ends should prevent that. I got out my digital caliper and a ruler, and got to work.
I started working on the magnet side of the bar. According to the caliper, the magnets measured about 6.2 mm. I didn’t believe my eyes, so I created various test hole sizes for the magnet holes. For the last pair of holes I used the caliper number, rounding up to 6.25, then added .5 for spacing, making the final holes 6.75 mm. I printed a test slab and tried the magnets in the different sized holes.


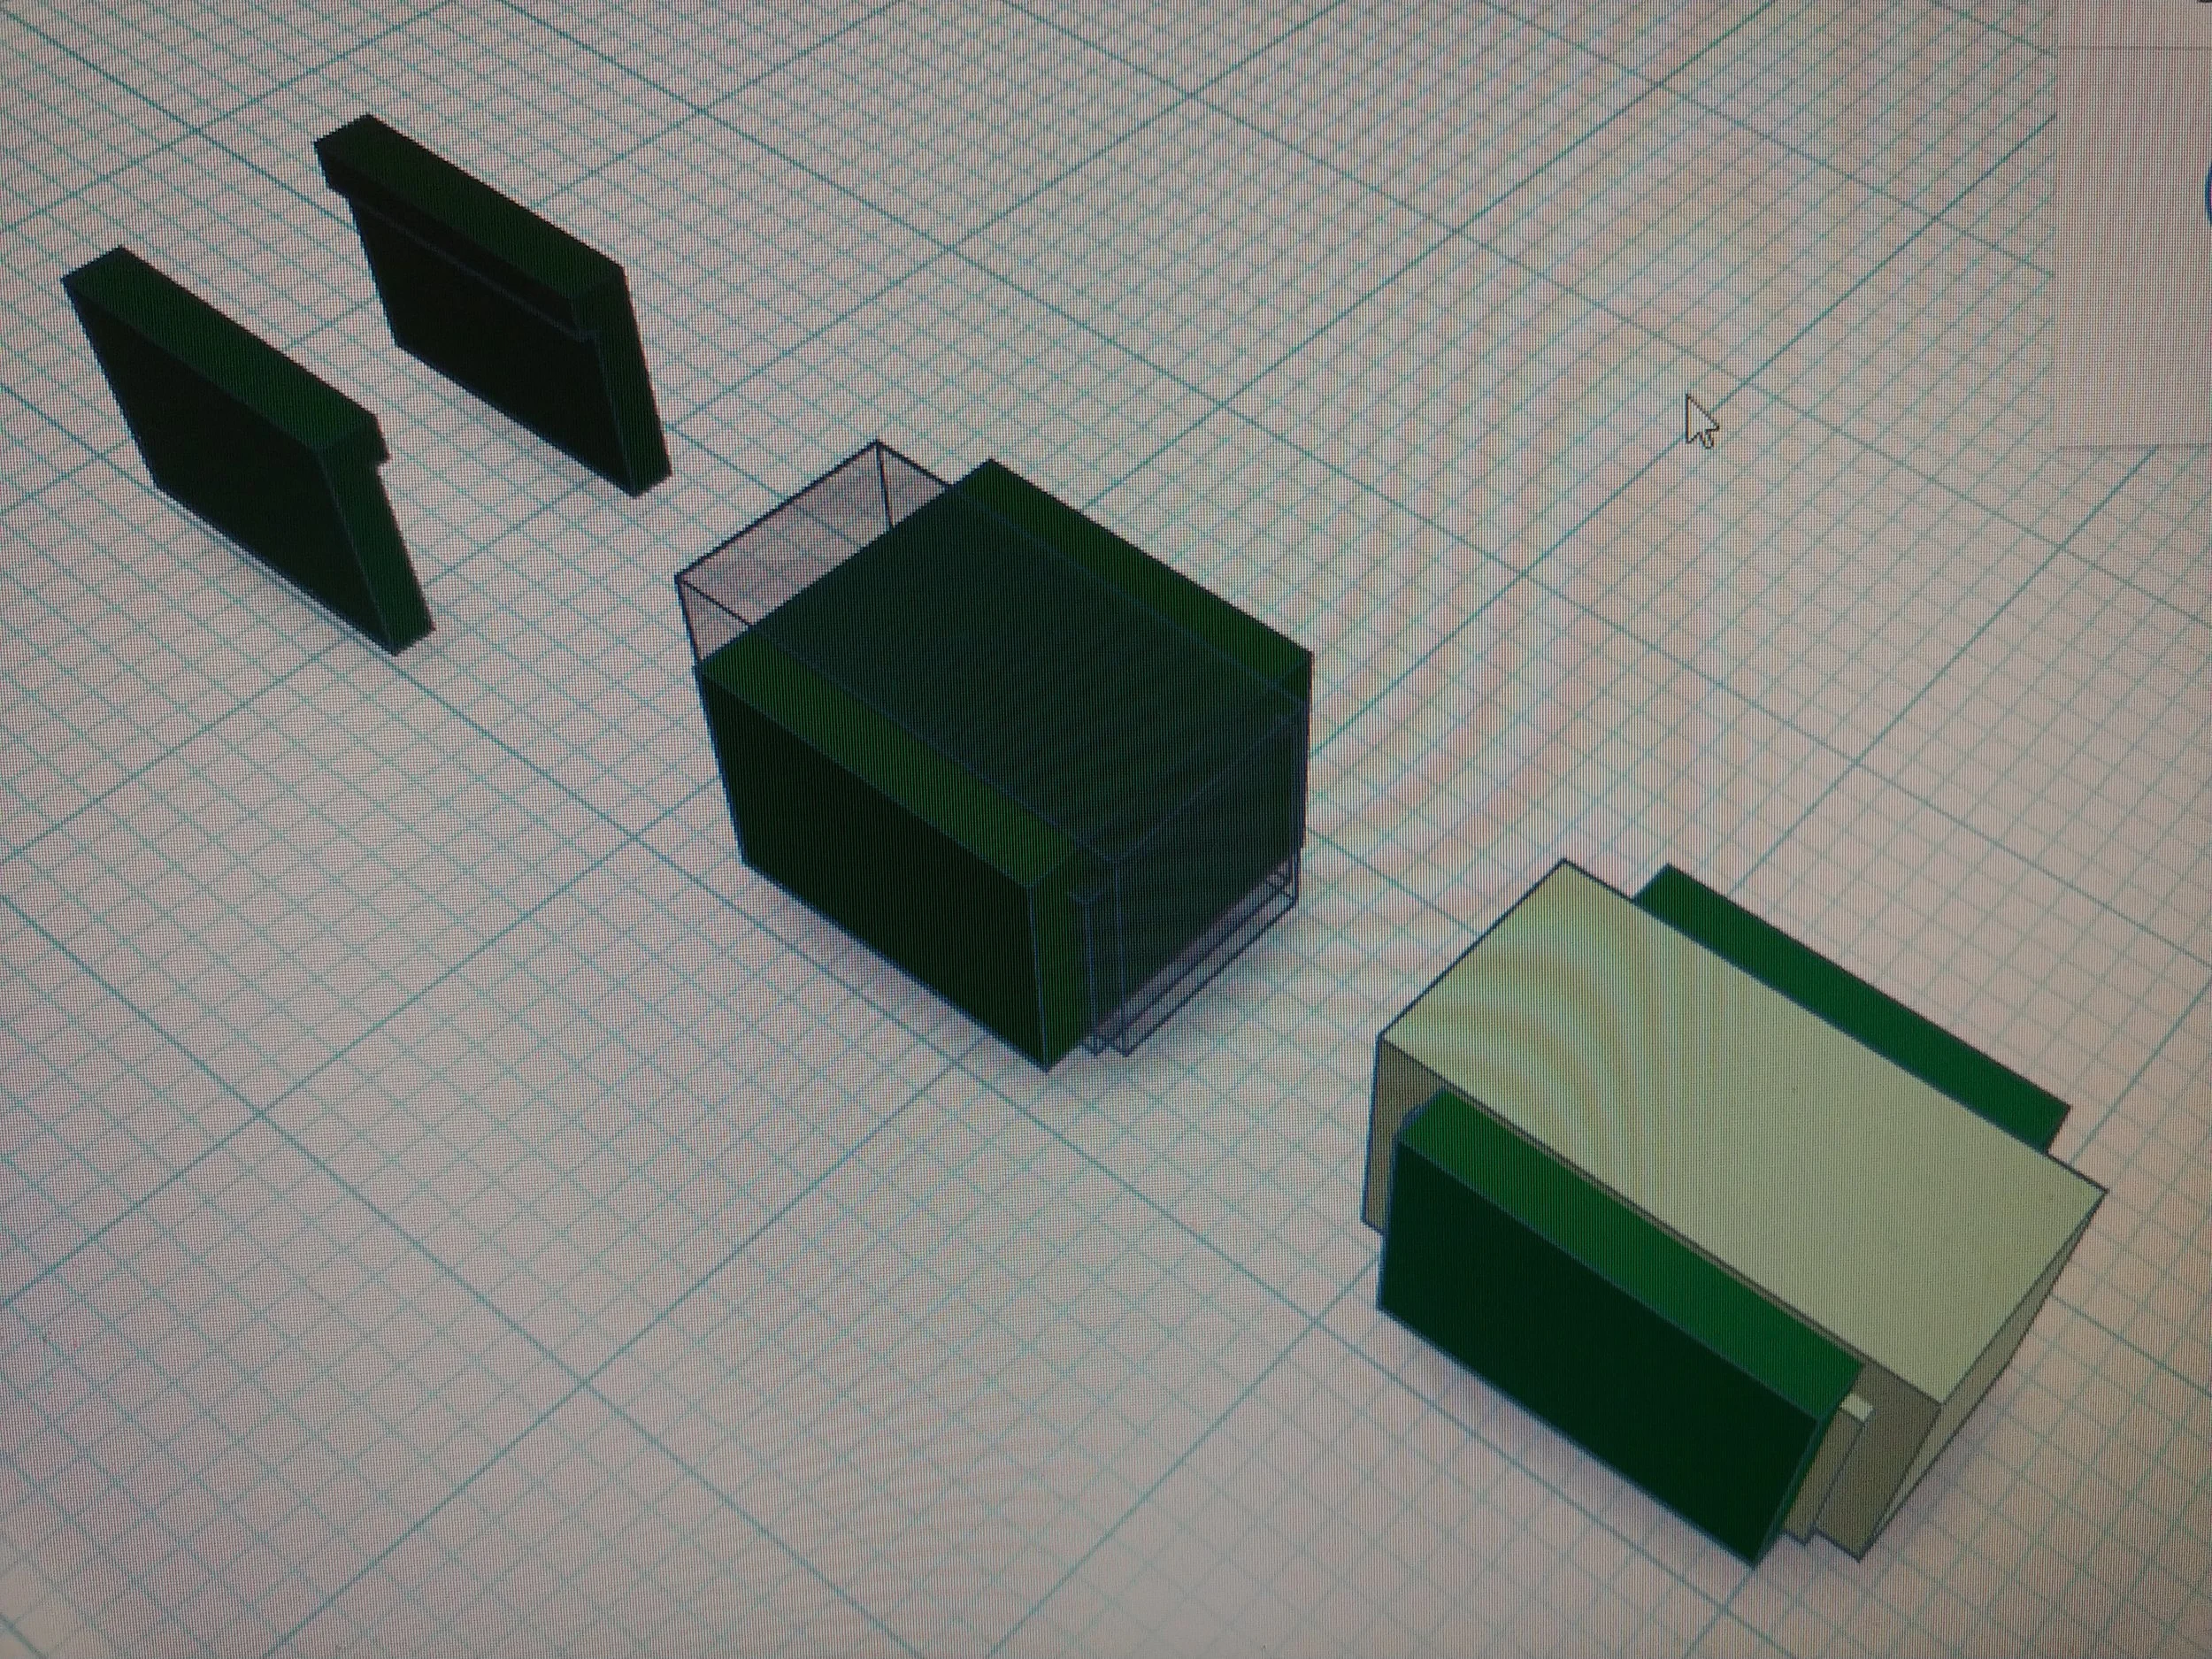
It quickly became apparent that the 6.75 mm holes were a perfect fit. I adjusted the bar width to 8.25 mm, leaving .75 mm on either side, then made a slim unholed copy for the backing. I also changed the colors because I like them better.
The stylus itself has a width of 5.7 mm, rounding up to 5.75 mm. Adding .5 mm for spacing suggests the clamps should have 6.25 mm room for the stylus. The height of 4.2 mm is likewise getting rounded up to 4.25 mm, then adding .5 mm for spacing, meaning the clamp part needs a total of 4.75 mm in height on the inside. I then lengthened the thin bar to the stylus length of 109 mm plus 1 mm for padding, to make a nice even 110 mm.
I cut a cube using two erasers, leaving me with a matching pair of clamps, which I attached to the bar. I assembled everything, checked to make sure I hadn’t introduced any gaps, then printed the first draft. Hopefully it would be the only draft, but I’ve done all the measuring I can do, and I now have to trust the process.


The first print came out. The good: the stylus was a perfect fit and the magnet holes were the required distance apart. Now the bad: the stylus had enough wiggle room to turn sideways and fall out. And the indifferent but could be better: the magnets stuck out a little more than I cared for. Then another bad happened: one of the clamps snapped off. Ugh.
I changed up the clamp top so that the overhang was significantly longer. That should address the slippery stylus. I thickened the board that holds the magnets by .5 mm, so the side should look less obtrusive.
As for the breakage, I’m going to try printing this piece on its side. It uses more filament because the piece requires supports printed this way, but it uses less filament in the long haul because I won’t have to keep printing replacements. A print adheres to itself better when it’s first laid down, and the printer works one horizontal plane at a time, so pieces that stick out need printed horizontally when possible. This reduces the stress on the parts because it maximizes the strength of each layer. I should have printed it on its side in the first place, something I do for pieces that seem more likely to break. Anyhow, printing the newer version on its side.
The second print was perfect. The stylus stayed in place when subjected to vigorous shaking. The sides of the holder are sturdier, and the magnet holes are a more aesthetically pleasing depth. Excellent. I added superglue to the magnet holes, then dropped the magnets in, and boy was I glad I wore workman’s gloves for this. The glue was unexpectedly messy, as it came pouring with incredible speed out of an improbably small tube. I felt that the laws of physics were being defied by that surreal flood.
It took a few tries to get the magnets in right. The sides look exactly the same, and they flip around in the blink of an eye. I ended up using a permanent marker to denote which end is supposed to be glue-side down (not the magnetic side), then doing them one at a time so they stopped jumping towards each other. I think I’ll print a tool for the next time I need to place magnets - it was a challenge!
The Kindle owner liked the design so much that they requested a second holder, this one without caps on the end - they were quite impressed with the strength and sturdiness of the clasp, preferring to trade the surety of the caps for the utility of being able to slide the pen in and out. I posted the work I did for the first one, as well as the final product, but STL files are available for both the capped and uncapped versions.


I designed and 3D printed a CUSTOM magnetic stylus holder for an Amazon Kindle Scribe for a real person with a real need: to securely attach their preferred non-traditional stylus to their Kindle. I feel really good about this :)