Repairing a Drawer via a Custom 3D Printed Patch: the Trapezoidal Dutchman (Part 1)
The front panel of one of the nightstands broke rather badly, losing a couple of chunks of particleboard in the process. Without those pieces, the panel can’t stay on. I am very confident that I can design parts to fill in the missing blocks, and only somewhat less confident that gluing such pieces on will solve the problem. We’re about to find out!
One corner of the drawer requires a trapezoid shape to fit the angled end, while the other has a mostly rectangular shape, but it goes from 2mm deep to 4mm, in two small angled drops. The rectangle with dips is getting its own entry in Part 2 — this entry shows a way to make a trapezoidal-shaped piece.
Making a Trapezoidal Dutchman
The name Trapezoidal Dutchman is misleading: we aren't actually going to the Netherlands to paint Picasso-like portraits of the locals. In carpentry and masonry, the term 'Dutchman' means "a piece of wood or stone that is carved to shape and used to fill a gap or repair a broken or rotten section of something." That's according to Bluefish Editorial Service's Word of the Week. If you like reading word origin stories, you might enjoy the rest of her post. I added the word 'trapezoidal' to describe the shape we're going to make.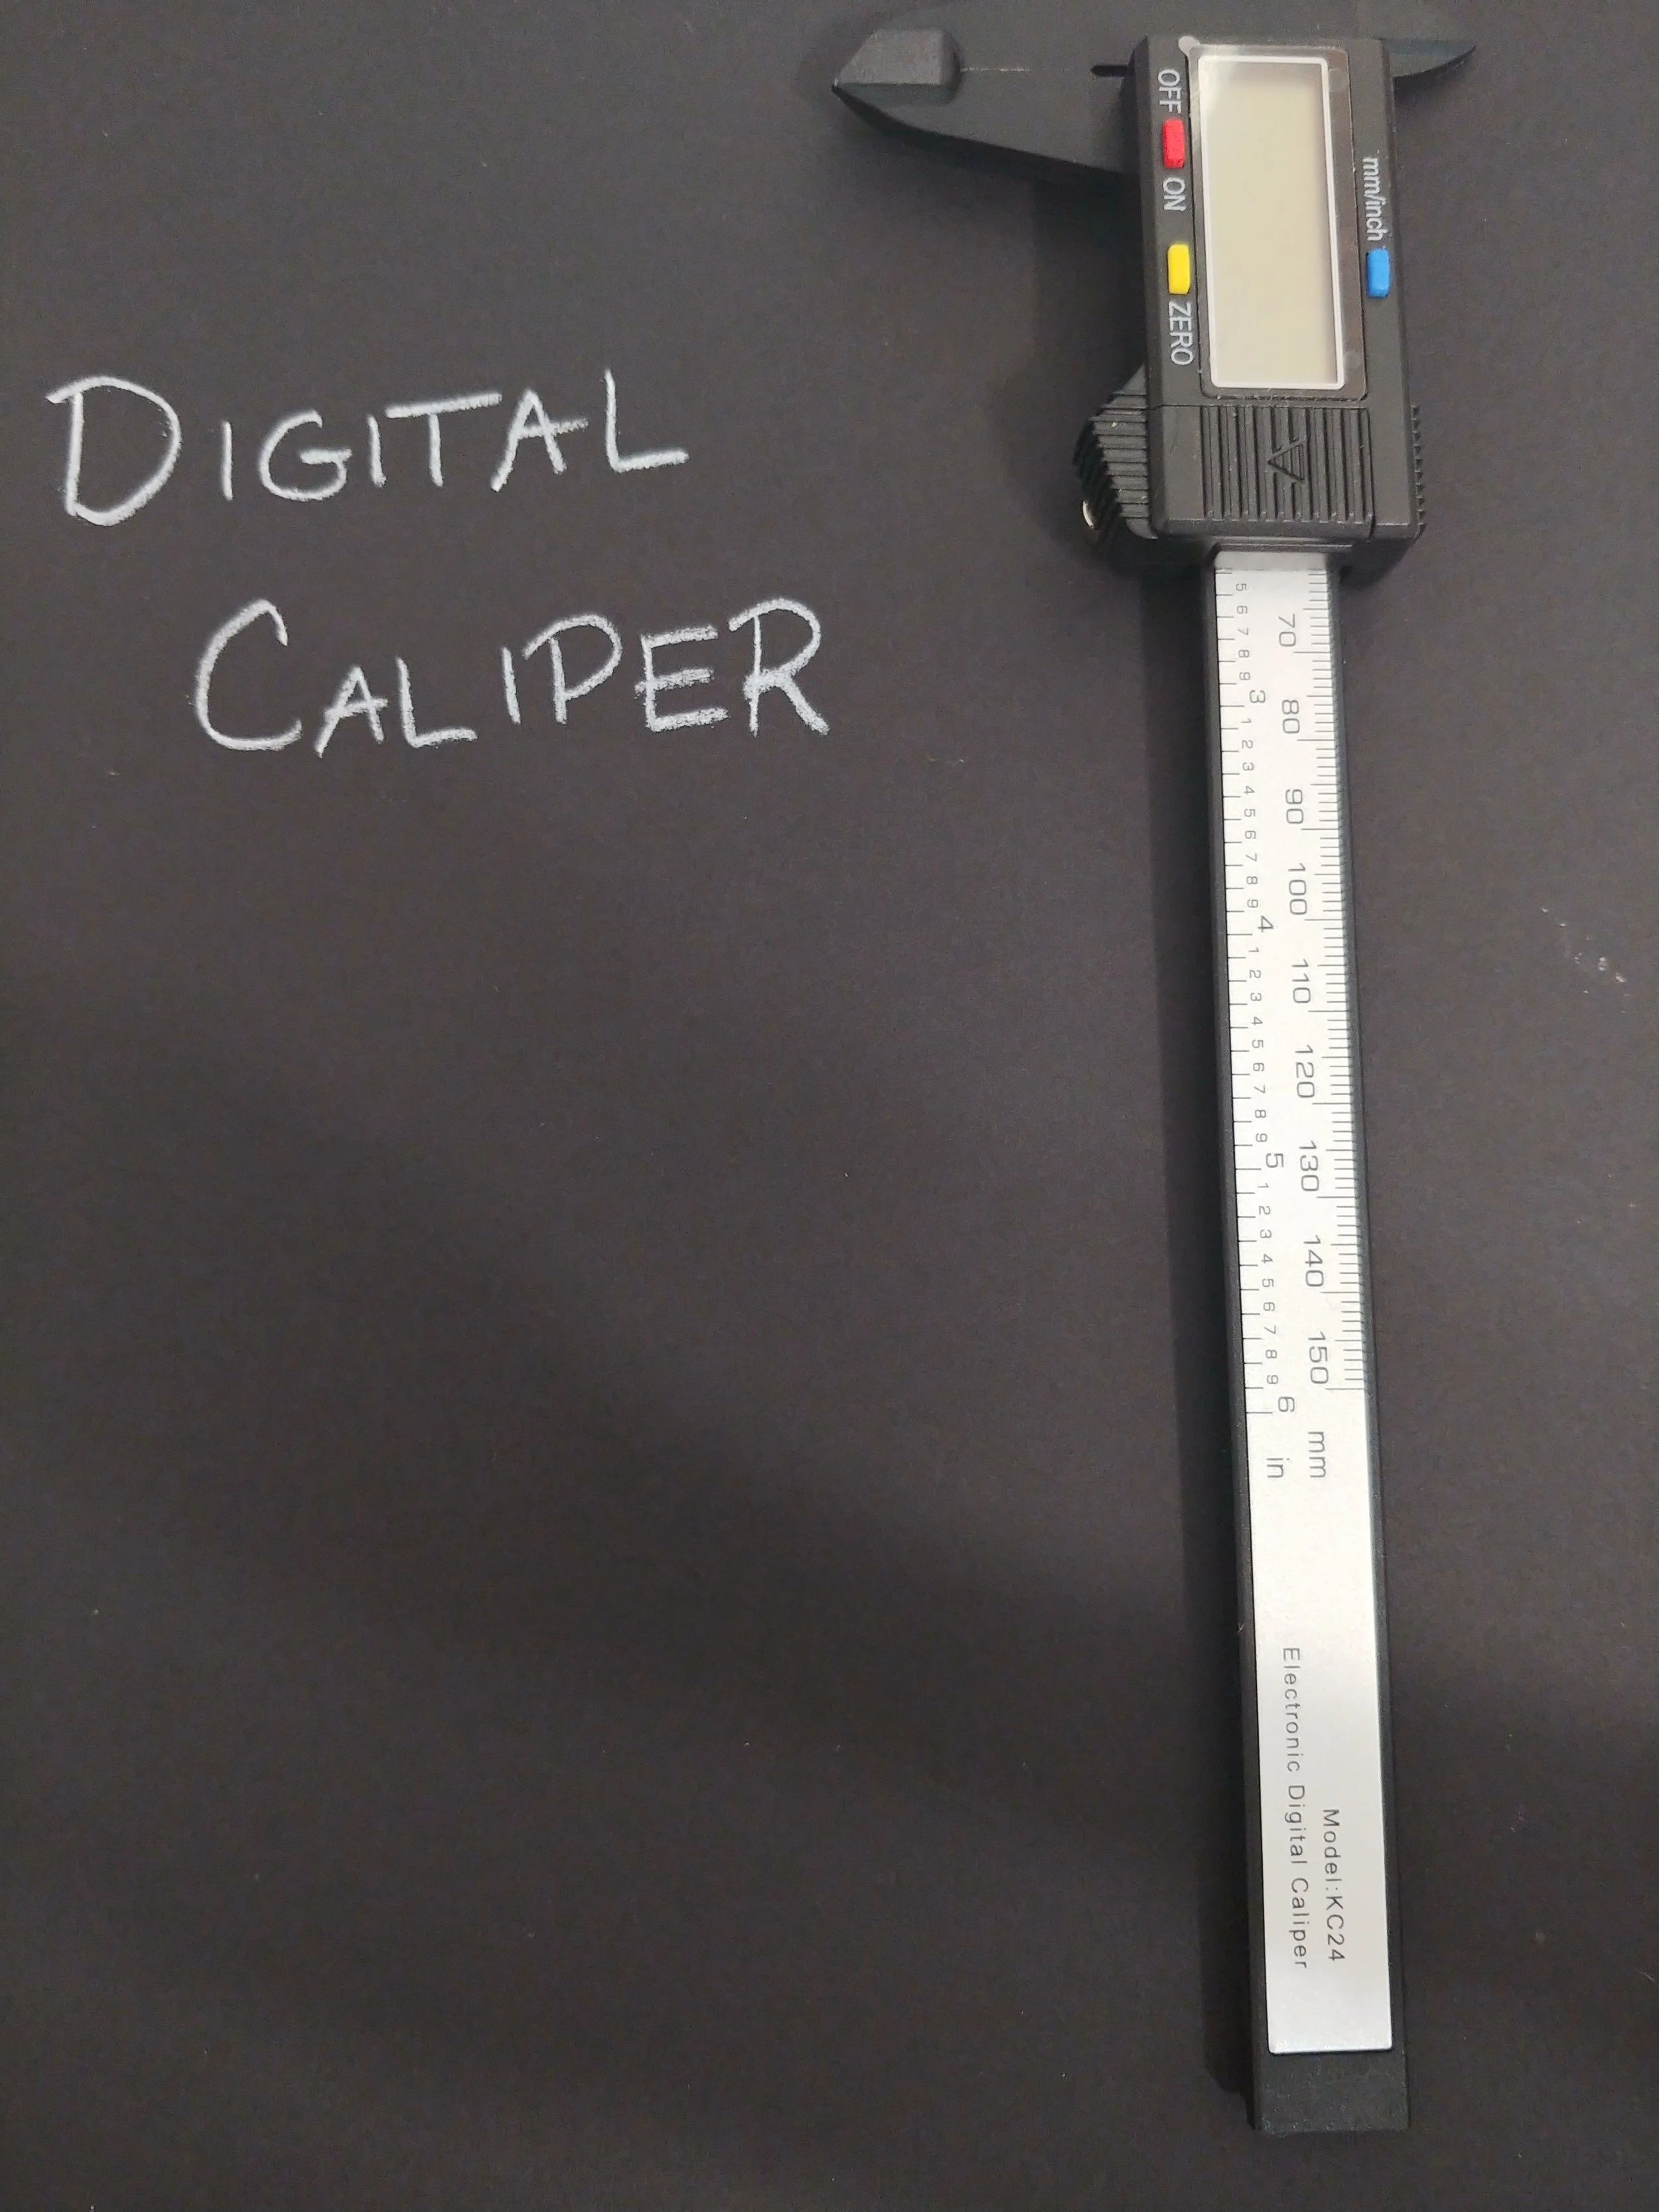

First I used the digital caliper to take some measurements. The missing area is 2mm deep, 25mm across, and 95mm long on one side, though only 83mm on the other side. The distance between the disparate lengths made a jagged line, nothing an X-ACTO knife couldn’t fix up.
The depth wasn’t a perfect 2mm though, because there were little bits that stuck up just enough to ruin the flat plate design that I had in my head. It could probably be smoothed out with sandpaper, if I was gentle.
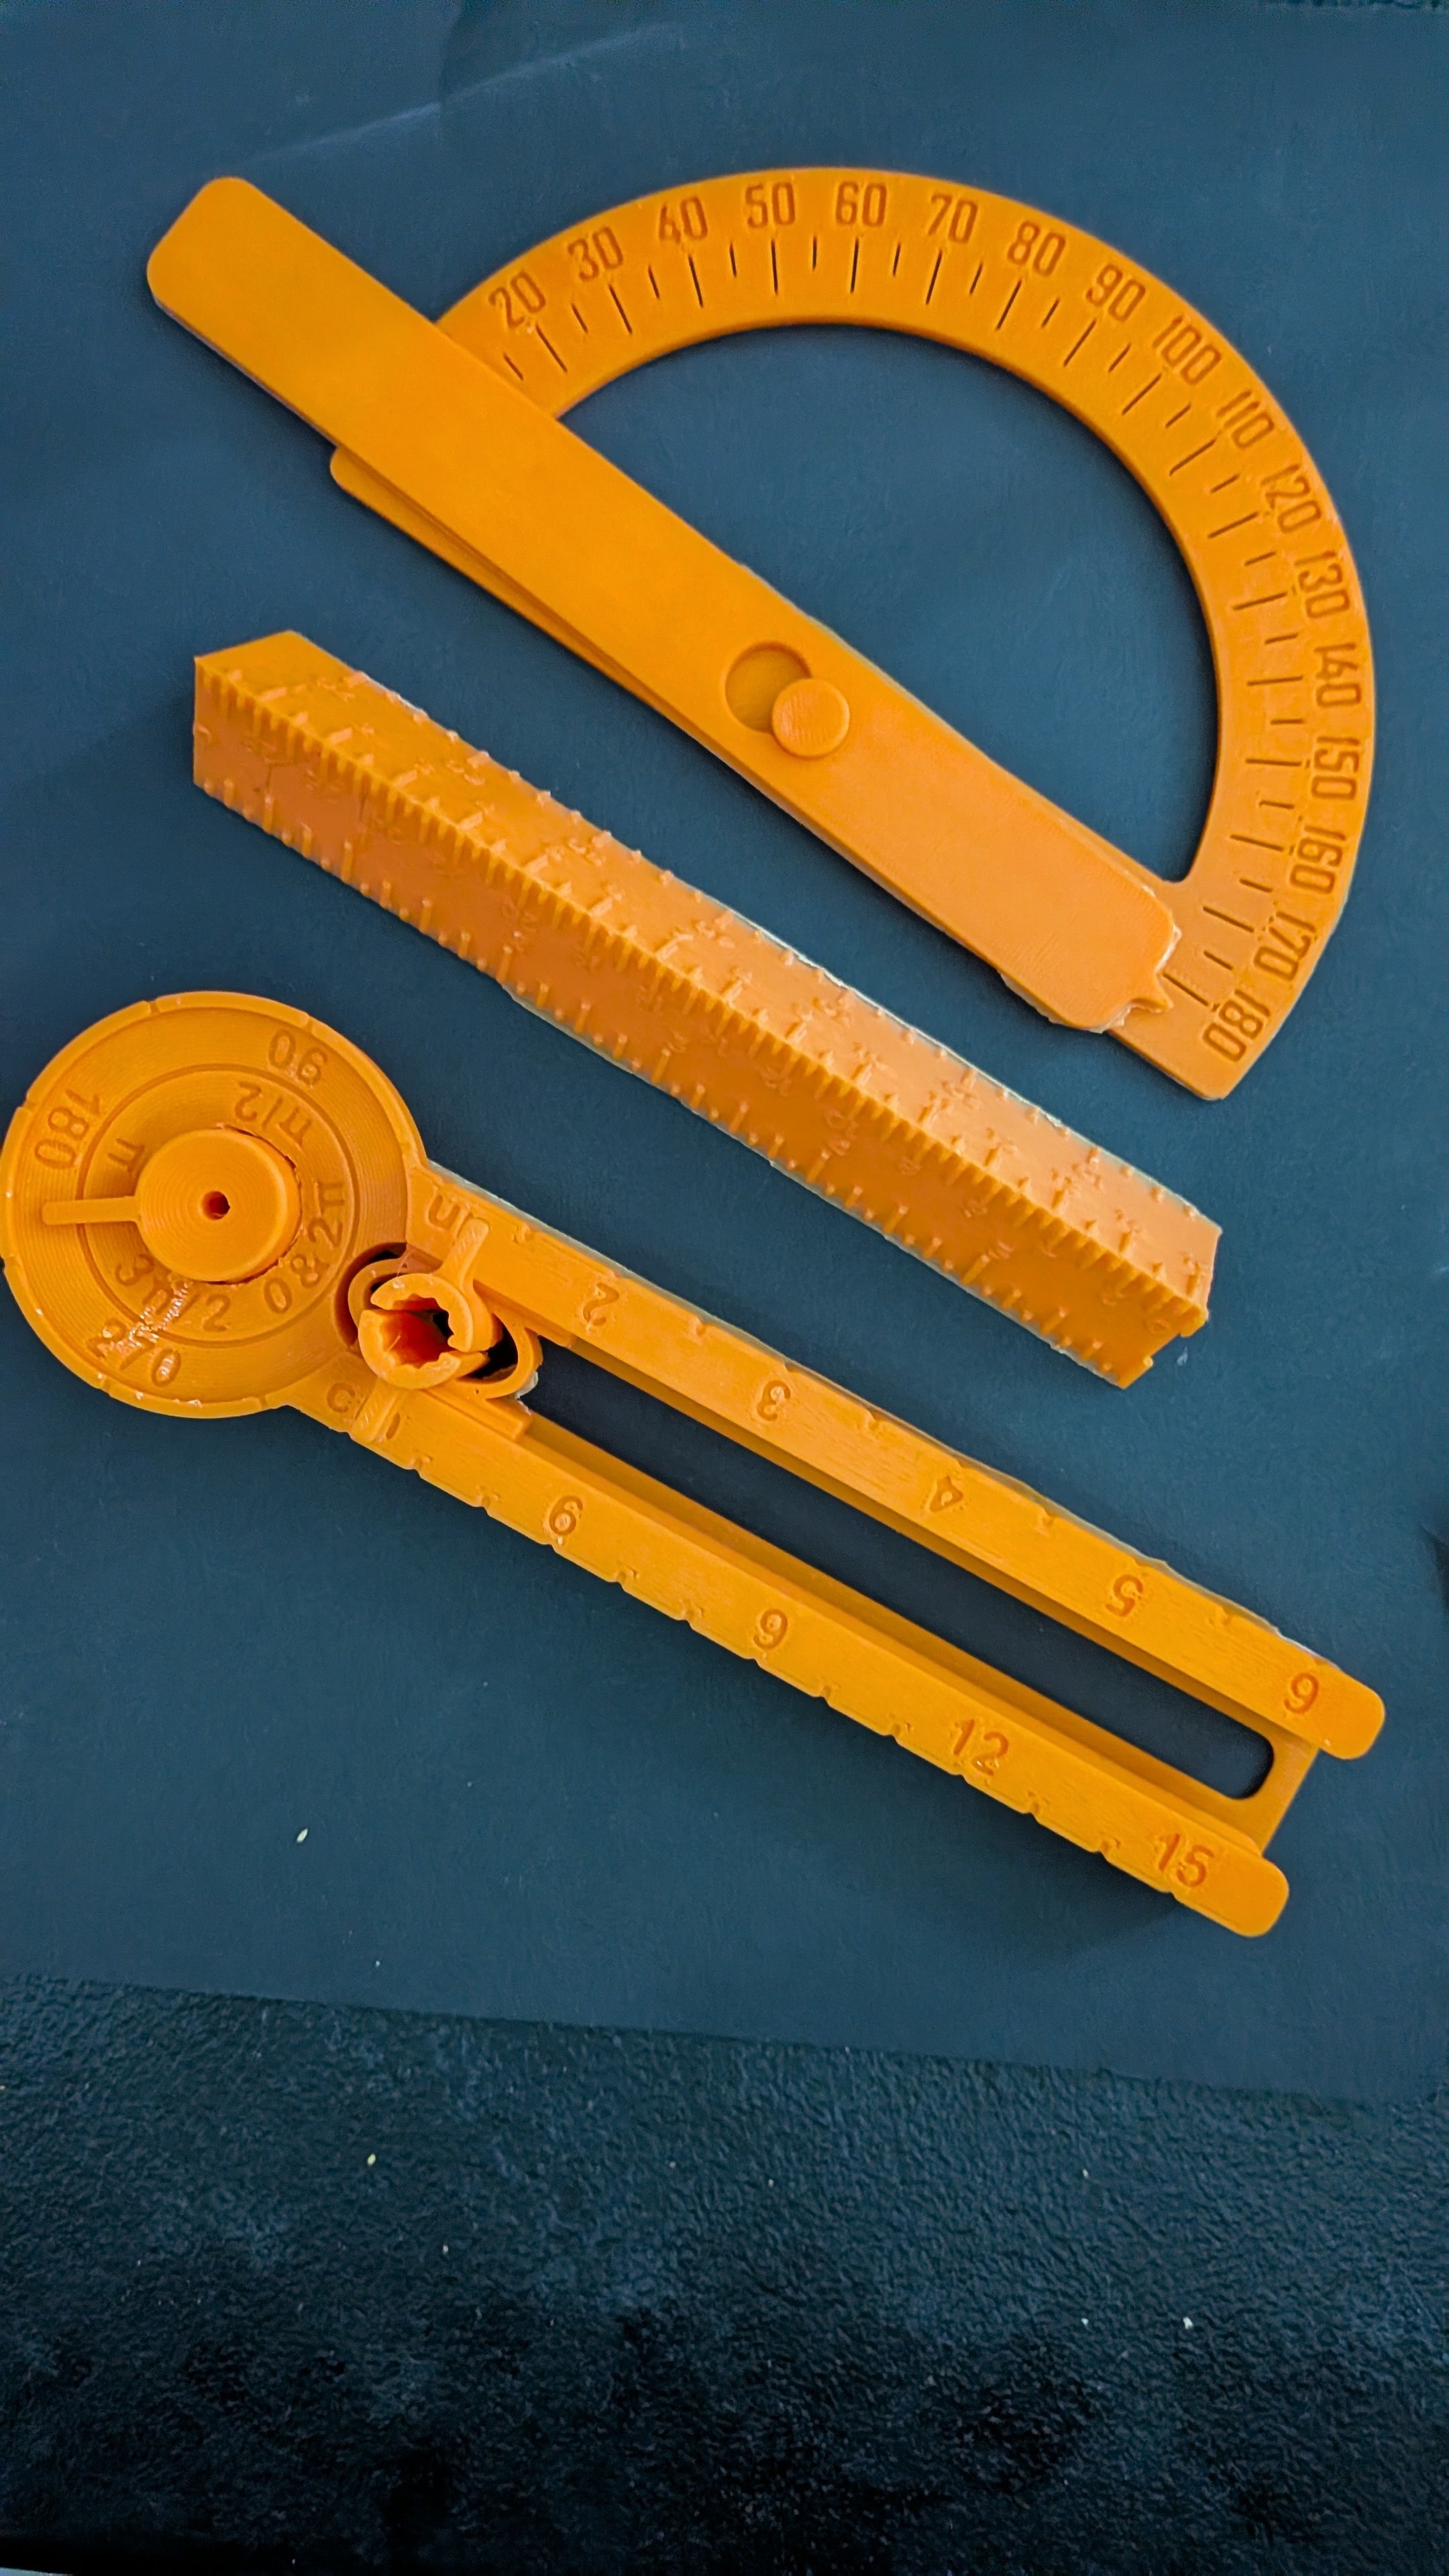
I couldn’t remember how to use a protractor, not even to save my life, but I was pretty sure I would get to use one. This was exciting to me because this set almost never sees use, and I printed it expecting to use it at least more than occasionally.
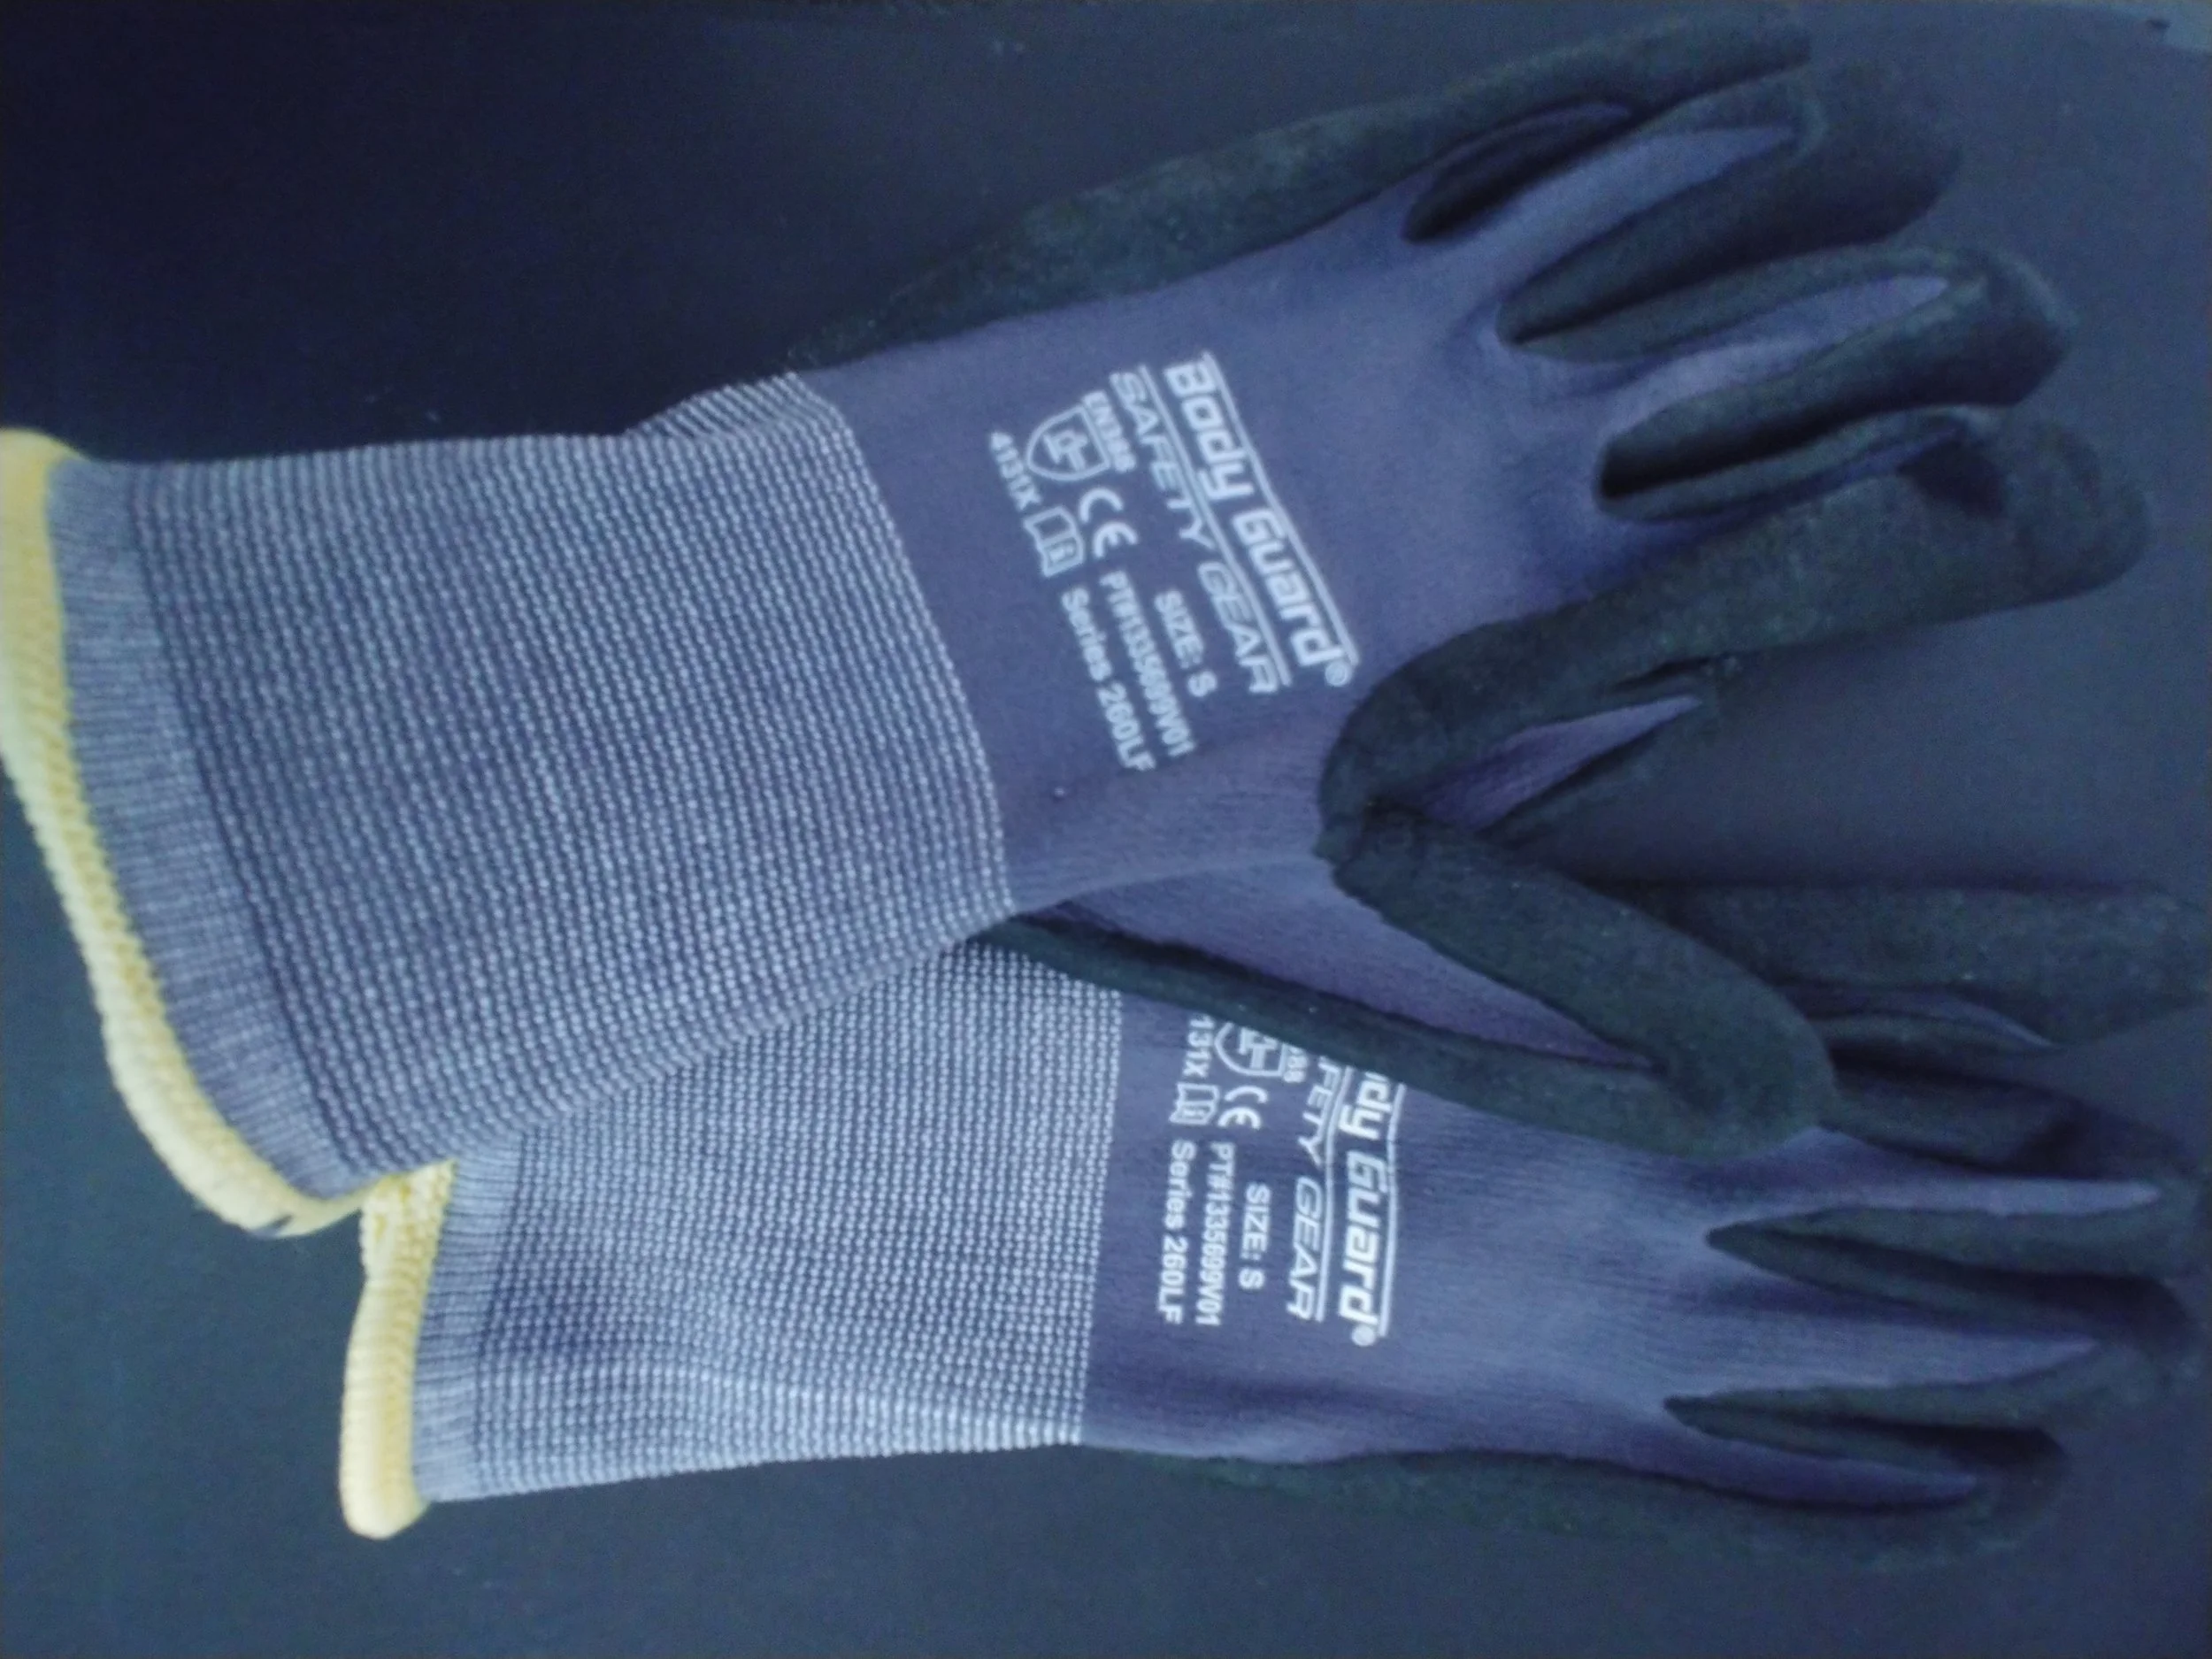
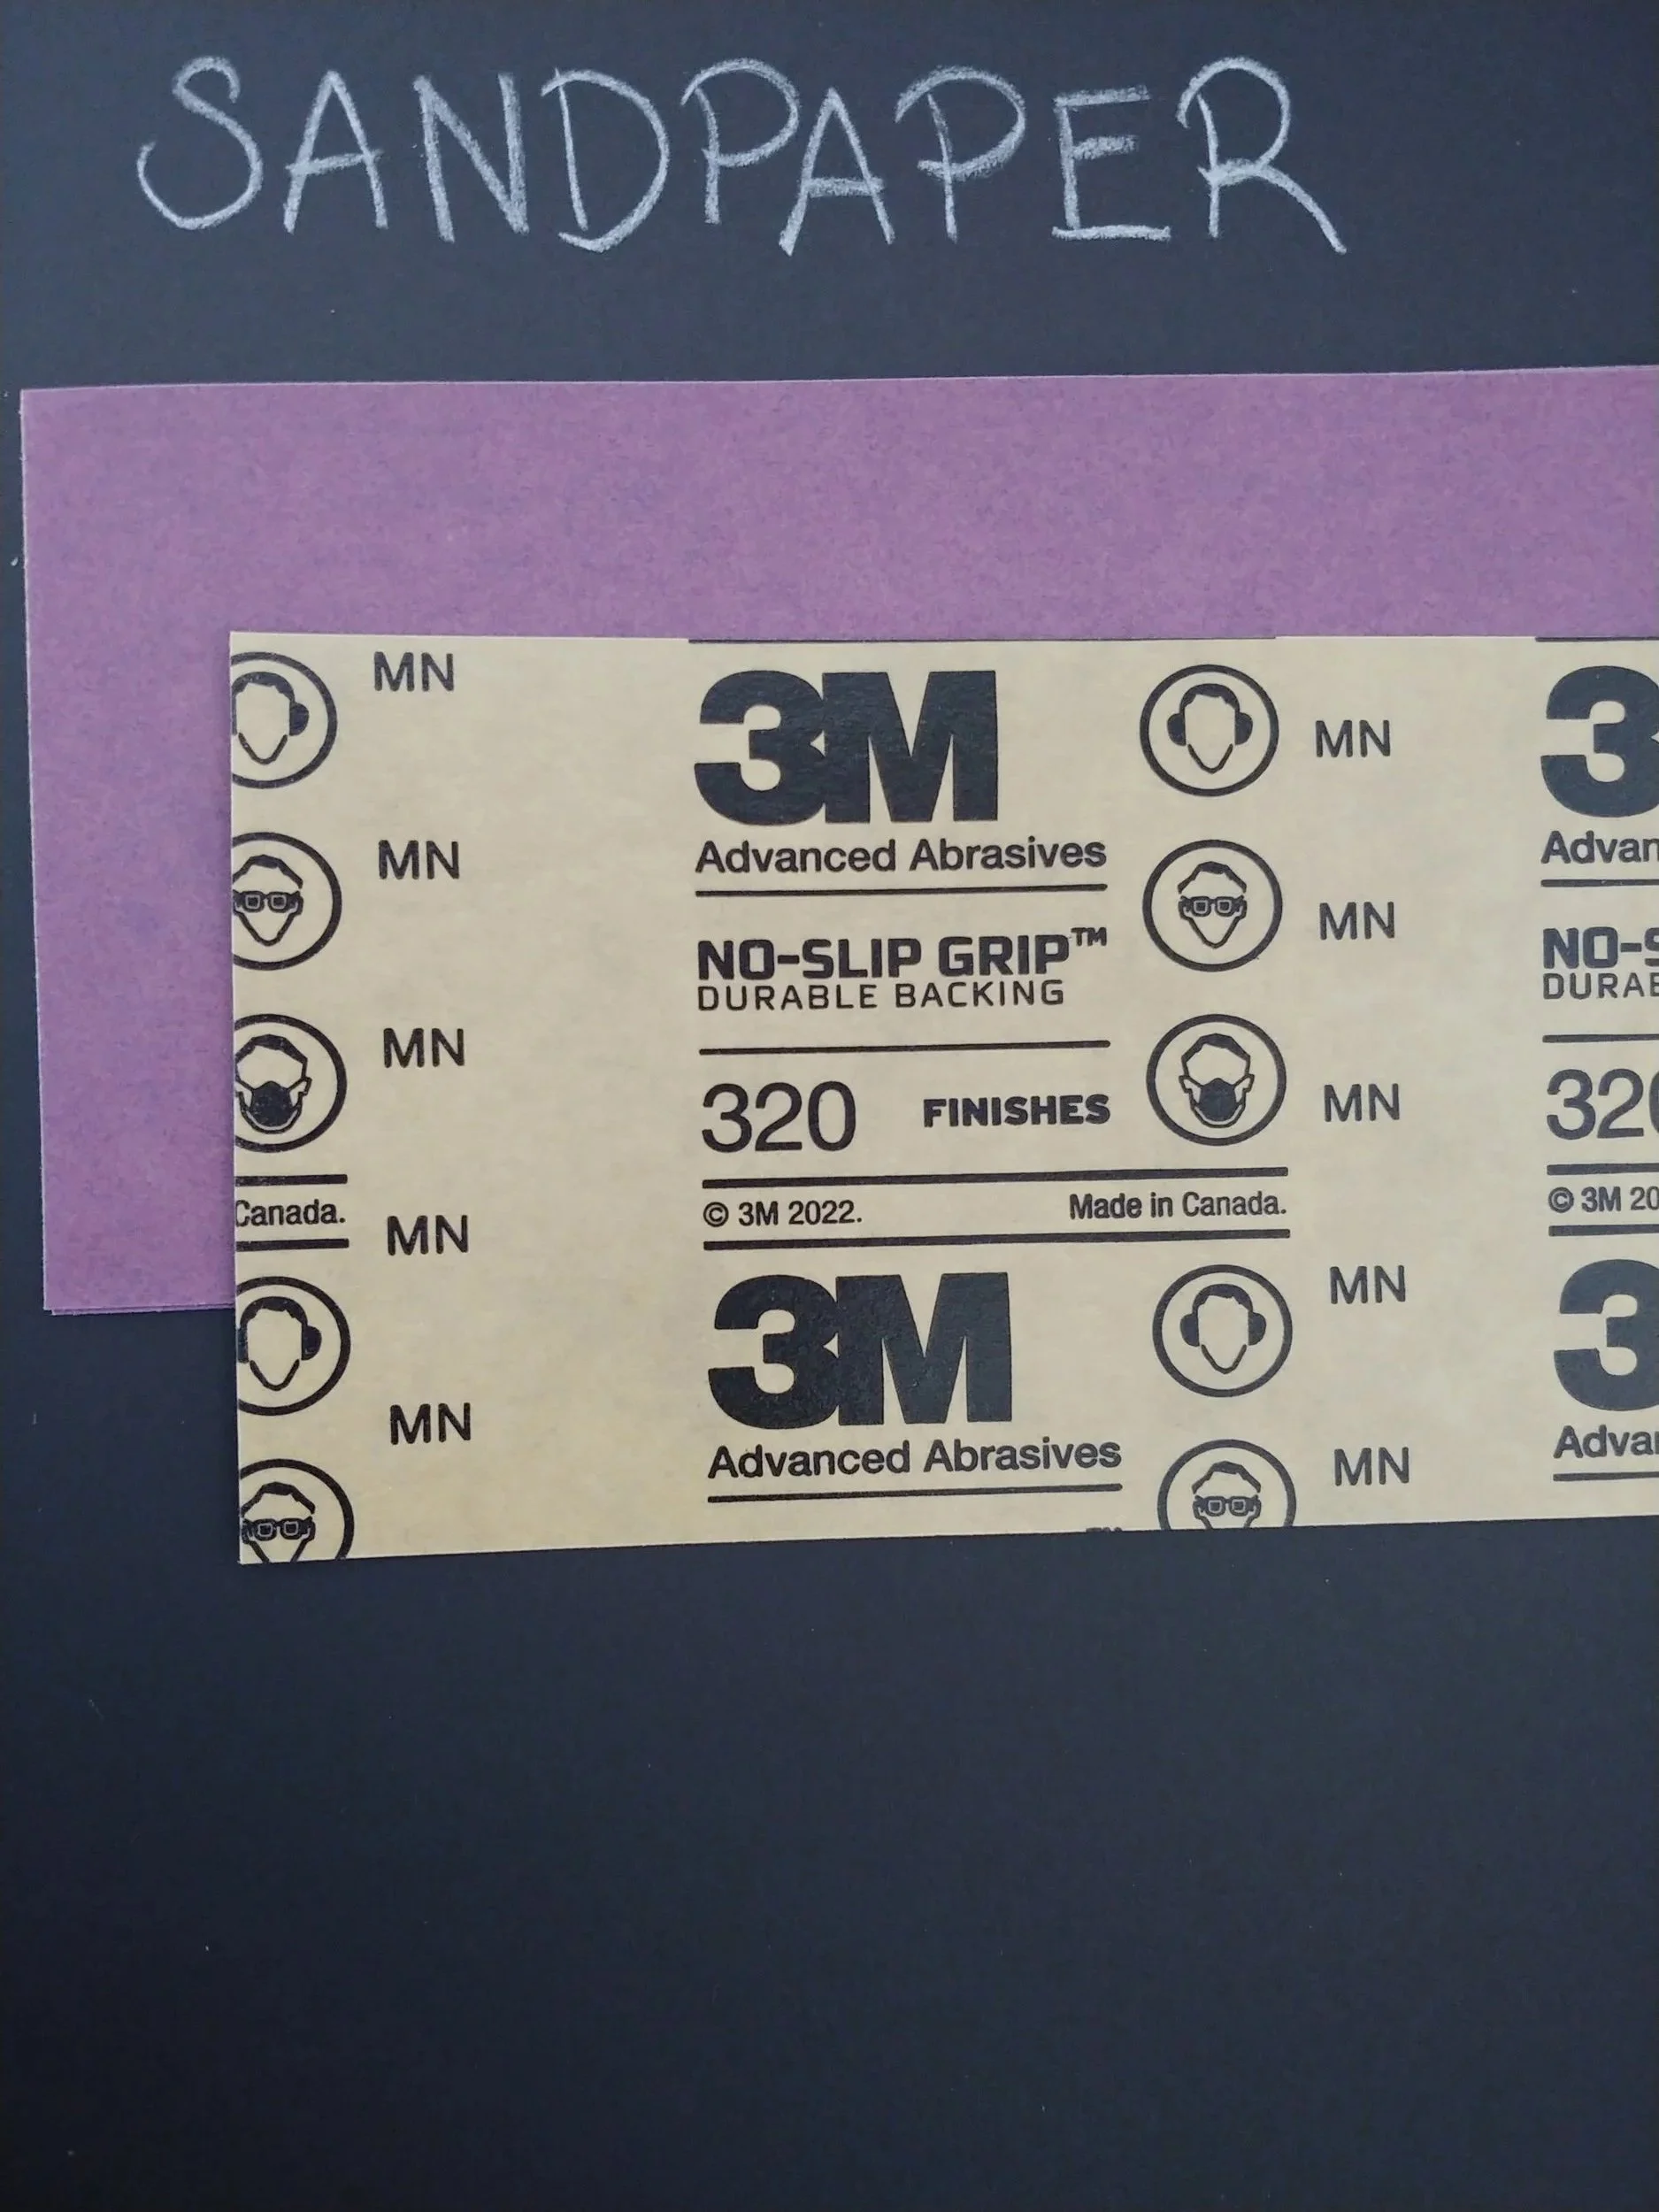
Next came the X-ACTO knife, some work gloves, and a piece of purple sandpaper. Some careful cutting resulted in a straight line where it had been jagged. Light circular motions over the rough spots with the sandpaper resulted in a nice surface, not perfectly smooth, but no longer bumpy.
It was here that I realized I forgot to take a ‘before’ picture. I can still share a ‘before it’s done’ though: here is a close-up of the area where I sliced and buffed. The thin outer panel is still jagged, but the empty space we’re designing a part for has a sharp clean line that angles upward.

The Broken Panel
While the papered over bit is still unattractive, the once jagged angle is now a smooth and straight one.
The protractor told me that the shape was over 70 degrees, information that didn’t seem nearly as helpful as I had hoped.
To make the print, I used three pieces. Piece one was a red rectangle 2mm high, 25mm wide, and 95mm long. The second piece was a rectangle 3mm high, 25mm wide, and 83mm long. I colored it maroon, to differentiate it from the red rectangle. For the third shape, I made a 40mm cube, then turned it into an eraser shape.
I stacked the maroon rectangle over the red one, aligning them at one end. The extra millimeter of height let me see where the shorter rectangle ended, while the longer rectangle continued. It was at that junction that I placed the shadowy cube, where the longer rectangle peeked out like the step of a two-stair rise.
I rotated the shadowy cube so that one of the sides touched both the edge of the 95mm rectangle and the opposite edge of the 83mm one. The angle was around 70 degrees, close to the protractor, so I felt pretty confident that I’d clipped the angle right.
I got rid of the dark red box completely, as its sole purpose had been to properly line up the eraser. That done, I combined the jauntily angled cube eraser with the long red rectangle, and had a perfect shape.


Version one finished printing before I finished writing the piece. It was unbelievably fast to design and build. I’ve already started on the second piece — by this time tomorrow we will once again have a working nightstand drawer. Hooray for 3D printing!
I spoke too soon — the trapezoid fits rather nicely except for one thing: the short end is 1 or 2 mm short. It won’t matter in the slightest for performance, but that slight gap is going to drive me CRAZY.
I can’t leave it that way, so I’m going to fix it up by going back to the original three pieces and lengthening the maroon piece (the shorter rectangle) by 2mm to 85mm. From there I’ll do the whole process the exact same way. ANNNNND I followed those steps, printed the updated version, and it’s perfect :) I am beyond happy with this result.
However, the dresser panel still needs another patch, one designed to solve a different kind of problem. This gap looks rectangular at first glance, but in reality it has two sharp drops in height, as well as a protruding corner on the bottom. The next entry shows how to make a Compound Wedge in Tinkercad.