Swapping Filament Colors Mid-Print: Layer-Based Color Change
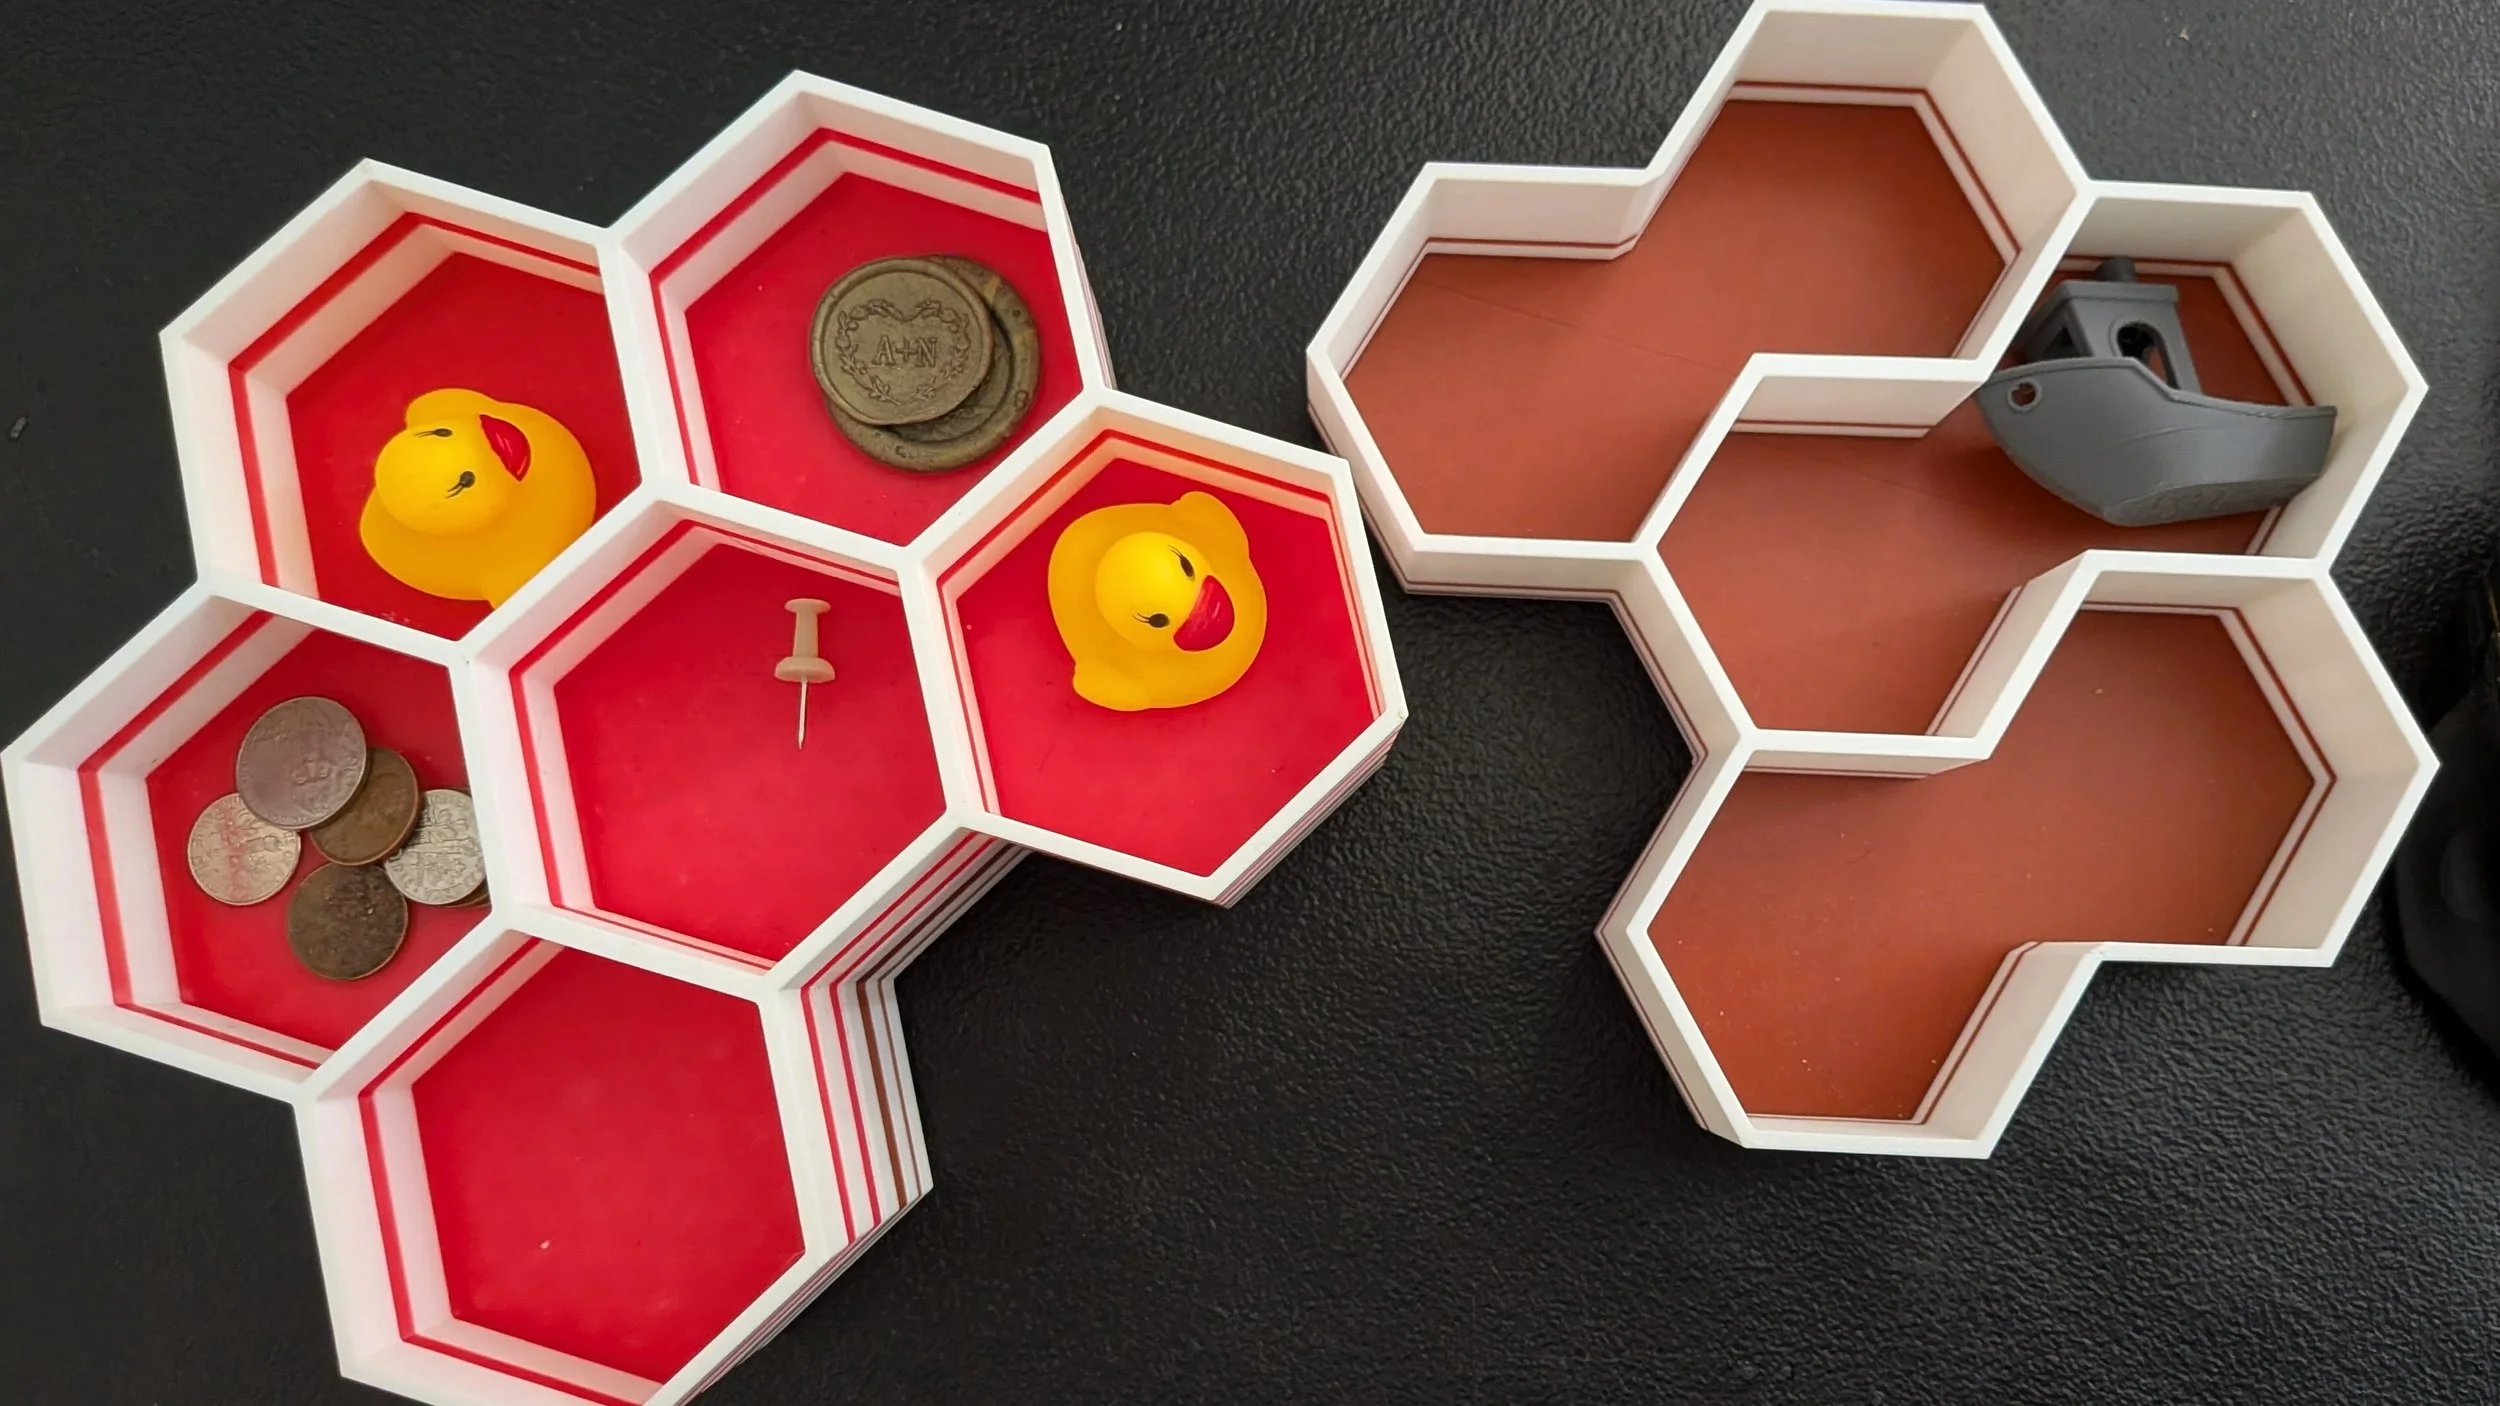
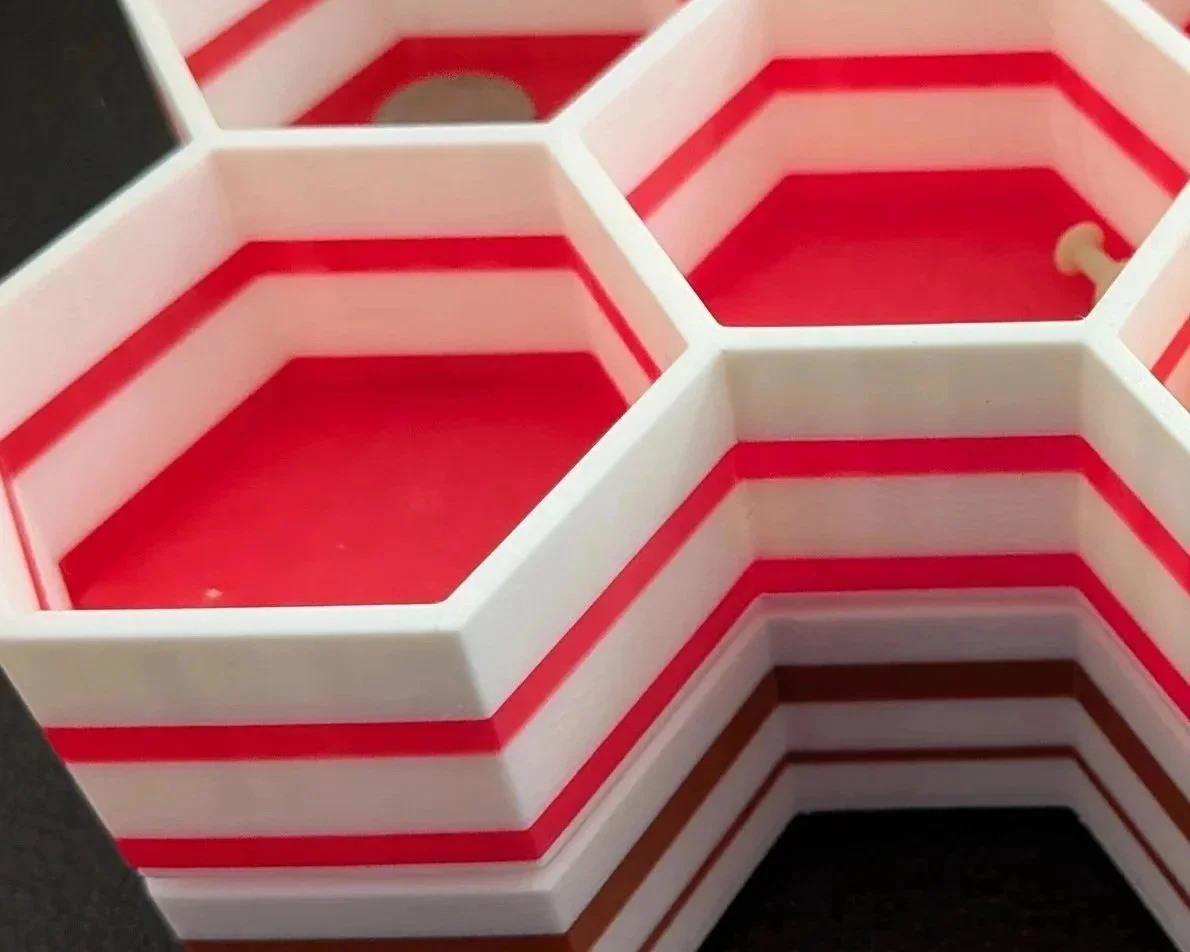
These stackable storage containers have stripes of color that extend to their bases.
I have used a filament-swapping layer-pausing process to make some cool-looking 3D prints, but I didn’t know its name. My google query: “is there a name for the technique of switching filament to a different color or type at a set layer number? the technique is used to create stripes or designs by changing the filament” gave several responses.
While other names such as “Filament Swap”, “Pause at Layer” and “Manual Color Swap” topped the list, “Layer-Based Color Change” seemed the most descriptive, so I decided to use it for this article. “Pause at Height” and “Color Change (M600)” were also posted above my choice, amazing.
This 3D printing technique involves the user changing the printer settings so that the printer stops at a certain layer height, allowing the user to then swap filament. There is also something called an AMS (Automatic Material System) that can be programmed to do the switching automatically, nice, but my technique currently involves the manual method.
Here is how I got stripes of color on my hexagonal storage containers:
I opened up the bambu printer, went to the Prepare tab, clicked on the Add icon, then hit ‘Slice Plate’, as if I were about to do a print. With everything ready to go, instead of sending my print, I headed on over to the Preview tab.
On the far right, there was a green bar running vertically; the number at the top (190 in the second image) is the number of layers the image has. You can left-click and drag the layer height down to whatever layer you want your print to stop at, then right-click just above the green and white plus sign. You will get a few options, including one to ‘stop layer’. Click that, and your print will come to a stop when it gets there. You can do this as often as you want, though it’s rather time-consuming.
For some of these containers, I stopped the layer right before the base was laid down, then again a few layers up. Swapping a color in here made the base of the bins really pop. I had two more pauses planned several layers above that, but only two stripes of color per bin. Four color changes, at a few minues a change, adds up time-wise!