Custom Design: Compliant Sink Plug that Tapers (Part 2)
The First Iteration (no Taper! Big Mistake!)
I made a 3.25” diameter cylinder that was .25” high. I then used Tinkercad’s ability to change the number of sides on a circle to 128, to make it as smooth as possible. I used the bevel feature, sliding the bar to its max at 2.5.
Beveled center complete, I made a plug by stacking two squished cylinders, one 1” diameter and .5” high, and the other .5” diameter and .25” high. I overlapped them by .1”, so the total height was .65”. The result looked kind of like a mushroom, but once attached it would be a great handle.
I put those pieces together, dropped the set into the center of the rings, then printed it.
It’s great except for one thing: it slides out of place. Easily, I might add. While it’s in place it’s marvelous, but that happens too rarely. I love the flexibility though, WOW. You can press on it and it gives, so nice. For which I am grateful, as in the 24 hours it took me to even type this much, someone left something heavy in the sink, and we could all see that it bends instead of breaks. :angryface:
This next iteration I’m adding a cylinder to the bottom, underneath. I could add a solid one, but that uses a lot of filament. Instead the cylinder will have a top portion that runs the diameter of the drain, but is not very deep, and it will taper so as to make it fit.
Second Attempt, Taper Included!
Creating the Tapered Plug Shape
I got rid of the beveled center entirely. It looked nice, but it didn’t do what I needed. I needed a tapered cylinder, which meant drafting a cone shape, then cutting the top off. That would be the base of the new design. Also it would be wider, because my sink mouth is pretty wide.
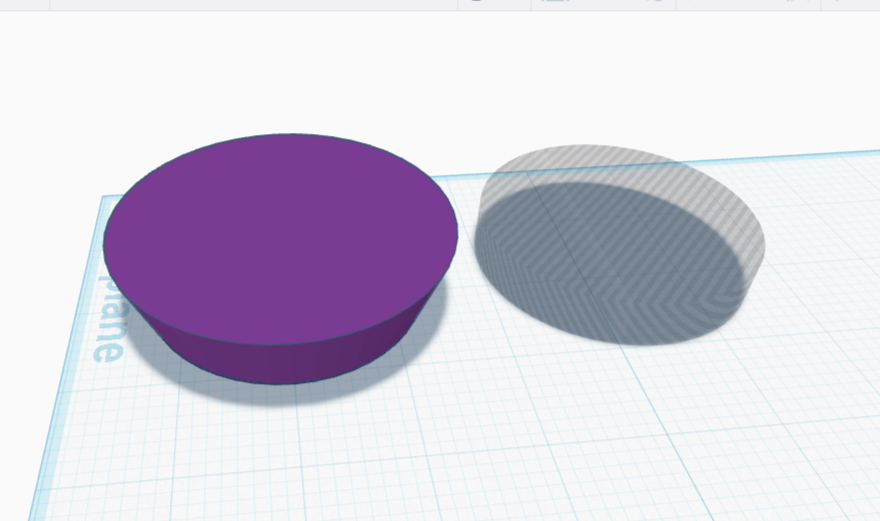
I used a cone 4.5” tall, and 3.25” wide at the base. I then made a cylinder 3.75” long and 2.786” wide. I aligned the cylinder and cone at the top, centered them, then turned the cylinder into an eraser shape. After joining the two pieces, a stumpy little bit was left behind, a perfect .75” high tapered piece. I flipped it upside-down, wider face up, and lo! it was clearly a plug.
Adding a Well for the Knobbed Handle
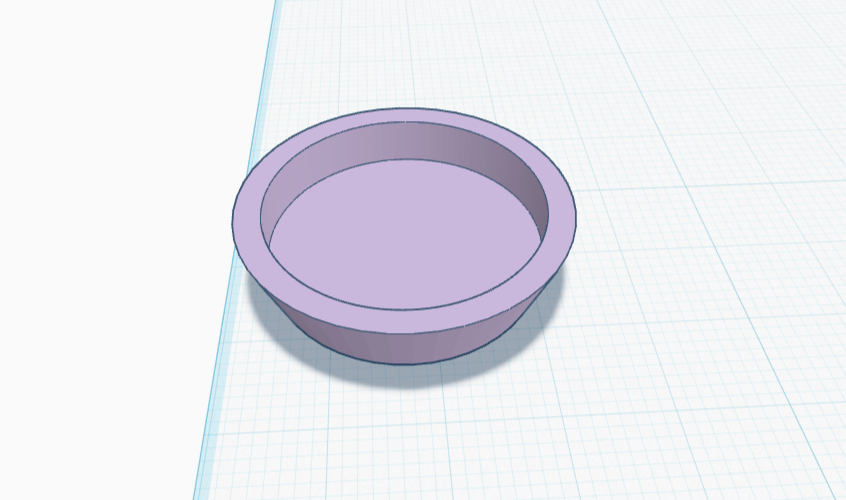
The handle needed to be flush with the drain, which meant that the plug needed a well in which to hold it. Dropping a cylinder-shaped eraser in the center, flush with the top, would solve the problem. The only question now was how big to make this cylinder.
If it was too wide, bits of it would stick out in the middle of the plug, making big holes and defeating the purpose. Conversely, it needed to be both wide and deep enough that people could comfortably wrap their fingers around the knob handle. I went with a cylinder 2.75” diameter and .5” deep for the well, adding that shape to the plug, centering them, then aligning them at the top before joining.
Creating a Fresh Handle
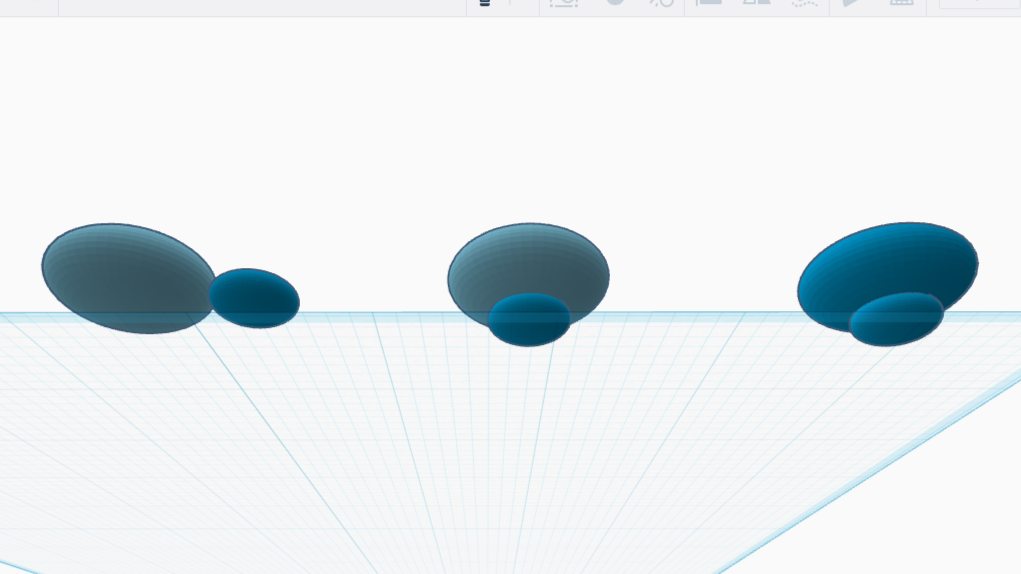
I tried the same knobbed handle from the first attempt, in Part One, but the knob was too close to the well floor to be easily grabbable. I then tried a different approach: two slightly flattened spheres, the larger stacked on the smaller. The large one was 1” diameter and half that in height: .5”. The smaller one had the same proportion, but was only .5” wide and .25” high. I aligned them, large over small, overlapped them by .1”, then joined them.
Combining the Pieces
After centering the knob, the welled plug, and the strainer, I combined them all, taking care that the knob was high enough that it could be grabbed, without going over the height of the piece. The design looked great, and I couldn’t wait to try it out. Off to the printer it went!

The Result
The result: it’s a great strainer, guarding my sink drain as we speak. However, and this is a BIG HOWEVER, the well collects water. Not good. The strainer portion has some flex, and lets water flow. The fit is nice, the handle is comfortable though it really should get sanded down, as the texture is rough here. This device does what I want, but needs a redesign to be truly thoughtful.
If I add holes in the well and make it a full-speed strainer, I’ll want to read a bit about them. I’m pretty sure I’ll want the bottom to taper to a point, so water doesn’t just sit there. Maybe regardless of design.
If I make it a proper plug, I need to redesign the handle so there is no well, but also keep the handle low so that it doesn’t get smushed. I’ve seen handles shaped like a miniature frisbee, I bet that would be strong, a couple of near-flat pancakes stacked on the plug, which needs to be wider on top if it’s going to work that way.
I am going to do both of those things, but I don’t feel like spending a whole month on sink plug designs. Instead, I’m going to do those, and upgrade and play around with them, in a much-later article called ‘rapid prototyping’.
The design works as intended, even if it collects water (I’ll fix that! Today!). Enjoy :)